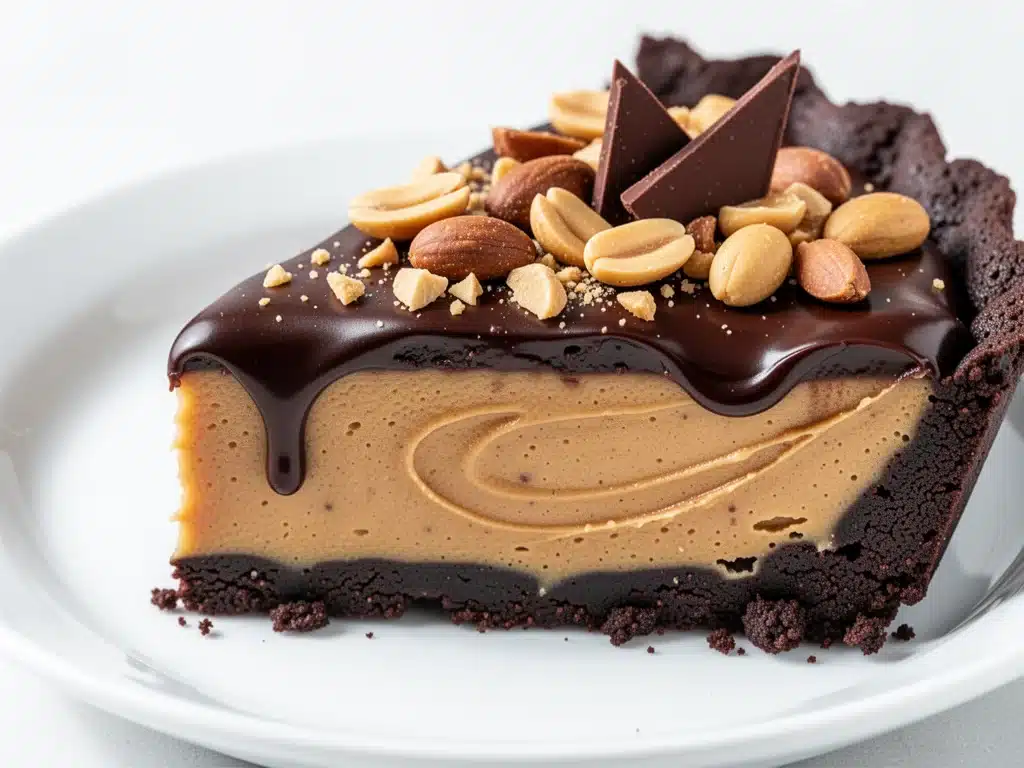
It was the annual neighborhood block party, and I had volunteered to bring dessert. You know the drill—there’s always that one person who shows up with a three-tiered cake they spent all weekend decorating, and there’s you, trying to figure out if you should bring store-bought cookies or actually attempt something homemade. I decided to attempt something homemade. I grabbed a graham cracker crust, a tub of chocolate frosting, and a jar of peanut butter, mixed them together in a bowl while my kids were fighting over the sprinkles, and chilled it for two hours.
When I pulled it out, I expected mediocre at best. What I got was silence. Then, three people asking for the recipe before I’d even cut a slice. That was three years ago. Since then, I’ve made this rich chocolate peanut butter pie at every single potluck, family reunion, and holiday gathering. It’s become my secret weapon. It’s the dessert that says, “I care enough to make something special, but I also value my sanity.” And honestly? That’s the best kind of cooking.
This isn’t just a chocolate peanut butter pie; it’s the ultimate no-bake dessert for when you want maximum flavor with minimum effort. There’s no oven required, no complicated tempering of chocolate, and no standing over a double boiler. It’s just creamy, rich, indulgent layers that melt in your mouth. I’ve tested this recipe at least a dozen times, tweaking the ratios of peanut butter to chocolate until it hit that perfect balance of salty and sweet. It’s stable enough to transport to a picnic, yet fancy enough to serve at a dinner party. If you’re looking for a dessert that actually delivers on its promise, this is it.
Why You’ll Love This No-Bake Chocolate Peanut Butter Pie
Let’s be real. Most no-bake desserts are either too sweet or lack texture. They’re just a pile of crumbs held together by sugar. This pie is different. It has structure, depth, and that addictive combination of flavors that keeps people coming back for seconds. Here’s why this recipe has earned a permanent spot in my rotation, right alongside my Neapolitan ice cream cake and my classic apple crisp.
- Zero Baking Required — Seriously. If you can mix ingredients in a bowl and press them into a pan, you can make this. I’ve made this pie on a Tuesday night after a long day at work when I didn’t want to turn on the oven. It literally takes 20 minutes of active work.
- Make-Ahead Friendly — This is the ultimate stress-reliever. It needs to chill for at least 4 hours, which means you can make it the day before the party. In fact, it tastes even better the next day because the flavors have time to meld together. It’s perfect for meal-prepping your desserts.
- Texture Contrast — The crust is crunchy, the filling is silky, and the topping is smooth. Each bite has a different texture, which keeps it from feeling heavy or monotonous. It’s not just sweet; it’s complex.
- Uses Simple Ingredients — You don’t need exotic spices or hard-to-find items. Peanut butter, chocolate, cream cheese, and graham crackers. Things you probably already have in your pantry or fridge. It’s budget-friendly, too. A whole pie costs less than a fancy bakery slice.
- Crowd-Pleasing Flavor — Chocolate and peanut butter is a classic combo for a reason. It appeals to kids, teenagers, and adults alike. I’ve served this to picky eaters who usually refuse “fancy” desserts, and they loved it. It’s safe yet exciting.
This pie is my go-to when I need to impress without the hassle. It’s reliable, delicious, and always disappears faster than anything else on the table.
Ingredients You’ll Need
Here’s the best part: you probably have most of these ingredients already. I’m not asking you to go to three different specialty stores for this one. This looks like a simple list, but the quality of a few key items makes a huge difference in the final result.
For the Crust:
- Graham crackers (about 20 squares / 200g) — I use the original honey graham crackers. They have the right amount of sweetness and crunch. You can use chocolate graham crackers if you want a darker crust, but the classic version is my favorite.
- Unsalted butter (6 tablespoons / 85g) — Melted. This binds the crumbs together. Don’t use margarine; it doesn’t have the same flavor or structure. Real butter is non-negotiable here.
- Granulated sugar (2 tablespoons / 25g) — Just a little bit to help sweeten the crust and aid in browning if you decide to bake it briefly (though I don’t bake it). You can skip this if you prefer a less sweet crust, but I recommend keeping it.
For the Peanut Butter Filling:
- Cream cheese (8 ounces / 225g) — Full-fat brick cream cheese, softened to room temperature. This is crucial. If it’s cold, you’ll get lumps. If you use the tub stuff, it’s too airy and won’t set properly. Block cream cheese is the way to go.
- Creamy peanut butter (1 cup / 250g) — I use Jif or Skippy. Natural peanut butter separates too much and can make the filling oily. You want that consistent, processed texture for stability. If you have to use natural, make sure you stir it until it’s completely homogenous.
- Powdered sugar (1 cup / 120g) — Also known as confectioners’ sugar. This dissolves easily into the cream cheese, unlike granulated sugar, which might leave gritty bits. Sift it if it’s clumpy.
- Vanilla extract (1 teaspoon) — Pure vanilla, not imitation. It adds warmth and rounds out the flavors.
For the Chocolate Topping:
- Heavy cream (1 cup / 240ml) — Cold, for whipping. This creates the ganache-like topping. Don’t use half-and-half; it won’t whip up stiff enough to hold the shape.
- Semi-sweet chocolate chips (1 cup / 170g) — I use Ghirardelli or Hershey’s. Avoid baking bars unless you’re experienced with melting chocolate, as chips are formulated to hold their structure better when mixed with cream.
- Crushed peanuts (½ cup / 50g) — For garnish. Roasted and salted peanuts add that essential salty crunch. You can buy them pre-crushed or pulse whole peanuts in a food processor for 10 seconds.
Pro Tip: If you’re a fan of texture, you can fold ½ cup of chopped Reese’s Peanut Butter Cups into the peanut butter filling. It adds little bursts of chocolate-peanut butter goodness. I do this sometimes for extra indulgence.
Equipment Needed
You don’t need fancy equipment for this. Here’s what I actually use in my kitchen.
- 9-inch pie dish — Glass or ceramic works best so you can see the layers. A metal pan works too, but glass holds heat better if you ever decide to warm it slightly before serving.
- Food processor or zip-top bag — To crush the graham crackers. I usually put them in a bag and roll a rolling pin over them. It’s therapeutic and requires no cleanup.
- Mixer — A hand mixer or stand mixer makes whipping the cream cheese and peanut butter smooth and lump-free. You can do it by hand, but it takes more elbow grease.
- Small saucepan — For melting the chocolate and cream. If you don’t have a saucepan, a microwave-safe bowl works fine. Just heat in 30-second intervals.
- Whisk — Essential for the chocolate topping to ensure it’s smooth and glossy.
Optional but nice: A piping bag with a star tip for the topping. If you want it to look like a bakery dessert, pipe rosettes on top before adding the peanuts. It’s not necessary, but it’s fun.
How to Make It: Step-by-Step
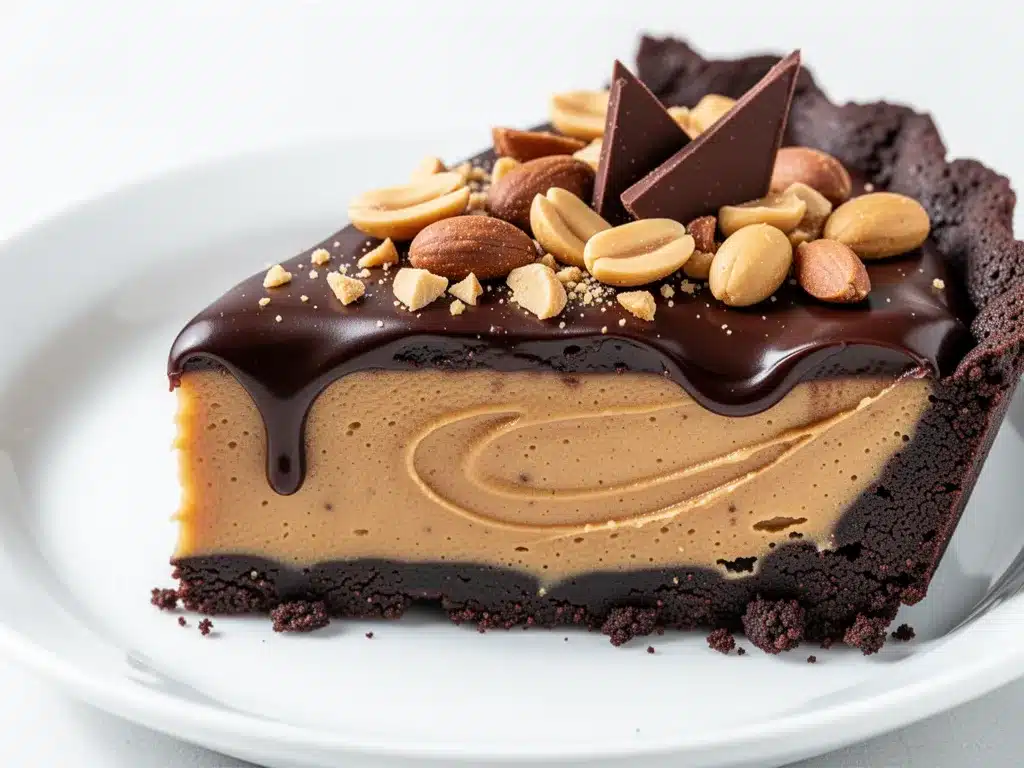
Alright, let’s make this! I’m walking you through exactly how I do it, including the little tricks I’ve picked up over the years. This is straightforward, but there are a few key moments where attention to detail matters.
Step 1: Make the Crust (5 minutes)
Crush your graham crackers into fine crumbs. If you’re using a food processor, pulse until they look like sand. If you’re using a bag, keep rolling until there are no big chunks left. In a medium bowl, mix the crumbs with the melted butter and sugar. The mixture should look like wet sand. If it’s too dry, add a teaspoon more melted butter. If it’s too wet, add a few more crumbs.
Press the mixture firmly into the bottom and up the sides of your pie dish. Use the bottom of a measuring cup to pack it down tight. A loose crust will crumble when you slice it. Once it’s packed, pop it in the fridge while you make the filling. This helps it set.
Step 2: Whip the Peanut Butter Filling (10 minutes)
In a large mixing bowl, beat the softened cream cheese until it’s smooth and creamy. This should take about 2 minutes. If there are lumps, your pie will have lumps. Scrape down the sides of the bowl.
Add the peanut butter and powdered sugar. Beat on medium speed until everything is combined and smooth. Scrape the bowl again. Add the vanilla extract and mix one more time. The mixture should be thick, fluffy, and pale yellow. It’s ready when it holds its shape when you lift the beater.
Spoon this filling into the chilled crust. Spread it out evenly with a spatula, making sure it reaches all the edges. Smooth the top. Return the pie to the fridge for at least 30 minutes. This step is important because you don’t want the chocolate topping to melt into the peanut butter layer.
Step 3: Make the Chocolate Topping (5 minutes)
While the peanut butter layer chills, make the topping. Heat the heavy cream in a small saucepan over medium heat until it just starts to simmer (small bubbles around the edges). Do not let it boil over.
Pour the hot cream over the chocolate chips in a heat-proof bowl. Let it sit for 2 minutes. This gentle heat melts the chocolate without burning it. After 2 minutes, whisk slowly from the center outward until the mixture is smooth, glossy, and dark. If there are still lumps, microwave for 10 seconds and whisk again.
Step 4: Assemble and Chill (4+ hours)
Pull the pie from the fridge. Pour the warm chocolate ganache over the chilled peanut butter layer. Use an offset spatula or the back of a spoon to spread it evenly to the edges. Try to get it as smooth as possible, but rustic is fine too.
Sprinkle the crushed peanuts evenly over the top while the chocolate is still wet so they stick. Place the pie in the fridge and let it chill for at least 4 hours, preferably overnight. This is the hardest part—waiting—but it’s necessary for clean slices.
Expert Tips & Tricks
Here’s everything I’ve learned from making this dozens of times. These tips will save you from my mistakes.
- Room Temperature Ingredients — The cream cheese MUST be room temperature. If it’s cold, you’ll get lumps that won’t blend out, no matter how long you mix. I usually take it out of the fridge 30 minutes before I start. If I forget, I microwave it for 10-second bursts until it’s soft but not melted.
- Don’t Overwhip the Cream — When making the ganache, you want it pourable but thick. If you whip the heavy cream before adding the chocolate, you’ll get a stiff frosting that’s hard to spread. Just heat the cream, pour over chips, and whisk until smooth.
- Chill Between Layers — I can’t stress this enough. If you put warm chocolate on warm peanut butter, the layers will mix. You’ll get a muddy brown mess instead of distinct layers. Let the peanut butter set completely before adding the chocolate.
- Use Salted Peanuts — The salt in the peanuts cuts through the sweetness of the chocolate and peanut butter. It’s the flavor balance that makes this pie addictive. Don’t skip the salt.
- Cutting Clean Slices — Use a sharp knife. Dip it in hot water and wipe it dry between each cut. This ensures clean slices without dragging the layers. It’s a small trick that makes a big difference in presentation.
Common Mistake: Using low-fat cream cheese. It doesn’t have the same fat content, so it doesn’t set properly and can be runny. Stick to full-fat for the best texture.
Variations & Substitutions
Once you’ve nailed the basic version, here’s how you can mix it up. I’ve tried all of these, and they all work.
- Chocolate Crust — Swap the graham crackers for chocolate cookie crumbs (like Oreos, minus the filling). It makes the whole pie darker and more chocolate-forward. This pairs well if you’re a serious chocoholic.
- Strawberry Swirl — Fold ½ cup of strawberry jam into the peanut butter filling before spreading it. It adds a fruity twist that’s surprisingly good. This is similar to the flavor profile in my red, white, and blue berry trifle.
- Mini Cupcakes — Instead of a pie, line a muffin tin with paper cups and press the crust mixture into the bottom. Fill with the peanut butter mixture and top with chocolate. Bake the crusts briefly (5 minutes at 350°F) to set them. These are great for parties.
- Vegan Version — Use vegan cream cheese (like Kite Hill), vegan peanut butter, and dairy-free chocolate chips. The texture might be slightly softer, but it’s still delicious. I’ve made this for friends with dietary restrictions, and they loved it.
- Gluten-Free — Use gluten-free graham crackers or almond flour for the crust. Most peanut butter and chocolate ingredients are naturally gluten-free, so just check labels.
Pro Trick: Add a layer of whipped cream between the peanut butter and chocolate for extra lightness. It’s not traditional, but it makes the pie feel less dense.
Serving & Storage
This pie is best served chilled. It holds its shape well at room temperature for up to 2 hours, which makes it perfect for picnics or potlucks. But it’s truly at its peak flavor when it’s cold.
Side Dishes: Serve with fresh berries (strawberries or raspberries) to cut the richness. A simple green salad or grilled chicken works well if you’re serving this as part of a larger meal. It’s also great with a cup of coffee or a glass of cold milk.
Storage: Cover the pie tightly with plastic wrap or aluminum foil. It keeps in the fridge for up to 5 days. In fact, it often tastes better on day 2 or 3 as the flavors deepen. Do not freeze this pie. The cream cheese and whipped cream components can separate and become grainy when thawed. It’s best fresh.
Reheating: Don’t reheat this pie. It’s meant to be cold. If it’s too cold from the fridge, let it sit on the counter for 10 minutes before slicing.
Nutrition Information
I’m not a nutritionist, but here’s the breakdown if you’re tracking. Keep in mind that this is a rich dessert, so portions matter.
Per Slice (based on 8 slices):
- Calories: 480
- Protein: 8g
- Carbs: 38g
- Fat: 32g
- Sugar: 28g
What’s Good: The peanut butter provides some protein and healthy fats. The chocolate offers antioxidants. It’s more filling than it looks, so you don’t need a huge slice.
What to Know: It’s high in sugar and saturated fat. It’s not a diet food. But it’s homemade, so you know exactly what’s in it. When I want to make it lighter, I use less chocolate topping and more fresh fruit on the side. But usually? I just enjoy a small slice and savor it.
Final Thoughts
So that’s my go-to rich chocolate peanut butter pie! I’ve probably talked your ear off at this point, but when you make a recipe this often, you have a lot to say about it. This pie has saved me more times than I can count. It’s my answer to “what’s for dessert?” when I’m tired, don’t want to bake, and still want something that tastes incredible. My kids love it, my husband asks for it regularly, and my friends always ask for the recipe.
Make it yours! Try different nuts on top, add a layer of caramel, or swap the peanut butter for almond butter. The best recipes are the ones you adapt to your family’s tastes. If you make this, drop a comment and let me know what you think! I love hearing how recipes turn out in your kitchen. And if something doesn’t work, tell me that too—I’m here to help troubleshoot.
Happy cooking! And I hope your kitchen smells half as good as mine does right now.
Frequently Asked Questions
Can I use natural peanut butter?
You can, but it’s not ideal. Natural peanut butter separates, which can make the filling oily and unstable. If you must use it, make sure you stir it thoroughly until it’s completely homogenous before measuring. However, I recommend standard creamy peanut butter for the best texture and stability.
Why did my chocolate topping separate?
This usually happens if the cream was too hot when poured over the chocolate, or if you stirred too vigorously. The heat should be gentle. Let the cream sit on the chips for 2 minutes, then whisk slowly. If it looks grainy, it might have seized. Try adding a teaspoon of warm cream and whisking it in to smooth it out.
Can I make this pie ahead of time?
Yes! This is actually better made ahead. You can make it up to 2 days in advance. Just keep it covered in the fridge. The flavors meld together overnight, making it even more delicious. It’s perfect for planning ahead for parties.
How do I store leftovers?
Store the pie in an airtight container or cover it tightly with plastic wrap in the fridge. It will keep for up to 5 days. Do not freeze it, as the texture of the cream cheese and ganache will suffer upon thawing.
Can I use a springform pan?
A springform pan works well for this recipe, especially if you want to remove the pie for easier slicing. Just make sure the bottom is tight so the crust doesn’t leak. You can also use a standard pie dish, which is what I usually use.
What kind of chocolate chips work best?
Semi-sweet chocolate chips are the standard and work beautifully. You can also use milk chocolate for a sweeter taste or dark chocolate for a more intense flavor. Avoid white chocolate chips, as they don’t set the same way and can be too sweet.
Pin This Recipe!
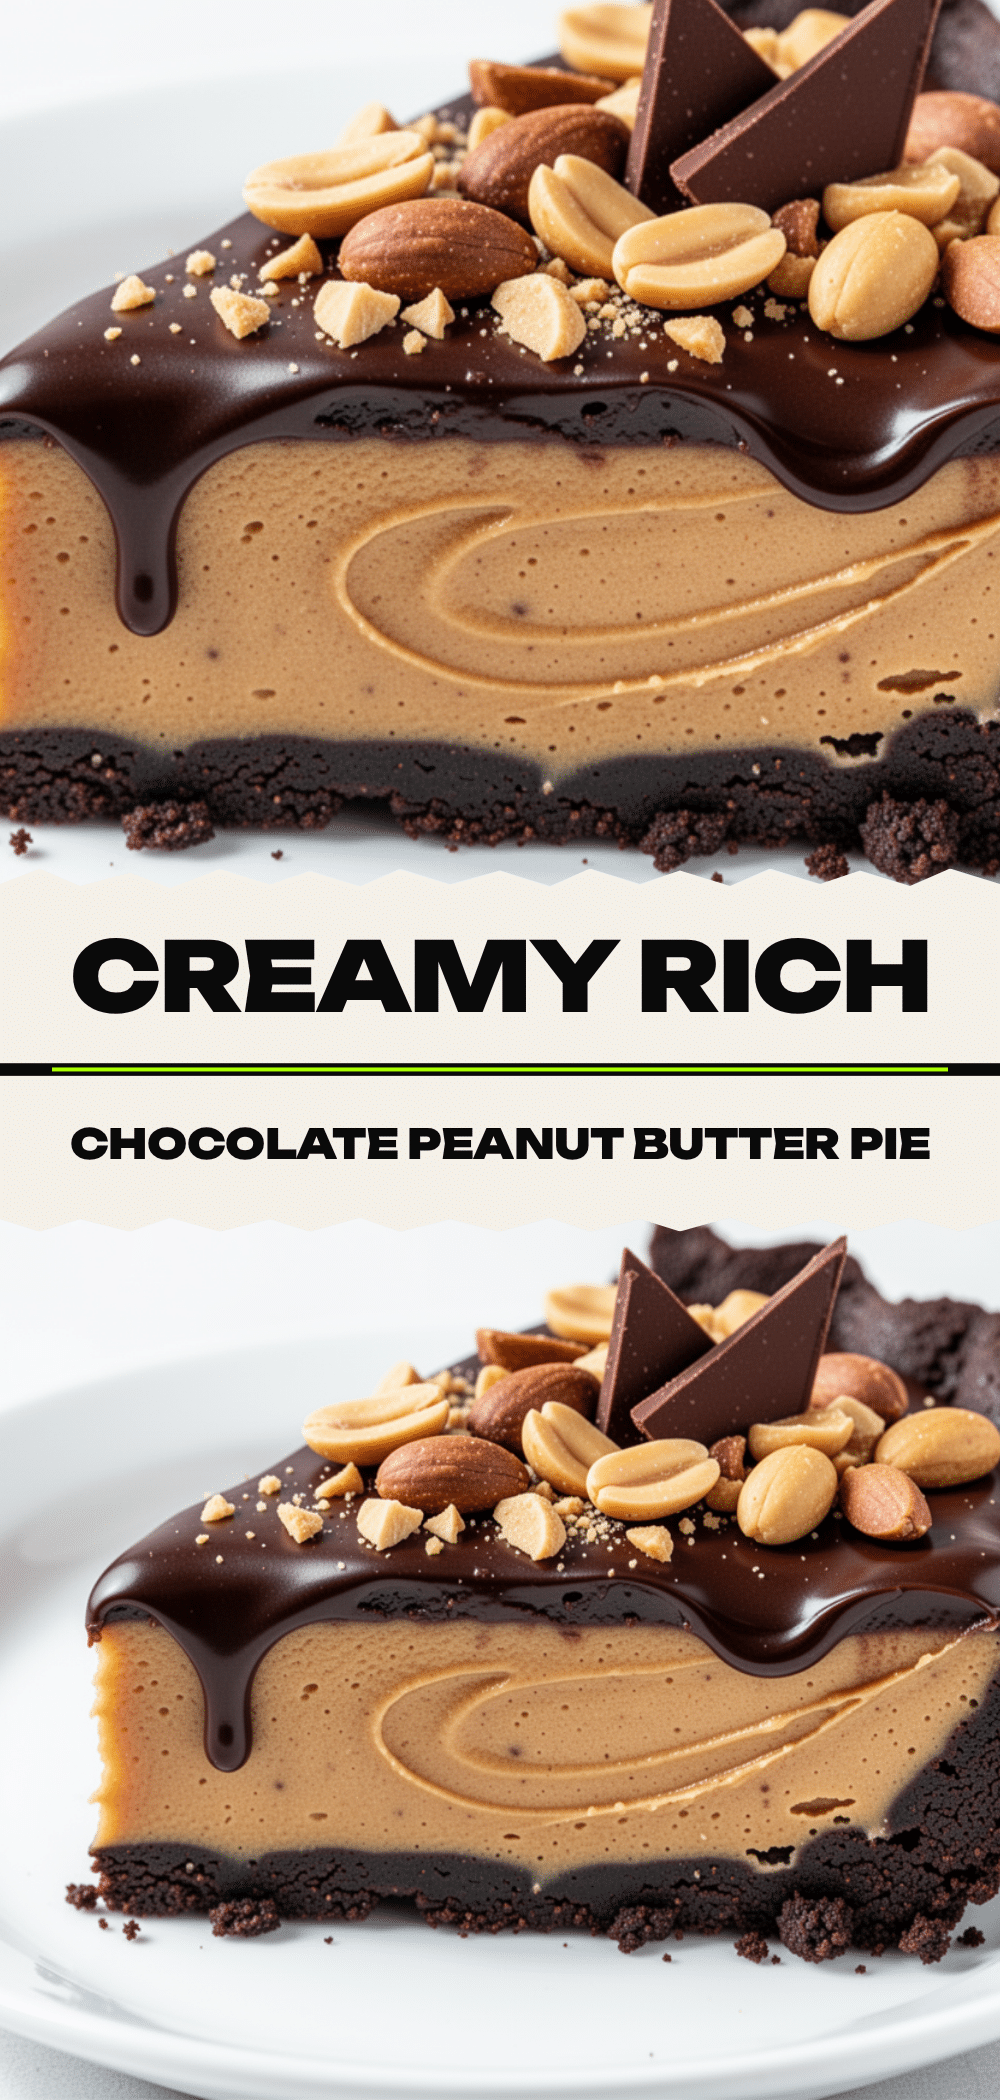
Rich Chocolate Peanut Butter Pie: Best No Bake Dessert
- Total Time: 4 hours 20 minutes
- Yield: 8 servings 1x
Description
A rich, creamy, no-bake chocolate peanut butter pie with a crunchy graham cracker crust, silky peanut butter filling, and smooth chocolate ganache topping. This crowd-pleasing dessert is easy to make, make-ahead friendly, and requires no oven.
Ingredients
- For the Crust:
- 20 squares (200g) graham crackers (original honey)
- 6 tablespoons (85g) unsalted butter, melted
- 2 tablespoons (25g) granulated sugar
- For the Peanut Butter Filling:
- 8 ounces (225g) full-fat brick cream cheese, softened to room temperature
- 1 cup (250g) creamy peanut butter (e.g., Jif or Skippy)
- 1 cup (120g) powdered sugar
- 1 teaspoon vanilla extract
- For the Chocolate Topping:
- 1 cup (240ml) heavy cream, cold
- 1 cup (170g) semi-sweet chocolate chips
- ½ cup (50g) crushed roasted and salted peanuts
Instructions
- Make the Crust: Crush graham crackers into fine crumbs. Mix with melted butter and sugar until it resembles wet sand. Press firmly into the bottom and sides of a 9-inch pie dish. Chill in the fridge.
- Whip the Peanut Butter Filling: Beat softened cream cheese until smooth. Add peanut butter and powdered sugar, beating until combined and smooth. Mix in vanilla extract. Spread filling into the chilled crust and return to the fridge for at least 30 minutes to set.
- Make the Chocolate Topping: Heat heavy cream in a saucepan until it just starts to simmer. Pour hot cream over chocolate chips in a heat-proof bowl and let sit for 2 minutes. Whisk slowly until smooth and glossy.
- Assemble and Chill: Pour warm chocolate ganache over the chilled peanut butter layer and spread evenly. Sprinkle crushed peanuts over the top while the chocolate is wet. Chill in the fridge for at least 4 hours, preferably overnight, before slicing.
Notes
Ensure cream cheese is at room temperature to avoid lumps. Do not overwhip the cream for the ganache; just heat and whisk. Chill between layers to prevent mixing. Use a sharp, hot knife for clean slices. Do not freeze this pie as the texture may become grainy.
- Prep Time: 20 minutes
- Cook Time: 0 minutes
- Category: Dessert
- Cuisine: American
Nutrition
- Serving Size: 1 slice
- Calories: 480
- Sugar: 28
- Sodium: 250
- Fat: 32
- Saturated Fat: 14
- Carbohydrates: 38
- Fiber: 2
- Protein: 8
Keywords: no bake dessert, chocolate peanut butter pie, easy dessert, make ahead dessert, potluck dessert, graham cracker crust, peanut butter pie, chocolate ganache


