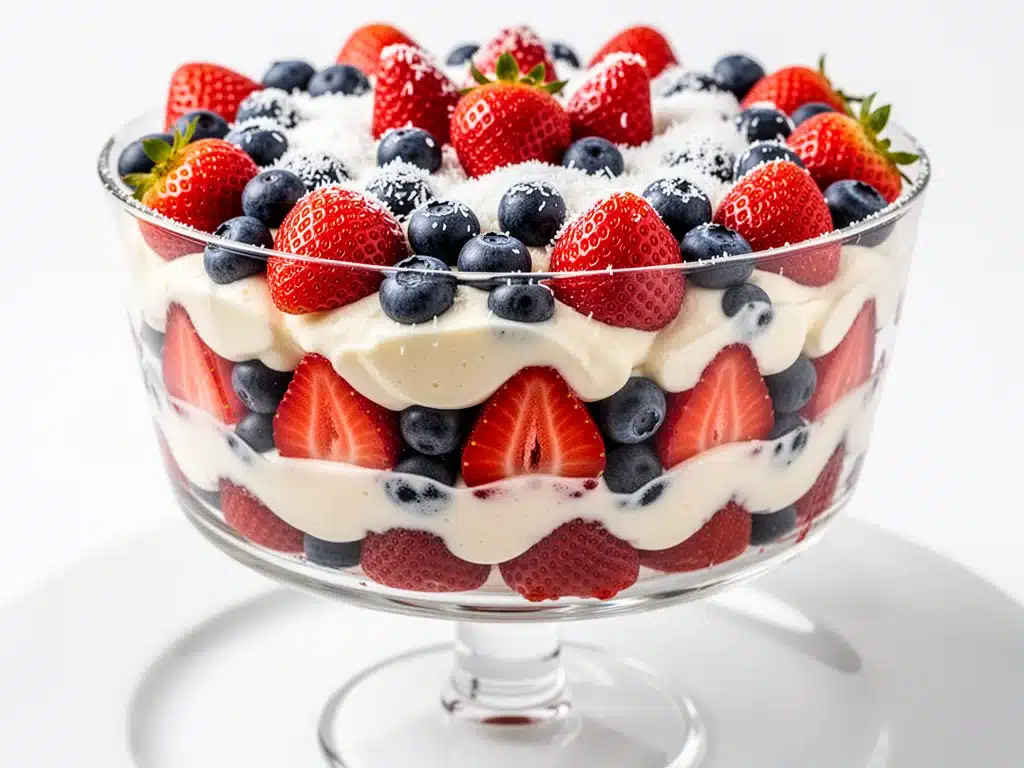
There is a specific kind of panic that sets in about twenty minutes before guests arrive when you realize you forgot to make dessert. I’ve been there. More times than I care to admit. Last July, standing in my kitchen with a bowl of whipped cream and a heart full of regret, I decided to stop trying to bake a complicated cake and instead built something beautiful from scratch. That was the day the Red White and Blue Berry Trifle was born.
It wasn’t planned. It was an accident of necessity. I had leftover pound cake, a tub of heavy cream I needed to use up, and a bag of berries that were screaming to be eaten. I layered them in a giant glass bowl, and when I pulled it out of the fridge just before the doorbell rang, my husband did a double-take. “Is that a flag?” he asked. It wasn’t intentional, but it looked like a party in a bowl. And honestly? It tasted like summer.
Since then, this trifle has become my secret weapon for every Memorial Day, Fourth of July, and Labor Day gathering. It’s not just because it looks stunning—it’s because it’s stupidly easy. You don’t need to be a pastry chef. You don’t need to wait for a cake to cool. You just need a big bowl, some patience, and the desire to make people smile. This Red White and Blue Berry Trifle is the easiest patriotic dessert you’ll ever make, and I promise you, it will be the last thing your guests talk about.
Why You’ll Love This Recipe
I’ve made this dessert for crowds ranging from six hungry teenagers to thirty polite neighbors who brought their own forks. Here’s why it keeps coming back to my menu, and why it should stay on yours:
Zero Baking Required — Seriously. If you can assemble ingredients, you can make this. No oven, no timers, no burning the edges. I make this on the hottest days of July when the last thing I want to do is stand over a hot stove. It’s cold, it’s refreshing, and it requires zero heat management.
Make-Ahead Hero — This is the ultimate stress-reliever. You can build this trifle the night before. In fact, it’s better the next day because the flavors have had time to mingle. The cake gets soaked, the cream sets, and the berries soften just enough to release their juices. I’ve hosted parties where I built this trifle at 8 AM and served it at 7 PM. It stayed perfect.
Visual Impact — People eat with their eyes first. The layers of red strawberries, white cream, and blue blueberries are striking. It looks like something from a high-end bakery, but it’s actually just simple ingredients arranged with intention. It’s Instagram-worthy without you trying hard.
Customizable for Any Crowd — Need a gluten-free option? Use a gluten-free pound cake. Want to cut the sugar? Use less sugar in the cream and more fresh fruit. This recipe is flexible. I’ve made it with angel food cake, sponge cake, and even shortbread cookies. Each version is delicious.
Feeds a Crowd Easily — One big trifle serves 12-15 people comfortably. That’s one bowl for the whole party. Less dishwashing, less cleanup, more time enjoying your guests. It’s efficient catering at its finest.
This is my go-to when I want to impress without sweating. No complicated techniques, no weird ingredients, just reliable, delicious food that makes everyone happy.
Ingredients You’ll Need
Here’s the best part: you probably have most of this already in your pantry or fridge. I’m particular about three ingredients here, and I’ll tell you exactly why.
Pound Cake (1 store-bought loaf, about 1.5 pounds / 680g) — Don’t skip this for a homemade version unless you want to spend all day baking. A dense, buttery pound cake is perfect because it holds up to the cream without turning into mush immediately. I buy the plain loaf from the bakery section. If you can’t find pound cake, a plain sponge cake or even a dry angel food cake works, but pound cake gives the best texture.
Heavy Cream (2 cups / 480ml) — Full-fat only. This is non-negotiable if you want stable, fluffy whipped cream. Light cream won’t hold peaks. If you’re worried about richness, you can use half-and-half, but the texture will be softer and less luxurious. I always use the heavy stuff for parties.
Confectioners’ Sugar (½ cup / 60g) — This dissolves into the cream easily. Granulated sugar won’t dissolve fully and will feel gritty. Don’t substitute unless you want to whip the cream for a long time to get it smooth.
Vanilla Extract (1 teaspoon / 5ml) — Pure vanilla, please. Artificial stuff tastes harsh in a simple dessert. It adds that warm, comforting background note that ties the berries and cake together.
Strawberries (1 pint / 450g, hulled and sliced) — The red layer. Use ripe, red strawberries. If they’re white on top, they’re not ready. Slice them thinly so they layer nicely. I buy extra because some are always too small or too big.
Blueberries (1 pint / 150g) — The blue layer. Wash and dry them thoroughly. Wet berries will make the cream slide. Fresh blueberries are best, but frozen works if you thaw and pat them dry completely. I prefer fresh for the pop of color.
Raspberries (1 pint / 150g, optional) — For extra red depth and a slightly tart contrast. I add these sometimes for complexity, but they’re optional. If you’re short on time, stick to strawberries and blueberries.
Mint Leaves (1 bunch, for garnish) — Not for eating in big chunks, but for that fresh green pop on top. It makes the red, white, and blue look even more vibrant. I always have mint in the garden in summer.
Optional: Lemon Zest (1 lemon) — I zest half a lemon into the whipped cream. It cuts the richness and makes the fruit flavors brighter. It’s a game-changer if you like a hint of citrus.
Pro Tip: Buy your berries the day before if possible. Let them come to room temperature before assembling. Cold berries make cold cream melt faster. If you assemble it immediately after taking berries out of the fridge, you’re asking for a soupy mess.
Equipment Needed
You don’t need fancy equipment for this. Here’s what I actually use.
Large Glass Trifle Bowl — I use a 4-quart bowl. It needs to be clear so you can see the layers. If you don’t have a trifle bowl, a large glass mixing bowl or even a deep serving dish works. Just make sure it’s wide enough to serve from easily.
Electric Mixer — Handheld or stand mixer. Whip-ing cream by hand is possible but tiring. If you’re making this for a party, use a mixer. It takes 3 minutes and gives you perfect peaks.
Sharp Knife — For slicing strawberries. A serrated knife is best for berries so you don’t crush them.
Measuring Cups and Spoons — Standard stuff. Dollar store versions work fine.
Offset Spatula — For smoothing the cream layers. It makes the trifle look professional. A regular spoon works in a pinch, but the offset spatula gives you that restaurant-quality finish.
Plate or Tray — To slide the trifle bowl into the fridge. It prevents spills.
Tool Tip: Don’t have a trifle bowl? Use a large glass pitcher or a clear casserole dish. The key is transparency. You want to show off those colors.
How to Make It: Step-by-Step
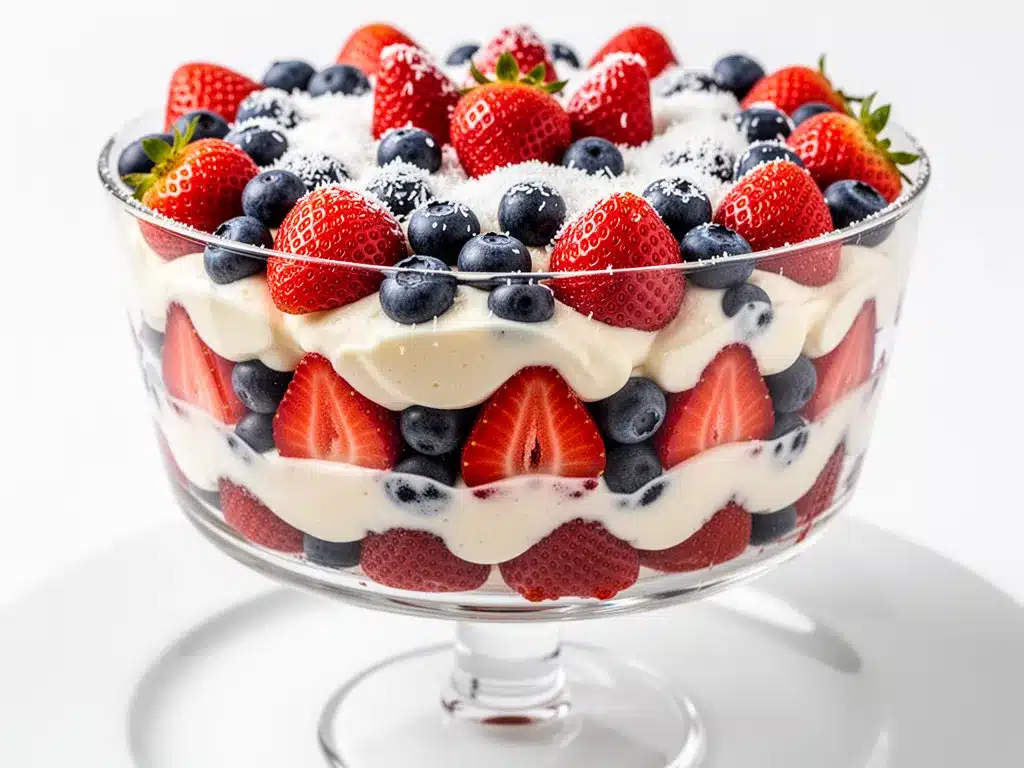
Alright, let’s make this! I’m walking you through exactly how I do it, including the little tricks I’ve picked up.
Step 1: Prep Your Berries (10 minutes)
Wash and hull your strawberries. Slice them into thin, even slices. Wash the blueberries and pat them completely dry with paper towels. Dry berries are crucial—if they’re wet, they’ll water down your cream. Set aside in separate bowls. If you’re using raspberries, leave them whole.
Step 2: Cut the Cake (5 minutes)
Take your pound cake and slice it into ½-inch thick slices. Then, cut those slices into cubes. You want bite-sized pieces. Don’t make them too small, or they’ll disappear into the cream. Don’t make them too big, or you’ll get mouthfuls of dry cake. Uniform cubes look best.
Step 3: Whip the Cream (5 minutes)
In a large chilled bowl, combine the heavy cream, confectioners’ sugar, and vanilla extract (and lemon zest if using). Whip on medium-high speed until stiff peaks form. This means when you lift the beaters, the cream stands up straight. Don’t over-whip, or it’ll turn into butter. Stop just when it holds its shape.
Step 4: Build the First Layer (5 minutes)
Spread half of your cake cubes into the bottom of the trifle bowl. Try to keep them in an even layer. Don’t worry about perfection, just cover the bottom. This is your foundation.
Step 5: Add the First Cream Layer (3 minutes)
Spread half of the whipped cream over the cake cubes. Use an offset spatula to smooth it out. Make sure you get cream between the cake pieces so it stays moist.
Step 6: Add the Red Layer (3 minutes)
Spread half of the strawberries over the cream. Distribute them evenly. If you’re using raspberries, add them now too. The red should be visible but not overwhelming.
Step 7: Repeat the Layers (10 minutes)
Repeat the pattern: remaining cake cubes, remaining cream, remaining berries. You want the final layer to be cream on top, with berries arranged beautifully on top of that. This creates the visual contrast.
Step 8: Chill and Set (At least 4 hours)
Cover the bowl with plastic wrap and refrigerate for at least 4 hours, preferably overnight. This is the most important step. It lets the cake soak up the cream and the flavors meld. If you serve it immediately, it’s just cold cake and cream. After chilling, it’s a trifle.
Step 9: Garnish and Serve
Right before serving, top with fresh mint leaves and a few extra blueberries for that pop of blue. Slice with a large spoon or ladle, aiming for a bit of everything in each serving.
Total Time: About 30 minutes active, plus chilling time.
Expert Tips & Tricks
Here’s everything I’ve learned from making this dozens of times. These tips will save you from my mistakes.
Chill Your Bowl
Put your mixing bowl in the freezer for 15 minutes before whipping the cream. Cold cream whips faster and holds peaks better. I learned this the hard way with a soupy mess in July heat. Now I always prep the bowl first.
Don’t Skimp on the Sugar
The berries are tart. The cream needs sweetness to balance it. If you reduce the sugar too much, the trifle will taste bland. I stick to the ½ cup for 2 cups of cream. It’s not a dessert for dieters, but it’s just right for a party.
Use Day-Old Cake
Fresh pound cake is soft, but day-old cake is slightly drier and absorbs the cream better without turning to mush immediately. If you bake it yourself, bake it a day ahead. If you buy it, let it sit out overnight. This is the secret to the perfect texture.
Layer Thinly
Don’t make the layers too thick. Thin layers mean more cake-to-cream-to-fruit ratio in every bite. Thick layers mean you get a mouthful of one ingredient. Aim for ½-inch layers.
Common Mistakes (and how to avoid them):
Mistake: Cream slides off — Fix: Make sure your cake layer is even. If there are gaps, the cream will slide. Also, ensure your cream is stiff enough. Soft peaks won’t support the weight.
Mistake: Berries are watery — Fix: Pat them dry! Or use frozen berries that have been thawed and drained. Fresh berries can release juice as they sit. If you see liquid pooling, spoon it out before serving.
Mistake: Trifle looks messy — Fix: Use an offset spatula. Smooth the cream layers. It doesn’t need to be perfect, but neat layers look professional.
Variations & Substitutions
Once you’ve nailed the basic version, here’s how you can mix it up. I’ve tried all of these.
Chocolate Chip Version
Add a layer of chocolate chips between the cream and berries. It’s like a berry chocolate trifle. My kids love this version. Use dark or milk chocolate chips.
Lemon Blueberry
Skip the strawberries and use only blueberries. Add lemon zest to the cream and a layer of lemon curd. It’s bright and tangy. Great for spring.
Chocolate Strawberries
Dip half the strawberries in melted chocolate before layering. It adds crunch and richness. Fancy but easy.
Gluten-Free
Use a gluten-free pound cake or gluten-free sponge cake. Everything else is naturally gluten-free. I’ve used Bob’s Red Mill gluten-free pound cake mix, and it works great.
Dairy-Free
Replace heavy cream with coconut cream (chill the can, scoop the solid part) and use dairy-free chocolate chips if adding chocolate. It’s different but still tasty. My lactose-intolerant friend requests this version.
Lower-Sugar
Use unsweetened whipped cream and rely on the natural sweetness of ripe berries. Add a touch of stevia or erythritol if needed. It’s lighter but less indulgent.
Serving & Storage
How to Serve:
I usually serve this straight from the bowl with large spoons. It looks rustic and stays cool. But here are other ways I’ve enjoyed it:
- Individual Glasses — For formal dinners, build smaller trifles in wine glasses or dessert cups. It’s elegant and portion-controlled.
- With Coffee — This pairs beautifully with afternoon coffee or tea. It’s not too heavy.
- With Ice Cream — Add a scoop of vanilla ice cream on top for extra richness. It’s decadent.
Storage Instructions:
Refrigerator: Store in an airtight container or covered with plastic wrap for up to 3 days. The cake will continue to soften, and the flavors will deepen. It’s actually better on day two.
Freezing: Honestly, this doesn’t freeze well. The cream separates, and the berries get mushy. Make it fresh or store in the fridge for up to 3 days.
Pro Tip: If the cream looks a bit separated after chilling, give it a gentle stir before serving. It often comes back together.
Nutrition Information
I’m not a nutritionist, but here’s the breakdown if you’re tracking.
Per Serving (based on 12 servings):
- Calories: 320
- Protein: 4g
- Carbs: 28g
- Fiber: 2g
- Sugar: 22g
- Fat: 22g
- Saturated Fat: 13g
- Cholesterol: 65mg
- Sodium: 180mg
What’s Good: Fresh fruit provides vitamins and antioxidants. The cake provides energy. It’s a balanced dessert in terms of macros, though high in sugar.
What to Know: Higher in calories from cream and cake. Contains dairy and gluten. Moderate sodium.
My Take: Look, this is a dessert with cream and cake. It’s not a diet recipe. But it’s way better than store-bought, costs less, and I know exactly what’s in it. When I want to make it lighter, I use less sugar and more fruit. But usually? I just eat a reasonable portion and enjoy it.
Final Thoughts
So that’s my go-to Red White and Blue Berry Trifle! I’ve probably talked your ear off at this point, but when you make a recipe this often, you have a lot to say about it.
This has saved summer parties more times than I can count. It’s my answer to “what’s for dessert?” when I’m tired, don’t want takeout, and still want something that tastes really good. My kids are happy, my guests are happy, and I’m happy because I’m not stressed about cooking.
Make it yours! Try different berries, swap in your favorite cake, adjust the sweetness. The best recipes are the ones you adapt to your family’s tastes. If you make this, drop a comment and let me know what you think! I love hearing how recipes turn out in your kitchen. And if something doesn’t work, tell me that too—I’m here to help troubleshoot.
Happy cooking! And I hope your kitchen smells half as good as mine does right now.
Frequently Asked Questions
Can I use angel food cake instead of pound cake?
Yes, but angel food cake is lighter and drier. It will absorb the cream faster and might get too soft. If you use it, keep the layers thin and serve sooner. Pound cake holds up better for longer. I prefer pound cake for its buttery flavor.
My cream slid off the cake—what happened?
Usually means the cream wasn’t whipped stiff enough, or the cake layer wasn’t flat. Make sure your peaks are stiff, and smooth the cake layer before adding cream. Also, ensure the bowl is stable on the counter.
Can I make this ahead for a dinner party?
Absolutely. This is best made the night before. It needs time to set. I build it at 8 AM for a 7 PM party. It stays fresh and delicious. Just add fresh garnish right before serving.
Why did my berries turn the cream pink?
If you use strawberries that are very ripe, they’ll release juice and tint the cream. This is normal and adds flavor. If you want pure white cream, use less juicy berries or add a barrier of thicker cream.
Can I use frozen berries?
Yes, but thaw them completely and pat them dry. Frozen berries are wetter and can make the trifle soupy. Fresh is better for texture, but frozen works in a pinch.
How do I serve this without it looking messy?
Use a large spoon or ladle. Scoop from the side, aiming for a bit of each layer. Serve on plates with a napkin. It’s inherently rustic, so a little mess is part of the charm.
Can I double this recipe?
Yes, but use a larger bowl. Double all ingredients. The layering process is the same. Just make sure your bowl is big enough to serve from easily.
Pin This Recipe!
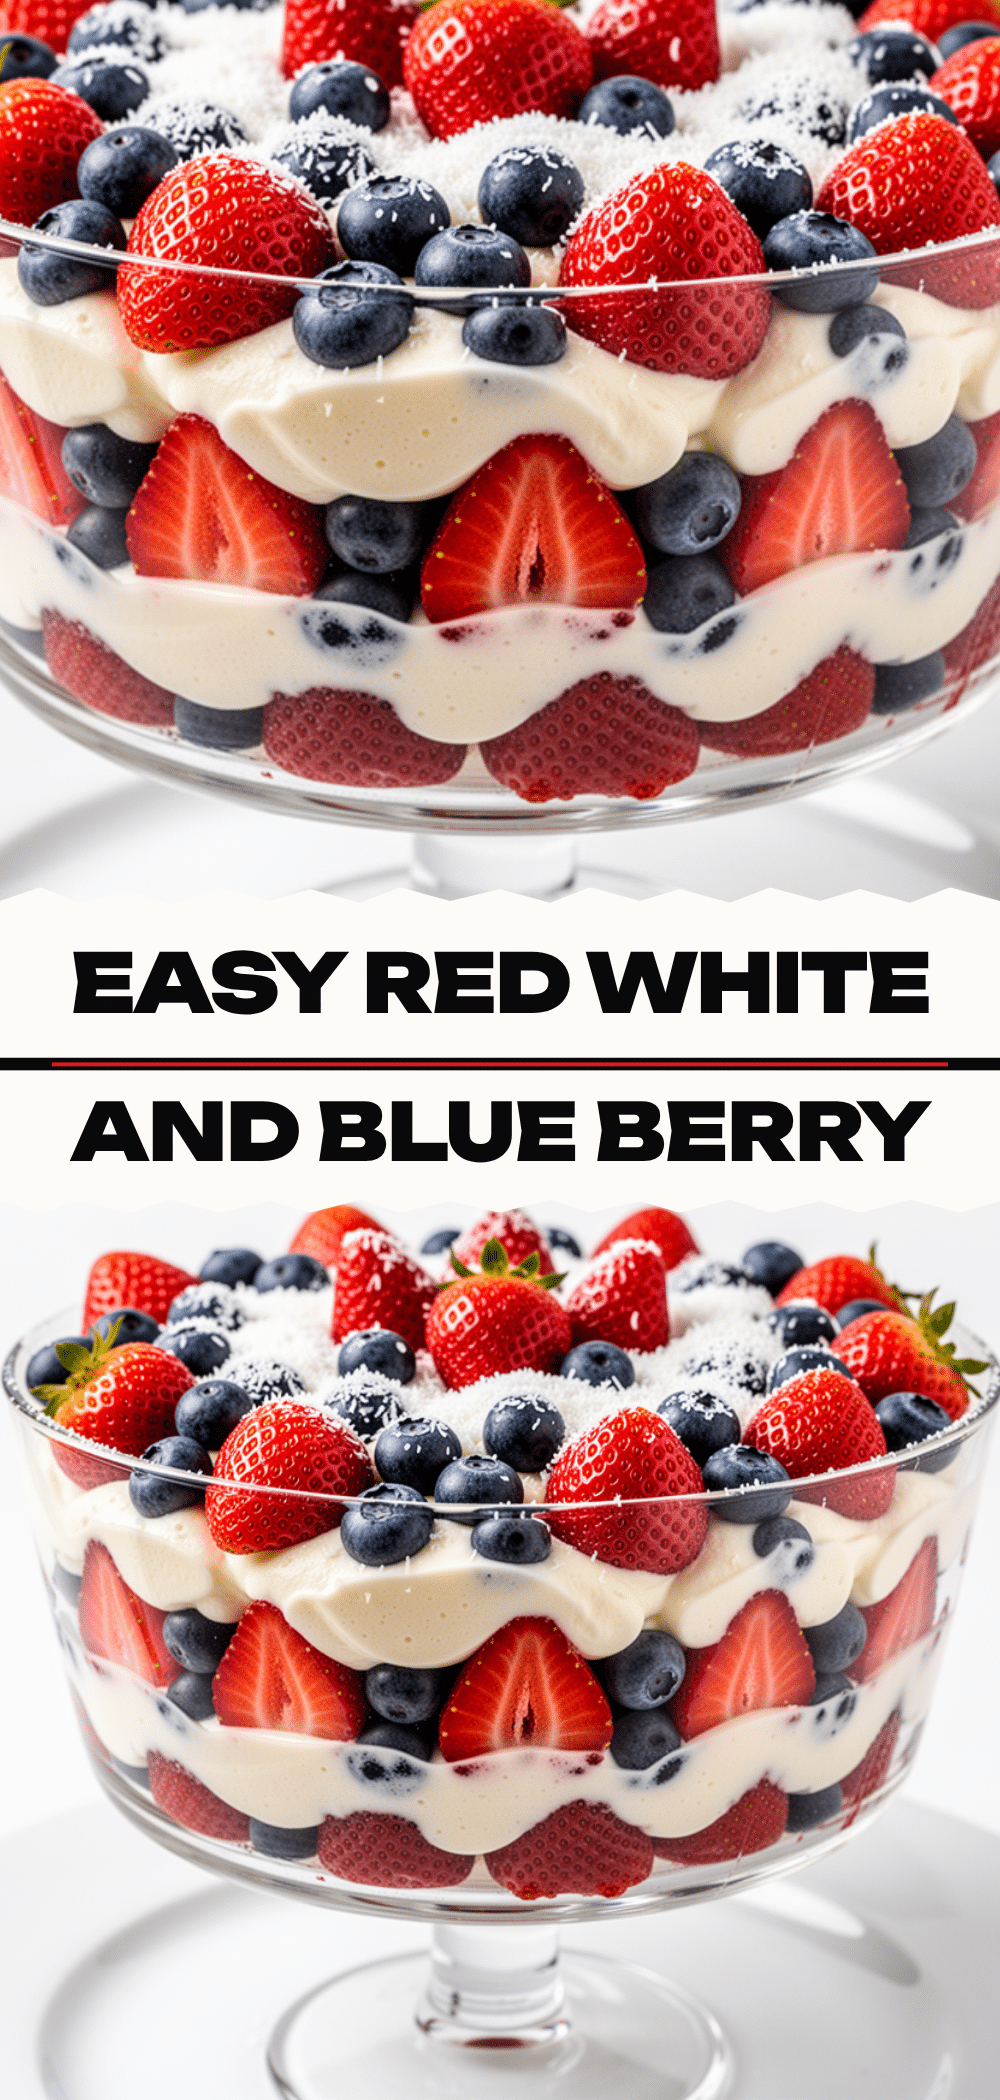
Red White and Blue Berry Trifle: Easy Patriotic Dessert
- Total Time: 4 hours 30 minutes
- Yield: 12 servings 1x
Description
A stunning, no-bake patriotic dessert featuring layers of pound cake, whipped cream, and fresh red, white, and blue berries. This make-ahead trifle is perfect for summer holidays and feeds a crowd easily.
Ingredients
- 1 store-bought pound cake loaf (about 1.5 pounds / 680g)
- 2 cups heavy cream (480ml)
- ½ cup confectioners’ sugar (60g)
- 1 teaspoon vanilla extract (5ml)
- 1 pint strawberries (450g), hulled and sliced
- 1 pint blueberries (150g)
- 1 pint raspberries (150g), optional
- 1 bunch mint leaves, for garnish
- 1 lemon, zested (optional)
Instructions
- Wash and hull strawberries, slicing them into thin, even slices. Wash blueberries and pat them completely dry with paper towels. Set aside in separate bowls.
- Slice the pound cake into ½-inch thick slices, then cut into bite-sized cubes.
- In a large chilled bowl, combine heavy cream, confectioners’ sugar, vanilla extract, and lemon zest (if using). Whip on medium-high speed until stiff peaks form.
- Spread half of the cake cubes into the bottom of a large glass trifle bowl to create the first layer.
- Spread half of the whipped cream over the cake cubes, smoothing it out with an offset spatula.
- Spread half of the strawberries (and raspberries, if using) over the cream layer.
- Repeat the layers: remaining cake cubes, remaining cream, and remaining berries. Ensure the final layer is cream on top.
- Cover the bowl with plastic wrap and refrigerate for at least 4 hours, preferably overnight, to allow flavors to meld and cake to soak.
- Right before serving, garnish with fresh mint leaves and a few extra blueberries.
- Serve with large spoons or ladles, aiming for a bit of each layer in every serving.
Notes
Chill your mixing bowl in the freezer for 15 minutes before whipping cream for better peaks. Use day-old pound cake for better texture as it absorbs cream without turning to mush immediately. Ensure berries are completely dry to prevent watery cream. This dessert is best made the night before to allow flavors to meld.
- Prep Time: 30 minutes
- Cook Time: 0 minutes
- Category: Dessert
- Cuisine: American
Nutrition
- Serving Size: 1 serving
- Calories: 320
- Sugar: 22
- Sodium: 180
- Fat: 22
- Saturated Fat: 13
- Carbohydrates: 28
- Fiber: 2
- Protein: 4
Keywords: patriotic dessert, fourth of july dessert, berry trifle, no bake dessert, summer dessert, make ahead dessert, red white and blue dessert


