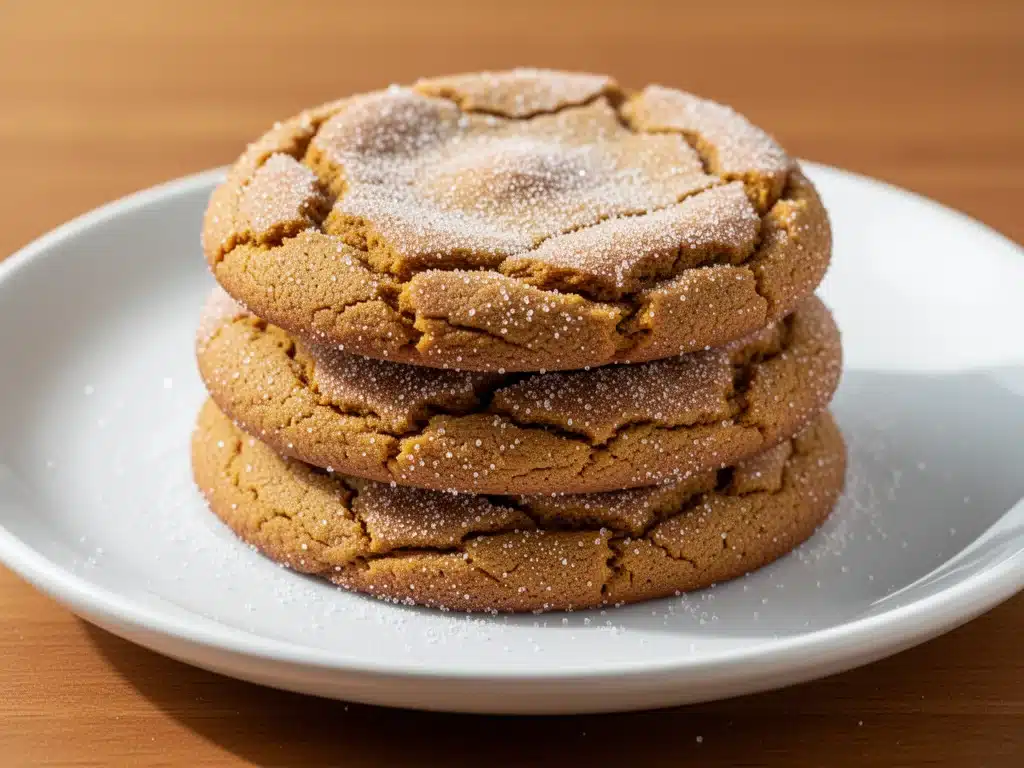
There was a specific Tuesday in October last year when I decided that my kitchen needed to smell like a warm hug. I was tired. The days were getting shorter, the coffee was going cold too fast, and I was staring at a bag of brown sugar and a can of pumpkin puree with a weird idea forming in my head. I wanted something that tasted like fall but felt like comfort food from my childhood. I didn’t want a heavy, dense pumpkin bread. I wanted light, chewy, spiced-up magic.
So, I threw together a batch of what I thought would be okay pumpkin cookies. They were good. But then I remembered the magic of snickerdoodles—those cinnamon-sugar coated, tangy, buttery cookies that everyone loves but rarely makes because they seem intimidating. I thought, “Why not combine them?”
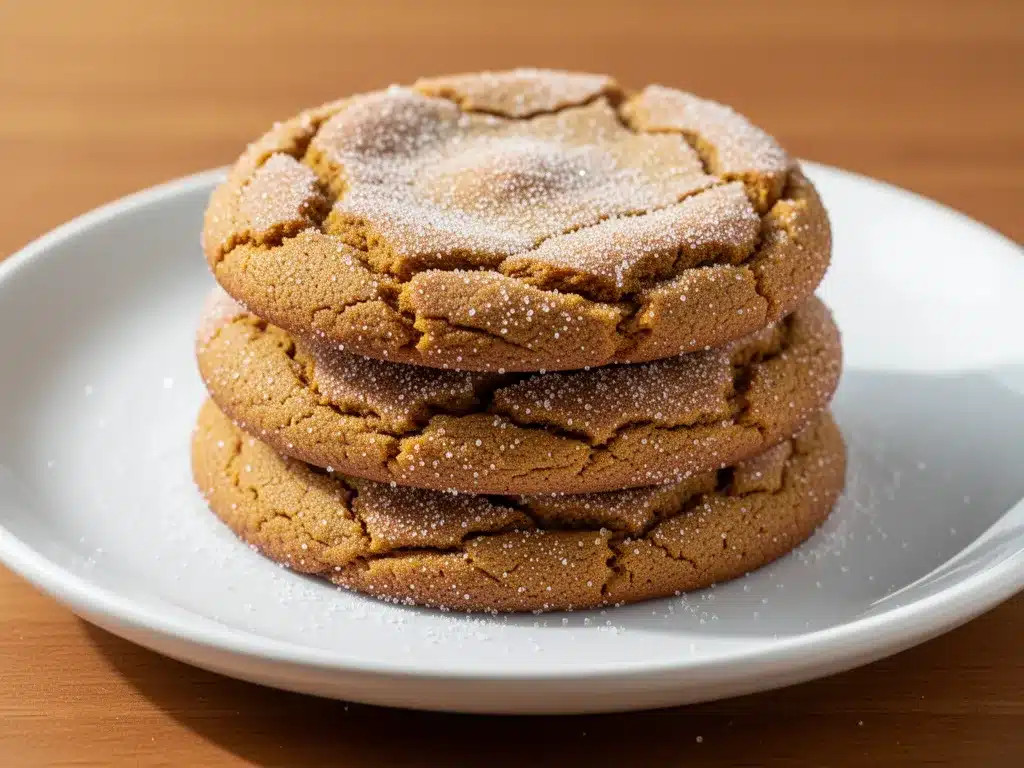
I added brown butter. (Yes, brown butter. It changes everything.) I rolled them in a spiced cinnamon-sugar mix. And the result? These Pumpkin Snickerdoodle Cookies are hands-down the best fall treat I’ve ever made. They’re soft in the middle, crisp on the edges, and smell so good that my neighbors actually asked me what I was baking. I’ve made this recipe at least a dozen times since that random Tuesday, tweaking the ratios until it was perfect. And I’m sharing it with you because you need this in your life.
Here’s the thing about these cookies: they’re not complicated. You don’t need fancy ingredients or a degree in pastry arts. You just need a little patience to brown that butter and the willingness to let the dough chill. But I promise, the payoff is worth every minute. These are the kind of cookies you bake once and then make every weekend for the rest of autumn.
Why You’ll Love This Recipe
I’ve tested this pumpkin snickerdoodle cookie recipe enough times to know exactly why it works, and why it’s become my go-to for every fall gathering, bake sale, and “I just need a cookie” moment. Here’s the real talk on why these cookies are special:
- The Brown Butter Difference — This is the game-changer. Regular butter makes good cookies. Brown butter makes *great* cookies. It adds this nutty, toasty depth that pairs perfectly with the pumpkin spice. Once you taste it, you’ll never go back to plain butter. It’s that simple.
- Perfect Texture Every Time — I’ve struggled with cookies that spread too much or stay too raw in the middle. This dough, thanks to the pumpkin puree and the chilling step, gives you a cookie that is crisp on the outside and chewy, almost cake-like, on the inside. It’s the best of both worlds.
- Uses What You Already Have — You probably have most of these ingredients in your pantry right now. Pumpkin puree, brown sugar, butter, cinnamon, cream of tartar (or baking powder/soda), and flour. It’s pantry-friendly fall baking at its finest.
- Make-Ahead Friendly — The dough is fantastic to make a day ahead. In fact, I prefer it that way. The flavors meld together overnight, and you can just scoop and bake whenever the craving hits. It makes last-minute hosting so much easier.
- Kid-Approved (and Adult-Approved) — My picky eater kids love these because they taste like a treat, not like “healthy pumpkin.” But adults appreciate the subtle spice and the sophisticated brown butter flavor. It’s a crowd-pleaser that doesn’t feel like a compromise.
Whether you’re looking for a snack with your morning coffee, a dessert for a dinner party, or just a way to bring some warmth into your home, these pumpkin snickerdoodle cookies deliver. They’re reliable, delicious, and honestly, just plain fun to make.
Ingredients You’ll Need
Before we get into the nitty-gritty, let’s talk about what’s going into the bowl. I’m particular about a few of these ingredients, and I’ll tell you exactly why. This isn’t just a list; it’s your roadmap to success.
For the Dough
Unsalted Butter (1 cup / 226g) — This is where the magic happens. You’re going to brown this butter. Use high-quality butter if you can find it. I like using European-style butters because they have a higher fat content, which gives you a richer flavor. But standard grocery store butter works fine too.
Pumpkin Puree (½ cup / 120g) — Crucial note: This must be pure pumpkin puree, not pumpkin pie filling. Pie filling has sugar and spices added, which will mess up the balance of your cookies. Look for the can labeled “100% Pure Pumpkin.” I use Libby’s because it’s consistent, but any brand is fine.
Brown Sugar (1 ½ cups / 300g) — Packed tight. Brown sugar adds moisture and a caramel-like flavor. Light brown sugar works, but dark brown sugar gives you a deeper molasses taste that pairs beautifully with pumpkin. I usually keep both in stock.
Granulated Sugar (½ cup / 100g) — This helps with the crisp edges. It balances the moisture from the brown sugar and pumpkin. Don’t skip it, even if you’re trying to reduce sugar.
Egg (1 large) — Room temperature is best. It helps emulsify the dough. If you forget, just run it under warm water for a minute.
Egg Yolk (1 large) — Adding an extra yolk gives the cookies a richer, more tender crumb. It’s an optional step, but I highly recommend it. It’s what gives them that snickerdoodle chew.
Pure Vanilla Extract (2 teaspoons) — Use real vanilla. I’m not being fancy here; imitation vanilla tastes artificial and clashes with the pumpkin spice. Spend the extra dollar on the good stuff.
For the Dry Ingredients
All-Purpose Flour (2 ½ cups / 315g) — Spoon and level your flour. Don’t scoop it directly from the bag, or you’ll pack in too much and get dry cookies. I use Gold Medal AP flour, but King Arthur works great too.
Baking Soda (1 teaspoon) — Helps the cookies spread and rise.
Baking Powder (½ teaspoon) — Gives them that little extra lift.
Cream of Tartar (1 teaspoon) — This is the secret ingredient that makes them *snickerdoodles*. It adds that tangy flavor and helps with the chew. If you don’t have it, you can substitute with 1 teaspoon of lemon juice, but the flavor won’t be quite the same. I always keep a box of cream of tartar in my pantry just for cookies.
Salt (½ teaspoon) — Enhances all the flavors. Don’t skip it.
For the Spices
Cinnamon (1 ½ teaspoons) — Ground cinnamon. Fresh is best. If your jar is old and dusty, buy a new one. The flavor difference is huge.
Ginger (½ teaspoon) — Ground ginger. Adds a little heat and warmth.
Nutmeg (¼ teaspoon) — Freshly grated is ideal, but ground is fine. Just a pinch.
For the Coating
Granulated Sugar (½ cup / 100g) — For rolling the cookies in.
Cinnamon (1 tablespoon) — More cinnamon for the coating. This is where you get that snickerdoodle crunch.
Pumpkin Pie Spice (1 teaspoon) — Optional, but I add a little to the coating for extra fall vibes. If you don’t have it, just use more cinnamon and a pinch of ginger.
Equipment Needed
You don’t need a fancy kitchen to make these pumpkin snickerdoodle cookies. Here’s what I actually use, and what you can substitute if needed.
Large Skillet or Saucepan — For browning the butter. I use a stainless steel skillet because I can see the color change clearly. A light-colored pan is better than a dark one so you don’t burn the butter without realizing it.
Whisk — For beating the butter and sugars. A balloon whisk works best to incorporate air.
Electric Mixer — Stand mixer or hand mixer. I prefer a stand mixer for this because it makes creaming the butter and sugars so much easier. But you can absolutely do it by hand if you have the arm strength!
Mixing Bowls — One large bowl for the wet ingredients, one medium for the dry. I have a set of nesting bowls that are perfect for this.
Cooling Rack — Essential. You need to transfer the cookies here immediately after baking so they stop cooking and don’t get soggy from steam.
Baking Sheets — Two standard half-sheet pans. I use rimmed baking sheets because they’re sturdy and don’t warp. If you only have one, you’ll need to bake in batches.
Parchment Paper — Line your baking sheets. I never bake directly on the metal because cleanup is a nightmare, and cookies sometimes stick. Parchment paper is worth every penny.
Cookie Scoop — I use a medium cookie scoop (about 1.5 tablespoons). It ensures uniform size, which means even baking. If you don’t have one, a tablespoon works, but the cookies might vary in size.
Small Bowl — For mixing the cinnamon-sugar coating.
Spatula — For scraping the bowl. Always scrape the bowl. I’ve made the mistake of skipping this before and ended up with a pocket of flour in the middle of the dough. Don’t be like me.
How to Make It: Step-by-Step
Alright, let’s make these cookies! I’m walking you through exactly how I do it, including the little tricks I’ve picked up over the years. This process is straightforward, but attention to detail is key.
Step 1: Brown the Butter (5-7 minutes)
Start by melting your butter in a large skillet over medium heat. Stir it constantly with a wooden spoon or silicone spatula. At first, it will just melt and foam. Then, you’ll start to hear it crackle. Keep stirring. You’re looking for the butter to turn a golden amber color and smell nutty, like toasted hazelnuts. This usually takes about 5-7 minutes. Be careful not to burn it—if it smells like burnt popcorn, you’ve gone too far. Once it’s ready, immediately pour it into a heatproof bowl to stop the cooking. Let it cool for about 10 minutes until it’s still liquid but not hot.
Pro Tip: Don’t rush this step. If the butter is too hot when you add it to the sugars, it will melt the sugar and change the texture. If you forget, pop the bowl in the fridge for 5 minutes.
Step 2: Mix the Wet Ingredients (2 minutes)
In a large mixing bowl, combine the slightly cooled brown butter, brown sugar, and granulated sugar. Beat with an electric mixer on medium-high speed for about 2 minutes until the mixture is light and fluffy. This incorporates air, which helps with the texture. Add the egg, egg yolk, and vanilla extract. Beat until combined. The mixture might look slightly separated at first, but that’s okay.
Step 3: Add the Pumpkin (1 minute)
Add the pumpkin puree to the butter mixture. Beat on low speed until just combined. Be careful not to overmix here. You just want it incorporated. The mixture will look a bit curdled, which is normal. Set this aside.
Step 4: Whisk the Dry Ingredients (1 minute)
In a separate medium bowl, whisk together the flour, baking soda, baking powder, cream of tartar, salt, cinnamon, ginger, and nutmeg. Make sure there are no lumps of flour or baking soda. This ensures even distribution of leavening agents.
Step 5: Combine Wet and Dry (2 minutes)
Gradually add the dry ingredients to the wet ingredients, mixing on low speed. Stop mixing as soon as you no longer see streaks of flour. Overmixing develops gluten, which makes cookies tough. You want them tender. The dough will be soft and slightly sticky. That’s exactly what you want.
Step 6: Chill the Dough (30 minutes – 24 hours)
This is the most important step for flavor and texture. Cover the bowl with plastic wrap or transfer the dough to an airtight container. Refrigerate for at least 30 minutes, but ideally 1-2 hours. If you can, chill it overnight. Chilling solidifies the fat, which prevents the cookies from spreading too much in the oven. It also allows the flavors to meld. I usually make the dough in the morning and bake it in the evening.
Step 7: Make the Coating (2 minutes)
In a small bowl, mix the ½ cup granulated sugar with 1 tablespoon cinnamon and 1 teaspoon pumpkin pie spice (if using). Set aside. This is your snickerdoodle coating.
Step 8: Scoop and Roll (10 minutes)
Preheat your oven to 350°F (175°C). Line two baking sheets with parchment paper. Take the chilled dough and scoop out about 1.5 tablespoons of dough per cookie. Roll the dough ball in your hands to make it smooth. Then, roll it in the cinnamon-sugar mixture, coating it completely. Place the coated dough balls on the baking sheets, leaving about 2 inches of space between them because they will spread slightly.
Tip: If the dough is too sticky to handle, wet your hands slightly with water. This prevents sticking without adding extra flour.
Step 9: Bake (10-12 minutes)
Bake the cookies for 10-12 minutes. You want the edges to be set and lightly golden, but the centers to still look soft and slightly underbaked. They will continue to cook on the hot baking sheet after you take them out. Do not overbake! Overbaking is the #1 reason for dry cookies.
Step 10: Cool and Serve (15 minutes)
Let the cookies sit on the baking sheet for 5 minutes. Then, transfer them to a cooling rack to cool completely. This step is hard because they smell amazing, but if you move them too soon, they might break. Once cooled, enjoy them with a glass of cold milk or a cup of coffee.
Expert Tips & Tricks
Here’s everything I’ve learned from making these pumpkin snickerdoodle cookies dozens of times. These tips will save you from my mistakes.
- Don’t Skip the Chill — I know it’s tempting to bake them right away. But the dough needs to chill. If you bake it warm, the cookies will spread into flat pancakes. Chilling ensures they stay thick and chewy.
- Watch the Butter Color — Brown butter can go from perfect to burnt in seconds. Use a light-colored pan so you can see the color change. When you see little brown bits at the bottom and smell nuts, it’s done. Remove from heat immediately.
- Measure Flour Correctly — Too much flour = dry, crumbly cookies. Too little = flat, greasy cookies. Spoon the flour into your measuring cup and level it off with a knife. Never scoop directly from the bag.
- Use a Cookie Scoop — Uniform size means uniform baking. If you scoop by hand, some cookies will be done while others are still raw. A scoop saves you from uneven batches.
- Rotate Your Pans — Ovens often have hot spots. Rotate your baking sheets halfway through baking for even browning. This is especially true if you’re baking two sheets at once.
- Store Properly — These cookies stay fresh in an airtight container at room temperature for up to 5 days. If you live in a humid climate, add a slice of bread to the container to keep them soft. The bread absorbs excess moisture.
Variations & Substitutions
Once you’ve nailed the basic version, here’s how you can mix it up. I’ve tried all of these, and they’re all delicious.
Add-Ins
White Chocolate Chips — Fold ½ cup of white chocolate chips into the dough before scooping. The sweetness pairs beautifully with the pumpkin spice.
Chopped Pecans or Walnuts — Add ½ cup of toasted, chopped nuts for crunch. It adds a nice texture contrast to the soft cookie.
Caramel Pieces — Break up caramel bits and press them into the top of the dough balls before baking. Melty caramel is heaven.
Dietary Modifications
Gluten-Free — Use a 1-to-1 gluten-free flour blend (like Bob’s Red Mill or King Arthur). Make sure your baking powder and soda are certified GF. The texture might be slightly more delicate, but it’s still great.
Dairy-Free — Substitute the butter with a high-quality vegan butter stick (like Miyoko’s or Earth Balance). Note that the browning process might be slightly different, but it works. Use dairy-free milk if you need it for the coating.
Egg-Free — Replace the egg and egg yolk with a flax egg (1 tablespoon ground flaxseed + 3 tablespoons water, let sit for 5 minutes). The cookies will be slightly denser, but still tasty.
Flavor Twists
Maple Glaze — Drizzle a simple maple glaze (powdered sugar + maple syrup + milk) over the cooled cookies for an extra sweet treat.
Spiced Salt — Sprinkle a little flaky sea salt on top of the cookies right after they come out of the oven. The salt enhances the sweet and spicy flavors.
Serving & Storage
How to Serve
I usually serve these pumpkin snickerdoodle cookies warm, right out of the oven. They’re best with a cold glass of milk or a cup of black coffee. If you’re having guests, I set them out on a platter with a napkin and tongs. They’re easy to grab and eat.
Side Dishes — These cookies are perfect on their own, but they also pair well with a scoop of vanilla ice cream or a dollop of whipped cream for a more decadent dessert.
Storage Instructions
Room Temperature — Store in an airtight container at room temperature for up to 5 days. If your kitchen is very warm, they might get soft, so keep them in a cool, dry place.
Refrigerator — You can store them in the fridge for up to 2 weeks, but they might lose some of their chewiness. Let them come to room temperature before eating.
Freezing — Yes, you can freeze these cookies! Bake them first, let them cool completely, then store in a freezer-safe container or bag for up to 3 months. Thaw at room temperature before eating. Alternatively, you can freeze the dough balls. Scoop the dough, freeze on a baking sheet, then transfer to a bag. Bake from frozen, adding 1-2 minutes to the baking time.
Reheating — If you have leftovers, warm them in the microwave for 10-15 seconds to soften them up. They’ll be almost as good as fresh.
Nutrition Information
I’m not a nutritionist, but here’s the breakdown if you’re tracking. Keep in mind that these values are estimates based on standard ingredients.
Per Cookie (makes about 24 cookies):
- Calories: 140
- Protein: 2g
- Carbs: 20g
- Fiber: 0.5g
- Sugar: 12g
- Fat: 6g
- Saturated Fat: 4g
- Cholesterol: 25mg
- Sodium: 120mg
What’s Good: — They’re a decent source of carbohydrates for energy. The pumpkin adds a bit of fiber and vitamin A.
What to Know: — These are a treat. They’re higher in sugar and saturated fat due to the butter and sugar coating. Enjoy in moderation. If you’re watching your sugar, you can reduce the sugar in the dough by ¼ cup, though it might affect the texture.
Final Thoughts
So that’s my go-to pumpkin snickerdoodle cookie recipe! I’ve probably talked your ear off at this point, but when you make a recipe this often, you have a lot to say about it.
This cookie has saved my fall baking routine. It’s my answer to “what should I bring to the potluck?” or “what should I bake for my kids’ after-school snack?” It’s reliable, delicious, and always makes people happy. My family loves them, and I love making them. There’s something so satisfying about the smell of brown butter and cinnamon filling your house.
Make it yours! Try different add-ins, swap in your favorite nuts, or adjust the spice level to your liking. The best recipes are the ones you adapt to your family’s tastes. If you make these cookies, drop a comment and let me know what you think! I love hearing how recipes turn out in your kitchen. And if something doesn’t work, tell me that too—I’m here to help troubleshoot.
Happy baking! And I hope your kitchen smells half as good as mine does right now.
Frequently Asked Questions
Q: Can I use pumpkin pie filling instead of pure pumpkin puree?
A: No, please don’t. Pumpkin pie filling has sugar, spices, and thickeners added. It will make your cookies too sweet and change the texture completely. You need plain, unsweetened pumpkin puree. It’s available in cans near the pie filling, or you can make your own by roasting and pureeing a sugar pumpkin.
Q: Why did my cookies spread too much?
A: This usually happens if the dough wasn’t chilled long enough, or if the butter was too warm when mixed with the sugar. Make sure you chill the dough for at least 30 minutes, preferably 1-2 hours. Also, ensure you’re not over-creaming the butter and sugar, which can incorporate too much air and cause spreading.
Q: Can I double this recipe?
A: Absolutely! Just make sure you have a large enough mixing bowl. You might need to mix in batches if you don’t have a big stand mixer bowl. The baking time and temperature remain the same.
Q: Do I really need cream of tartar?
A: It’s not strictly necessary, but it’s what gives snickerdoodles their signature tang and chew. If you don’t have it, you can use 1 teaspoon of lemon juice or vinegar, but the flavor won’t be quite the same. I recommend keeping a box of cream of tartar in your pantry for baking.
Q: How do I know when the brown butter is done?
A: Watch for two things: color and smell. The butter should turn a golden amber color with small brown bits at the bottom of the pan. It should smell nutty and toasty. If it smells burnt, you’ve gone too far. When in doubt, err on the side of lighter—it will continue to cook a bit from the residual heat.
Q: Can I freeze the dough?
A: Yes! Scoop the dough into balls, freeze them on a baking sheet until solid, then transfer to a freezer bag. Bake from frozen, adding 1-2 minutes to the baking time. This is great for having ready-to-bake cookies on hand.
Q: Can I make these gluten-free?
A: Yes, use a 1-to-1 gluten-free flour blend. The texture might be slightly more delicate, but they’ll still be delicious. Make sure your leavening agents are certified gluten-free.
Pin This Recipe!
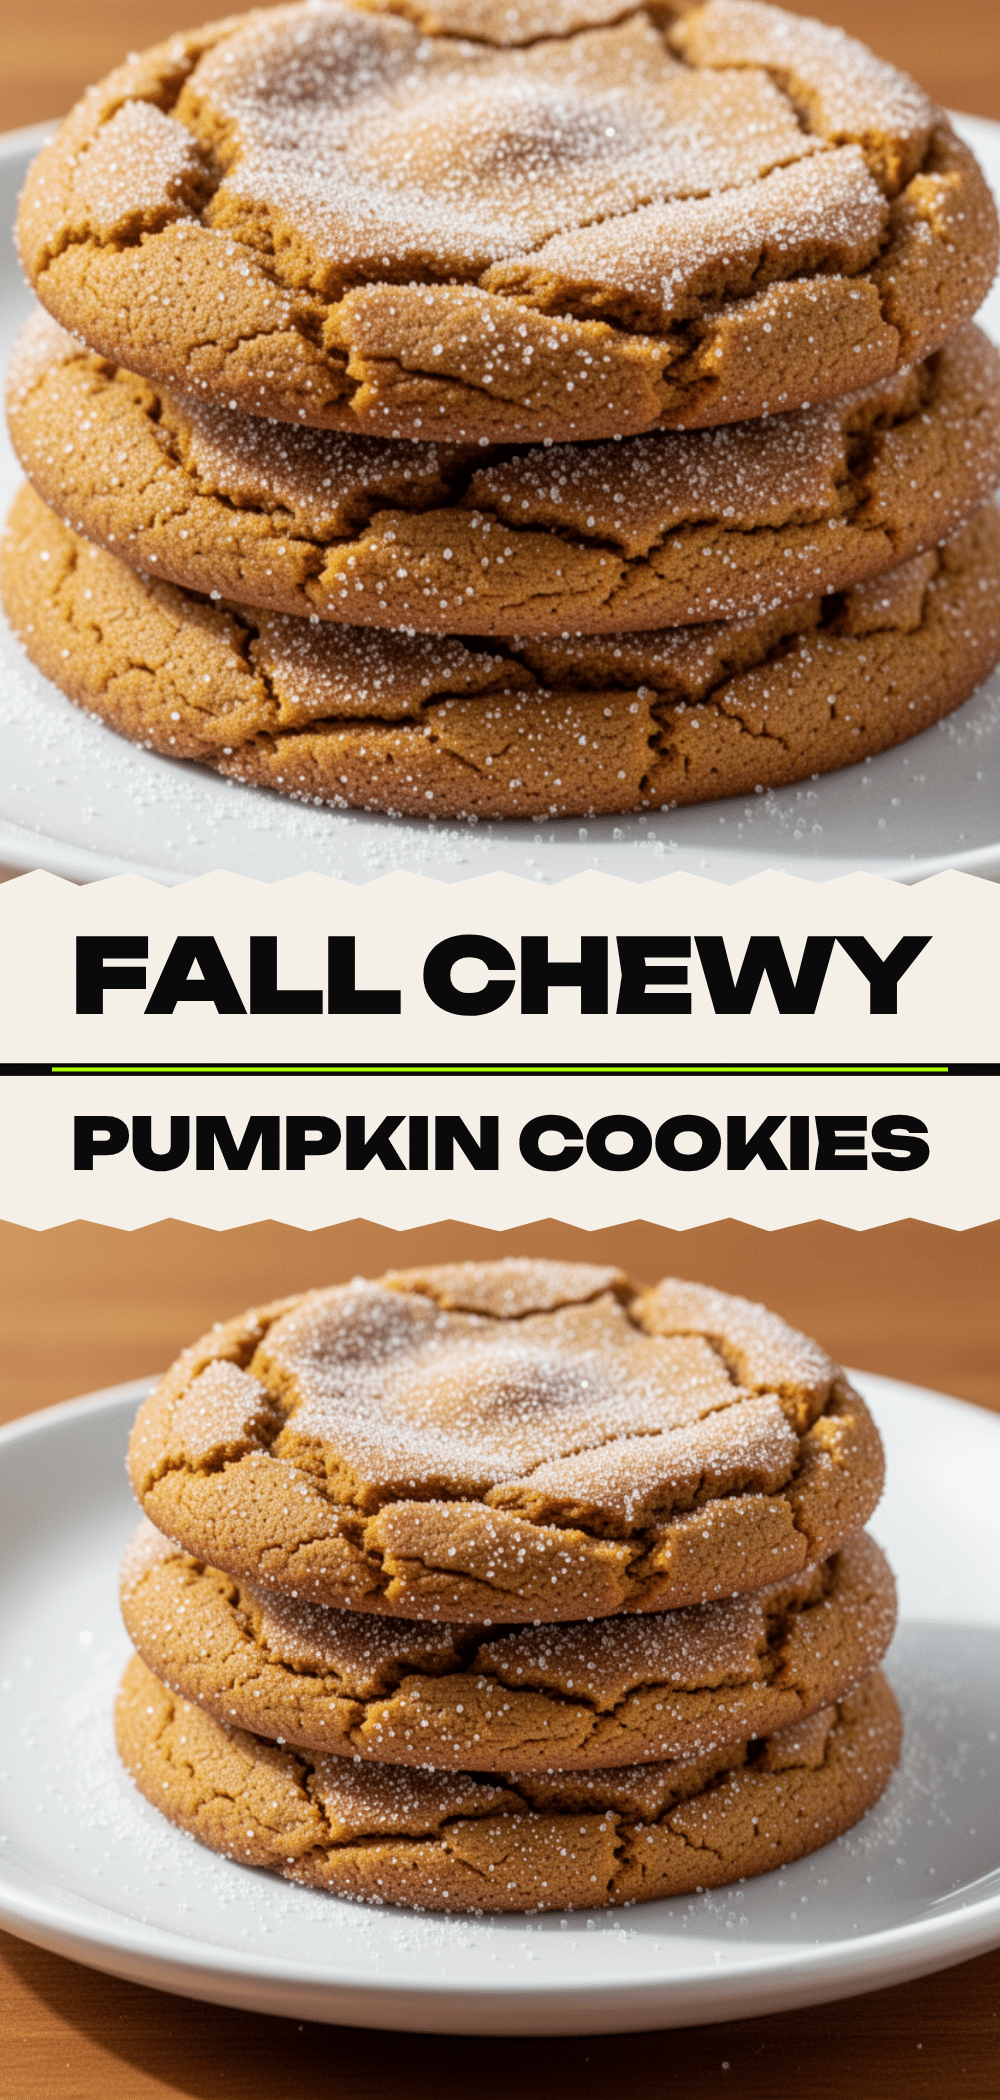
Pumpkin Snickerdoodle Cookies
- Total Time: 45 minutes
- Yield: 24 cookies 1x
Description
Soft, chewy pumpkin cookies with a tangy snickerdoodle twist, featuring nutty brown butter and a spiced cinnamon-sugar coating.
Ingredients
- 1 cup (226g) unsalted butter
- 1 ½ cups (300g) packed brown sugar
- ½ cup (100g) granulated sugar
- 1 large egg, room temperature
- 1 large egg yolk
- 2 teaspoons pure vanilla extract
- ½ cup (120g) pure pumpkin puree
- 2 ½ cups (315g) all-purpose flour
- 1 teaspoon baking soda
- ½ teaspoon baking powder
- 1 teaspoon cream of tartar
- ½ teaspoon salt
- 1 ½ teaspoons ground cinnamon
- ½ teaspoon ground ginger
- ¼ teaspoon nutmeg
- ½ cup (100g) granulated sugar (for coating)
- 1 tablespoon ground cinnamon (for coating)
- 1 teaspoon pumpkin pie spice (for coating, optional)
Instructions
- Brown the butter: Melt butter in a large skillet over medium heat, stirring constantly until it turns golden amber and smells nutty (5-7 minutes). Pour into a heatproof bowl and cool for 10 minutes.
- Mix wet ingredients: In a large bowl, beat the cooled brown butter, brown sugar, and granulated sugar on medium-high speed for 2 minutes until light and fluffy. Add egg, egg yolk, and vanilla; beat until combined.
- Add pumpkin: Beat in the pumpkin puree on low speed until just combined.
- Whisk dry ingredients: In a separate medium bowl, whisk together flour, baking soda, baking powder, cream of tartar, salt, cinnamon, ginger, and nutmeg.
- Combine: Gradually add dry ingredients to wet ingredients on low speed, mixing only until no flour streaks remain.
- Chill dough: Cover and refrigerate dough for at least 30 minutes (or up to 24 hours).
- Prepare coating: Mix ½ cup granulated sugar, 1 tablespoon cinnamon, and 1 teaspoon pumpkin pie spice in a small bowl.
- Preheat oven to 350°F (175°C) and line baking sheets with parchment paper.
- Scoop and roll: Scoop 1.5 tablespoons of dough per cookie, roll into balls, and coat thoroughly in the cinnamon-sugar mixture. Place on baking sheets 2 inches apart.
- Bake: Bake for 10-12 minutes until edges are set and lightly golden but centers look soft.
- Cool: Let cookies sit on the baking sheet for 5 minutes, then transfer to a cooling rack to cool completely.
Notes
Ensure you use pure pumpkin puree, not pumpkin pie filling. Chilling the dough is crucial to prevent spreading and develop flavor. Brown butter should be golden amber, not burnt. For gluten-free, use a 1-to-1 GF flour blend. For dairy-free, use vegan butter. Store in an airtight container at room temperature for up to 5 days.
- Prep Time: 30 minutes
- Cook Time: 10-12 minutes
- Category: Dessert
- Cuisine: American
Nutrition
- Serving Size: 1 cookie
- Calories: 140
- Sugar: 12
- Sodium: 120
- Fat: 6
- Saturated Fat: 4
- Carbohydrates: 20
- Fiber: 0.5
- Protein: 2
Keywords: pumpkin cookies, snickerdoodle, brown butter, fall baking, pumpkin spice, soft cookies, cinnamon sugar


