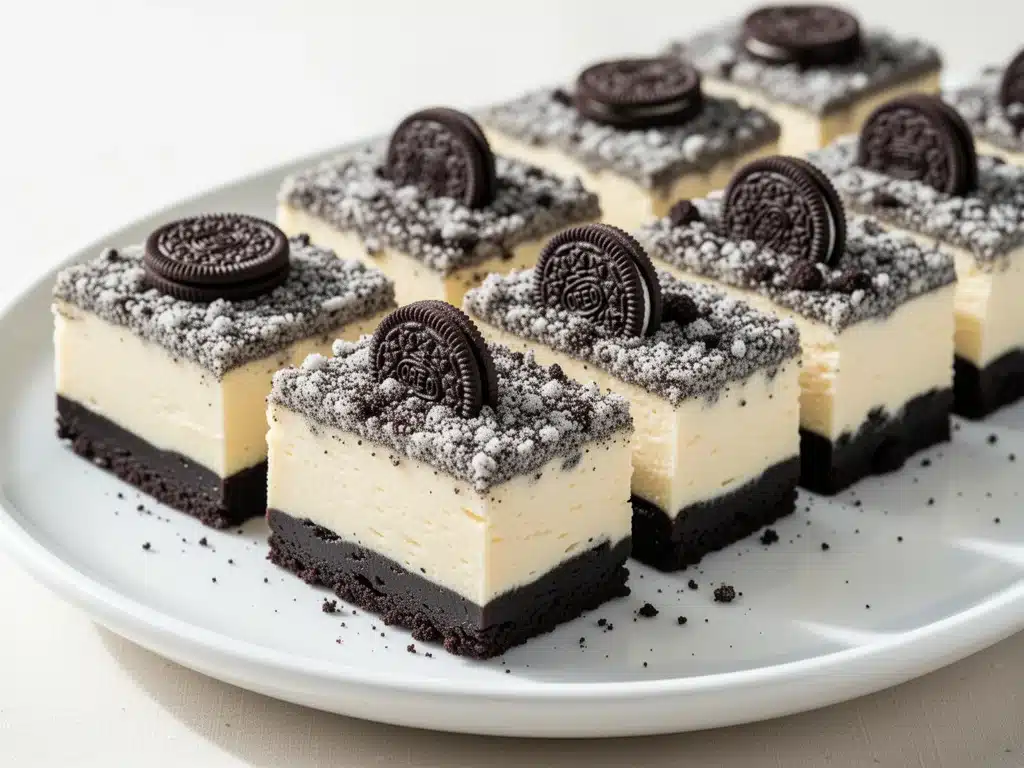
It was 94 degrees in July, the kind of heat that makes the asphalt shimmer and turns your kitchen into an oven the moment you flip on the stove. I had three kids begging for dessert, my husband was complaining about the humidity, and the last thing I wanted to do was preheat an oven for a full cheesecake. You know that feeling? Where you’re tired, it’s hot, and you just want something sweet that doesn’t require a science experiment to make.
That’s when I decided to stop trying to be a fancy baker and just make these No-Bake Oreo Cheesecake Bars. I’d seen the recipe floating around for years, but I always dismissed it as “too easy” or “just crushed cookies.” Big mistake. Because here’s the thing: these bars are actually incredible. They’re creamy, they’re crunchy, they taste like a decadent summer treat, and they require zero oven time. I made a batch last Tuesday, and by Wednesday morning, the box was empty. My kids think they’re magic. I think they’re just smart cooking.
What makes this recipe special isn’t just the convenience (though getting to skip the bake is huge in August). It’s the texture. The perfect balance between the dense, buttery Oreo crust and the light, tangy cheesecake filling. Plus, the fact that you can make them in a 9×13 pan means they’re perfect for potlucks, picnics, or just feeding a hungry family without stressing over individual portions. I’ve tested this recipe at least ten times now—sometimes with real Oreos, sometimes with store brands, sometimes with different toppings—and this version is the one that consistently wins over even the pickiest eaters. If you’re looking for an easy summer dessert that looks impressive but takes less than 30 minutes of active work, you need to try these.
Why You’ll Love This No-Bake Oreo Cheesecake Recipe
There are a dozen reasons I keep making these bars, but they all come down to one thing: they work. Every single time. No cracking, no water baths, no weird gelatin textures. Just solid, creamy, delicious dessert. Here’s what makes them a staple in my house:
- Zero Oven Required — Seriously. This is the best part for hot weather. You’re mixing in bowls and pressing into a pan. No heating up the house, no waiting for things to cool down in the oven. It’s pure convenience.
- Make-Ahead Friendly — These bars actually taste better after sitting in the fridge for a day. The flavors meld together, the crust softens just enough, and the texture becomes incredibly smooth. I often make them on Sunday for a Wednesday night treat.
- Crowd-Pleasing Texture — Kids love the crunch of the cookie crust. Adults love the richness of the cream cheese. It hits every note. I’ve served these at BBQs, birthday parties, and last-minute dinner guests, and they disappear faster than Neapolitan ice cream cake.
- Super Budget-Friendly — You don’t need fancy ingredients. Just Oreos, cream cheese, powdered sugar, and whipped topping. It costs less than $10 to make a whole pan, which is a steal for a dessert that serves 12-15 people.
- Easy to Customize — Hate Oreos? Use chocolate wafers. Want chocolate chips on top? Add them. These bars are a blank canvas for your sweet tooth. I’ve even done peanut butter cup versions with similar results.
This is my go-to when I need a dessert that feels special but requires zero effort. It’s reliable, it’s delicious, and it doesn’t judge you for not wanting to bake on a hot day.
Ingredients You’ll Need
Here’s the best part: you probably have most of this already. It’s a simple pantry-and-fridge raid. I’m particular about a few things here, mostly the quality of the cream cheese, but honestly, this recipe is very forgiving.
For the Crust
Oreo Cookies (24 cookies / about 1.5 cups crumbs) — Yes, you need a lot of cookies. Don’t skimp. The crust is half the experience. I use regular Oreos. If you’re feeling fancy, use Double Stuf, but you’ll need less butter then. Make sure you crush them into fine crumbs, not chunky pieces.
Unsalted Butter (6 tablespoons / 85g, melted) — This binds the crust together. Use real butter, not margarine. It makes a huge difference in flavor and texture. Melt it completely before mixing.
Granulated Sugar (2 tablespoons) — Optional, but I always add a little bit. Oreos are sweet, but a touch of sugar helps the crust caramelize slightly and adds depth. If you’re using Double Stuf, skip the sugar.
For the Filling
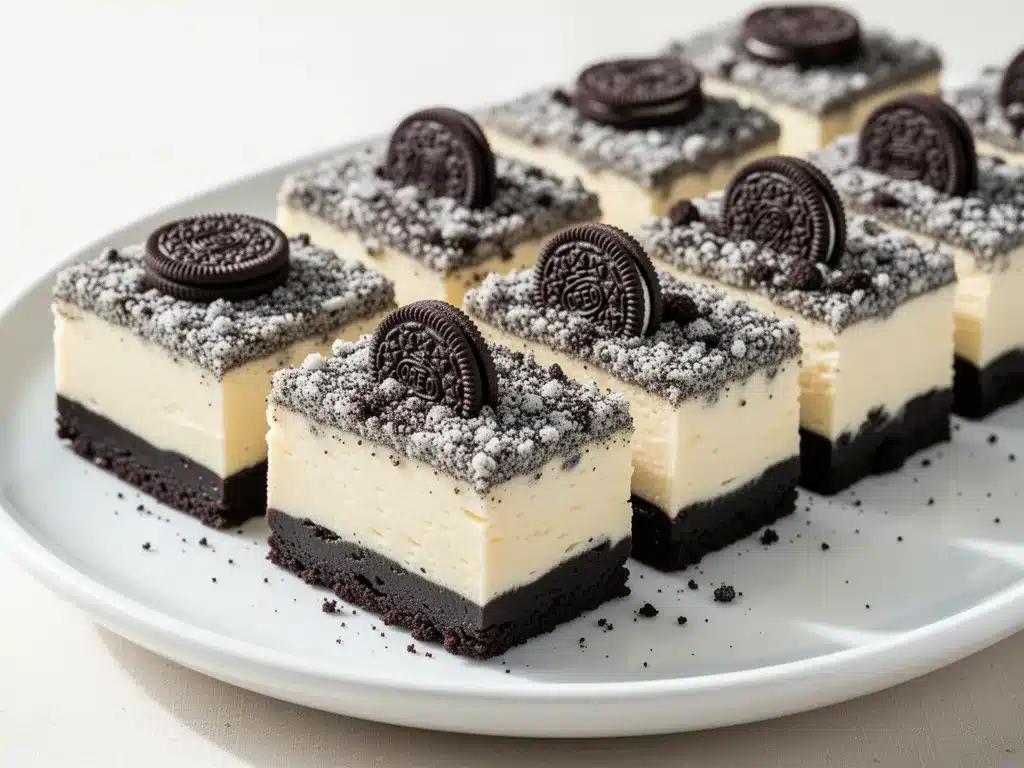
Cream Cheese (16 ounces / 450g, full-fat, softened) — This is non-negotiable. Use block cream cheese, not the spread in a tub. Let it sit on the counter for 30 minutes until it’s soft enough to mix easily. Lumps in the cream cheese mean lumps in your cheesecake. Don’t risk it.
Heavy Whipping Cream (2 cups / 480ml, cold) — I prefer whipping my own cream because it’s lighter and less sweet. But if you’re lazy, you can use a tub of Cool Whip or Reddi-wip. Just know that homemade whipped cream tastes fresher and holds up better.
Powdered Sugar (1 cup / 120g) — Also called icing sugar. It dissolves instantly in the cream cheese mixture. Granulated sugar won’t dissolve fully and will leave a gritty texture. Use powdered.
Vanilla Extract (1 teaspoon) — Pure vanilla, not imitation. It adds that classic cheesecake aroma. If you don’t have vanilla, a little almond extract works too, but vanilla is the way to go.
Cream of Tartar (½ teaspoon) — Optional, but it helps stabilize the whipped cream so it doesn’t deflate. If you’re eating it immediately, skip it. If you’re making it ahead, use it.
For the Topping
Whole Oreo Cookies (8-12 cookies) — Crushed roughly or kept whole, depending on your style. I like a mix: some crushed for sprinkling, some halved for decoration. It looks professional and tastes amazing.
Whipped Cream or Cool Whip (1 cup) — A dollop on top adds visual appeal and extra creaminess. I usually whip up a little extra heavy cream with a bit of sugar and vanilla for a homemade touch.
Substitutions & Tips
No Heavy Cream? Use a 12-ounce tub of thawed Cool Whip. It’s sweeter, so reduce the powdered sugar in the filling by half. It’s easier but less “from scratch.”
Gluten-Free? Use gluten-free chocolate sandwich cookies. The technique stays exactly the same. I’ve used Gluten Free Oreos (when they were available) and other brands, and they work fine.
Dairy-Free? Use dairy-free cream cheese blocks (like Miyoko’s) and coconut cream instead of heavy cream. It changes the flavor slightly but still works.
Equipment Needed
You don’t need fancy gadgets for this. Here’s what I actually use in my kitchen.
9×13 Inch Baking Pan — I use a glass Pyrex pan because I like seeing the layers. Metal pans work too, but glass distributes heat evenly if you ever decide to chill it in a cool oven. Line it with parchment paper for easy lifting.
Food Processor or Ziplock Bag — For crushing the cookies. A food processor is fastest (30 seconds). A rolling pin and a sturdy ziplock bag is the classic way. I do both, depending on my mood.
Stand Mixer or Hand Mixer — Mixing cream cheese by hand is possible, but it’s a workout. A mixer makes it smooth in seconds. If you don’t have one, use a sturdy whisk and arm strength.
Spatula — A large rubber spatula for folding the whipped cream into the cream cheese. Be gentle so you don’t deflate the air you worked so hard to whip in.
Measuring Cups and Spoons — Standard stuff. Accuracy matters more here than in baking because there’s no oven to fix mistakes. Measure your sugar and cream cheese carefully.
Refrigerator Space — You need room for a 9×13 pan. If your fridge is packed, plan ahead. These bars need at least 4 hours to set, but overnight is best.
How to Make It: Step-by-Step
Alright, let’s make this! It’s straightforward, but there are a few tricks to get that perfect texture. I’m walking you through exactly how I do it.
Step 1: Prep Your Pan and Crust (10 minutes)
Line your 9×13 pan with parchment paper, leaving an overhang on the long sides. This is crucial for lifting the bars out later. If you don’t do this, you’ll be digging for pieces with a knife. Not ideal.
Crush your 24 Oreos into fine crumbs. If using a food processor, pulse until they’re sandy. If using a bag, roll over them until they’re fine. No big chunks! Mix the crumbs with the melted butter and sugar until it looks like wet sand. Press this mixture firmly into the bottom of the pan. Use the bottom of a measuring cup to pack it down tight. A loose crust means a messy bar. Refrigerate the crust while you make the filling.
Step 2: Whip the Cream (5 minutes)
In a large, cold bowl, whip the heavy cream (and cream of tartar if using) until stiff peaks form. This means when you lift the beaters, the cream stands up straight. Don’t over-whip it into butter, but don’t under-whip it either. It needs to be stable to support the cream cheese.
Step 3: Mix the Cream Cheese Base (5 minutes)
In a separate large bowl, beat the softened cream cheese until it’s completely smooth and creamy. No lumps! Add the powdered sugar and vanilla extract. Beat on medium-low until combined. Scrape down the sides of the bowl. This base should be thick and fluffy.
Step 4: Fold It Together (3 minutes)
Here’s the delicate part. Add one-third of the whipped cream to the cream cheese mixture and beat gently to combine. Then, using your spatula, gently fold in the remaining whipped cream. Fold from the bottom up, turning the bowl. Stop when you just see streaks of white. Over-mixing here will deflate the cream and make the filling dense. You want it light and airy.
Step 5: Assemble and Chill (4+ hours)
Spread the filling evenly over the chilled crust. Smooth the top with your spatula. Sprinkle crushed Oreos over the top. You can use whole cookies for decoration too. Cover the pan with plastic wrap or foil. Place it in the fridge for at least 4 hours, but ideally overnight. The longer it chills, the firmer it gets and the better it tastes.
Step 6: Slice and Serve
Once set, lift the bars out of the pan using the parchment overhang. Use a sharp knife to cut into squares. Wipe the knife between cuts for clean edges. Top each with a dollop of whipped cream and an extra cookie piece if you’re feeling fancy. Serve and enjoy.
Expert Tips & Tricks
Here’s everything I’ve learned from making these dozens of times. These tips will save you from my mistakes.
- Softened Cream Cheese is Key — If your cream cheese is cold, you’ll get lumps. If it’s too warm, the filling will be runny. Room temperature is perfect. If you forgot, microwave it in 5-second bursts, checking frequently.
- Cold Bowl for Whipping — Chill your mixing bowl in the freezer for 15 minutes before whipping cream. Cold equipment helps cream whip faster and hold its shape better.
- Don’t Skip the Chill Time — I know you want to eat it now. Wait. If you cut it too soon, it will be mushy. The structure needs time to set. 4 hours is the minimum, but 8-12 hours is the sweet spot.
- Use a Sharp Knife — Dull knives smash the crust and make a mess. A sharp chef’s knife or even a serrated bread knife works well. Dip it in hot water and wipe dry between cuts for the cleanest slices.
- Storage Matters — Keep these in the fridge. They don’t freeze well because the texture of the cream cheese changes when thawed. They last up to 5 days in an airtight container.
Common Mistakes:
Crust is too crumbly: You didn’t pack it down hard enough, or you used too little butter. Press it firmly!
Filling is runny: You under-whipped the cream cheese or over-folded the whipped cream. Be gentle and thorough.
Too sweet: Oreos are sweet. If you’re sensitive to sugar, reduce the powdered sugar to ¾ cup and use less sweetened whipped topping.
Variations & Substitutions
Once you’ve nailed the basic version, here’s how you can mix it up. I’ve tried all of these.
Chocolate Chip Version — Add ½ cup mini chocolate chips to the filling before folding in the whipped cream. Classic combo.
Peanut Butter Oreo — Swirl ½ cup peanut butter into the cream cheese base before folding in the whipped cream. Or add a layer of peanut butter cups on top.
Mint Chip — Add 1 teaspoon peppermint extract to the filling and sprinkle crushed mint chocolate chips on top. Great for St. Patrick’s Day.
Red, White, and Blue — For summer holidays, add blue food coloring to the filling and top with fresh berries. It looks festive and tastes great, similar to my Red, White, and Blue Berry Trifle.
Cookie Butter — Mix ¼ cup Biscoff spread into the cream cheese. Drizzle extra on top. It’s nutty and caramel-like.
Gluten-Free — Use GF chocolate sandwich cookies for the crust. The rest of the ingredients are naturally GF (check labels for safety).
Dairy-Free — Use dairy-free cream cheese and coconut cream. It’s richer but still delicious.
Serving & Storage
How to Serve: I usually serve these straight from the pan, cut into squares. They’re perfect for picnics because they hold their shape well. Pair with fresh fruit, like strawberries or raspberries, to cut the richness. A simple green salad or some grilled chicken makes a great dinner to go with this dessert.
Storage: Store in an airtight container in the fridge for up to 5 days. They actually get firmer and tastier after day 2. Do not freeze, as the texture will become grainy upon thawing.
Reheating: Do not reheat. These are best served cold. If they’ve been in the fridge too long and the crust feels too hard, let them sit at room temperature for 10 minutes before serving.
Nutrition Information
I’m not a nutritionist, but here’s the breakdown if you’re tracking. Keep in mind this is an estimate based on standard ingredients.
Per Serving (1 of 12 bars):
- Calories: 380
- Protein: 5g
- Carbs: 42g
- Fat: 22g
- Sugar: 28g
- Sodium: 250mg
Look, this is a dessert. It’s sweet, it’s rich, and it’s meant to be enjoyed. If you’re watching sugar, reduce the powdered sugar in the filling and use unsweetened whipped cream. But honestly? I just enjoy a square or two and move on. It’s way better than store-bought cake.
Final Thoughts
So that’s my go-to No-Bake Oreo Cheesecake Bars! I’ve probably talked your ear off at this point, but when you make a recipe this often, you have a lot to say about it. This has saved summer dinners more times than I can count. It’s my answer to “what’s for dessert” when I’m tired, it’s hot, and I still want something that tastes really good. My kids are happy, my husband’s happy, and I’m happy because I’m not stressed about cooking.
Make it yours! Try different toppings, swap in your favorite cookies, or add some fresh fruit. The best recipes are the ones you adapt to your family’s tastes. If you make this, drop a comment and let me know what you think! I love hearing how recipes turn out in your kitchen. And if something doesn’t work, tell me that too—I’m here to help troubleshoot.
Happy cooking! And I hope your kitchen smells half as good as mine does right now.
Frequently Asked Questions
Can I use store-bought whipped topping instead of whipping cream?
Yes, absolutely. Use a 12-ounce tub of thawed Cool Whip or Reddi-wip. It’s sweeter, so reduce the powdered sugar in the filling by half. It’s easier but less “from scratch.” The texture will be slightly softer, but still delicious.
Why is my crust crumbly and falling apart?
You likely didn’t use enough butter or didn’t pack it down firmly enough. The butter acts as the glue. Make sure it’s fully melted and mix it well with the crumbs. Press it down hard with the bottom of a glass. It should feel like wet sand that holds together when squeezed.
Can I freeze these bars?
Honestly, I don’t recommend it. The cream cheese filling can become grainy or watery when thawed. It’s best eaten fresh from the fridge. If you must freeze, wrap tightly in plastic and foil, but expect some texture changes. Thaw in the fridge overnight.
How long do these last in the fridge?
They last up to 5 days in an airtight container. They actually taste better after sitting for 24 hours as the flavors meld. After 5 days, they may start to dry out or lose their crispness.
Can I make this in a different pan size?
Yes, but the thickness will change. For an 8×8 pan, you’ll need to double the recipe. For a 9×13, the recipe as written is perfect. If you use a springform pan (9-inch), you’ll need to adjust the crust pressing and likely double the filling for adequate height.
Why did my filling deflate?
You probably over-folded the whipped cream or didn’t whip the cream to stiff peaks enough. Fold gently and stop as soon as it’s combined. Also, ensure your cream cheese was fully smooth before folding; lumps can cause uneven mixing.
Can I use gluten-free Oreos?
Yes! Gluten-free chocolate sandwich cookies work great for the crust. Just crush them finely and mix with the butter. The rest of the recipe is naturally gluten-free (check your cream cheese and whipped cream labels to be sure).
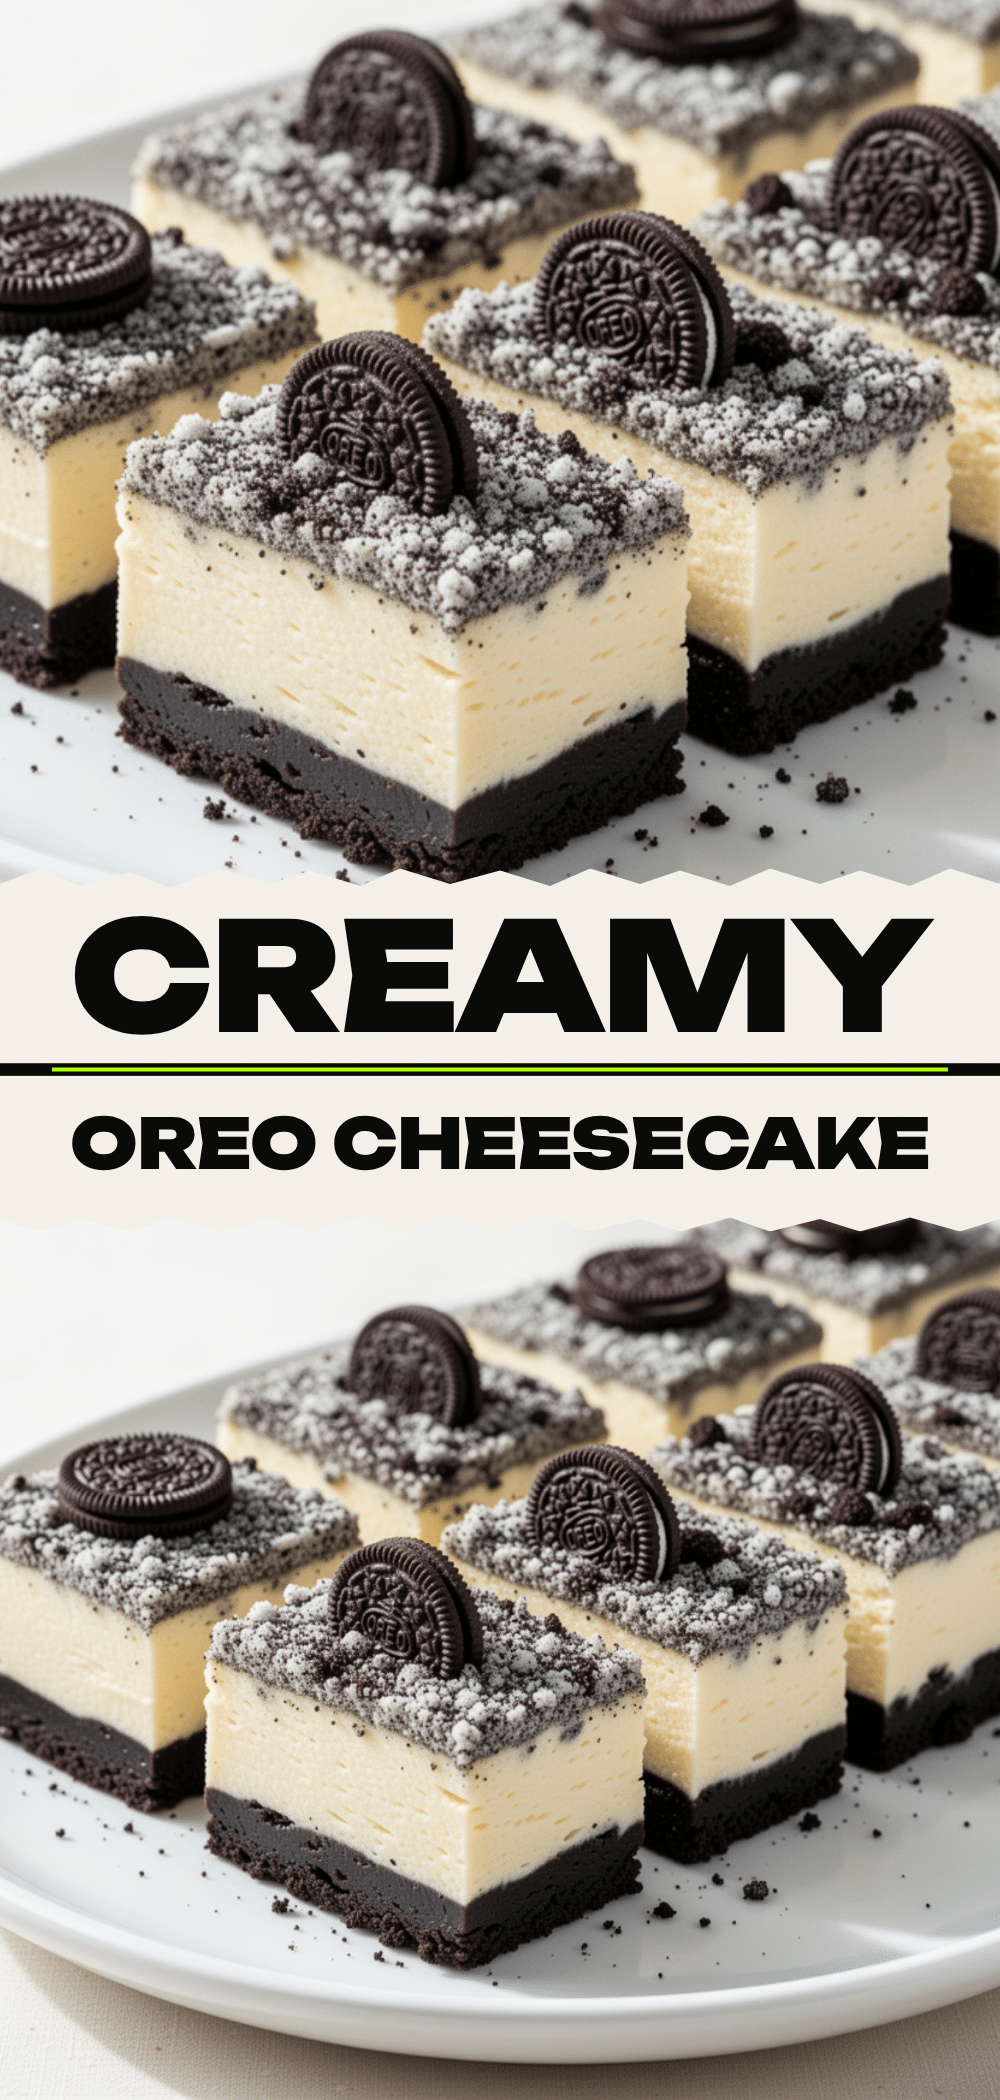
Pin This Recipe!
No-Bake Oreo Cheesecake Bars
- Total Time: 4 hours 30 minutes
- Yield: 12 servings 1x
Description
A creamy, crunchy, and easy no-bake summer dessert featuring a dense Oreo crust and a light, tangy cheesecake filling. Perfect for hot days as it requires zero oven time and can be made ahead.
Ingredients
- 24 Oreo cookies (about 1.5 cups crumbs)
- 6 tablespoons unsalted butter, melted
- 2 tablespoons granulated sugar
- 16 ounces full-fat cream cheese, softened
- 2 cups heavy whipping cream, cold
- 1 cup powdered sugar
- 1 teaspoon vanilla extract
- 1/2 teaspoon cream of tartar (optional)
- 8–12 whole Oreo cookies for topping
- 1 cup whipped cream or Cool Whip for topping
Instructions
- Line a 9×13 inch baking pan with parchment paper, leaving an overhang on the long sides for easy removal.
- Crush 24 Oreos into fine crumbs using a food processor or a ziplock bag with a rolling pin.
- Mix the cookie crumbs with melted butter and granulated sugar until the texture resembles wet sand.
- Press the crust mixture firmly into the bottom of the prepared pan using the bottom of a measuring cup. Refrigerate while making the filling.
- In a large, cold bowl, whip the heavy cream (and cream of tartar if using) until stiff peaks form.
- In a separate large bowl, beat the softened cream cheese until smooth and creamy with no lumps.
- Add powdered sugar and vanilla extract to the cream cheese and beat on medium-low until combined and fluffy.
- Add one-third of the whipped cream to the cream cheese mixture and beat gently to combine.
- Using a spatula, gently fold in the remaining whipped cream from the bottom up, stopping when just streaks of white remain to avoid deflating the mixture.
- Spread the filling evenly over the chilled crust and smooth the top.
- Sprinkle crushed Oreos over the top and decorate with halved or whole cookies if desired.
- Cover the pan with plastic wrap or foil and refrigerate for at least 4 hours, ideally overnight, until set.
- Lift the bars out of the pan using the parchment overhang.
- Use a sharp knife to cut into squares, wiping the knife between cuts for clean edges.
- Top with a dollop of whipped cream and serve.
Notes
Ensure cream cheese is fully softened to avoid lumps. Chill the mixing bowl before whipping cream for better volume. Do not freeze as the texture may become grainy. Store in an airtight container in the fridge for up to 5 days. For a gluten-free version, use gluten-free chocolate sandwich cookies. For a dairy-free version, use dairy-free cream cheese and coconut cream.
- Prep Time: 30 minutes
- Cook Time: 0 minutes
- Category: Dessert
- Cuisine: American
Nutrition
- Serving Size: 1 bar
- Calories: 380
- Sugar: 28
- Sodium: 250
- Fat: 22
- Saturated Fat: 13
- Carbohydrates: 42
- Fiber: 1
- Protein: 5
Keywords: no-bake, oreo cheesecake, summer dessert, easy dessert, crowd-pleasing, make-ahead dessert, kid-friendly


