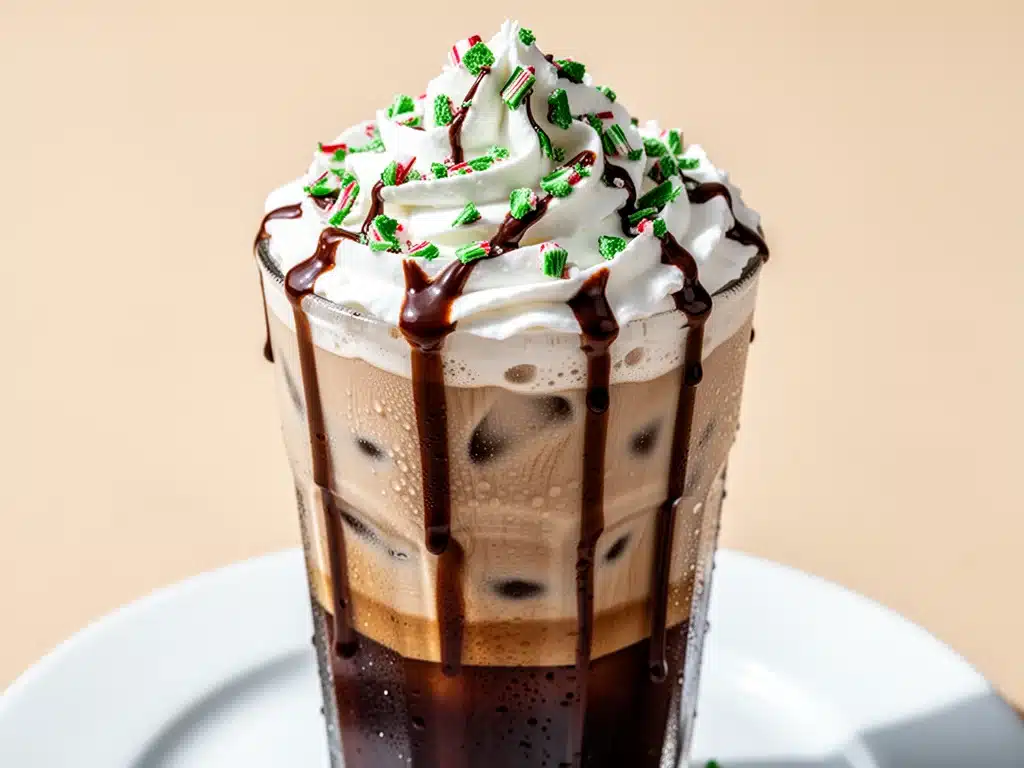
It was 6:15 AM on a Tuesday, and the house was still quiet. I had just dragged myself out of bed, my hair a mess, my brain somewhere between “I need coffee” and “I can’t function.” I was thinking about that fancy coffee shop downtown—the one with the velvet seating and the baristas who remember your name. You know the one. They charge $8 for a drink that tastes like sugar and disappointment, and the line wraps around the block.
I wanted that peppermint mocha vibe. You know exactly what I mean. That deep, rich chocolate warmth mixed with that sharp, cool mint that wakes up your sinuses. But in the winter? I wasn’t about to bundle up, brave the cold, and stand in line for twenty minutes just to get a caffeine fix. So, I looked at my counter. I had milk. I had coffee. I had some chocolate syrup and peppermint extract. I figured, what’s the worst that could happen? I’d make a weird, watery mess.
Turns out, I made the best iced peppermint mocha latte I’ve ever had. And it took less time than it takes to put on my shoes.
This recipe has become my absolute winter lifeline. I’ve made it so many times that I can do it with one eye open. It’s sweet, it’s minty, it’s chocolatey, and it’s incredibly easy. If you’re tired of spending a fortune on holiday drinks or dealing with the hassle of complicated brewing methods, this is your new go-to. It’s basically liquid comfort in a glass. And the best part? You can customize it to be as healthy or as indulgent as you want. Let’s get brewing.
Why You’ll Love This Iced Peppermint Mocha Latte
I’m not saying this is the only coffee recipe you’ll ever need, but it’s definitely the one I reach for when I want something special without the special effort. Here’s why this iced peppermint mocha latte has taken over my kitchen:
Stupid Simple — Seriously, if you can pour milk into a glass, you can make this. I’ve taught my teenage nephew how to make it, and he hasn’t burned the house down yet. There’s no fancy steaming milk, no complicated layering techniques, just a few ingredients shaken up or stirred together.
Under 5 Minutes — From grabbing the ingredients to sipping the first cold, refreshing sip, it takes about four minutes. This is crucial for weeknights when I’m rushing to get out the door. I don’t have time for a 20-minute latte art session. I need caffeine, and I need it now.
Customizable AF — Want it dairy-free? Done. Want it extra sweet? Add more syrup. Want it less minty? Use less extract. I love that I can tweak this iced peppermint mocha latte every time depending on my mood. Sometimes I’m in the mood for intense chocolate, sometimes I want the mint to hit you in the face. You control the vibe.
Cheaper Than Coffee Shop Prices — Let’s do the math. That drink at the shop? Probably $6 or $7. This? Maybe 80 cents if you buy the ingredients in bulk. Over a month, that’s hundreds of dollars saved. I’ve put that money toward other things, like maybe buying more coffee beans. Or snacks. I don’t judge.
Perfect for Meal Prep — I often make a batch of strong coffee in the morning and keep it in the fridge. When I’m ready for my afternoon pick-me-up, I just grab a glass, add the milk and syrups, and boom—fresh drink in seconds. It’s way better than the stale, bitter coffee sitting in the pot.
This is my answer to “I want something festive but I’m broke and lazy.” It works every time.
Ingredients You’ll Need
Here’s the good news: you probably have most of this already. It’s not a long list, and none of it is obscure. I’m particular about the quality of the chocolate syrup, but everything else is pretty flexible.
Strong Coffee or Espresso (1 cup / 240ml) — This is the base. I use a dark roast because it holds up well against the sweet milk and syrup. If you’re using a drip machine, brew it strong. If you have an espresso machine, two shots are perfect. Cold brew concentrate also works amazingly well here because it’s already cold and smooth. Avoid light roasts; they get lost in the sweetness.
Milk of Choice (1 cup / 240ml) — Whole milk makes it richest and creamiest. Oat milk is my personal favorite for a dairy-free option because it froths nicely and has a natural sweetness that pairs well with peppermint. Almond milk works too, but it’s thinner. Soy milk is a good middle ground. Just don’t use skim milk if you want that latte experience; it’ll taste watery.
Chocolate Syrup (2 tablespoons / 30ml) — Use the real stuff, not hot cocoa mix. Hot cocoa mix has milk solids and sugar and doesn’t mix as smoothly into cold drinks. Hershey’s is classic, but I’ve found that Ghirardelli chocolate sauce is thicker and richer. If you’re feeling fancy, melt some chocolate chips with a little cream to make your own. But honestly? The bottle is fine.
Peppermint Extract (½ to 1 teaspoon) — This is where the magic happens. Use pure peppermint extract, not peppermint flavoring. Extract is stronger and tastes more like actual candy canes. Start with ½ teaspoon if you’re sensitive to mint. You can always add more. One teaspoon is a bold, “candy cane” level of mint.
Ice Cubes (1 cup) — Standard stuff. I try to use filtered water ice so it doesn’t taste like freezer burn. If you have leftover coffee, freeze it into ice cubes! That way, as the ice melts, it doesn’t water down your drink—it just makes it more coffee-flavored. Pro tip right there.
Whipped Cream (Optional) — Because it’s a latte. If you’re not topping it with whipped cream, are you even drinking a mocha? I keep canned whipped cream in the fridge for lazy days, but homemade is obviously better. A dollop on top makes it feel like a treat.
Candy Cane Crush (Optional) — For garnish. Crush up a candy cane and sprinkle it on top. It looks festive and adds a crunchy texture. If you don’t have candy canes, a sprinkle of crushed peppermint bark works too.
Equipment Needed
You don’t need a fancy espresso machine or a $300 coffee maker for this. Here’s what I actually use in my chaotic morning routine:
Tall Glass or Mason Jar — I use a 16-ounce glass. It needs to be tall enough to hold the ice, the coffee, the milk, and the syrup without overflowing. A mason jar works great if you’re in a pinch, though it’s not as pretty for serving guests.
Shaker or Spoon — You can whisk it all together in the glass, or if you want it extra frothy, use a cocktail shaker or a French press to shake the milk and syrup together before pouring. I usually just use a long spoon because I’m lazy.
Measuring Spoons — For the syrup and extract. Getting this right is important so you don’t end up with a cup of syrup or a cup of mint. Taste as you go if you’re unsure.
Coffee Maker or Espresso Machine — Obviously, you need coffee. I use a simple drip machine for bulk brewing. If you’re in a rush, instant coffee works in a pinch, but dissolve it in a tiny bit of hot water first so it’s not grainy.
Knife and Cutting Board (Optional) — If you’re using fresh mint leaves for garnish instead of candy canes, you’ll need these. I usually skip the fresh mint because the extract is strong enough.
Strainer (Optional) — If you’re using candy cane crush, you might want a strainer if you don’t want shards of sugar in your straw. But honestly, I like the crunch.
How to Make It: Step-by-Step
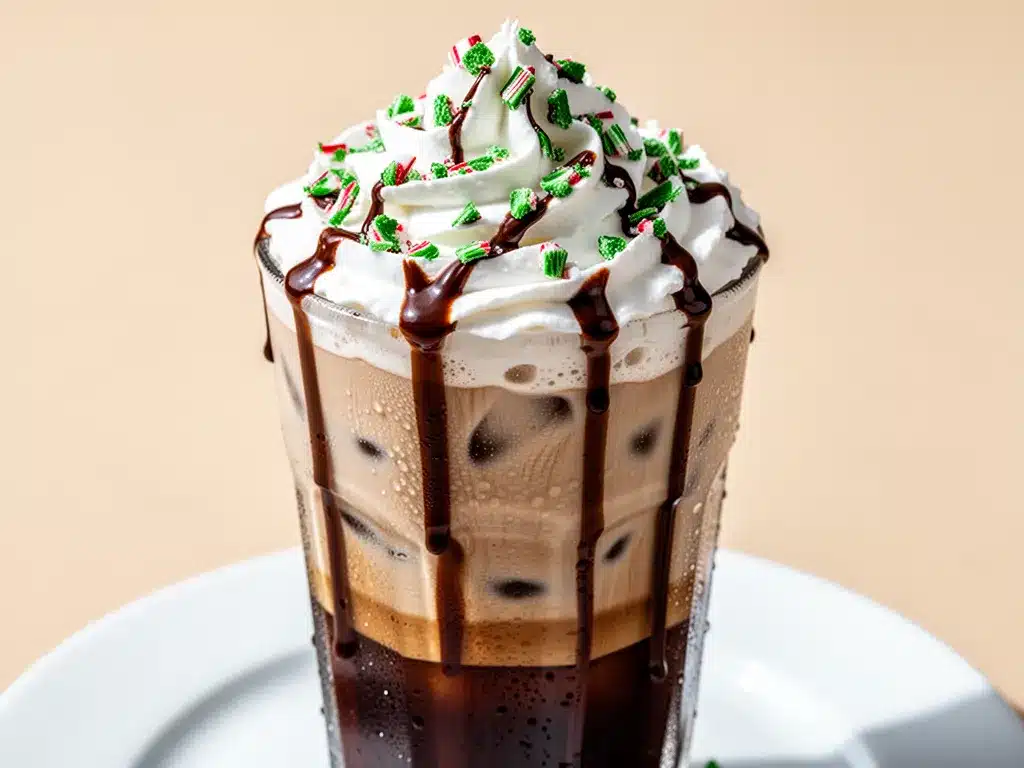
Alright, let’s make this! I’m walking you through exactly how I do it, including the little tricks I’ve picked up over years of drinking way too much coffee.
Step 1: Brew Your Coffee (10 minutes)
If you’re using hot coffee, brew it now. Make it strong. I usually brew a full pot and then put the rest in the fridge for later. If you’re using cold brew, just pour it out. The coffee needs to be cold or room temperature before you add it to the ice. Hot coffee will melt the ice too fast and water down your drink. I learned this the hard way with a watery, sad-looking latte.
Step 2: Prep Your Glass
Take your tall glass and fill it with ice cubes. Pack them in! The more ice, the colder the drink stays. If you’re making this for a party, prep the glasses ahead of time. I sometimes freeze the glasses in the fridge for 15 minutes before serving. It keeps the drink cold for longer. It’s a nice touch that makes it feel fancy.
Step 3: Add the Chocolate Syrup
Pour 2 tablespoons of chocolate syrup into the bottom of the glass. If you’re using a shaker, add the syrup to the shaker instead. I like to drizzle some of the syrup on the inside walls of the glass for that pretty mocha look. It’s not necessary, but it looks cool. Use a spoon to swirl it around a bit.
Step 4: Add the Milk and Extract
Pour in your milk. Then, add the peppermint extract. Start with ½ teaspoon. Stir it into the milk and syrup mixture. If you’re using a shaker, put the milk, syrup, and extract in there, put the lid on, and shake it hard for 10 seconds. This froths the milk and mixes everything together perfectly. It’s satisfying, I won’t lie. Shake it like you’re trying to break something.
Step 5: Combine and Pour
Pour the milk mixture over the ice. It should look swirly and pretty. Then, pour in your cold coffee. If you didn’t shake the milk, you can pour the coffee in first, then the milk, for a layered look. But honestly, once you stir it, it’s all the same. The layering is just for Instagram.
Step 6: Top and Serve
Add a big dollop of whipped cream. Sprinkle some crushed candy canes on top. Insert a straw and take a sip. That’s it. You’re done. Enjoy your iced peppermint mocha latte before it melts. It’s best drunk within 15 minutes, after which the ice dilutes it and it starts to taste less amazing.
Expert Tips & Tricks
Here’s everything I’ve learned from making this dozens of times. These tips will save you from my mistakes.
Coffee Quality Matters
Don’t use stale coffee. If your coffee smells flat, your latte will taste flat. I keep my beans in an airtight container away from light. If you’re using pre-ground coffee, buy it fresh. The freshness makes a huge difference in the final taste.
Less is More with Mint
Peppermint extract is potent. I’ve made the mistake of adding too much before, and it tasted like toothpaste. Start with ½ teaspoon. Taste it. Add more if needed. You want to taste the chocolate and the coffee, with the mint as a cool background note, not the main event.
Froth for Texture
Even though it’s iced, frothing the milk adds a nice texture. If you don’t have a frother, just shake the milk in a jar with the lid on. It’s not as fancy as a steamer, but it works. It makes the drink feel lighter and less heavy.
Sweetness Control
Chocolate syrup varies in sweetness. If you’re using a sugar-free syrup, you might need more to get that mocha flavor. Taste your milk mixture before pouring it over the coffee. Adjust the syrup or extract as needed.
Make It a Frappe
If you want a thicker, smootherie-like drink, throw all the ingredients (except whipped cream) in a blender and pulse it. It’s basically a mint mocha frappuccino at home. It’s heavier, but it’s delicious. I do this on hot days.
Variations & Substitutions
Once you’ve nailed the basic version, here’s how you can mix it up. I’ve tried all of these.
Vegan Version
Use oat milk or almond milk and chocolate syrup that’s dairy-free. Most chocolate syrups are vegan, but check the label. Skip the whipped cream or use coconut whipped cream. It’s just as good. My vegan friends love this drink.
Decaf Version
Use decaf coffee or decaf espresso. You get all the flavor without the jitters. I make this in the evening sometimes. It’s a nice treat that doesn’t keep me up all night. Although, with all that mint, I’m probably awake anyway.
White Chocolate Mint
Swap the chocolate syrup for white chocolate sauce. It’s sweeter and creamier. This is my favorite version. It tastes like a mint chip ice cream bar. If you’re a white chocolate fan, this is the one for you.
Mocha Chip Version
Add a few chocolate chips to the bottom of the glass before pouring the milk. They sink to the bottom and create little pockets of melted chocolate. It’s a fun surprise with every sip.
Spicy Peppermint
Add a pinch of cayenne pepper or a dash of cinnamon. It sounds weird, but it adds a nice kick that complements the mint. It’s like a peppermint mocha with a southwestern twist. Try it once and see if you like it.
Serving & Storage
How to Serve:
I usually serve this straight from the blender or shaker into a tall glass with a straw. It’s casual and easy. If I’m having guests, I put out a bowl of crushed candy canes and a bottle of whipped cream so everyone can customize their drink. It’s fun and interactive.
Side Dishes:
This drink pairs well with anything sweet. I love it with pumpkin snickerdoodle cookies or cinnamon pumpkin dump cake. The mint cuts through the richness of those desserts. It’s a perfect combination.
Storage Instructions:
The coffee mixture can be stored in the fridge for up to 3 days. The milk and syrup should be added fresh. If you pre-mix everything, the ice will melt and make it watery. So, keep the coffee separate and assemble when you’re ready to drink. It’s best fresh.
Freezing:
You can freeze the coffee into ice cubes. Store them in a bag in the freezer. When you want a drink, just grab a handful. This is great for meal prep. It keeps the coffee flavor strong and avoids dilution.
Nutrition Information
I’m not a nutritionist, but here’s the breakdown if you’re tracking. Keep in mind, this is a treat drink, so it’s not exactly a health food.
Per Serving (based on 1 drink):
- Calories: 150
- Protein: 4g
- Carbs: 20g
- Fiber: 0g
- Sugar: 18g
- Fat: 6g
- Saturated Fat: 3g
- Cholesterol: 15mg
- Sodium: 60mg
What’s Good:
- It’s a quick energy boost.
- You can control the sugar by adjusting the syrup.
- Using almond milk cuts the calories significantly.
What to Know:
- Higher in sugar from the syrup and milk.
- Contains caffeine.
- Can be made dairy-free or vegan.
My Take:
Look, this is a fun, festive drink. It’s not something I drink every day for breakfast. But on a Saturday morning, when I want to treat myself, it’s perfect. It’s better than the coffee shop version because I know exactly what’s in it. And it’s cheaper. Win-win.
Final Thoughts
So that’s my go-to iced peppermint mocha latte! I’ve probably talked your ear off at this point, but when you make a recipe this often, you have a lot to say about it. This has saved my mornings more times than I can count. It’s my answer to “I want something special but I’m tired.” My kids are happy, my husband’s happy, and I’m happy because I’m not stressed about cooking.
Make it yours! Try different milks, adjust the mint, or add some whipped cream. The best recipes are the ones you adapt to your family’s tastes. If you make this, drop a comment and let me know what you think! I love hearing how recipes turn out in your kitchen. And if something doesn’t work, tell me that too—I’m here to help troubleshoot.
Happy brewing! And I hope your kitchen smells half as good as mine does right now.
Frequently Asked Questions
Can I use instant coffee instead of brewed coffee?
Yes, you can! Just make sure to dissolve the instant coffee in a small amount of hot water first so it’s not grainy. Use about 1-2 tablespoons of instant coffee for every cup of water. It’s not as complex in flavor as brewed coffee, but it works in a pinch. I use it when I’m traveling or don’t have time to brew a pot.
Why did my latte turn out watery?
Usually, this happens because the ice melted too much before you drank it. If you’re not drinking it immediately, use fewer ice cubes or use coffee ice cubes. Also, make sure your coffee is cold before adding it to the ice. Hot coffee melts ice fast. Another reason could be using too much milk. Adjust the ratio to your taste.
Can I make this ahead for a party?
Sort of. You can brew the coffee and chill it ahead of time. But don’t mix the milk and syrup until you’re ready to serve. If you mix it all ahead, the ice will melt and make it watery. I usually set out the ingredients and let people make their own drinks. It’s interactive and fun. If you must pre-mix, keep it in the fridge and add fresh ice when serving.
Is peppermint extract the same as peppermint oil?
No, they are different. Peppermint extract is diluted with alcohol and is safe to drink in larger quantities. Peppermint oil is highly concentrated and can be dangerous if ingested in large amounts. Always use extract for baking and drinking. If you accidentally use oil, use only a tiny drop. But seriously, stick to extract.
Can I make this with hot coffee?
You can, but it won’t be an iced latte. If you want a hot peppermint mocha, just skip the ice and the cold milk. Heat the milk and steam it if you can. Add the syrup and extract to the hot coffee. It’s a different drink, but still delicious. I make the hot version in the winter mornings when it’s freezing outside.
How do I reheat leftovers?
If you have leftover iced latte, you can’t really reheat it without it tasting weird. The milk might separate. It’s best to make fresh drinks. If you have leftover coffee, you can use it for another drink. Don’t try to reheat the mixed latte. It’s not worth it. Just make a new one. It’s fast.
Can I use sugar-free syrup?
Yes, you can. It will be less sweet, so you might want to add a little sugar or honey if you like it sweeter. Sugar-free syrups can have a weird aftertaste, so taste it first. I’ve used sugar-free syrup when I’m watching my sugar intake. It’s not as good as the real thing, but it works. Just adjust to your taste.
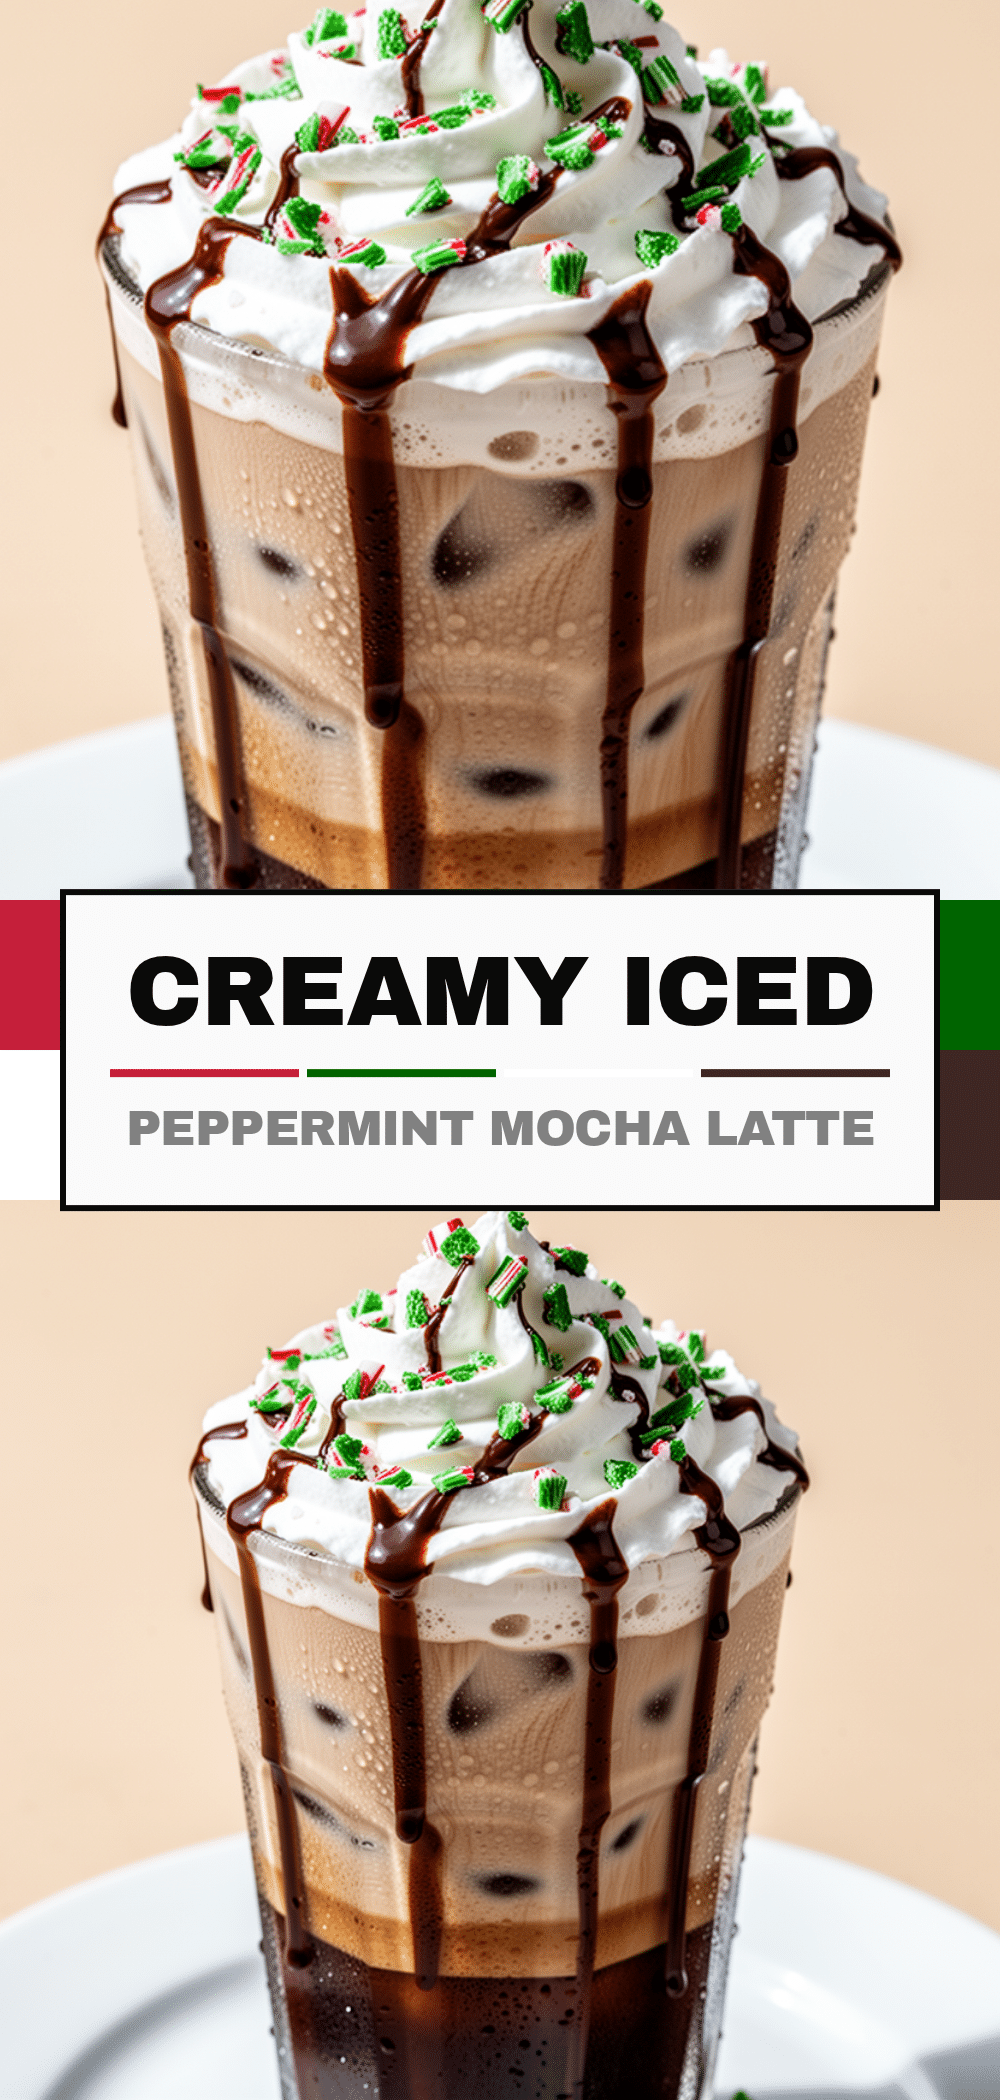
Pin This Recipe!
Iced Peppermint Mocha Latte: Easy 3-Ingredient Coffee
- Total Time: 14 minutes
- Yield: 1 serving 1x
Description
A quick, customizable, and budget-friendly iced peppermint mocha latte that combines strong coffee, milk, chocolate syrup, and peppermint extract for a festive winter treat.
Ingredients
- 1 cup (240ml) strong coffee or espresso, cold
- 1 cup (240ml) milk of choice (whole, oat, almond, or soy)
- 2 tablespoons (30ml) chocolate syrup
- 1/2 to 1 teaspoon pure peppermint extract
- 1 cup ice cubes
- Whipped cream (optional)
- Crushed candy canes (optional, for garnish)
Instructions
- Brew strong coffee and let it cool to room temperature or chill in the fridge. Alternatively, use cold brew concentrate.
- Fill a tall glass (16 oz) with ice cubes.
- Pour 2 tablespoons of chocolate syrup into the bottom of the glass or a shaker. Drizzle some on the inside walls for decoration if desired.
- Add the milk and peppermint extract (start with 1/2 teaspoon) to the glass or shaker.
- Stir well with a spoon, or shake vigorously in a shaker for 10 seconds to froth and combine.
- Pour the milk mixture over the ice in the glass.
- Pour the cold coffee over the milk mixture.
- Top with whipped cream and crushed candy canes if desired.
- Serve immediately and enjoy within 15 minutes before the ice dilutes the drink.
Notes
Use cold coffee to prevent ice from melting too quickly. Peppermint extract is potent; start with 1/2 teaspoon and adjust to taste. For a thicker drink, blend all ingredients except whipped cream. Coffee ice cubes can be used to prevent dilution.
- Prep Time: 4 minutes
- Cook Time: 10 minutes
- Category: Beverage
- Cuisine: American
Nutrition
- Serving Size: 1 tall glass
- Calories: 150
- Sugar: 18
- Sodium: 60
- Fat: 6
- Saturated Fat: 3
- Carbohydrates: 20
- Protein: 4
Keywords: iced peppermint mocha, coffee recipe, holiday drinks, easy latte, mint coffee, 3 ingredient recipe, winter drinks


