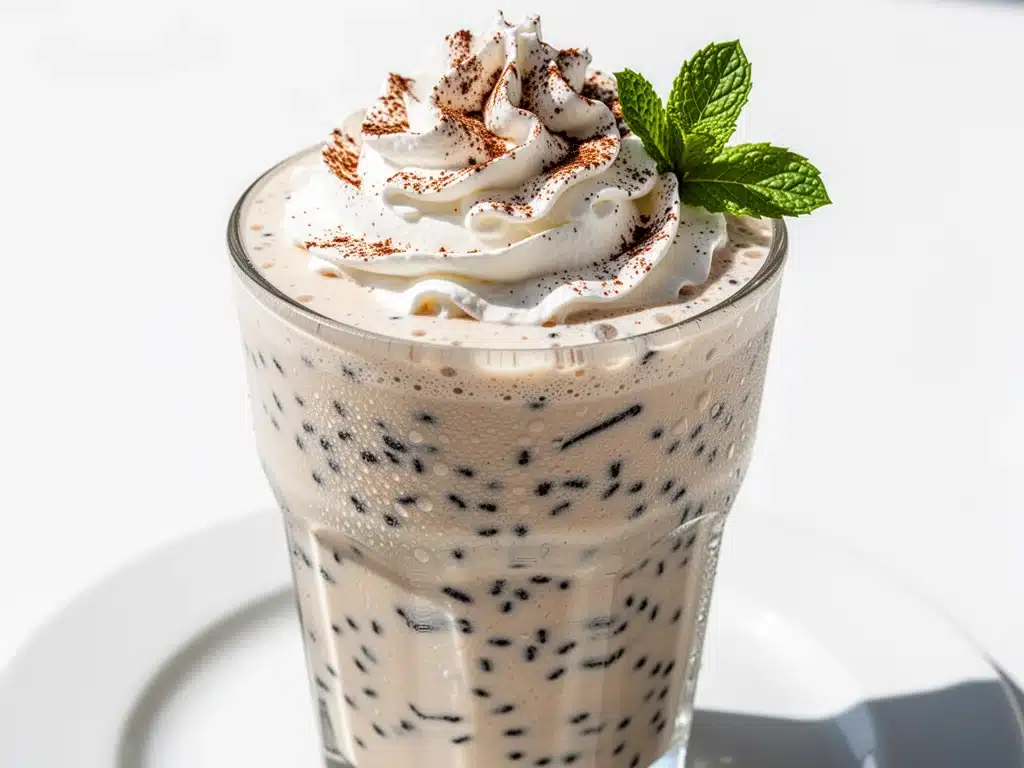
I still remember the first time I ordered a vanilla bean Frappuccino at that tiny coffee shop downtown. It was a sweltering July afternoon, the kind where the asphalt feels soft under your sneakers and your coffee goes from hot to lukewarm in under ten minutes. I was desperate for something cold, sweet, and creamy. When they handed me that cup, it wasn’t just a drink—it was a moment of pure bliss. The little black specks of vanilla bean suspended in the icy, whipped-cream-topped mixture looked like little stars. I drank it so fast I got brain freeze, and I didn’t even care.
But here’s the thing about those coffee shop drinks: they’re expensive. Like, $8 expensive. And when you’re making them at home every single day, that adds up to more than my grocery budget. I tried making iced coffee at home for years, but it never quite hit the mark. It was either too watery, too icy, or just tasted like sad, diluted coffee. I wanted that thick, slushie-like texture without the artificial syrup aftertaste.
So, I decided to stop buying it and start making it. After about twelve failed attempts—some too icy, some too thin, and one that accidentally turned into a smoothie because I added too much milk—I finally cracked the code. This Homemade Vanilla Bean Frappuccino recipe is the real deal. It’s thick, it’s creamy, it’s got those beautiful vanilla bean specks, and it tastes exactly like the expensive stuff. Better, even, because I control the sugar and the quality of the ingredients.
I’ve made this drink at least thirty times in the last six months. It’s my go-to summer refreshment, my afternoon pick-me-up, and honestly, it’s become a little ritual for me. There’s something satisfying about hearing the blender whir and watching that thick, cold mixture form. It’s like a dessert you can drink, but with enough caffeine to actually help you get things done. If you’re tired of watering down your iced coffee or paying café prices, you’re going to love this. It’s easier than you think, and once you make it, you’ll never look back.
Why You’ll Love This Recipe
There are a lot of iced coffee recipes out there, but this one is different. It’s not just coffee and ice; it’s a carefully balanced emulsion of strong brew, dairy, sweetness, and texture. Here’s why this homemade vanilla bean frappuccino has taken over my kitchen (and probably will take over yours too):
- It’s Actually Thick — Most homemade iced coffees are watery. This one gets that signature slushie consistency that coats your tongue. The secret is the ratio of ice to liquid and the addition of a little bit of corn syrup or honey, which prevents it from turning into a solid block of ice. It’s creamy, not icy.
- Real Vanilla Bean Flavor — I’m not talking about those cheap vanilla extracts that taste like chemicals. I’m talking about actual vanilla bean paste or scraped pods. The specks look gorgeous, and the flavor is deep, floral, and complex. It elevates the whole drink from “basic” to “barista-level.”
- Customizable Sweetness — Coffee shop drinks are often drowning in sugar. With this recipe, you control the sweetness. I like mine moderately sweet, but if you have a serious sweet tooth, you can add more. If you’re watching your sugar, you can use a sugar-free syrup or just a touch of honey. It’s your drink, your rules.
- Ready in 5 Minutes — I know, it sounds like a lot of steps, but it’s not. Strong coffee cools down while you prep the rest. Then, it’s just a quick blend. No standing in line, no waiting for your name to be called. It’s ready before your next email notification.
- It’s a Treat, Not Just Caffeine — This isn’t just about getting awake. This is about enjoying a moment. It’s like having a classic apple crisp in a glass. It feels indulgent, but it’s quick enough for a Tuesday morning.
I’ve served this to friends who are “coffee snobs,” and they’ve been shocked that it’s homemade. They usually assume I bought it from a fancy place. That’s the kind of compliment that makes all the blending worth it. It’s my little secret weapon for impressing guests without spending hours in the kitchen.
Ingredients You’ll Need
Here’s the best part: you probably have most of these ingredients already. This isn’t a complicated recipe with hard-to-find specialty items. It’s simple, honest food and drink. Here’s what you need to make the perfect batch:
For the Coffee Base
Strong Brewed Coffee (2 cups / 480ml, cooled) — This is non-negotiable. Do not use weak coffee. If you brew it weak, the ice will water it down into nothingness. I use a dark roast, like a French roast or a bold espresso blend. It needs to stand up to the ice and milk. Let it cool to room temperature or chill it in the fridge. Hot coffee blended with ice makes a weird, watery mess.
Ice Cubes (2 cups / 160g) — This is the engine of the drink. You need a good amount of ice to get that thick texture. If you use small ice cubes, they blend faster. If you use large cubes, you might need to pulse the blender more. I usually just dump in a standard cup from my ice maker.
For the Creaminess & Sweetness
Whole Milk (½ cup / 120ml) — Whole milk gives you the best creaminess. If you’re using oat milk or almond milk, it will still work, but the texture will be thinner and less luxurious. I’ve tried it with oat milk, and it’s good, but it’s not the same. For the real experience, stick with whole dairy milk.
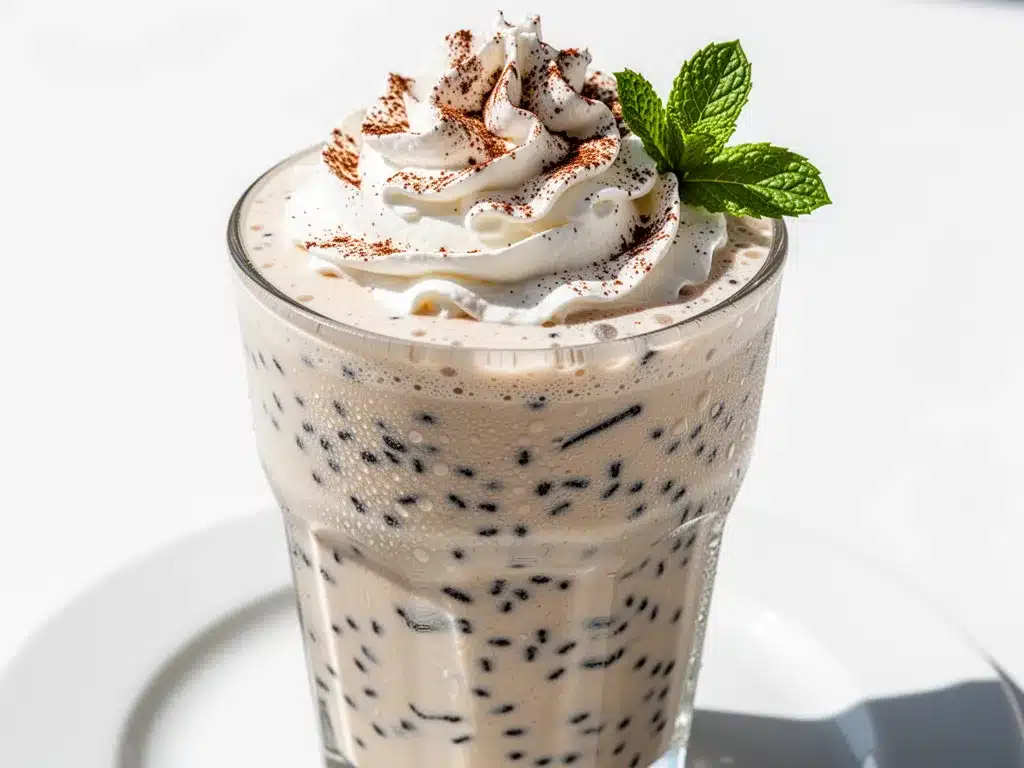
Vanilla Bean Paste (2 tablespoons / 30ml) — This is the star of the show. Vanilla bean paste contains real vanilla seeds and gives you that speckled look and intense flavor. You can find it in the baking aisle of most grocery stores. If you can’t find it, you can use 1 tablespoon of pure vanilla extract plus 1 teaspoon of vanilla powder, but the paste is superior. It’s worth the extra few dollars.
Sugar or Simple Syrup (2-3 tablespoons / 30-45g) — Granulated sugar can be gritty in a cold drink, so I prefer simple syrup or a liquid sweetener like honey or agave. Simple syrup is just sugar dissolved in water (1:1 ratio). If you use granulated sugar, you’ll need to blend it longer to dissolve it. I like 2 tablespoons for a moderate sweetness, but adjust to your taste.
Heavy Cream (2 tablespoons / 30ml) — This is optional, but it adds a richness that makes the drink feel like a dessert. It helps emulsify the ice and milk into a smooth slush. If you skip it, the drink will still be good, just a bit less decadent.
For the Topping
Whipped Cream (as needed) — I don’t think a Frappuccino is complete without a mountain of whipped cream on top. You can use store-bought, but homemade is easy. Just whip heavy cream with a little sugar and vanilla until soft peaks form.
Vanilla Bean Powder (optional, for garnish) — A tiny sprinkle on top of the whipped cream looks fancy and adds a nice aroma. If you don’t have it, just leave it off. It’s not a big deal.
Equipment Needed
You don’t need fancy equipment for this. Here’s what I actually use in my kitchen:
High-Speed Blender — I use a Vitamix, but a standard blender works too. The key is that it needs to be powerful enough to crush the ice into a fine slush. If your blender is weak, you might need to add a little more liquid and blend in pulses. Don’t try to force it; let the blades do the work.
Mason Jar or Large Mug — For serving. I like using mason jars because they look cute and hold the whipped cream well. A tall glass works too, just make sure it’s big enough to hold the volume of the drink plus the topping.
Measuring Cups and Spoons — Standard stuff. I like being precise with the coffee and milk ratio, so I use measuring cups. The sugar can be measured by taste, so a spoon is fine.
Cooling Container — A pitcher or a jar to cool your coffee in. I usually brew a pot in the morning and let it sit on the counter, then put it in the fridge after lunch. Cold coffee blends much better than room-temp coffee because it keeps the ice from melting as fast.
Whisk or Milk Frother — If you’re making homemade whipped cream, you’ll need something to whip it. An electric mixer is easiest, but a whisk and some elbow grease works too. I usually make the whipped cream while the coffee is cooling, so it’s ready to go.
How to Make It: Step-by-Step
Alright, let’s make this! I’m walking you through exactly how I do it, including the little tricks I’ve picked up over the years. It’s simple, but there are a few details that matter.
Step 1: Brew and Chill Your Coffee
Start with strong, freshly brewed coffee. I use about 2 tablespoons of ground coffee per cup of water for a double-strength brew. Pour it into a pitcher and let it cool to room temperature. Then, put it in the fridge for at least an hour, or overnight if you can. Cold coffee is crucial. If you blend hot coffee with ice, you’ll end up with a watery, soupy drink. Trust me on this. I’ve made that mistake before, and it was a disappointment.
Step 2: Prepare the Sweetener
If you’re using granulated sugar, make a quick simple syrup. Combine equal parts sugar and hot water in a small saucepan, heat until dissolved, and let it cool. If you’re using honey or agave, you can skip this step. Just measure out 2-3 tablespoons of your chosen sweetener and set it aside. I like to measure it into a small bowl so I can dump it into the blender easily.
Step 3: Blend the Base
Add the cold coffee, ice, milk, vanilla bean paste, sweetener, and heavy cream to your blender. Start with 2 tablespoons of sweetener, but you can add more later if you want it sweeter. Put the lid on tight—I learned this the hard way after my blender exploded with coffee all over my ceiling. Blend on high speed for 30-45 seconds. You’re looking for a thick, smooth, slushie-like consistency. It should look like soft-serve ice cream. If it’s too thick, add a splash more milk. If it’s too thin, add a few more ice cubes.
Step 4: Taste and Adjust
Stop the blender and taste a tiny bit. Is it sweet enough? Does it need more vanilla? This is your chance to tweak it. If it needs more sweetness, add a teaspoon of syrup and blend for another 10 seconds. If it’s too strong, add a splash of milk. This step is what makes it perfect for your specific taste buds.
Step 5: Serve with Whipped Cream
Pour the frappuccino into your glass. It will be thick, so you might need to spoon it in or pour it slowly. Top with a generous dollop of whipped cream. If you have vanilla bean powder, sprinkle a little on top. I also like to drizzle a bit of extra vanilla syrup or caramel sauce over the whipped cream for an extra touch of indulgence. It looks beautiful and tastes even better.
Total Time: About 10 minutes (mostly waiting for coffee to cool, but active time is just 2 minutes).
Expert Tips & Tricks
Here’s everything I’ve learned from making this dozens of times. These tips will save you from my mistakes and help you get that café-quality texture.
Use Cold Brew Concentrate — If you don’t want to wait for coffee to cool, make cold brew concentrate. It’s naturally strong and already cold. Dilute it with a little water if it’s too strong, and you’re good to go. It adds a smoother, less acidic flavor to the drink.
Don’t Skimp on the Ice — I know it’s tempting to use less ice so the drink isn’t so heavy, but the ice is what creates the texture. If you use too little, you’ll just have iced coffee with a little foam. You need enough ice to create that slushy mouthfeel. I use 2 cups of ice for 2 cups of coffee and milk.
Blend in Pulses if Your Blender is Weak — If you have a smaller blender, don’t just turn it on high and hope for the best. Pulse it a few times to break up the ice, then blend on high. This prevents your blender from overheating and ensures a smoother texture.
Add a Pinch of Salt — It sounds weird, but a tiny pinch of salt enhances the vanilla and coffee flavors. It doesn’t make it taste salty; it just makes the other flavors pop. I usually just pinch a little from my salt shaker into the blender.
Make It a Latte Frappuccino — For a stronger coffee kick, use espresso instead of brewed coffee. Two shots of espresso blended with the ice and milk makes an incredible coffee flavor. It’s my favorite when I need an extra boost.
Variations & Substitutions
Once you’ve nailed the basic version, here’s how you can mix it up. I’ve tried all of these, and they’re all delicious in their own way.
Mocha Frappuccino — Add 1-2 tablespoons of chocolate syrup or cocoa powder to the blender. It’s like a chocolate milkshake with coffee. Perfect for chocolate lovers.
Caramel Drizzle — Instead of vanilla, use caramel syrup. Drizzle the inside of your glass with caramel before pouring in the drink, then top with whipped cream and more caramel. It’s like a caramel macchiato in a cup.
Strawberry Frappuccino — Add ½ cup of frozen strawberries to the blender. It turns it into a fruity, pink drink. The coffee flavor is still there, but it’s lighter and more refreshing. Great for spring.
Dairy-Free Option — Use oat milk or almond milk instead of dairy milk, and skip the heavy cream. Use coconut whipped cream for the topping. It’s still creamy and delicious, just a bit lighter.
Decaf Version — Use decaf coffee or cold brew. You get all the flavor without the caffeine jitters. Perfect for an afternoon treat when you don’t want to stay up late.
Matcha Frappuccino — Swap the coffee for 1 tablespoon of matcha powder whisked with a little hot water. Mix it with the milk and ice. It’s earthy, green, and totally different.
Serving & Storage
This drink is best served immediately. It’s a slushie, after all, and it will melt if you let it sit. But here’s how to handle leftovers and make the most of your batch.
How to Serve: I usually serve this straight from the blender into a tall glass. It looks rustic and homemade. Add a straw—preferably a thick metal or reusable straw—so you can get all the ice slush. I like to garnish with a vanilla bean pod or a few coffee beans for a fancy touch.
Side Dishes: This drink pairs well with light pastries. I love it with a pumpkin snickerdoodle cookie or a simple croissant. It’s also great with a fruit salad if you want something lighter.
Refrigerator: You can’t really store the blended drink because it will separate and melt. However, you can store the coffee base and the syrup in the fridge for up to 3 days. Just blend fresh when you’re ready to drink.
Freezing: I don’t recommend freezing the blended drink. The texture will be weird when thawed. But you can freeze the coffee base in ice cube trays. Then, when you want a drink, just blend the coffee cubes with milk and sweetener. It’s a great way to prep ahead.
Pro Tip: If you’re making this for a party, prep the coffee base and sweetener in a large pitcher. Put the ice in a bowl. Have guests blend their own drinks. It’s interactive and fun, and everyone gets it to their own taste.
Nutrition Information
I’m not a nutritionist, but here’s the breakdown if you’re tracking. Keep in mind that this is a treat, so it’s not exactly diet food.
Per Serving (based on 1 large drink):
- Calories: 280
- Protein: 4g
- Carbs: 35g
- Fiber: 0g
- Sugar: 28g
- Fat: 12g
- Saturated Fat: 7g
- Cholesterol: 35mg
- Sodium: 45mg
What’s Good: It’s a source of caffeine and a little calcium from the milk. It’s a better alternative to sugary sodas if you’re craving something sweet.
What to Know: It’s high in sugar and calories, mostly from the sweetener and heavy cream. If you’re watching your intake, use less sweetener, skip the heavy cream, and use almond milk. It cuts the calories significantly.
My Take: Look, this is a treat. It’s a dessert in a glass. I don’t drink it every day, but when I do, I enjoy every sip. It’s better than buying it, and you can control the ingredients. Just enjoy it in moderation.
Final Thoughts
So that’s my Homemade Vanilla Bean Frappuccino! I’ve probably talked your ear off at this point, but when you make a drink this often, you have a lot to say about it. This has saved me so much money and so much time. It’s my answer to “I want a coffee shop drink” when I’m at home. My friends are happy, my taste buds are happy, and I’m happy because I’m not spending $8 on a cup of ice.
Make it yours! Try different sweeteners, swap in your favorite milk, or add a splash of liqueur for an adult version. The best recipes are the ones you adapt to your tastes. I hope you love this as much as I do. It’s a simple pleasure, but it’s one of my favorites.
If you make this, drop a comment and let me know what you think! I love hearing how recipes turn out in your kitchen. And if something doesn’t work, tell me that too—I’m here to help troubleshoot. Happy blending!
Frequently Asked Questions
Can I use instant coffee instead of brewed coffee?
You can, but it won’t taste as good. Instant coffee can have a slightly metallic or burnt taste that doesn’t blend well with the sweetness. If you must use it, dissolve 2-3 teaspoons of instant coffee in a little hot water, then let it cool. But for the best flavor, use freshly brewed coffee.
Why is my frappuccino too watery?
This usually means you didn’t use enough ice or your coffee wasn’t cold enough. Make sure you’re using 2 cups of ice for every 2 cups of liquid. Also, chill your coffee thoroughly before blending. If the coffee is warm, it will melt the ice too fast, resulting in a thin drink.
Can I make this ahead of time?
Not the blended drink. It will melt and separate. But you can prep the coffee base and sweetener in advance. Store them in the fridge, and just blend with fresh ice when you’re ready to drink. It’s the same as making it from scratch, just a few steps saved.
Can I use non-dairy milk?
Yes! Oat milk is the best substitute for creaminess. Almond milk or soy milk work too, but the drink will be thinner. You might want to add a little more ice or a splash of coconut cream to make up for the lack of fat. It’s still delicious, just a lighter version.
Why did my blended drink separate?
Separation can happen if the drink sits for too long or if the blender wasn’t powerful enough. Blend it longer to ensure everything is emulsified. If it does separate, just give it a quick stir or blend again. It’s not a big deal, just a texture issue.
Can I make this with cold brew?
Absolutely! Cold brew is actually perfect for this because it’s already strong and cold. Use cold brew concentrate and dilute it slightly if it’s too strong. It adds a smoother, less acidic flavor that pairs beautifully with the vanilla and cream.
How do I make the whipped cream from scratch?
It’s easy! Chill your mixing bowl and beaters, then whip 1 cup of heavy cream with 2 tablespoons of powdered sugar and 1 teaspoon of vanilla extract until soft peaks form. Don’t over-whip it, or it’ll turn into butter. Keep it in the fridge until you’re ready to use it.
Pin This Recipe!
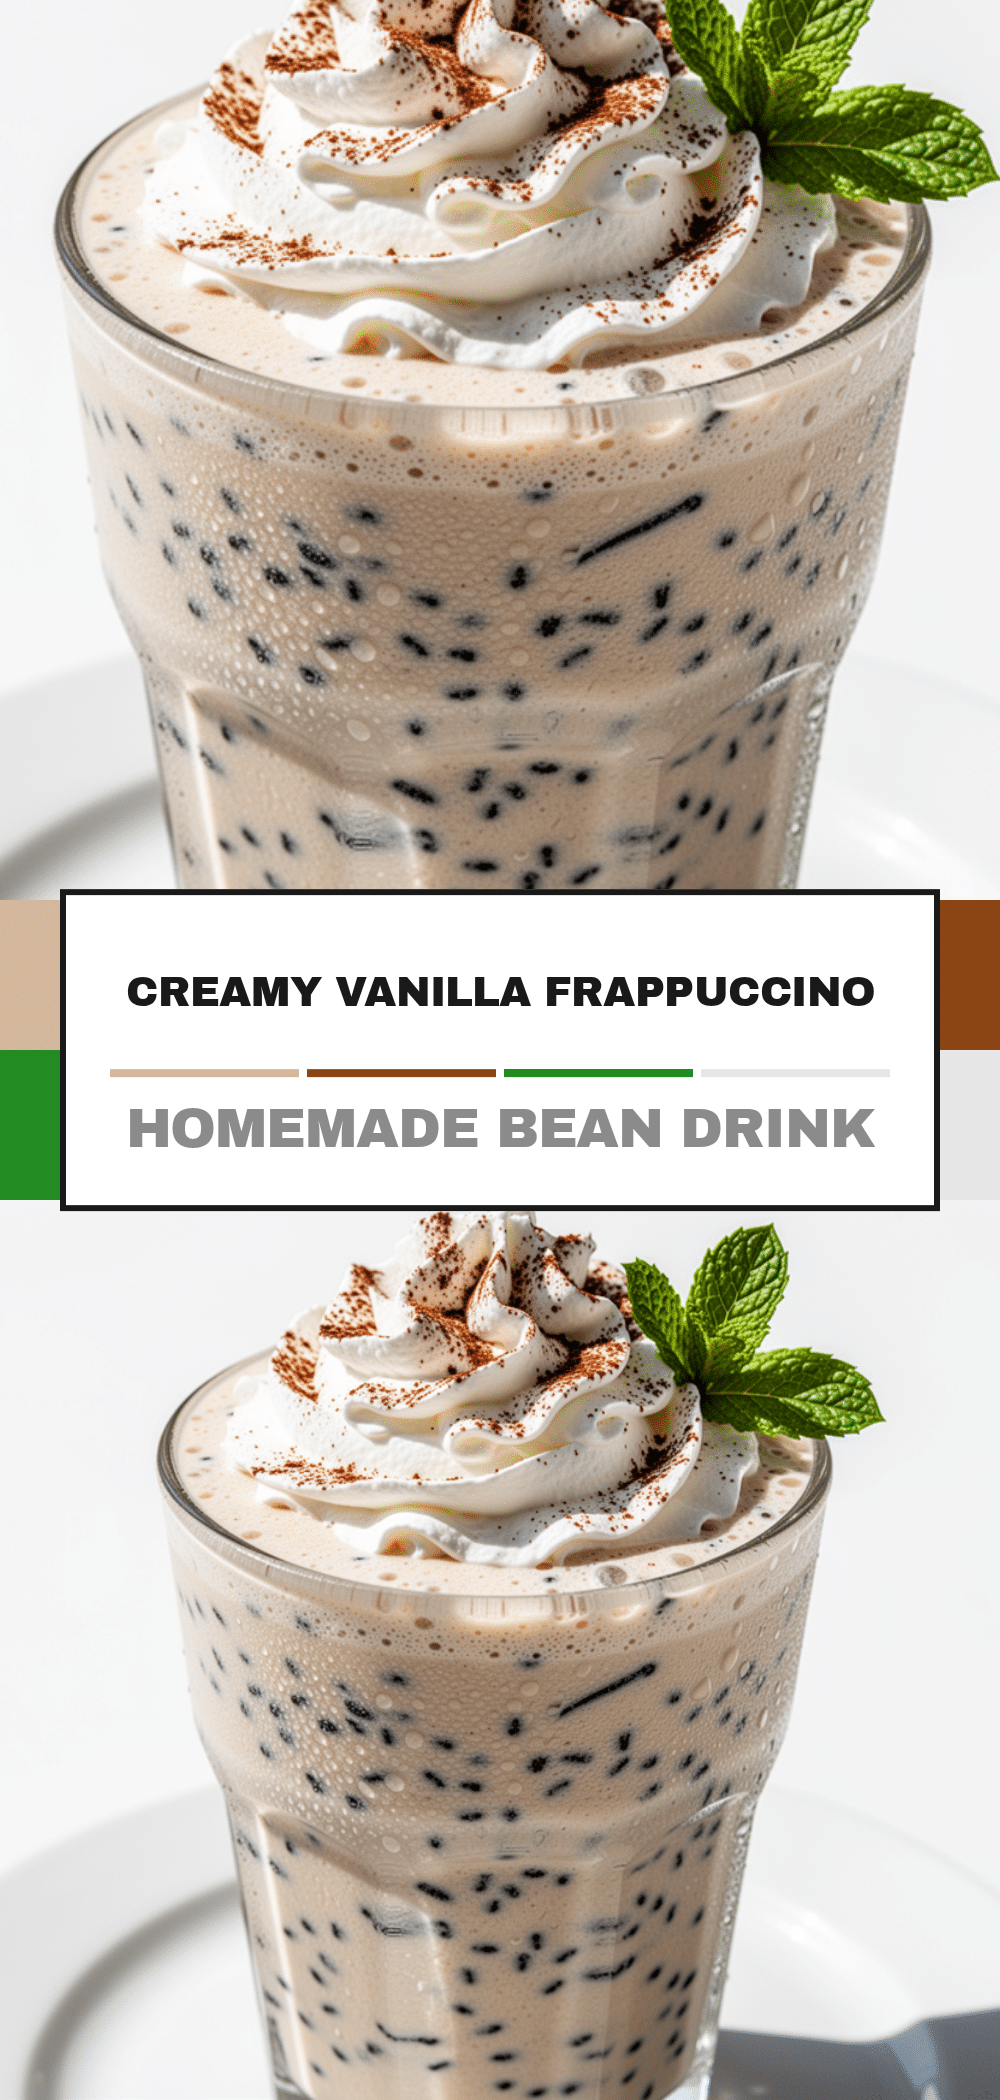
Homemade Vanilla Bean Frappuccino: Easy Iced Coffee Recipe
- Total Time: 10 minutes
- Yield: 1 serving 1x
Description
A thick, creamy, and slushie-like homemade vanilla bean frappuccino that tastes like the expensive coffee shop version but allows you to control the sugar and ingredients.
Ingredients
- 2 cups strong brewed coffee (cooled or chilled)
- 2 cups ice cubes
- 1/2 cup whole milk
- 2 tablespoons vanilla bean paste
- 2–3 tablespoons sugar or simple syrup
- 2 tablespoons heavy cream
- Whipped cream (for topping)
- Vanilla bean powder (optional, for garnish)
Instructions
- Brew strong coffee and let it cool to room temperature, then chill in the refrigerator for at least an hour or overnight.
- If using granulated sugar, prepare simple syrup by dissolving equal parts sugar and hot water, then cool. If using honey or agave, measure out 2-3 tablespoons.
- Add the cold coffee, ice, milk, vanilla bean paste, sweetener, and heavy cream to a high-speed blender.
- Blend on high speed for 30-45 seconds until the mixture reaches a thick, smooth, slushie-like consistency similar to soft-serve ice cream.
- Taste the mixture and adjust sweetness or vanilla flavor if needed by adding more syrup and blending for another 10 seconds.
- Pour the frappuccino into a tall glass or mason jar.
- Top with a generous dollop of whipped cream and sprinkle with vanilla bean powder if desired.
- Serve immediately with a thick straw.
Notes
Use cold coffee to prevent the ice from melting too quickly and making the drink watery. If your blender is weak, pulse the ice first before blending on high. You can substitute dairy milk with oat or almond milk for a dairy-free version, though the texture will be thinner. For a mocha variation, add chocolate syrup or cocoa powder.
- Prep Time: 5 minutes
- Cook Time: 0 minutes
- Category: Beverage
- Cuisine: American
Nutrition
- Serving Size: 1 large drink
- Calories: 280
- Sugar: 28
- Sodium: 45
- Fat: 12
- Saturated Fat: 7
- Carbohydrates: 35
- Protein: 4
Keywords: vanilla bean frappuccino, homemade iced coffee, coffee shop recipe, blended coffee drink, summer refreshment, caffeine


