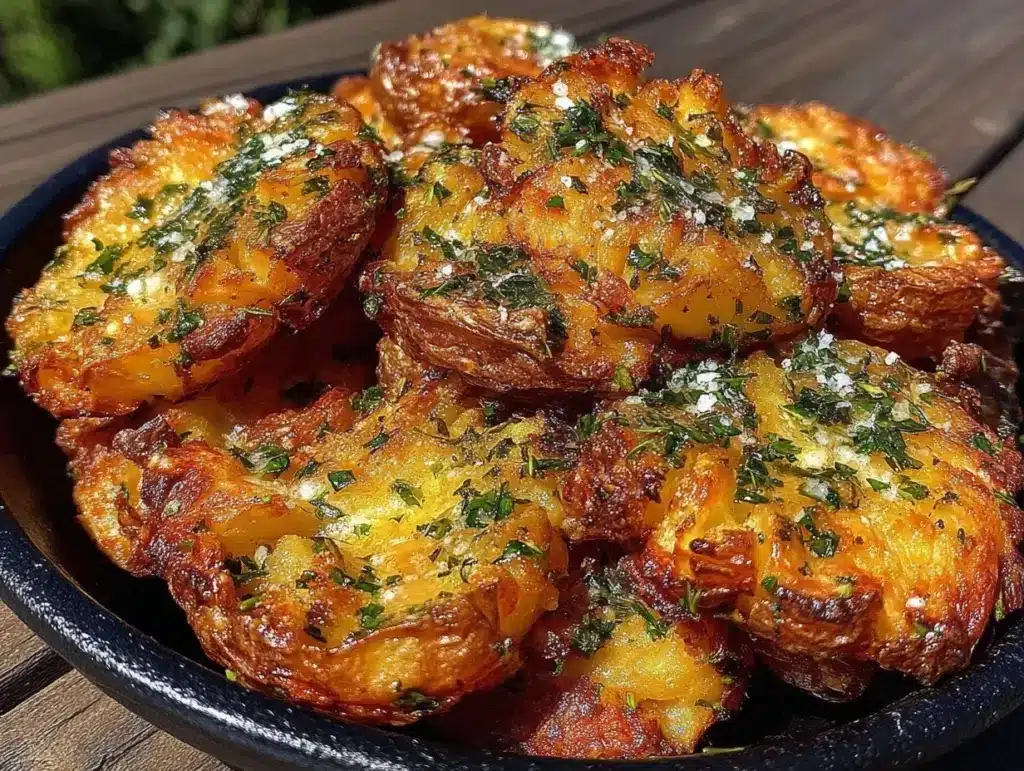
Last Tuesday, I was staring at a bag of potatoes that had been sitting in my pantry for three weeks. They were starting to sprout little green eyes, the kind that make you nervous but also make you determined not to waste food. My husband had just walked in from work, looking like he’d been hit by a truck, and my two kids were arguing over the last slice of pizza. I needed dinner. Fast. Cheap. Something that would actually make them eat vegetables without negotiating.
I threw the potatoes in a pot of boiling water, boiled them until they were soft, drained them, and smashed them flat on a baking sheet. Then, in my tired, post-work haze, I put them under the broiler without checking the distance. I went to answer the phone. When I came back, there was a smell. Not the good smell of garlic or herbs. The smell of char. I panicked, pulling the tray out, and scraped off the blackened bits.
But here’s the thing: underneath the charcoal crust, the potato was impossibly crispy, salty, and soft. It tasted like something you’d pay $14 for at a bistro, but it cost me about $2 in total. That night, my kids asked for seconds. Not because I bribed them, but because they couldn’t get enough of that crunch. Since then, I’ve made this easy crispy smashed potatoes ready in 30 minutes recipe at least fifteen times. I’ve tweaked the oil, the seasoning, and the timing until it’s foolproof. It’s become the backbone of our weeknight dinners because it stretches a few dollars into a full meal.
These aren’t just potatoes. They’re a budget hack. They’re a way to turn a humble, cheap ingredient into something that feels special without breaking the bank or spending hours in the kitchen. If you’re tired of the same old mashed potatoes or roasted wedges, this is the game-changer you’ve been waiting for. Let’s get cooking.
Why You’ll Love This Recipe
I know what you’re thinking. “Potatoes? Again?” But hear me out. This easy crispy smashed potatoes ready in 30 minutes method changes everything about how you think about spuds. Here’s why this is now a staple in my rotation:
- Unmatched Crunch — By smashing them flat, you expose more surface area to the heat. I’ve tested regular roasted potatoes against these, and the difference is night and day. The edges get shatteringly crisp while the center stays fluffy. It’s the best of both worlds.
- Budget-Friendly — Potatoes are one of the cheapest produce items you can buy. A 5-pound bag lasts my family of four for weeks. Compared to buying side dishes at the grocery store or ordering takeout, this saves me at least $10 a meal. That adds up fast.
- Kid-Approved — My kids are notorious picky eaters. They’ll eat chicken nuggets and fries, but refuse a carrot stick. These smashed potatoes taste like fries but are actually baked (mostly). They dip them in ketchup, ranch, or even my smoked chorizo queso dip if we’re feeling fancy. It’s a vegetable win.
- Minimal Cleanup — You boil them in one pot, smash them on one sheet, and bake them on that same sheet. I can handle one pot and one sheet pan. If I had to wash a dozen bowls, I’d just order pizza. This recipe respects your time and your sink.
- Flavor Sponge — Because they are smashed thin, they soak up butter, oil, and seasonings like a sponge. You don’t need expensive truffle oil or fancy herbs. Garlic powder, paprika, and salt are all you need to make them taste incredible.
This is my go-to when I need dinner to just work. It’s reliable, cheap, and delicious every single time.
Key Ingredients
You don’t need a specialty store for this. Everything is likely in your pantry or easy to grab at the dollar store. Here is exactly what I use, with precise measurements so you don’t have to guess.
Potatoes
Yukon Gold or Russet Potatoes (2 lbs / 900g) — I prefer Yukon Golds because they have a naturally buttery flavor and creamy texture. If you use Russets, they’ll be fluffier but slightly drier, so you might want to add an extra tablespoon of oil. Avoid waxy red potatoes; they don’t smash as well and stay too firm. Look for medium-sized potatoes that are all roughly the same size so they cook evenly. If one is huge and another is tiny, cut the big one in half.
The Fat
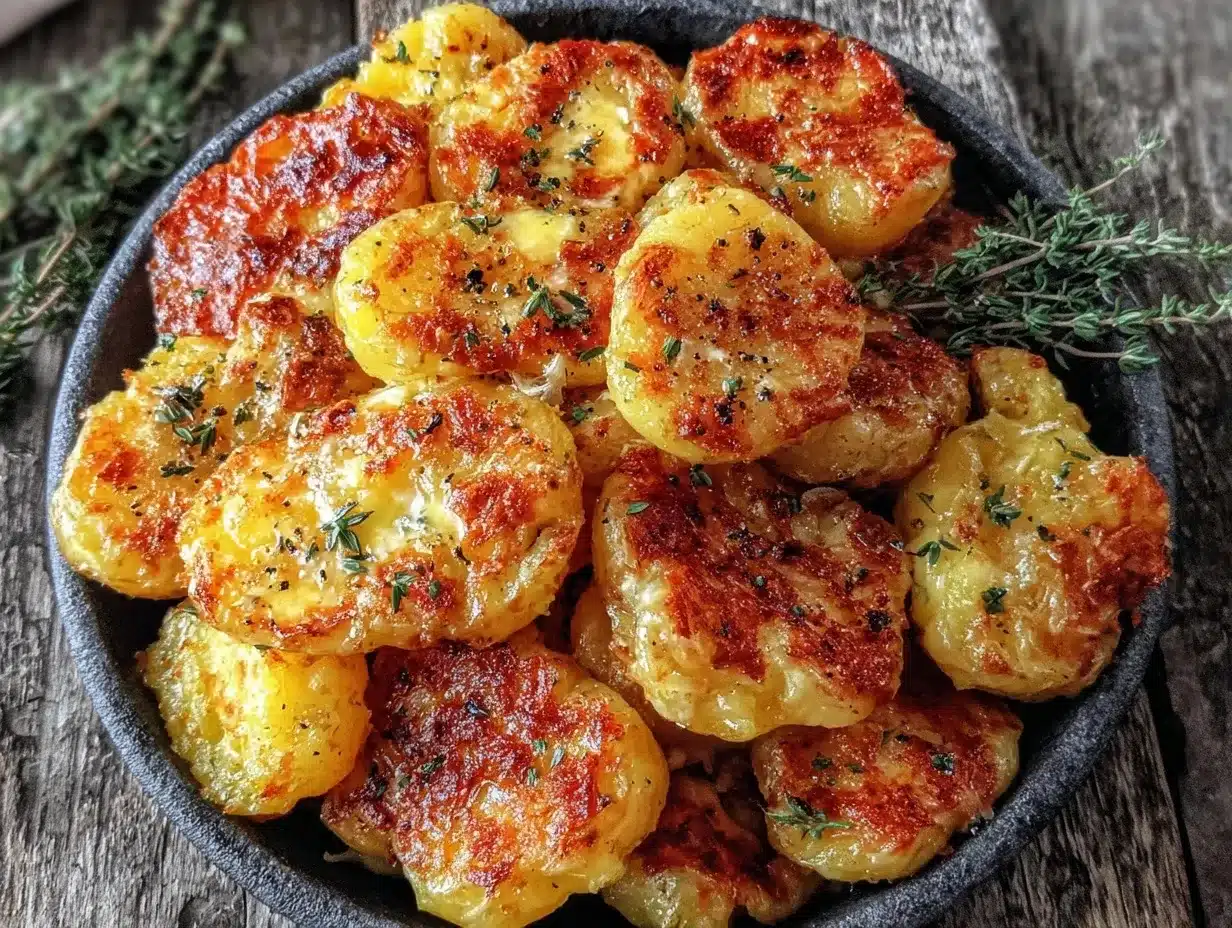
Extra Virgin Olive Oil (3 tbsp / 45ml) — This is crucial for the crispiness. You need enough oil to coat the potatoes well. Don’t skimp here. If you don’t have olive oil, melted butter works too, but olive oil gives that distinct savory crunch I love. For a dairy-free option, stick with olive oil or avocado oil.
The Seasoning
Garlic Powder (1 tsp / 5g) — Fresh garlic can burn under the broiler, so powder is safer and distributes evenly. It gives that classic savory depth without the risk of bitter bits. Smoked Paprika (1/2 tsp / 2.5g) — This adds a subtle smokiness that mimics frying. It’s not essential, but it makes the potatoes taste more complex. Kosher Salt (1 tsp / 6g) — Kosher salt is less dense than table salt, so use this measurement. If you use fine table salt, reduce to 3/4 tsp. Black Pepper (1/2 tsp / 1g) — Freshly cracked is best, but pre-ground works in a pinch.
The Finish
Fresh Parsley (2 tbsp / 2g, chopped) — Optional, but it adds a pop of color and freshness that cuts through the richness. If you don’t have parsley, dried oregano works, or just skip it. Grated Parmesan (2 tbsp / 10g) — Sprinkled on right after they come out of the oven. It melts slightly and adds a salty umami kick. Use real Parmesan, not the green shaker stuff, which tastes like plastic.
Tools Needed
You don’t need fancy equipment. Here’s what I use, and what you can swap if you don’t have it.
Large Pot — I use a 6-quart pot. You need enough water to fully submerge the potatoes. If your pot is too small, boil them in two batches.
Baking Sheet — A standard half-sheet pan (13×18 inches). I line mine with parchment paper for easy cleanup, but it’s not strictly necessary if you’re okay with scrubbing.
Muddler or Heavy Glass — I use a wooden potato muddler. If you don’t have one, use the bottom of a heavy drinking glass, a meat tenderizer, or even a clean wine bottle. Just make sure it’s clean!
Pastry Brush — For brushing the oil on evenly. A silicone basting brush works great. If you don’t have one, you can toss the potatoes in a bowl with the oil first, though brushing gives better coverage.
How to Make Easy Crispy Smashed Potatoes Ready in 30 Minutes
Let’s walk through the process. It’s simple, but there are a few tricks to get that perfect crunch.
Step 1: Boil the Potatoes (15 minutes)
Start by washing your potatoes. You don’t need to peel them; the skin holds the shape when smashed and adds texture. Drop them into a large pot of cold, salted water. Bring to a boil over high heat, then reduce to a simmer. Cook for 12-15 minutes. Test doneness by piercing a potato with a fork. It should slide in and out with zero resistance. If it’s still hard in the center, give it another 2-3 minutes. Over-boiling makes them mushy, which is bad for smashing. Under-boiling makes them hard. Aim for tender but not falling apart.
Step 2: Prep the Baking Sheet (2 minutes)
While the potatoes boil, preheat your oven to 425°F (220°C). If you want maximum crispiness, switch to the broil setting for the last 2-3 minutes. Line your baking sheet with parchment paper. This prevents sticking and makes cleanup a breeze. Sprinkle a little salt on the parchment for extra grip.
Step 3: Drain and Smash (5 minutes)
Drain the potatoes well. Let them sit in the colander for a minute to steam off excess water. Moisture is the enemy of crispiness. Place them on the prepared baking sheet. Take your muddler or glass and gently press down on each potato. Aim for a thickness of about 1/2 inch. Don’t smash them into paste; you want them flat but still intact. If a piece breaks off, just leave it there—it’ll get crispy too. Space them out so they aren’t touching; air circulation helps them crisp up.
Step 4: Season and Oil (3 minutes)
Brush the tops of the smashed potatoes generously with olive oil. You want every nook and cranny coated. Sprinkle with garlic powder, smoked paprika, salt, and pepper. Be liberal with the seasoning; potatoes are bland without enough salt. If you’re adding Parmesan now, sprinkle it evenly. If you’re adding it after baking, wait.
Step 5: Bake and Broil (10 minutes)
Put the sheet in the oven. Bake at 425°F (220°C) for 8-10 minutes. You’re looking for golden brown edges and a crispy texture. If you want extra crunch, switch to broil for the last 2 minutes. Watch them closely! Broilers vary wildly. One minute it’s golden, the next it’s charcoal. Pull them out when they look perfect. Immediately sprinkle with fresh parsley if using.
Total Time Breakdown: 15 minutes boiling + 5 minutes smashing + 10 minutes baking = 30 minutes. Yes, it really is that fast.
Expert Tips from My Kitchen
Here’s everything I learned from making this too many times, so you don’t have to make my mistakes.
The Game-Changers
Don’t Skip the Drying Step
After boiling, drain the potatoes and let them sit in the colander for a few minutes. I used to rush this, and my potatoes steamed in the bag, resulting in soggy smashings. Letting them air dry for 2-3 minutes removes surface moisture, which helps them crisp up in the oven.
Oil is Your Friend
I know, we’re trying to be budget-conscious. But skipping the oil means soft potatoes. The oil conducts heat and creates that Maillard reaction (the browning process). Use enough to coat them well. If you’re watching calories, you can reduce it slightly, but you’ll sacrifice some crunch. It’s a trade-off.
Uniform Size Matters
If you buy a bag of mixed sizes, try to pick potatoes that are similar. If you smash a tiny baby potato next to a huge Russet, the small one will burn before the big one is done. Cut large potatoes in half before boiling to ensure even cooking.
Common Problems & Solutions
Problem: Potatoes stick to the pan.
Solution: Use parchment paper or a silicone baking mat. If you don’t have either, grease the pan heavily with oil or butter before placing the potatoes.
Problem: They aren’t crispy enough.
Solution: You didn’t use enough oil, or you didn’t smash them flat enough. More surface area equals more crisp. Also, ensure your oven is fully preheated. A cold oven leads to steaming, not roasting.
Problem: They taste bland.
Solution: Potatoes need salt, and they need it early. Salt the boiling water, and salt the potatoes again after smashing. Taste one before serving; you might need more.
Pro Tricks
Double the Batch
These freeze beautifully if you have extras. I often make double the batch and freeze half. To freeze, let them cool completely after baking, then store in a freezer bag for up to 3 months. Reheat in the oven at 400°F to restore crispiness. Microwaving makes them soggy.
Add Cheese at the End
If you’re adding Parmesan or cheddar, sprinkle it on during the last minute of baking. This prevents the cheese from burning or separating into oil.
Recipe Variations
Once you’ve nailed the basic version, here’s how to mix it up. These variations keep things interesting for weeknight dinners.
Garlic Herb Smash
Add 2 cloves of minced fresh garlic and 1 tsp dried rosemary to the oil before brushing. The fresh garlic adds a pungent kick, and rosemary pairs beautifully with potatoes. This is my favorite for Sunday dinners.
Spicy Ranch
Toss 1 tbsp ranch seasoning mix (dry packet) with the oil. Sprinkle with a little cayenne pepper if you like heat. My kids love these with a side of ranch dipping sauce. It tastes like loaded potato skins but healthier.
Honey Balsamic Glaze
Brush with a mix of 1 tbsp olive oil and 1 tbsp balsamic vinegar before baking. Drizzle with 1 tbsp honey after baking. The sweet and tangy flavor is surprisingly good with savory herbs. Great for a dinner party side.
Dairy-Free Option
Skip the Parmesan and use olive oil instead of butter. These are naturally vegan if you skip the cheese. They are still incredibly flavorful with just garlic and paprika.
Breakfast Smash
Top with a fried egg and a sprinkle of chives. The yolk acts as a sauce. This is a hearty breakfast or brunch option that uses the same base recipe.
Serving & Storage
Serving Suggestions
I serve these as a side dish to grilled chicken, pork chops, or even my air fryer honey garlic chicken wings. They pair well with any protein. For a complete meal, serve with a simple green salad and some crusty bread. Top with extra Parmesan, chives, or a dollop of sour cream.
Storage Tips
Refrigerator: Store leftovers in an airtight container for up to 3 days. They will lose some crispiness in the fridge, but they’re still good.
Reheating: Do not microwave. Reheat in a toaster oven or regular oven at 400°F for 5-7 minutes to crisp them back up. An air fryer works great too at 375°F for 3-4 minutes.
Freezer: Yes, they freeze well! Freeze for up to 3 months. Thaw in the fridge overnight and reheat in the oven. They won’t be as crispy as fresh, but they’re still tasty.
Nutrition Information
I’m not a nutritionist, but here’s the breakdown per serving (assuming 4 servings, 4 potatoes each):
| Nutrient | Amount |
|---|---|
| Calories | 220 |
| Protein | 4g |
| Carbs | 32g |
| Fiber | 3g |
| Fat | 9g |
| Sodium | 350mg |
My Take: This is comfort food. It has oil and carbs. It’s not a diet salad. But compared to french fries or potato chips, it’s a much healthier alternative. It’s a balanced side dish that fills you up without making you feel sluggish.
Final Thoughts
This easy crispy smashed potatoes ready in 30 minutes recipe has saved me more times than I can count. It’s cheap, it’s fast, and it tastes amazing. I love that I can feed my family a side dish that feels special without spending a fortune. Whether you’re a busy parent, a college student, or just someone who loves potatoes, this recipe is for you.
Give it a try this week. Make it your own. Add your favorite herbs, spices, or cheeses. And if you do, drop a comment below! I love hearing how it turns out in your kitchen. Did your kids eat them? Did you add extra garlic? Let me know!
Happy cooking!
FAQs
Can I make these ahead of time?
Yes! You can boil and smash the potatoes up to 24 hours in advance. Store them in an airtight container in the fridge. When you’re ready to cook, brush with oil and season, then bake as directed. You might need an extra 2-3 minutes in the oven since they’re cold from the fridge.
Why are my smashed potatoes soggy?
This usually happens for two reasons: not enough oil, or too much moisture. Make sure you drain the potatoes well after boiling and let them steam off excess water. Also, ensure you’re using enough oil to coat them thoroughly. The oil helps conduct heat and creates the crisp crust.
Can I use sweet potatoes?
You can! Sweet potatoes work well too, but they are softer and stickier. You may need to use a bit more oil to prevent sticking. The cooking time is similar, but check them a minute earlier as they can burn faster due to higher sugar content.
Do I have to peel the potatoes?
No, I don’t peel them. The skin adds texture and nutrients. Just scrub them clean. If you prefer peeled potatoes, that’s fine, but you’ll lose some of the rustic crunch from the skin.
How do I reheat leftovers?
Avoid the microwave if you want them crispy. Reheat them in an oven or air fryer at 400°F for 5-7 minutes. This restores the crunch. If you don’t mind them softer, the microwave works in a pinch, but they’ll be chewy.
Pin This Recipe!
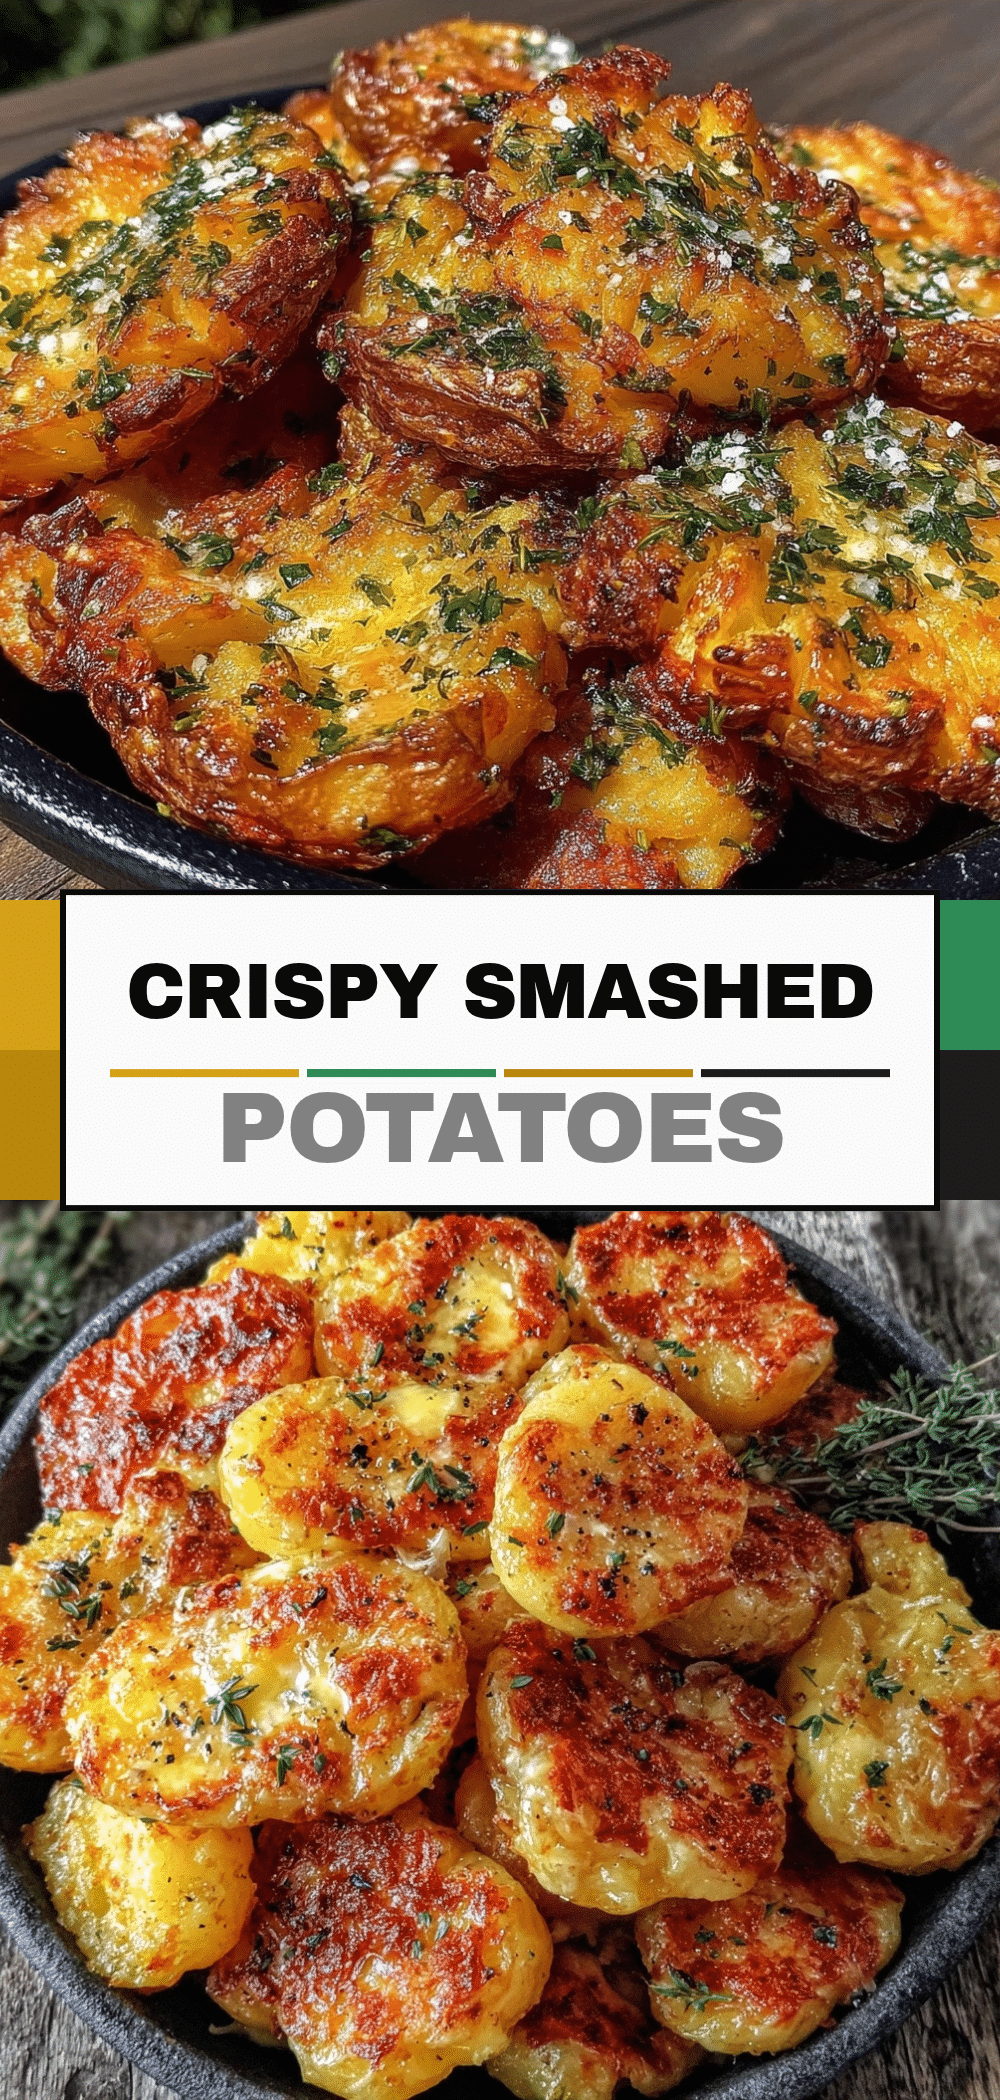

Easy Crispy Smashed Potatoes: 30-Min Budget Family Dinner
- Total Time: 30 minutes
- Yield: 4 servings 1x
Description
A budget-friendly, kid-approved side dish that transforms humble potatoes into crispy, golden perfection in just 30 minutes using simple pantry ingredients.
Ingredients
- 2 lbs (900g) Yukon Gold or Russet potatoes, medium-sized and uniform
- 3 tbsp (45ml) Extra Virgin Olive Oil
- 1 tsp (5g) Garlic Powder
- 1/2 tsp (2.5g) Smoked Paprika
- 1 tsp (6g) Kosher Salt
- 1/2 tsp (1g) Black Pepper
- 2 tbsp (2g) Fresh Parsley, chopped (optional)
- 2 tbsp (10g) Grated Parmesan Cheese (optional)
Instructions
- Wash potatoes (do not peel) and place them in a large pot of cold, salted water.
- Bring to a boil over high heat, then reduce to a simmer. Cook for 12-15 minutes until tender enough to pierce easily with a fork.
- Preheat oven to 425°F (220°C). Line a standard half-sheet baking pan with parchment paper.
- Drain the potatoes well and let them sit in a colander for 2-3 minutes to steam off excess moisture.
- Place potatoes on the prepared baking sheet. Gently press each potato flat with a muddler or heavy glass to about 1/2 inch thickness.
- Brush the tops generously with olive oil. Sprinkle with garlic powder, smoked paprika, salt, and pepper.
- Bake for 8-10 minutes until edges are golden brown and crispy. For extra crunch, broil for the last 2 minutes, watching closely.
- Remove from oven and immediately sprinkle with fresh parsley and grated Parmesan if using.
Notes
Ensure potatoes are dry before smashing to maximize crispiness. Use uniform potato sizes for even cooking. Do not microwave leftovers as it makes them soggy; reheat in oven or air fryer.
- Prep Time: 15 minutes
- Cook Time: 15 minutes
- Category: Side Dish
- Cuisine: American
Nutrition
- Serving Size: 1 serving (approx. 4
- Calories: 220
- Sugar: 1
- Sodium: 350
- Fat: 9
- Saturated Fat: 2
- Carbohydrates: 32
- Fiber: 3
- Protein: 4
Keywords: smashed potatoes, crispy potatoes, budget dinner, easy side dish, 30 minute meals, family friendly, vegetarian side


