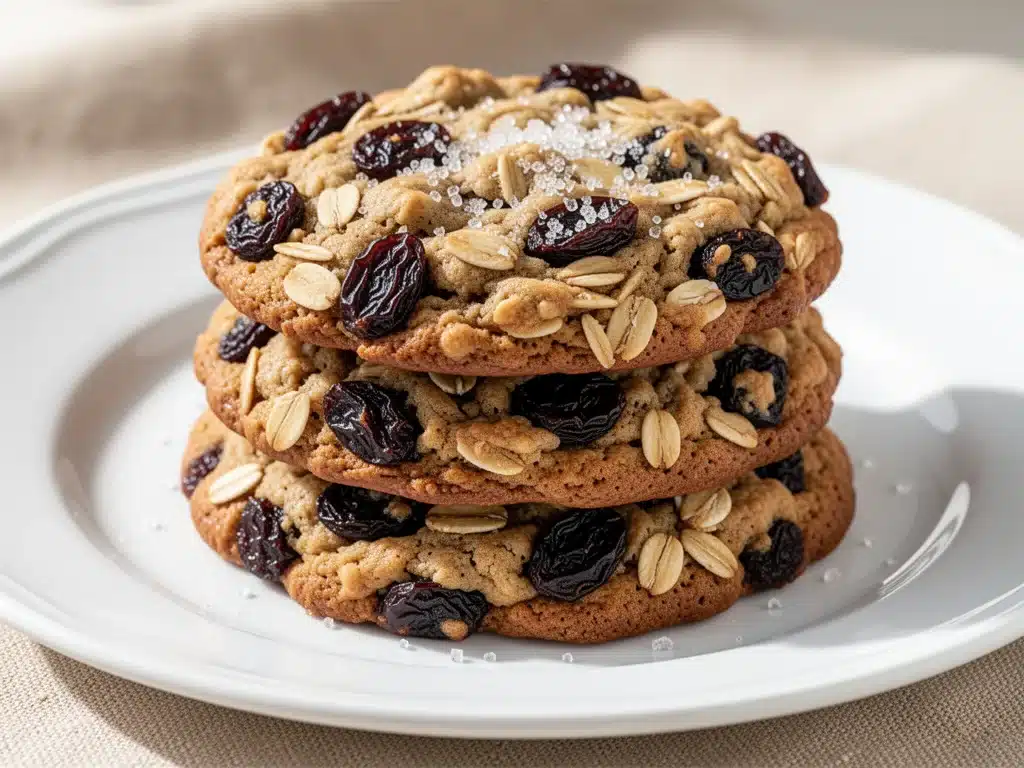
I have a confession to make. For years, I was one of those people who picked the raisins out. You know the type. I’d take a bite of an oatmeal cookie, find a plump, wrinkly raisin, and just… pop it out. I’d leave it on the plate like a tiny, dried grape crime scene. I thought raisins were just sad, shriveled grapes that had given up on life. And I thought oatmeal cookies were either dry hockey pucks or overly sweet, cakey messes that fell apart if you looked at them wrong.
Then, last autumn, I found myself standing in my kitchen at 10 PM, craving something warm and nostalgic. My partner was asleep, the house was quiet, and I didn’t want anything too heavy or complicated. I wanted comfort. So, I decided to tackle the classic chewy oatmeal raisin cookie. Not the ones from the grocery store aisle, but the real deal. The kind that smells like brown sugar and cinnamon and feels like a hug.
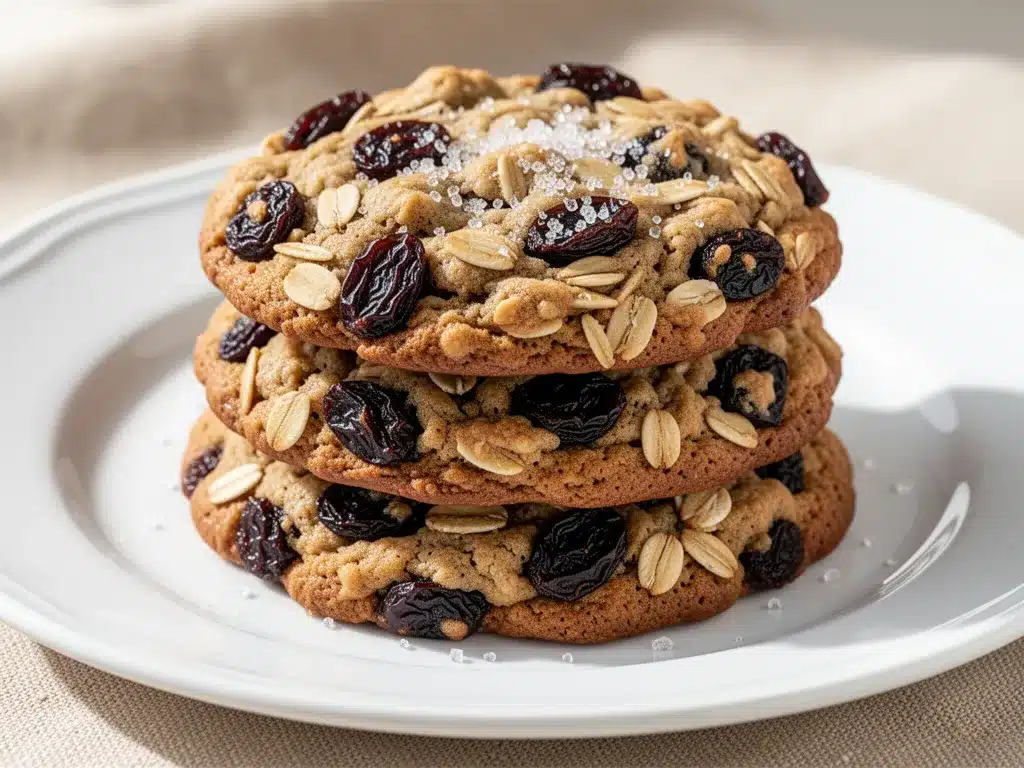
I burned my first batch. Honestly, I left them in the oven for “just a couple more minutes” because I wanted them extra crispy. Big mistake. They came out looking like little charred rocks. But the second batch? The third batch? Perfection. That specific, perfect texture—crisp edges that shatter slightly, a soft, chewy center, and plump, juicy raisins that burst with flavor. I’ve made these chewy oatmeal raisin cookies probably thirty times since that night. My partner doesn’t even pick the raisins out anymore. He actually asks for more.
This isn’t just a cookie recipe; it’s a lesson in patience and texture. It’s about understanding how oats absorb moisture, how brown sugar creates that chew, and why you should never, ever skip the resting time for your dough. If you’ve ever been intimidated by baking from scratch, or if you just want a cookie that tastes like it came from a bakery window, you need to make these. They’re easier than you think, and the smell alone is worth the effort.
Why You’ll Love This Recipe
There are a million cookie recipes out there. Chocolate chip is king, brownies are queen, but the chewy oatmeal raisin cookie is the reliable, comforting friend who always shows up with the good snacks. Here’s why this specific recipe has earned a permanent spot in my baking rotation, right alongside my pumpkin spice snickerdoodle cookies.
- Actually Chewy, Not Crumbly — Most oatmeal cookies dry out by day two. Not these. Thanks to the ratio of brown sugar to butter and a crucial resting period in the fridge, these stay soft and chewy for days. I’ve tested this by eating one on day four. (I won’t tell if you don’t.)
- Perfect Texture Contrast — You get that crisp edge that gives way to a tender, pillowy center. It’s the best of both worlds. No dry, chalky bites here.
- Uses Ingredients You Already Have — No fancy flours or obscure spices. Just butter, sugar, oats, flour, and cinnamon. It’s pantry-friendly baking at its finest.
- Great for Gift Giving — These cookies travel well. They don’t crumble easily in a tin, and they taste just as good at room temperature as they do warm. I’ve boxed these up for neighbors, teachers, and coworkers, and they always come back empty.
- Customizable — Love nuts? Add walnuts. Hate raisins? Swap them for dried cranberries or chopped dates. This recipe is a blank canvas for your flavor preferences.
This recipe is my go-to when I need to cheer someone up, celebrate a small win, or just need a reason to turn the oven on. It’s simple, reliable, and deeply satisfying.
Ingredients You’ll Need
One of the best things about this chewy oatmeal raisin cookie recipe is its simplicity. You don’t need a specialty store run. You likely have almost everything in your kitchen right now. Here’s what you need to gather.
The Wet Stuff
Unsalted butter (1 cup / 226g) — This is non-negotiable for flavor. I use high-quality butter like Kerrygold or Plugra. If you use salted butter, you’ll need to reduce the added salt in the recipe by half. Bring it to room temperature so it creams properly with the sugar. Softened, not melted.
Granulated white sugar (½ cup / 100g) — This helps create those crisp edges. Don’t skip it. It balances the sweetness of the brown sugar.
Packed light brown sugar (1 cup / 220g) — This is the secret to the chew. Molasses is in brown sugar, and molasses holds onto moisture. Pack it tightly into your measuring cup. If your brown sugar has hardened into a rock, microwave it with a damp paper towel for 10 seconds to soften it.
Eggs (2 large, room temperature) — Room temp eggs emulsify better with the butter and sugar, creating a smoother dough. Cold eggs can cause the mixture to split, which is annoying to fix.
Vanilla extract (2 teaspoons) — Use real vanilla, not imitation. It makes a noticeable difference in the depth of flavor. I keep a bottle of pure vanilla extract specifically for baking.
The Dry Stuff
All-purpose flour (2 cups / 250g) — Standard flour works perfectly. Don’t try to swap in cake flour or whole wheat unless you know what you’re doing; it will change the texture significantly. Spoon and level your flour—don’t scoop directly from the bag, or you’ll pack in too much and get dry cookies.
Baking soda (1 teaspoon) — This helps the cookies spread and brown. Make sure it’s fresh! If your baking soda is old, it won’t react properly, and your cookies will be flat and dense.
Baking powder (½ teaspoon) — A little lift to keep them from being too dense.
Kosher salt (1 teaspoon) — Salt isn’t just for taste; it enhances the sweetness and balances the richness of the butter. If you only have table salt, use ¾ teaspoon because it’s denser.
Cinnamon (1 teaspoon) — Ground cinnamon is essential here. It’s the classic pairing with oats and raisins. If you want a spicier kick, add ½ teaspoon of nutmeg or allspice.
The Good Stuff
Old-fashioned rolled oats (3 cups / 270g) — Do not use instant oats or steel-cut oats. Old-fashioned oats have the right texture—they’re thick and chewy and hold up during baking. Quick oats will make the cookies mushy. If you have gluten-free rolled oats, this recipe is naturally gluten-free (just check your oats packaging).
Raisins (1 ½ cups / 225g) — I use regular seedless raisins, but golden raisins are amazing too—they’re sweeter and softer. Some people plump their raisins in hot water for 10 minutes before adding them. It’s optional, but it prevents them from drying out the dough. I usually just toss them in dry.
Equipment Needed
You don’t need fancy gadgets to make these. Here’s what I actually use in my kitchen.
Large mixing bowls — I use one for wet ingredients and one for dry. A 4-quart bowl is perfect for the dry mix.
Hand mixer or stand mixer — I prefer a hand mixer because it’s easier to scrape down the sides. A stand mixer with a paddle attachment works great too. You can do it by hand, but it takes some arm strength.
Silicone spatula — Essential for folding in the oats and raisins without overmixing. I have a few, and I lose track of them because they’re so useful.
Cookie scoop — This is a game-changer. I use a 2-tablespoon scoop. It ensures every cookie is the same size, which means they bake evenly. If you don’t have one, use two spoons to drop mounds.
Baking sheets — I use rimless half-sheet pans. Rimless sheets allow for better air circulation. If you use rimmed sheets, just be aware that the edges might brown slightly differently.
Parchment paper — Line your baking sheets with parchment. It prevents sticking and makes cleanup a breeze. No more scrubbing burnt sugar off your pans!
Cooling rack — Essential for cooling cookies so they don’t continue cooking on the hot pan.
How to Make Chewy Oatmeal Raisin Cookies
Alright, let’s get baking. This process is straightforward, but there are a few key moments where attention matters. I’m walking you through exactly how I do it, step by step.
Step 1: Prep Your Pan and Oven
Preheat your oven to 350°F (175°C). Line two large baking sheets with parchment paper. If you don’t have parchment, you can grease the sheets lightly with butter, but parchment is much better for even browning. Make sure your oven is fully preheated before you put the cookies in. An oven that’s too hot will burn the edges before the centers are done.
Step 2: Cream the Butter and Sugars
In a large bowl, beat the softened butter, granulated sugar, and brown sugar together. Use your mixer on medium speed for about 2-3 minutes. You want the mixture to look light, fluffy, and pale. This step incorporates air, which helps with texture. Don’t rush this. If you skip proper creaming, your cookies will be dense. The mixture should look like wet sand.
Step 3: Add Eggs and Vanilla
Add the eggs one at a time, beating well after each addition. Scrape down the sides of the bowl with your spatula to make sure everything is incorporated. Add the vanilla extract and mix until combined. The mixture might look slightly curdled at this point—that’s normal. It will come together once you add the dry ingredients.
Step 4: Mix the Dry Ingredients
In a separate medium bowl, whisk together the flour, baking soda, baking powder, salt, and cinnamon. Whisking ensures that the leavening agents and spices are evenly distributed. If you don’t whisk, you might end up with a spot of pure baking soda that tastes metallic.
Step 5: Combine Wet and Dry
Gradually add the dry ingredients to the wet ingredients. Mix on low speed until just combined. Do not overmix at this stage. Overmixing develops gluten, which leads to tough cookies. As soon as you no longer see streaks of flour, stop mixing.
Step 6: Fold in Oats and Raisins
Switch to your spatula. Add the rolled oats and raisins. Fold them in gently until they are evenly distributed. You want to be thorough, but gentle. Overworking the dough now can make the cookies tough. The dough will look thick and shaggy at this point.
Step 7: Chill the Dough (The Secret Step)
This is the step most people skip, but I promise you, don’t skip it. Cover the bowl with plastic wrap and refrigerate the dough for at least 30 minutes, or up to 24 hours. Chilling the dough solidifies the butter, which prevents the cookies from spreading too much in the oven. It also allows the oats to hydrate, resulting in a deeper, more complex flavor. If you bake the dough immediately, you’ll get flat, greasy cookies.
Step 8: Scoop and Bake
Once the dough is chilled, scoop it onto your prepared baking sheets. Leave about 2 inches between each mound because they will spread. Bake for 10-12 minutes. You want the edges to be golden brown and set, but the centers should still look slightly soft and underdone. They will firm up as they cool. Do not overbake!
Step 9: Cool and Serve
Let the cookies sit on the baking sheet for 5 minutes. This allows them to set. Then, transfer them to a wire rack to cool completely. If you can’t wait (I can’t), eat one warm. It’s risky but delicious.
Expert Tips & Tricks for Perfect Cookies
After making these chewy oatmeal raisin cookies dozens of times, I’ve learned a few tricks that separate the good cookies from the great ones. Here’s what you need to know.
- Chill Your Dough — I cannot stress this enough. Chill the dough. Even 30 minutes makes a difference. If you’re in a rush, freeze it for 15 minutes. But if you have time, overnight chilling is best. The flavor develops, and the texture improves.
- Don’t Overbake — Cookies continue to cook on the hot pan after you take them out of the oven. Pull them when the edges are just starting to turn golden. If you wait until the centers look fully set, they’ll be dry and crumbly by the time they cool.
- Measure Flour Correctly — Too much flour is the #1 reason for dry cookies. Spoon the flour into your measuring cup and level it off with a knife. Never scoop directly from the bag.
- Use Old-Fashioned Oats — Instant oats are too fine and will make the cookies cakey. Steel-cut oats are too hard and won’t soften properly. Old-fashioned rolled oats are the sweet spot.
- Plump Your Raisins — If your raisins seem dry, soak them in hot water for 10 minutes, then drain and pat them dry. This ensures they stay juicy in the cookie.
- Salt on Top — For a gourmet touch, sprinkle a tiny pinch of flaky sea salt on top of the cookies right after they come out of the oven. It enhances the sweetness and adds a nice crunch.
Variations & Substitutions
Once you’ve mastered the basic recipe, here’s how you can mix it up. I’ve tried all of these, and they’re all winners.
- Walnut Oatmeal Cookies — Add 1 cup of chopped walnuts when you add the oats. The crunch pairs perfectly with the chewy oats. This is my partner’s favorite version.
- Golden Raisin Version — Swap regular raisins for golden raisins. They’re sweeter and softer, giving the cookie a more delicate flavor. Great for spring baking.
- Cranberry Orange — Swap raisins for dried cranberries and add the zest of one orange to the dough. It’s bright, tangy, and festive.
- Chocolate Chip Oatmeal — Mix raisins with chocolate chips. Or go all-out and make chocolate chip oatmeal bread if you’re feeling ambitious.
- Gluten-Free — Use certified gluten-free rolled oats and gluten-free all-purpose flour blend. The recipe works exactly the same.
- Vegan — Use vegan butter and a flax egg (1 tablespoon ground flaxseed mixed with 3 tablespoons water per egg). The texture will be slightly different but still tasty.
Serving & Storage
These cookies are best enjoyed fresh, but they keep well if stored properly.
Room Temperature: Store in an airtight container at room temperature for up to 5 days. Place a slice of bread in the container with the cookies. The cookies will absorb moisture from the bread and stay soft. I do this every time.
Freezing: You can freeze the dough balls for up to 3 months. Bake them straight from frozen, adding 1-2 minutes to the bake time. Or, freeze baked cookies for up to 2 months. Thaw at room temperature.
Serving Suggestions: These cookies are perfect with a glass of cold milk, of course. But they also pair beautifully with a hot cup of coffee or tea. I love having one with my morning coffee while checking emails. They’re also great for holiday gift boxes. I’ve made these for Christmas, Easter, and just because.
Nutrition Information
I’m not a nutritionist, but here’s the breakdown if you’re tracking. Keep in mind that these are treat-sized cookies.
Per Cookie (makes about 24 cookies):
- Calories: 180
- Protein: 3g
- Carbs: 28g
- Fiber: 1g
- Sugar: 16g
- Fat: 8g
- Saturated Fat: 5g
- Cholesterol: 25mg
- Sodium: 120mg
Look, these are cookies. They have sugar and butter. They’re not health food. But they’re better than store-bought options because you control the ingredients. If you want to make them slightly lighter, you can reduce the sugar by ¼ cup, but you’ll lose some chewiness. I usually just enjoy one or two and call it a day.
Final Thoughts
So that’s my take on the classic chewy oatmeal raisin cookie. It’s a recipe that has saved me from boring dessert decisions more times than I can count. It’s comforting, reliable, and deeply satisfying. Whether you’re baking for your family, your friends, or just for yourself, these cookies will bring a smile to your face.
I hope you try this recipe. I hope you get that perfect chewy texture. I hope you smell that cinnamon and brown sugar filling your kitchen. And I hope you realize that sometimes, the simplest recipes are the best ones. If you make these, drop a comment and let me know how they turned out! I love hearing from you. And if you have questions, ask away. I’m here to help.
Happy baking! And I hope your kitchen smells half as good as mine does right now.
Frequently Asked Questions
Can I use quick oats instead of old-fashioned oats?
You can, but the texture will be different. Quick oats are thinner and will make the cookies cakey and less chewy. Old-fashioned rolled oats provide that distinct, hearty texture that makes oatmeal cookies special. If you only have quick oats, you can pulse them in a food processor a few times to break them up, but old-fashioned is still best.
Why did my cookies spread too much?
This usually happens for one of three reasons: the butter was too soft or melted, the oven wasn’t preheated enough, or the dough wasn’t chilled. Make sure your butter is softened, not melted. Preheat your oven fully. And definitely chill the dough. If your cookies are still spreading, try chilling the scooped dough balls for 15 minutes before baking.
Can I double this recipe?
Yes, you can double everything. Just make sure you have a large enough mixing bowl. You’ll need to bake them in batches. Don’t overcrowd the baking sheets. Double batches work great for gift-giving or parties.
How do I store leftover cookies?
Store them in an airtight container at room temperature for up to 5 days. Add a slice of bread to the container to keep them soft. If you want to freeze them, bake them first, let them cool completely, and then freeze in a freezer-safe bag for up to 2 months.
Can I add chocolate chips to this recipe?
Absolutely! This is a great base for mix-ins. You can swap the raisins for chocolate chips, or add both. I love the combination of raisins and dark chocolate chips. It’s like a cookie version of a candy bar. Just add 1 cup of chips along with the raisins.
Why are my cookies dry?
Overbaking is the most common cause. Pull the cookies out when the edges are golden but the centers still look soft. They will firm up as they cool. Also, make sure you’re measuring your flour correctly. Too much flour leads to dry cookies. Spoon and level, don’t scoop.
Can I make these cookies gluten-free?
Yes! Just use certified gluten-free rolled oats and a gluten-free all-purpose flour blend. Make sure all your other ingredients (like baking soda and vanilla) are also certified gluten-free. The recipe works exactly the same way.
Pin This Recipe!
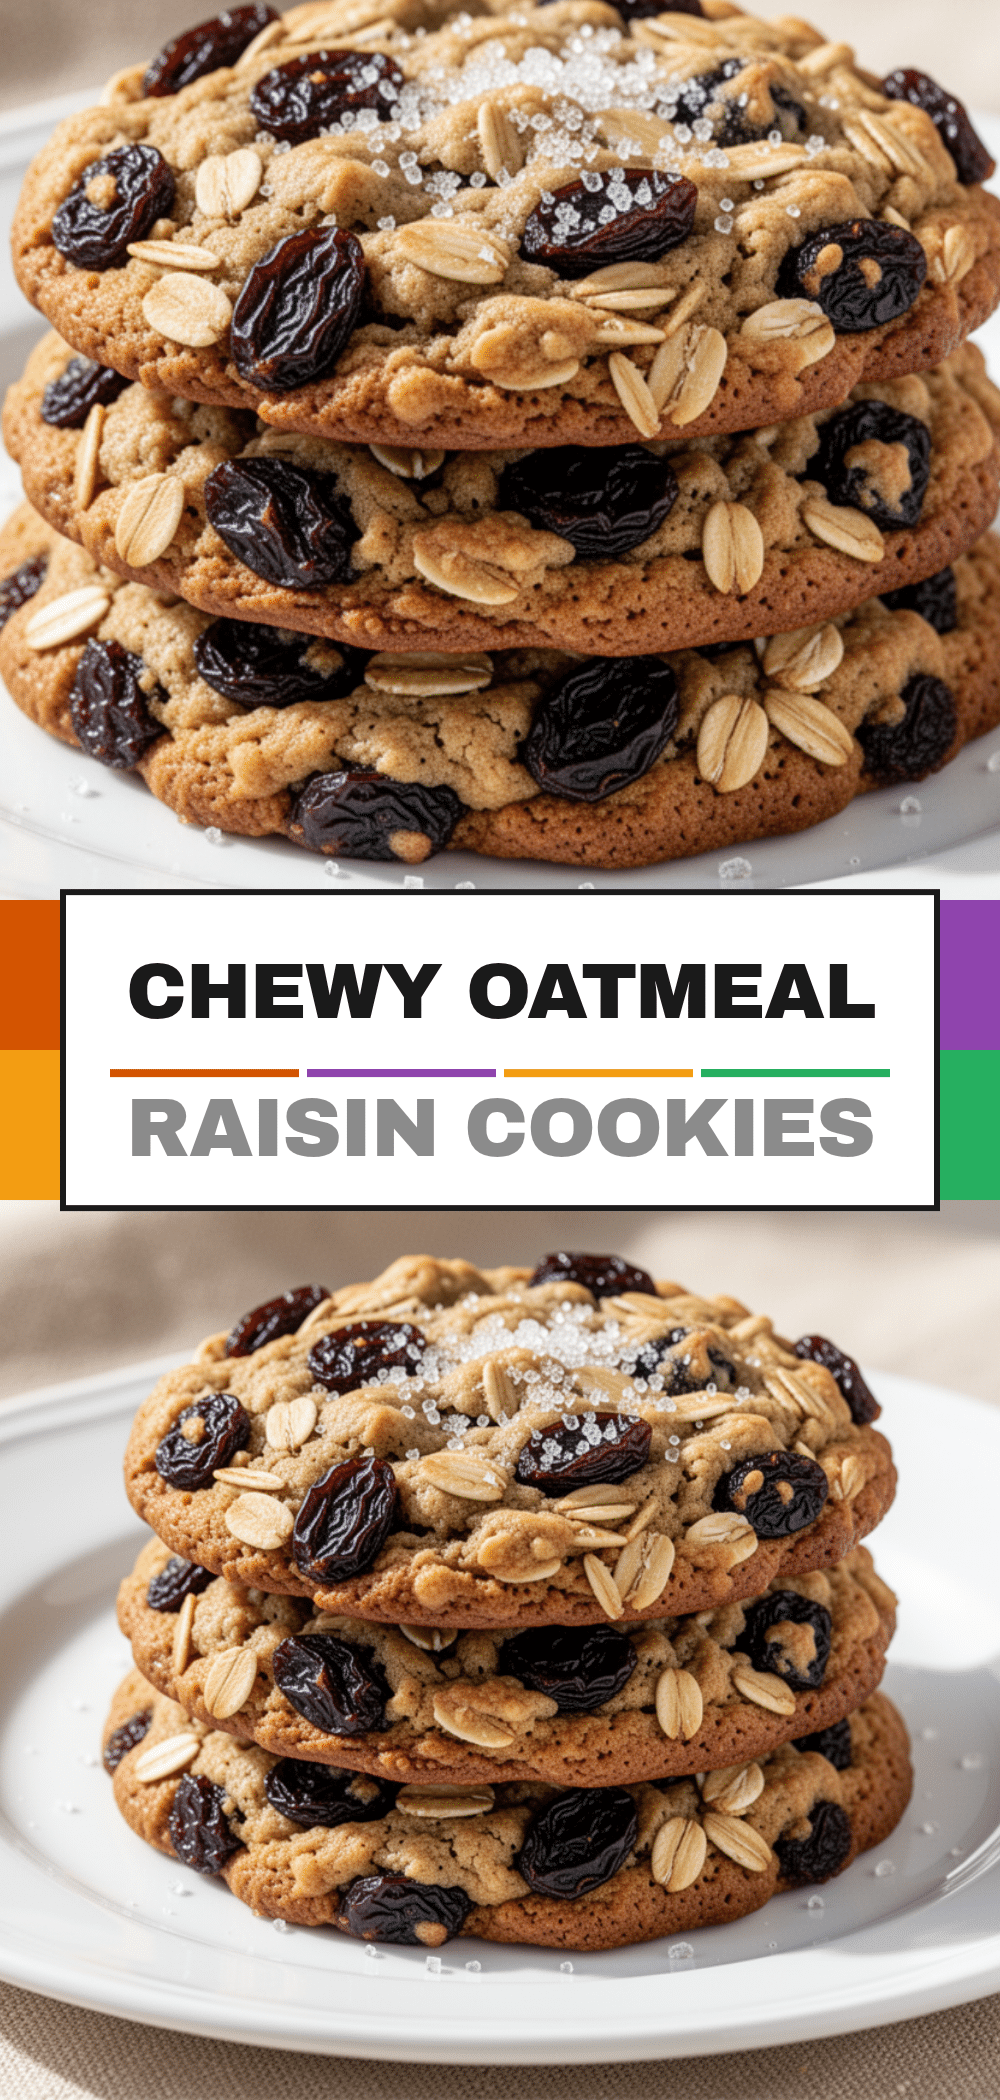
Chewy Oatmeal Raisin Cookies: Easy Classic Homemade Recipe
- Total Time: 32 minutes
- Yield: 24 cookies 1x
Description
These classic chewy oatmeal raisin cookies feature crisp edges, a soft center, and plump raisins. Made with simple pantry ingredients and a crucial chilling step for the perfect texture.
Ingredients
- 1 cup (226g) unsalted butter, softened to room temperature
- 1/2 cup (100g) granulated white sugar
- 1 cup (220g) packed light brown sugar
- 2 large eggs, room temperature
- 2 teaspoons vanilla extract
- 2 cups (250g) all-purpose flour
- 1 teaspoon baking soda
- 1/2 teaspoon baking powder
- 1 teaspoon kosher salt
- 1 teaspoon ground cinnamon
- 3 cups (270g) old-fashioned rolled oats
- 1 1/2 cups (225g) raisins
Instructions
- Preheat oven to 350°F (175°C). Line two large baking sheets with parchment paper.
- In a large bowl, beat the softened butter, granulated sugar, and brown sugar together on medium speed for 2-3 minutes until light, fluffy, and pale.
- Add eggs one at a time, beating well after each addition. Scrape down the sides of the bowl. Add vanilla extract and mix until combined.
- In a separate medium bowl, whisk together flour, baking soda, baking powder, salt, and cinnamon.
- Gradually add the dry ingredients to the wet ingredients. Mix on low speed until just combined. Do not overmix.
- Switch to a silicone spatula and gently fold in the rolled oats and raisins until evenly distributed.
- Cover the bowl with plastic wrap and refrigerate the dough for at least 30 minutes (or up to 24 hours).
- Scoop dough onto prepared baking sheets, leaving about 2 inches between mounds.
- Bake for 10-12 minutes, or until edges are golden brown but centers still look slightly soft.
- Let cookies sit on the baking sheet for 5 minutes to set, then transfer to a wire rack to cool completely.
Notes
Chilling the dough is essential for preventing excessive spreading and developing flavor. Do not overbake; cookies continue to cook on the hot pan. For gluten-free version, use certified gluten-free oats and flour. For vegan version, use vegan butter and flax eggs.
- Prep Time: 20 minutes
- Cook Time: 12 minutes
- Category: Dessert
- Cuisine: American
Nutrition
- Serving Size: 1 cookie
- Calories: 180
- Sugar: 16
- Sodium: 120
- Fat: 8
- Saturated Fat: 5
- Carbohydrates: 28
- Fiber: 1
- Protein: 3
Keywords: oatmeal raisin cookies, chewy cookies, homemade cookies, baking from scratch, classic dessert, fall baking


