Last Tuesday, I was running late for a dinner party. I had thirty minutes to bake cookies, throw on a salad, and make a drink. I grabbed the dough, scooped it onto a sheet, and shoved it into the oven. Ten minutes later, I pulled out flat, greasy discs that tasted like ordinary sugar cookies with chocolate bits. They were edible. They were not what I wanted to serve my friends.
But here’s the thing about mistakes: they teach you more than success ever will. I scraped those sad cookies into the trash, reset the oven, and looked at the bowl of dough. It was still in the fridge. I’d chilled it two days prior because I’d made a double batch. I had no choice but to use what I had. I scooped the cold dough onto the sheet, baked it, and waited.
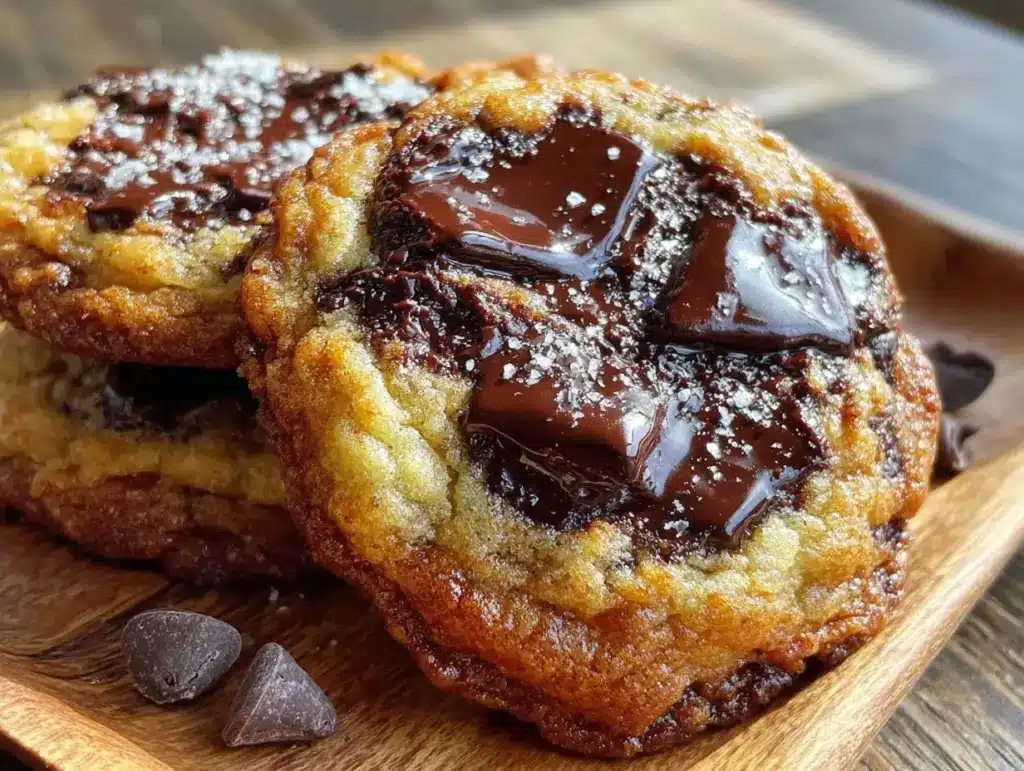
When that second batch came out, the smell hit me first. It smelled like a high-end bakery in Paris. The edges were deep golden brown and crisp, while the centers stayed soft, chewy, and slightly underdone-looking (which is exactly where you want them). They were thick. They were substantial. They were the best bakery-style chocolate chip cookies thick and chewy I had ever made at home.
I’ve since made this specific thick and chewy chocolate chip cookie recipe over forty times. I’ve tweaked the butter, swapped the sugars, and experimented with flour types. But that Tuesday accident taught me the one secret that changes everything: time. Cold dough isn’t just a suggestion; it’s the engine that drives texture. If you want cookies that look like they came from a fancy shop but taste like comfort, you need to trust the process. You need to let the dough rest. You need to embrace the wait.
This isn’t just another cookie recipe. It’s my go-to when I need to impress, when I need comfort, or when I just want a glass of milk and a warm plate. It’s reliable. It’s forgiving. And once you nail the technique, you’ll never go back to flat, cakey cookies again. Let me walk you through exactly how I make these bakery-style chocolate chip cookies thick and chewy, step by step.
Why You’ll Love This Recipe
There are a million cookie recipes out there. Why this one? Because it solves the three biggest problems home bakers face: flat cookies, dry centers, and bland flavor. Here’s what makes this thick and chewy chocolate chip cookie recipe worth your oven space.
- Actually Thick, Not Flat — Most recipes spread into paper-thin coins. Mine stay tall. The chilled dough and higher protein flour create structure that holds its shape. I’ve served these to professional bakers, and they always ask for the secret. (It’s just patience.)
- Chewy Centers, Crisp Edges — The texture contrast is everything. You get that snap from the caramelized edges and that soft, fudgy pull from the center. It’s the perfect bite. I love dipping the chewy center into cold milk.
- Rich, Complex Flavor — We’re using brown butter. Yes, it takes two extra minutes, but it adds a nutty, toasty depth that regular melted butter just can’t match. It makes the chocolate taste more chocolatey.
- Make-Ahead Friendly — This is the ultimate stress-buster. You can mix the dough on Sunday and bake on Wednesday. Or freeze the dough balls for later. I keep a tub of these in my freezer for spontaneous cravings or last-minute guests.
- Simple Pantry Staples — You don’t need exotic flours or expensive chocolate bars. Just butter, sugar, eggs, flour, baking soda, salt, and good chocolate. If you have these, you can make this.
This is my go-to when I need a dessert that feels special but requires zero fuss. It’s reliable, it’s delicious, and it’s proof that simple ingredients, handled correctly, are all you need.
Key Ingredients for Bakery-Style Chocolate Chip Cookies Thick and Chewy
Let’s talk about what goes into the bowl. Every ingredient has a job. If you swap one thing, you need to know how it affects the final product. I’ve been precise with measurements because baking is chemistry.
Unsalted Butter (230g / 1 cup)
Room temperature for creaming, but we’re also going to brown some of it. Use high-quality butter. If your butter tastes like nothing, your cookies will too. I prefer European-style butters for their higher fat content, which gives a richer flavor. For the brown butter step, you’ll melt it until it smells like hazelnuts.
Brown Sugar (220g / 1 ¼ cups, packed)
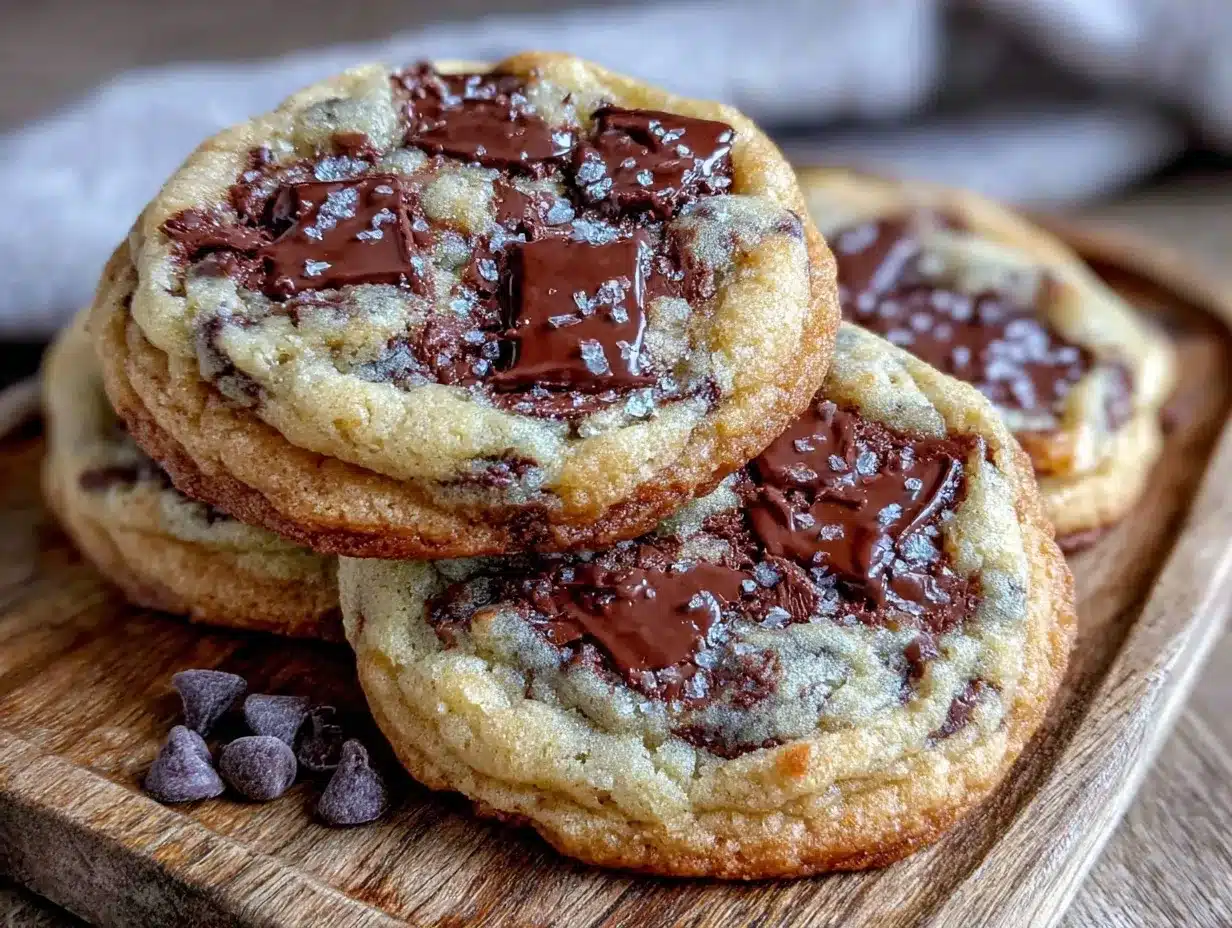
This is your chewiness champion. Brown sugar contains molasses, which adds moisture and acidity. The acidity reacts with the baking soda to create lift and spread, but the moisture keeps the center soft. Don’t skimp on this. If you want crisp cookies, use more white sugar. For thick and chewy chocolate chip cookies, brown sugar is non-negotiable.
Granulated White Sugar (100g / ½ cup)
This provides the crisp edges. White sugar spreads more than brown sugar. By balancing the two, you get that perfect exterior crunch while the inside stays soft. It also helps create those beautiful cracks on top.
Egg (1 large / 50g without shell)
One egg yolk plus one whole egg. The yolk adds fat and richness, contributing to the chew. The white adds structure. I always bring my eggs to room temperature before adding them. Cold eggs can seize the butter, leading to a grainy dough.
Vanilla Extract (15ml / 1 tbsp)
Use real vanilla, not imitation. I use pure Madagascar bourbon vanilla. It’s expensive, but a little goes a long way. It rounds out the chocolate and butter flavors. If you’re in a pinch, vanilla bean paste works too, though it’s pricey.
All-Purpose Flour (240g / 2 cups)
Do not use cake flour or pastry flour. You need the protein in all-purpose flour to create gluten structure, which holds the cookie upright. Spoon and level your flour. If you scoop directly from the bag, you’ll pack it down and end up with dry, crumbly cookies. I weigh my flour every time because volume measurements are just too inconsistent.
Baking Soda (3g / ½ tsp)
Not baking powder. Baking soda needs acid (from the brown sugar and browned butter) to react. It creates carbon dioxide bubbles that lift the cookie. Fresh baking soda is crucial. If it’s been in your cupboard for two years, toss it and buy new. Test it with a little vinegar—if it doesn’t fizz, it’s dead.
Salt (3g / ½ tsp)
Flavor enhancer. It cuts the sweetness and makes the chocolate pop. I use fine sea salt. If you use kosher salt, you might need a bit more because the flakes are larger. Taste your salt before adding it if you’re unsure.
Chocolate Chips (340g / 2 cups)
Here’s my secret: I use a mix. 50% semi-sweet chocolate chunks (for meltiness) and 50% milk chocolate chips (for sweetness and shape retention). Chunks are better than chips because they melt into pockets of chocolate. But chips hold their shape better during baking. The mix gives you the best of both worlds. I love the chocolate from these pumpkin cookie bars for inspiration, but here we stick to classic chocolate.
Flaky Sea Salt (for topping)
This is the bakery touch. Sprinkle Maldon sea salt on top of the warm cookies right out of the oven. The salt crystals dissolve slightly, creating bursts of salty-sweet flavor. It elevates the whole cookie.
Tools Needed
You don’t need fancy equipment. Here’s what I use, and what you can swap.
Large Mixing Bowl — I use a 5-quart stainless steel bowl. It’s sturdy and easy to clean. A glass bowl works too, but metal conducts heat better if you’re doing anything temperature-sensitive.
Stand Mixer or Hand Mixer — I use a stand mixer for the creaming step because it’s consistent. But honestly? A wooden spoon and some arm strength works fine. You just need to cream the butter and sugars until light and fluffy, which takes about 3-4 minutes by hand. It’s good exercise.
Baking Sheets — I use half-sheet pans (18×13 inches). Light-colored aluminum is best because it reflects heat and prevents burning. Dark pans absorb heat and can burn the bottoms. If you only have dark pans, reduce your oven temp by 25°F.
Parchment Paper — Non-negotiable. It prevents sticking and makes cleanup easy. I line my sheets every time. No exceptions.
Cook’s Thermometer — Optional but helpful. If you’re browning butter, you want it to reach 250°F (120°C) for that nutty aroma without burning. If you don’t have one, watch it like a hawk.
Cookie Scoop — A 2-tablespoon scoop ensures uniform size. Uniform size means even baking. I don’t eyeball it anymore. It’s worth the investment.
How to Make Bakery-Style Chocolate Chip Cookies Thick and Chewy
Let’s get baking. This process is straightforward, but the order matters. Follow these steps closely.
Step 1: Brown the Butter (10 minutes)
Melt 115g (½ cup) of butter in a light-colored saucepan over medium heat. Stir constantly. It will foam up, then subside. You’ll see brown bits forming at the bottom. It will smell nutty, like toasted hazelnuts. This takes about 5-7 minutes. Pour the browned butter immediately into a heatproof bowl to stop the cooking. Let it cool until it’s just warm to the touch, about 20 minutes. Do not skip this. The nutty flavor is the backbone of this thick and chewy chocolate chip cookie recipe.
Step 2: Mix the Wet Ingredients (3 minutes)
In your large bowl, combine the cooled browned butter, the remaining 115g (½ cup) of softened unsalted butter, the brown sugar, and white sugar. Beat on medium-high speed for 3-4 minutes until the mixture is pale and fluffy. This incorporates air, which helps the cookies rise. Add the whole egg, egg yolk, and vanilla. Mix until just combined. Scrape down the sides of the bowl with a spatula to ensure everything is incorporated.
Step 3: Add the Dry Ingredients (2 minutes)
Whisk the flour, baking soda, and salt in a separate small bowl. Add this to the wet mixture. Mix on low speed until just combined. Do not overmix. Once the flour disappears, stop. Overmixing develops gluten, which makes cookies tough and cakey instead of chewy. Fold in the chocolate chunks by hand with a spatula. Be gentle.
Step 4: Chill the Dough (At least 24 hours)
This is the most important step for bakery-style chocolate chip cookies thick and chewy. Cover the bowl tightly with plastic wrap. Refrigerate for at least 24 hours, up to 72 hours. The cold dough spreads less in the oven, resulting in thicker cookies. It also allows the flour to hydrate fully, developing deeper flavors. If you’re impatient, you can freeze the dough for 30 minutes, but the flavor isn’t as developed. I recommend planning ahead.
Step 5: Scoop and Bake (12-14 minutes)
Preheat your oven to 350°F (175°C). Line two baking sheets with parchment paper. Scoop the dough into 2-tablespoon balls (about 40g each). Place them on the sheets, spacing them at least 3 inches apart. They will spread. Bake for 12-14 minutes. The edges should be golden brown, but the centers should still look slightly underdone and soft. They will set as they cool. This is key. If you bake them until the center looks firm, they will be dry.
Step 6: Cool and Salt (5 minutes)
Let the cookies cool on the baking sheet for 10 minutes. This allows them to set. Then, transfer them to a wire rack to cool completely. While they are still warm, sprinkle with flaky sea salt. Enjoy warm with a glass of cold milk.
Total Time: 15 minutes active, plus 24 hours chilling, plus 14 minutes baking.
Expert Tips from My Kitchen
Here’s everything I learned from making this too many times. These tips separate the good cookies from the great ones.
The Game-Changers
Chill the Dough Longer Than You Think
I used to chill my dough for 4 hours. The cookies spread too much. Now, I chill for 24-48 hours. The result is a cookie that is thicker, chewier, and has a deeper, more complex flavor. The molasses has time to penetrate the flour. It’s worth the wait. If you can’t wait, freeze the dough balls for 30 minutes, but know that the flavor won’t be as developed.
Don’t Overbake
This is the #1 mistake. People see a soft center and think it’s raw. It’s not. Carryover cooking will firm it up. Pull the cookies when the edges are set and golden, but the center looks soft and slightly glossy. They will continue to cook on the hot pan. I learned this the hard way when I burned my first batch trying to get a “firm” center. Never again.
Use a Scale
Volume measurements are inaccurate. A cup of flour can vary by 20-30 grams depending on how you pack it. That variance changes the texture. Weighing your ingredients ensures consistency. If you must use cups, spoon the flour into the cup and level it off. Never scoop.
Common Problems & Solutions
Cookies Spread Too Much
Your butter was too warm, or you didn’t chill the dough enough. Next time, chill for 24 hours. Also, make sure your baking sheets aren’t hot when you put the dough on them.
Cookies Are Dry and Crumbly
You overmixed the dough, or you used too much flour. Spoon and level your flour, and mix until just combined. Also, check your baking soda. If it’s old, it won’t leaven properly.
Cookies Burn on the Bottom
Your pans are too dark, or your oven runs hot. Use light-colored aluminum pans. If you must use dark pans, reduce the oven temp by 25°F. Also, try baking one sheet at a time in the center of the oven.
Pro Tricks
Double Chocolate
Add 2 tablespoons of cocoa powder to the dry ingredients for a chocolate cookie. It’s rich and decadent. Just make sure you have enough liquid, as cocoa absorbs moisture.
Add Texture
Sprinkle a few coarse sugar crystals on top before baking. It creates a crunchy, sparkly exterior that looks professional.
Recipe Variations
Once you’ve nailed the basic version, here’s how to mix it up.
Peanut Butter Swirl
Add 2 tablespoons of peanut butter to the dough. Swirl it in with a knife for marbled effect. The nuttiness pairs perfectly with chocolate.
Oatmeal Raisin
Swap 1 cup of flour for 1 cup of rolled oats. Add ½ cup of raisins. It’s a classic comfort variation. The oats add chewiness and heartiness.
White Chocolate Macadamia
Swap the chocolate chips for white chocolate chunks and 1 cup of macadamia nuts. It’s sweet, tropical, and luxurious.
Gluten-Free
Swap the all-purpose flour for a 1:1 gluten-free flour blend (like Bob’s Red Mill). Add ½ teaspoon of xanthan gum if your blend doesn’t include it. The texture will be slightly more tender, but still delicious.
Dairy-Free
Use a high-quality vegan butter stick (like Miyoko’s or Earth Balance) instead of dairy butter. The flavor will be slightly different, but the texture will be similar. For the brown butter step, vegan butter doesn’t brown the same way, so just melt it and skip that step.
Serving & Storage
Serving
I serve these warm, right out of the oven. They pair beautifully with a cold glass of milk, or for a grown-up treat, a hot coffee or salted caramel pumpkin cold brew. They’re also great for potlucks because they travel well and don’t need refrigeration.
Storage
Store cookies in an airtight container at room temperature for up to 5 days. Place a slice of bread in the container with the cookies. The bread will dry out, keeping the cookies soft and chewy. This is an old baker’s trick that actually works.
Freezing
These freeze perfectly. You can freeze the baked cookies for up to 3 months. Thaw at room temperature. Or, freeze the dough balls on a baking sheet, then transfer to a freezer bag. Bake straight from frozen, adding 1-2 minutes to the bake time. I keep dough balls in the freezer year-round for instant gratification.
Nutrition Information
I’m not a nutritionist, but here’s the breakdown. This is indulgent food. It’s butter, sugar, and chocolate. Enjoy it as a treat.
| Nutrient | Per Cookie (approx.) |
|---|---|
| Calories | 220 kcal |
| Protein | 3g |
| Carbohydrates | 28g |
| Fiber | 1g |
| Sugar | 18g |
| Fat | 12g |
| Sodium | 150mg |
My Take: This is comfort food. It’s not diet food. But it’s better than store-bought cookies because you know exactly what’s in it. No preservatives, no weird oils. Just real ingredients. I eat one or two at a time, slowly. It’s about quality, not quantity.
Final Thoughts
Making bakery-style chocolate chip cookies thick and chewy at home is one of the most satisfying culinary skills you can develop. It’s not about fancy tools or rare ingredients. It’s about technique, patience, and attention to detail. When you pull that tray out of the oven, smelling the brown butter and seeing those golden edges, you’ll feel like a pro. I hope this recipe becomes a staple in your kitchen, just as it has in mine. Try it, tweak it, and make it your own. If you make this, drop a comment! I love hearing how it turns out in your kitchen. Happy cooking!
FAQs
Can I use brown sugar instead of white sugar?
You can, but the texture will change. More brown sugar means softer, cakier cookies. Less brown sugar means crispier cookies. For the perfect balance of thick and chewy, I recommend the 2:1 ratio of brown to white sugar in this recipe.
Why did my cookies spread flat?
Most likely, your butter was too warm, or you didn’t chill the dough. Butter that is too soft creates a loose dough that spreads before it sets. Always chill the dough for at least 24 hours. Also, make sure your baking sheets are cool before scooping.
Can I freeze the dough?
Yes! This is my favorite way to bake. Scoop the dough balls, freeze them on a sheet, then transfer to a bag. Bake from frozen, adding 1-2 minutes to the bake time. They taste just as good as fresh dough.
Can I use margarine instead of butter?
I don’t recommend it. Margarine has a higher water content and different fat structure, which affects spread and flavor. Real butter is essential for that rich, bakery-style taste. If you need dairy-free, use a high-quality vegan butter stick.
How do I get the cookies to stay thick?
The secret is chilling. Cold dough spreads less. Also, use a higher protein flour (all-purpose) to create structure. Avoid over-creaming the butter and sugar, as too much air can cause collapse. Just cream until combined, not until fluffy.
Can I add nuts?
Absolutely. Toasted walnuts or pecans add a great crunch and flavor. Add 1 cup of chopped nuts with the chocolate chips. Just make sure they’re toasted for maximum flavor.
Why do I need to brown the butter?
Browning butter adds a nutty, toasty depth that regular melted butter doesn’t have. It makes the cookies taste more complex and sophisticated. It’s the difference between a home cookie and a bakery cookie. Don’t skip it!
Pin This Recipe!
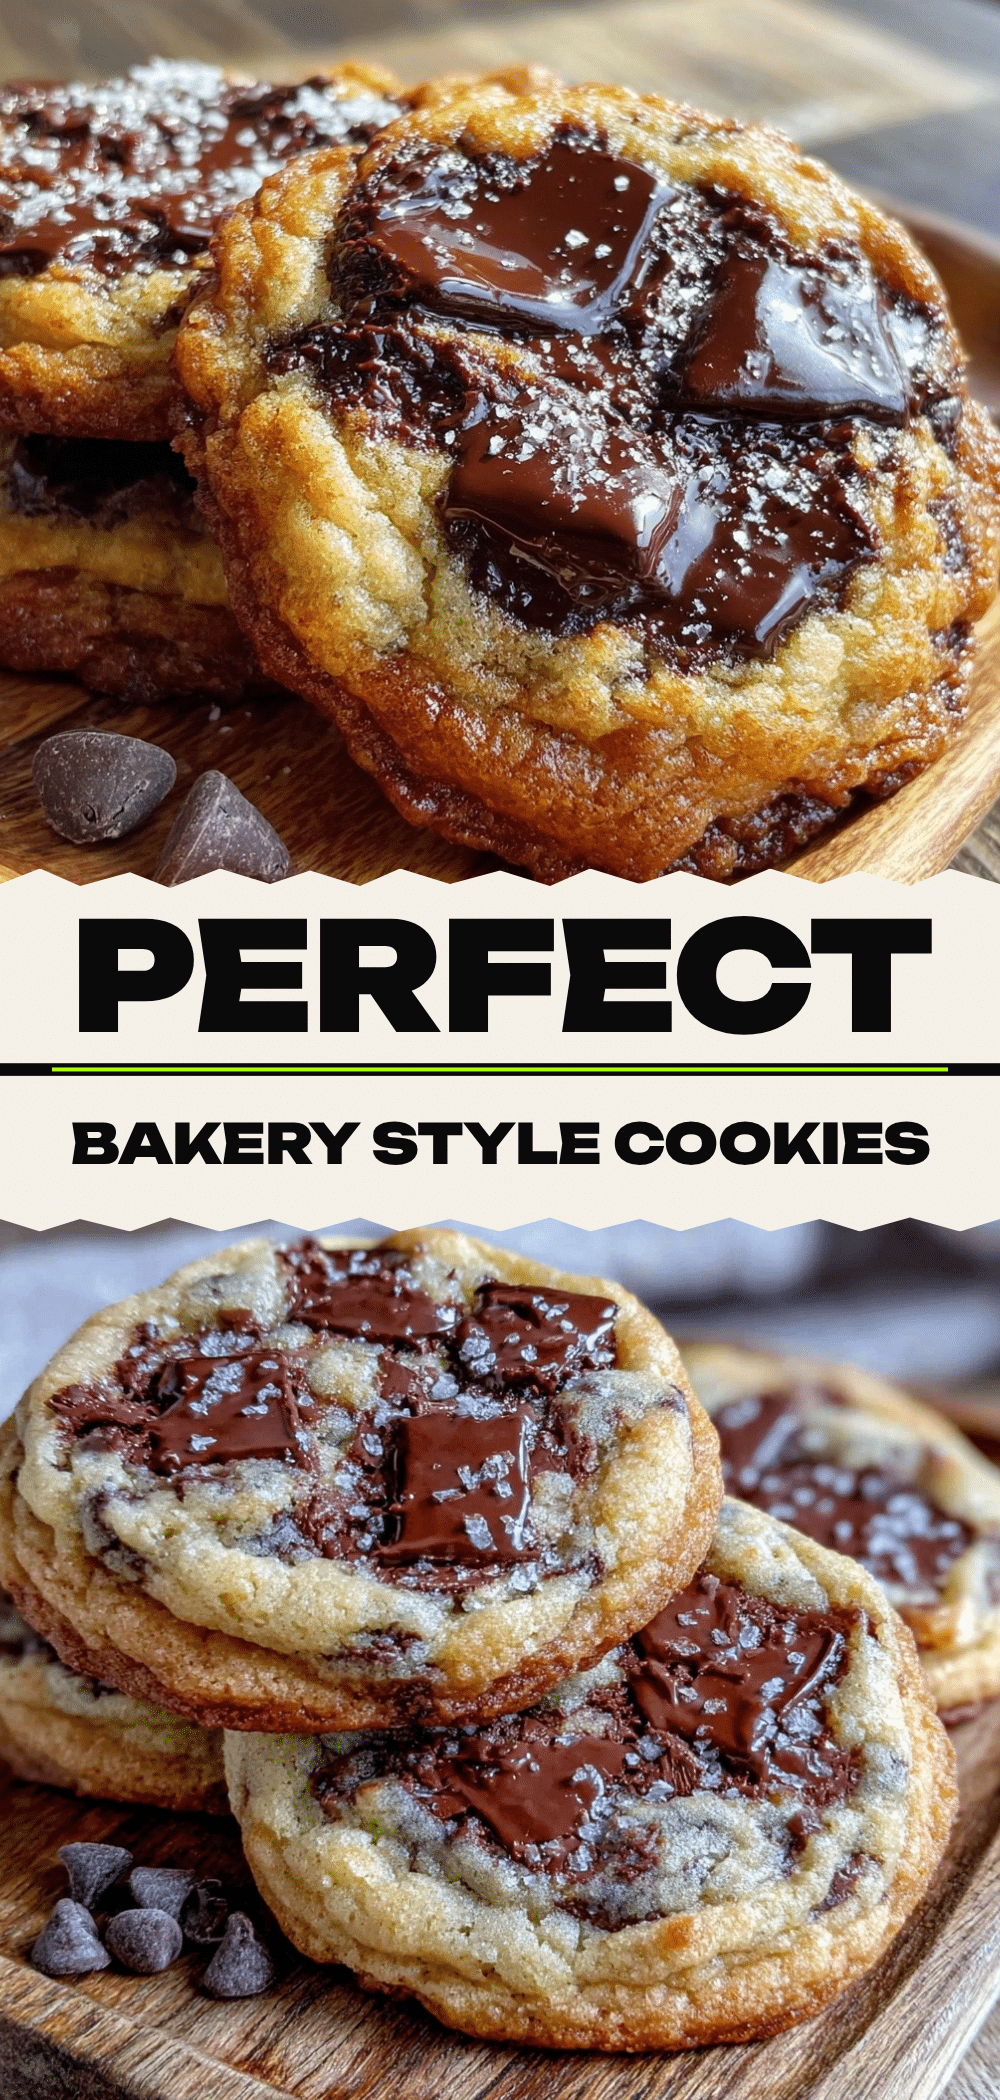
Bakery-Style Chocolate Chip Cookies: Thick & Chewy
- Total Time: 24 hours 29 minutes
- Yield: Approximately 24 cookies 1x
Description
These thick and chewy chocolate chip cookies feature brown butter for a nutty depth, a 24-hour chill for perfect texture, and a mix of chocolate types for the ultimate bakery-style treat.
Ingredients
- 230g (1 cup) unsalted butter, divided (115g for browning, 115g softened)
- 220g (1 ¼ cups) packed brown sugar
- 100g (½ cup) granulated white sugar
- 1 large egg, room temperature
- 1 large egg yolk, room temperature
- 15ml (1 tbsp) pure vanilla extract
- 240g (2 cups) all-purpose flour, spooned and leveled
- 3g (½ tsp) baking soda
- 3g (½ tsp) fine sea salt
- 340g (2 cups) chocolate chips/chunks (50% semi-sweet chunks, 50% milk chocolate chips)
- Flaky sea salt (e.g., Maldon) for topping
Instructions
- Brown 115g of butter in a saucepan over medium heat until nutty and brown bits form (5-7 minutes). Pour into a heatproof bowl and cool until just warm (about 20 minutes).
- In a large bowl, combine the cooled browned butter, remaining 115g softened butter, brown sugar, and white sugar. Beat on medium-high speed for 3-4 minutes until pale and fluffy.
- Add the whole egg, egg yolk, and vanilla extract. Mix until just combined, scraping down the sides of the bowl.
- In a separate small bowl, whisk together the flour, baking soda, and salt.
- Add dry ingredients to the wet mixture and mix on low speed until just combined. Do not overmix.
- Fold in the chocolate chips/chunks by hand with a spatula.
- Cover the bowl tightly and refrigerate the dough for at least 24 hours (up to 72 hours) to develop flavor and prevent spreading.
- Preheat oven to 350°F (175°C). Line baking sheets with parchment paper.
- Scoop dough into 2-tablespoon balls (approx. 40g each) and place on sheets, spacing them 3 inches apart.
- Bake for 12-14 minutes until edges are golden brown but centers still look soft and slightly underdone.
- Let cookies cool on the baking sheet for 10 minutes to set, then transfer to a wire rack.
- Sprinkle with flaky sea salt while still warm. Enjoy.
Notes
Chilling the dough for at least 24 hours is crucial for thick, chewy cookies and developed flavor. Do not overbake; the centers should look soft as they will set while cooling. Use a kitchen scale for accurate flour measurement to avoid dry cookies. Store in an airtight container with a slice of bread to maintain softness.
- Prep Time: 15 minutes
- Cook Time: 14 minutes
- Category: Dessert
- Cuisine: American
Nutrition
- Serving Size: 1 cookie
- Calories: 220
- Sugar: 18
- Sodium: 150
- Fat: 12
- Saturated Fat: 7.5
- Carbohydrates: 28
- Fiber: 1
- Protein: 3
Keywords: chocolate chip cookies, bakery style, thick cookies, chewy cookies, brown butter cookies, homemade cookies, dessert, baking


