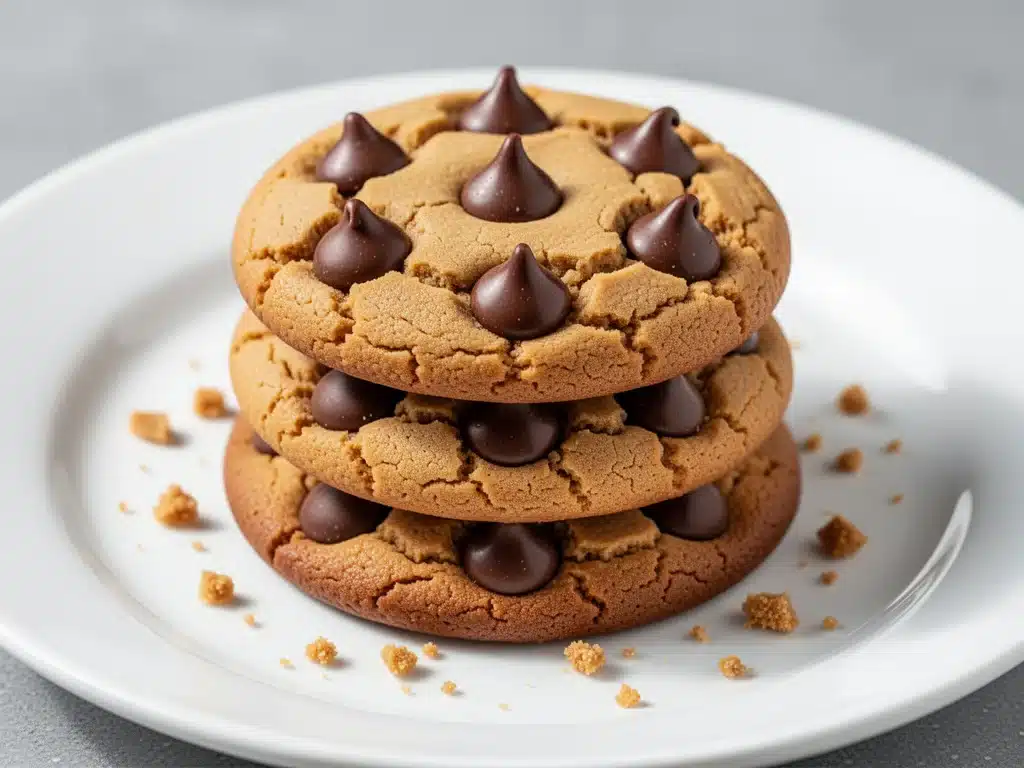
It’s December, the house is freezing, and the oven is the only thing keeping you sane. I’m standing in my kitchen at 11 PM, covered in flour, trying to salvage a batch of cookies that were supposed to be soft and chewy but came out looking like hockey pucks. My kids are asleep, my husband is pretending to read in the other room, and I’m staring at a tray of dense, dry peanut butter cookies wondering if I’ve just ruined Christmas morning.
This was my reality three years ago. I had tried every “soft” peanut butter cookie recipe online. They were either cakey, too sweet, or just… flat. I wanted something that tasted like actual peanut butter—salty, rich, and nutty—but with that tender, melt-in-your-mouth texture you get at a bakery. I wanted the classic chocolate kiss on top, but not the kind that makes the cookie soggy by noon.
After about seven failed attempts (yes, seven), I finally cracked the code. It wasn’t about adding more flour or baking for less time. It was about the ratio of sugars and the specific type of peanut butter I used. I’ve now made these soft peanut butter blossom cookies for every holiday party, school bake sale, and last-minute gift exchange for the past two years. They’re consistently soft, never dry, and the chocolate kiss stays firm. My family requests these over pumpkin spice cookies, over brownies, even over my grandma’s famous apple crisp. They are, hands-down, the best easy holiday treat I know how to make.
If you’ve ever struggled with peanut butter cookies that crack on top or taste like cardboard, stop scrolling. This is the recipe that saved my holiday baking reputation. Let’s get into why these work so well and how you can make them in under 30 minutes.
Why You’ll Love This Recipe
There are a lot of cookie recipes out there, but this soft peanut butter blossom cookie has earned a permanent spot in my weekly rotation, especially during the holidays. Here’s why it’s different from the rest:
- Actually Soft, Not Cakey — I tested this recipe with brown sugar, white sugar, and a touch of cornstarch (yes, cornstarch!) to keep them tender. The result is a cookie that’s crisp on the edges but soft and chewy in the center. No dry crumbs.
- Real Peanut Butter Flavor — Most recipes use processed peanut butter that tastes like sugar. I use natural creamy peanut butter (the kind that needs stirring) for a deep, roasted nutty flavor. You can taste the peanuts, not just the sweetness.
- Zero Chill Time — I don’t have time to wait hours for dough to chill. This recipe uses room temperature ingredients and goes straight into the oven. From bowl to tray in 10 minutes.
- The Chocolate Kiss Perfection — The key is pressing the Hershey’s Kiss (or any chocolate kiss) into the cookie right after it comes out of the oven, while it’s still warm. The heat melts the bottom of the kiss slightly, so it sticks without sinking. It’s the perfect bite every time.
- Crowd-Pleasing Simplicity — My picky eater nephew (who usually only eats bread crusts) asks for these specifically. They’re not overly sweet, not too rich, just balanced. Great for gifting, great for sharing, great for eating straight out of the jar.
This is my go-to when I need to fill a plate at a holiday party or send a quick care package home. It’s reliable, delicious, and requires almost no special skills.
Ingredients You’ll Need
Here’s the best part: you probably have most of this already. This isn’t a recipe that requires a trip to three different specialty stores. Here’s exactly what you need and why each item matters.
For the Cookie Dough
Unsalted butter (1 cup / 226g) — Softened to room temperature. This is crucial. If the butter is too cold, it won’t cream properly with the sugar. If it’s melted, the cookies will spread too thin. I take mine out of the fridge about an hour before baking. You should be able to make an indent with your finger without it squishing into a puddle.
Granulated sugar (½ cup / 100g) — This helps create those crisp edges. Don’t skip it for all brown sugar; you need that contrast in texture.
Packed brown sugar (1 cup / 220g) — Light or dark brown sugar both work. Dark brown has a deeper molasses flavor, which I love, but light is fine too. The moisture in the brown sugar is what keeps the center soft.
Creamy peanut butter (1 cup / 250g) — This is the star. I use natural creamy peanut butter (like Peter Pan or a store brand that’s just peanuts and salt). Avoid “no-stir” varieties with hydrogenated oils if you can—they can make the texture slightly waxy. But honestly, if that’s all you have, it still works. Just stir it well.
Large egg (1 / approx. 50g) — Room temperature is best. This binds everything together and adds richness.
Vanilla extract (1 teaspoon) — Real vanilla, please. I use pure vanilla extract, not imitation. It enhances the peanut flavor without overpowering it.
All-purpose flour (1 ¾ cups / 220g) — Don’t over-measure! Spoon it into the cup and level it off. Too much flour = dry cookies. I’ve made this mistake twice and had to add milk to fix it.
Baking soda (1 teaspoon) — This helps the cookies spread and brown. Make sure it’s not expired. If your baking soda is old, your cookies won’t rise properly.
Cornstarch (1 teaspoon) — This is my secret weapon. It inhibits gluten formation, keeping the cookies tender and soft. It’s the difference between a cracker and a cookie.
Salt (½ teaspoon) — Even though we’re using unsalted butter, salt is essential to balance the sweetness and bring out the peanut flavor.
For the Topping
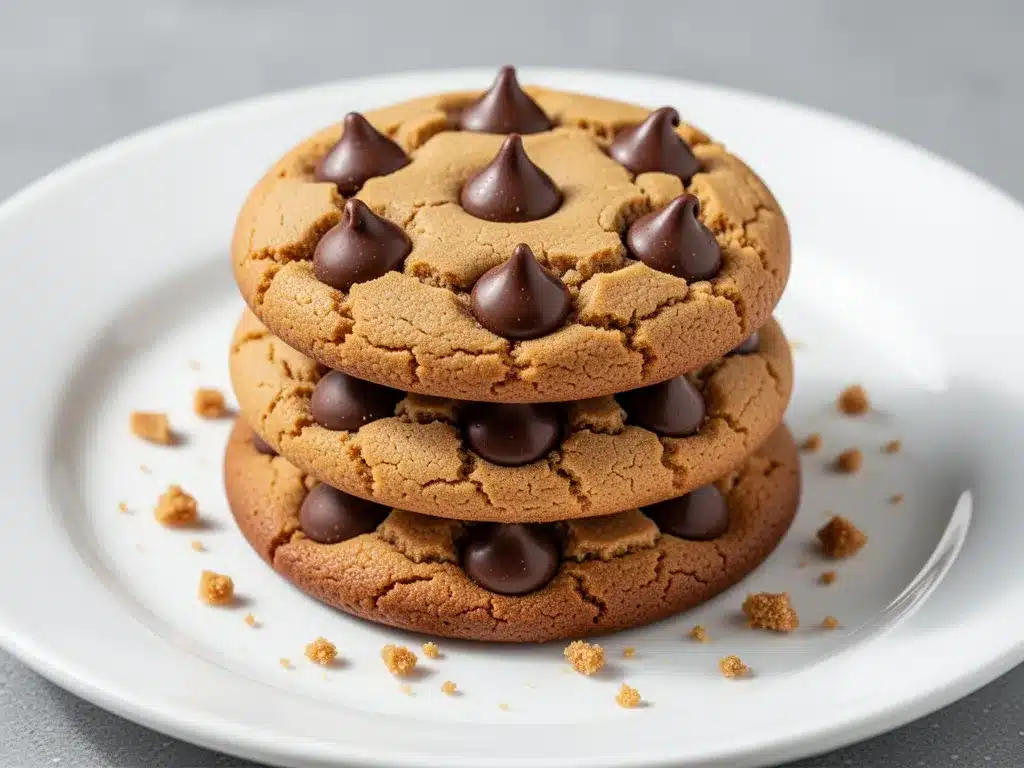
Hershey’s Kisses (about 40-50 pieces) — The classic milk chocolate ones. You can use dark chocolate Kisses if you prefer less sweet, or even peanut butter cups for a double-peanut hit. Just unwrap them first! I keep a big box of these in my pantry during the holidays.
Equipment Needed
You don’t need fancy gadgets for this. Here’s what I actually use:
Mixing bowls — One large for dry ingredients, one medium for wet. I use stainless steel because they’re easy to clean.
Electric hand mixer or stand mixer — You *can* mix by hand, but it takes arm workouts. A hand mixer is perfect for this amount of dough. Cream the butter and sugars for 3-4 minutes until fluffy. This step adds air, which helps with texture.
Silicone spatula — For folding in the flour. I have a few of these; they’re great for scraping every bit of dough out of the bowl.
Baking sheets — Two standard half-sheet pans. I line them with parchment paper. I don’t use silicone mats for these because the cookies need a little bit of friction to spread evenly.
Parchment paper — Non-negotiable. Cleanup is so much easier, and the cookies don’t stick.
Cooling rack — To cool the cookies after baking. If you skip this, the bottoms get soggy from residual heat.
Spoon or cookie scoop — I use a small ice cream scoop for uniform size. Uniform size means even baking. If you scoop by hand, try to make them all roughly the same size.
How to Make It: Step-by-Step
Alright, let’s make this! I’m walking you through exactly how I do it, including the little tricks I’ve picked up over the years.
Step 1: Prep Your Oven and Pans (5 minutes)
Preheat your oven to 350°F (175°C). Line two baking sheets with parchment paper. I usually do this before I even start measuring ingredients so I’m not scrambling later. If you’re making a big batch, you’ll need to rotate pans or bake in batches.
Step 2: Cream the Butter and Sugars (3-4 minutes)
In a large bowl, beat the softened butter, granulated sugar, and brown sugar together on medium-high speed. This is the most important step. Beat until the mixture is light, fluffy, and pale yellow. This usually takes about 3-4 minutes. If you rush this, your cookies will be dense. I often put on some holiday music and let the mixer do its thing while I chop or prep.
Step 3: Add Wet Ingredients (1 minute)
Add the peanut butter, egg, and vanilla extract to the butter mixture. Beat on medium speed until fully combined and smooth. The mixture might look a little curdled at first—that’s normal. Keep mixing for another 30 seconds until it looks uniform.
Step 4: Mix Dry Ingredients (2 minutes)
In a separate medium bowl, whisk together the flour, baking soda, cornstarch, and salt. Whisking ensures the baking soda is evenly distributed, so you don’t get bitter spots.
Step 5: Combine Wet and Dry (2 minutes)
Gradually add the dry ingredients to the wet ingredients. Mix on low speed just until the flour disappears. Do not overmix! Once you see no more white streaks of flour, stop. Overmixing develops gluten, which makes cookies tough. The dough will be thick and slightly sticky. This is correct.
Step 6: Roll and Bake (12-14 minutes)
Scoop tablespoon-sized portions of dough (about 1.5 tablespoons each) and roll them into balls between your palms. Place them on the prepared baking sheets, spacing them about 2 inches apart. They will spread. Bake for 10-12 minutes. The edges should be lightly golden, but the centers should still look soft and slightly underdone. This is key for soft cookies. If you bake them until they look firm, they’ll be hard when they cool.
Step 7: Add the Kisses (1 minute)
Immediately after removing the cookies from the oven, press one unwrapped Hershey’s Kiss into the center of each warm cookie. The heat from the cookie will melt the bottom of the kiss slightly, helping it adhere. Press down gently but firmly. If you wait too long, the cookie will cool and the kiss won’t stick. If you press too hard, it might sink too far. Just a gentle press is enough.
Step 8: Cool Completely (15-20 minutes)
Let the cookies cool on the baking sheet for 5 minutes, then transfer them to a wire rack to cool completely. They will firm up as they cool. If you try to move them while they’re hot, they’ll break. Patience is part of the process!
Expert Tips & Tricks
Here’s everything I’ve learned from making these dozens of times. These tips will save you from my mistakes.
Butter Temperature is Key
If your butter is too cold, it won’t cream properly. If it’s too warm, the cookies spread too much. Aim for room temperature—soft enough to dent with a finger, but not shiny or oily. In a pinch, you can soften butter in the microwave for 5-10 second bursts, but watch it closely. You don’t want melted butter.
Don’t Skip the Cornstarch
I know it seems weird in a cookie, but it’s the secret to that bakery-style softness. It tenderizes the dough. If you don’t have cornstarch, you can use a tiny bit more flour, but the texture won’t be quite as soft.
Use Natural Peanut Butter
The oil separation in natural peanut butter can make the dough wetter. If your dough feels too sticky, chill it in the fridge for 15 minutes before rolling. This firms up the fats and makes it easier to handle.
Rotate Your Pans
Ovens have hot spots. Halfway through baking, rotate your baking sheets front-to-back and left-to-right. This ensures even browning. I learned this the hard way when my front cookies were burnt and my back ones were pale.
Press the Kisses Immediately
Do not wait for the cookies to cool. The warmth is essential for adhesion. If you’re baking in batches, keep the first batch warm in the turned-off oven with the door slightly ajar while you bake the second batch.
Common Mistakes
Mistake: Cookies are flat. Fix: Your butter was too warm, or you didn’t measure flour correctly. Spoon and level your flour. Chill dough next time.
Mistake: Kisses fell off. Fix: You waited too long to press them in. Do it immediately after baking.
Mistake: Cookies are dry. Fix: You overbaked them. Take them out when the edges are just starting to turn golden. They will finish cooking on the hot pan.
Variations & Substitutions
Once you’ve nailed the basic version, here’s how you can mix it up. I’ve tried all of these.
Dark Chocolate Version
Use dark chocolate Kisses instead of milk chocolate. It cuts the sweetness and makes the peanut flavor stand out more. My husband prefers this version.
Peanut Butter Cup Version
Use mini Reese’s Peanut Butter Cups instead of Kisses. Cut them in half and press one half into each cookie. It’s like a peanut butter sandwich cookie in bite form. Amazing.
Gluten-Free
Use a 1:1 gluten-free flour blend (like Bob’s Red Mill or King Arthur). Make sure the blend includes xanthan gum, or add ½ teaspoon. The texture will be slightly more crumbly but still delicious.
Nut-Free
Use sunflower seed butter or soy nut butter instead of peanut butter. The flavor will be different but the texture remains the same. Great for schools with nut-free policies.
White Chocolate Kisses
For a sweeter, milder flavor, use white chocolate Kisses. They look pretty, especially if you add a sprinkle of sea salt on top after pressing.
Add-ins
Stir in ½ cup of mini chocolate chips or chopped pretzels for a sweet-and-salty crunch. I’ve added crushed toffee bits, and they were a hit at my office party.
Serving & Storage
How to Serve:
I usually serve these straight out of the jar or on a platter with a napkin. They’re perfect for holiday parties, potlucks, or packing in lunchboxes. Pair them with a cold glass of milk, obviously. Or coffee, if you’re an adult.
Side Dishes:
These are dessert, so they don’t need a side. But if you’re serving them as part of a larger spread, they go well with hot cocoa or spiced cider.
Storage Instructions:
Room Temperature: Store in an airtight container at room temperature for up to 5 days. Place a slice of bread in the container with the cookies. The bread will keep the cookies soft. I swear by this trick.
Refrigerator: You can store them in the fridge for up to 2 weeks, but they might firm up. Bring them to room temperature before eating for the best texture.
Freezing: These freeze beautifully! Bake them, cool them completely, then place them in a freezer-safe bag or container. They’ll last for 3 months. Thaw at room temperature. You can also freeze the dough balls before baking. Just add 1-2 minutes to the baking time.
Pro Tip: If you’re gifting them, layer them with wax paper and tie the container with a ribbon. Add a handwritten note: “Made with love and peanut butter.” People love that.
Nutrition Information
I’m not a nutritionist, but here’s the breakdown if you’re tracking. These are indulgent cookies, so enjoy them in moderation.
Per Serving (based on 24 cookies):
- Calories: 180
- Protein: 4g
- Carbs: 22g
- Fiber: 1g
- Sugar: 14g
- Fat: 10g
- Saturated Fat: 4g
- Cholesterol: 15mg
- Sodium: 120mg
What’s Good:
- Decent protein from the peanut butter
- Contains healthy fats from the nuts
- Smaller portion size than cake or pie
What to Know:
- Higher in sugar and fat due to butter and chocolate
- Contains dairy, peanuts, and gluten
- Use natural peanut butter to avoid added sugars and hydrogenated oils
My Take:
Look, these are cookies. They’re supposed to taste good. They’re not a health food. But they’re made with simple ingredients, and a little bit goes a long way. I usually have one or two with my coffee in the morning. If you’re watching your sugar, you can reduce the brown sugar by ¼ cup, but they’ll be less soft.
Final Thoughts
So that’s my go-to soft peanut butter blossom cookie! I’ve probably talked your ear off at this point, but when you make a recipe this often, you have a lot to say about it.
This has saved my holiday baking more times than I can count. It’s my answer to “what should I bring to the party?” when I’m tired, don’t want takeout, and still want something that tastes really good. My kids are happy, my husband’s happy, and I’m happy because I’m not stressed about cooking.
Make it yours! Try different chocolates, add pretzels, or swap the peanut butter for almond butter. The best recipes are the ones you adapt to your family’s tastes.
If you make this, drop a comment and let me know what you think! I love hearing how recipes turn out in your kitchen. And if something doesn’t work, tell me that too—I’m here to help troubleshoot.
Happy baking! And I hope your kitchen smells half as good as mine does right now.
Frequently Asked Questions
Can I use crunchy peanut butter instead of creamy?
Yes, you can! The texture will be slightly chunkier, which some people love. Just make sure to stir the natural peanut butter really well before measuring, as the oil separation can affect the dough consistency. If the dough feels too wet, chill it for 15 minutes.
Why did my cookies spread too much?
This usually happens if the butter was too warm or if you didn’t measure the flour correctly. Make sure your butter is room temperature, not melted. Also, spoon the flour into the measuring cup and level it off—don’t scoop directly from the bag, which packs it down and adds too much flour.
Can I make the dough ahead of time?
Absolutely! You can chill the dough in the fridge for up to 3 days, or freeze it for up to 3 months. When you’re ready to bake, let it come to room temperature for about 15 minutes, then scoop and bake as usual. This actually helps the flavors meld!
Why did the chocolate kiss fall off?
The kiss needs the residual heat from the cookie to melt slightly and stick. If you wait too long to press it in, the cookie cools down and the chocolate won’t adhere. Press the kiss in immediately after removing the cookies from the oven.
Can I use dark chocolate kisses?
Yes! Dark chocolate kisses work great and offer a nice contrast to the sweet peanut butter. You can also use milk chocolate cups, white chocolate kisses, or even peanut butter cups. Just unwrap them first!
How do I keep the cookies soft?
The cornstarch and brown sugar are key. Also, don’t overbake them. Take them out when the edges are just starting to turn golden. They will firm up as they cool. Store them with a slice of bread in an airtight container to maintain moisture.
Can I double this recipe?
Yes, double all the ingredients. Just make sure you have a large enough mixing bowl and baking sheets. You may need to bake in multiple batches. The cooking time remains the same.
Pin This Recipe!
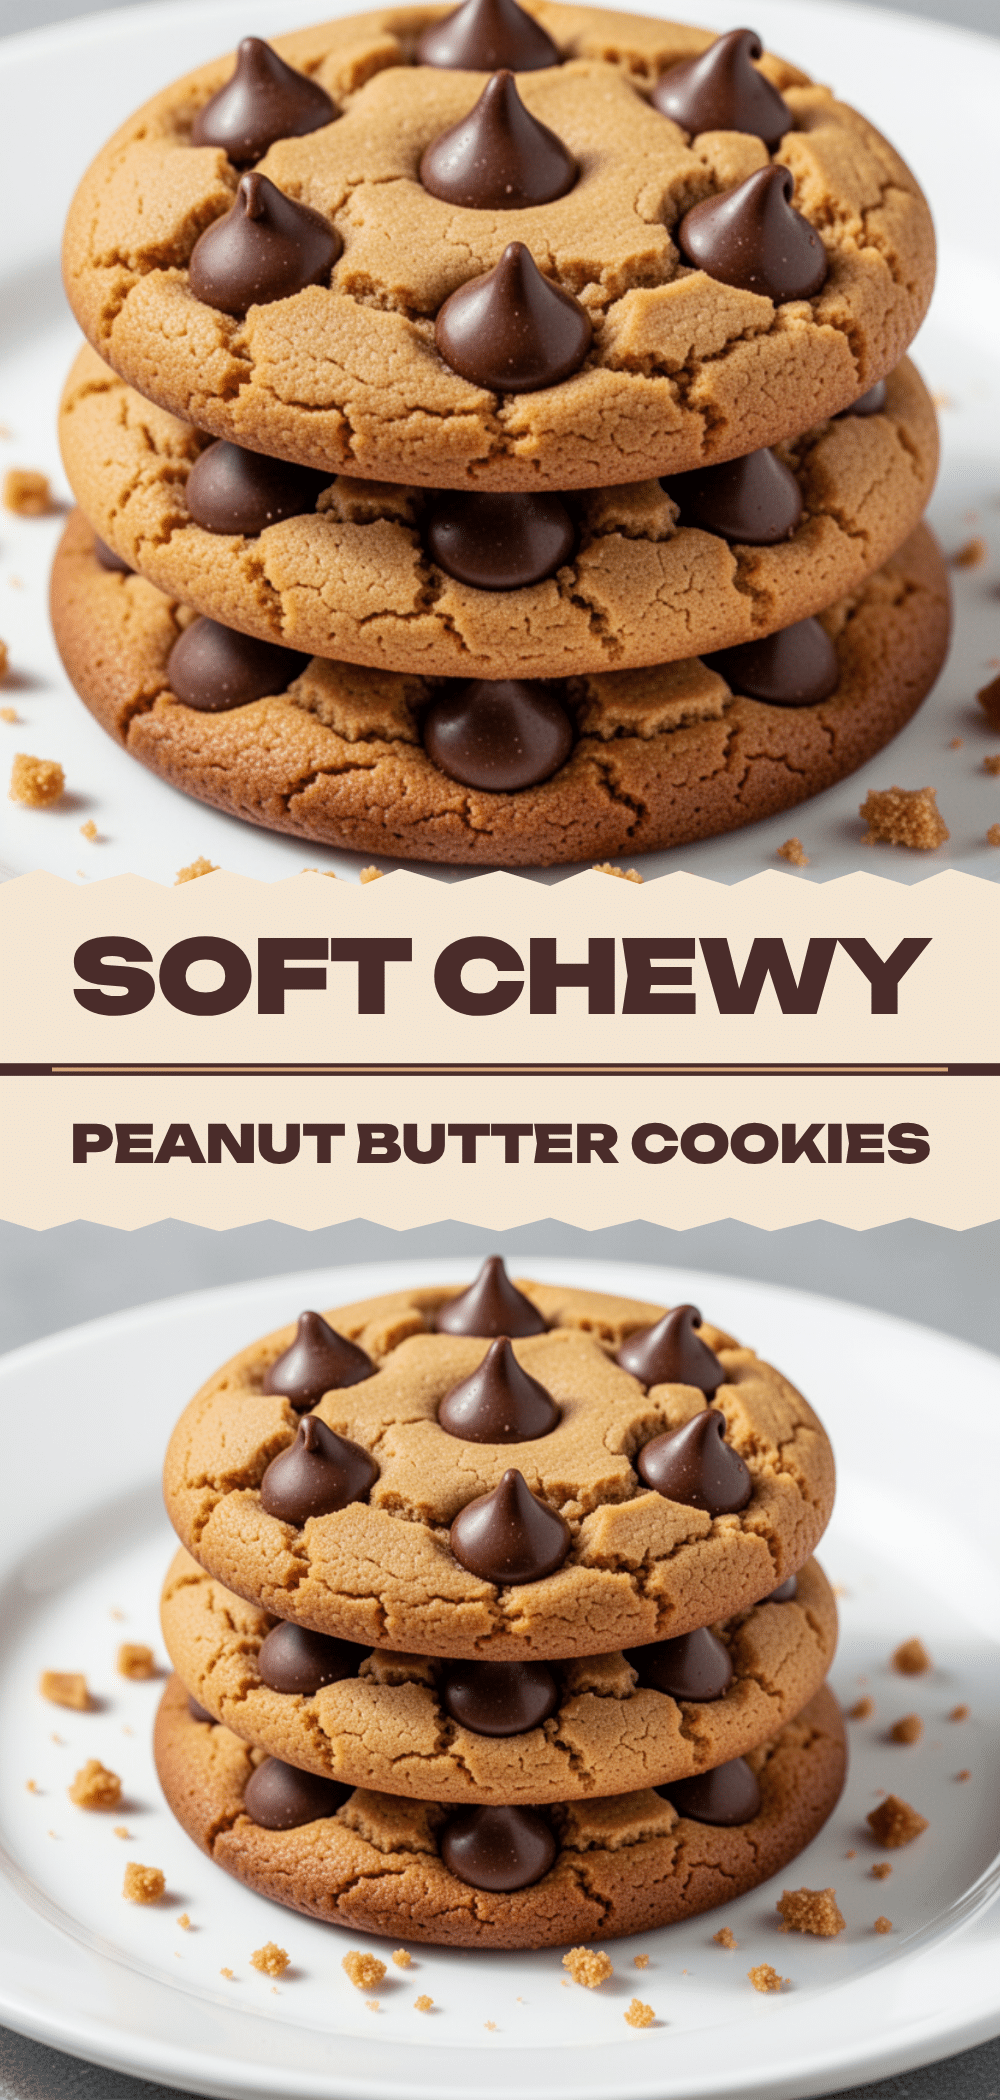
Soft Peanut Butter Blossom Cookies: Best Easy Holiday Treat
- Total Time: 22 minutes
- Yield: 24 cookies 1x
Description
These soft and chewy peanut butter blossom cookies are the perfect holiday treat. Made with natural peanut butter and cornstarch for a tender texture, they are ready in under 30 minutes with no chill time required.
Ingredients
- 1 cup (226g) unsalted butter, softened to room temperature
- ½ cup (100g) granulated sugar
- 1 cup (220g) packed brown sugar (light or dark)
- 1 cup (250g) creamy natural peanut butter
- 1 large egg, room temperature
- 1 teaspoon vanilla extract
- 1 ¾ cups (220g) all-purpose flour
- 1 teaspoon baking soda
- 1 teaspoon cornstarch
- ½ teaspoon salt
- 40–50 Hershey’s Kisses (or preferred chocolate kisses), unwrapped
Instructions
- Preheat oven to 350°F (175°C) and line two baking sheets with parchment paper.
- In a large bowl, beat the softened butter, granulated sugar, and brown sugar on medium-high speed for 3-4 minutes until light, fluffy, and pale yellow.
- Add the peanut butter, egg, and vanilla extract to the butter mixture. Beat on medium speed until fully combined and smooth.
- In a separate medium bowl, whisk together the flour, baking soda, cornstarch, and salt.
- Gradually add the dry ingredients to the wet ingredients, mixing on low speed just until the flour disappears. Do not overmix.
- Scoop tablespoon-sized portions of dough (about 1.5 tablespoons) and roll into balls. Place on prepared baking sheets, spacing them 2 inches apart.
- Bake for 10-12 minutes until edges are lightly golden but centers still look soft. Rotate pans halfway through baking if needed.
- Immediately after removing from the oven, press one unwrapped Hershey’s Kiss into the center of each warm cookie.
- Let cookies cool on the baking sheet for 5 minutes, then transfer to a wire rack to cool completely.
Notes
Ensure butter is softened but not melted. Use natural creamy peanut butter for best flavor. Press chocolate kisses immediately after baking while cookies are warm. Store with a slice of bread to maintain softness. For gluten-free version, use a 1:1 gluten-free flour blend.
- Prep Time: 10 minutes
- Cook Time: 12 minutes
- Category: Dessert
- Cuisine: American
Nutrition
- Serving Size: 1 cookie
- Calories: 180
- Sugar: 14
- Sodium: 120
- Fat: 10
- Saturated Fat: 4
- Carbohydrates: 22
- Fiber: 1
- Protein: 4
Keywords: peanut butter cookies, soft cookies, holiday baking, easy cookies, peanut butter blossom, chocolate kiss cookies, no chill cookies


