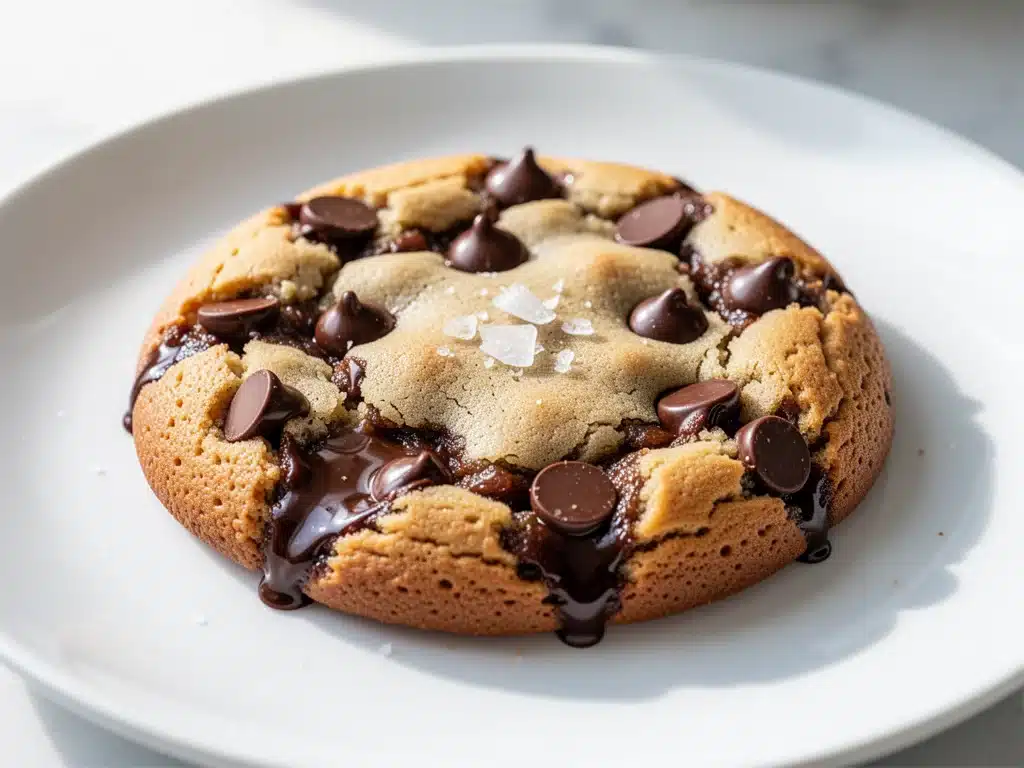
There was a winter evening about three years ago when the snow was piling up against my windows and my cravings were hitting hard. I wanted chocolate chip cookies. Not a dozen of them. Not a batch of twenty-four. I wanted one single, giant, gooey, chocolate-drenched cookie that I could eat with a spoon while watching a movie. The problem? I didn’t have enough chocolate chips for a full batch, and I definitely didn’t have the energy to preheat a large oven, wait for it to heat up, and then clean a dozen cookie sheets.
So, I did what any desperate home cook would do. I grabbed a small cast-iron skillet, threw together a quick dough in a bowl, and popped it into the microwave for what I thought was too short a time. When I pulled it out, it was still a bit underdone in the center. I let it sit for two minutes, and the residual heat finished the magic. The result? A warm, crispy-edged, fudgy-center cookie that tasted like comfort. It took less than ten minutes from start to finish, and I didn’t have to wash a single baking sheet.
That accidental discovery became a staple in our house. We call it the Small Batch Chocolate Chip Skillet Cookie. It’s the ultimate “I need dessert now” solution. It’s perfect for when you’re cooking for one or two, when you’re craving something sweet but don’t want to commit to a whole batch, or when you just want that warm, gooey texture that’s impossible to get from a standard flat cookie. I’ve tested this recipe dozens of times, tweaking the butter-to-flour ratio until it was absolutely perfect. It’s not just a quick fix; it’s genuinely one of the best desserts I make all year.
Why You’ll Love This 10-Minute Dessert
Look, I love a good from-scratch cookie recipe as much as anyone. But sometimes, life happens. Kids have activities, work runs late, or you just want a snack without the fuss. This skillet cookie changes the game because it’s designed for real life. Here’s why it’s earned a permanent spot in my weekly routine.
Lightning Fast — Seriously, this is a 10-minute dessert. From mixing the dough to eating the first warm bite, it takes about 8-10 minutes. No preheating a full oven, no waiting for dough to chill, no cooling racks. It’s ready when you’re ready.
Zero Waste — One of the biggest annoyances with baking is opening a new bag of chocolate chips or butter for just one or two cookies. This recipe uses tiny amounts of ingredients, so you’re not throwing half a stick of butter or a quarter cup of chips into the trash.
Texture Perfection — Baking a cookie in a skillet creates a unique texture you can’t get on a flat sheet. The edges get crispy and caramelized against the pan, while the center stays thick, fudgy, and almost like a brownie. It’s the best of both worlds.
Easy Cleanup — If you use a non-stick skillet or well-seasoned cast iron, you literally just wipe it out. No cookie sheets, no parchment paper to dispose of, no cooling racks to wash. It’s the most efficient dessert method I’ve ever used.
Customizable — This is your canvas. Want sea salt on top? Done. Want to add a scoop of vanilla ice cream? Absolutely. Want to swap the chips for peanut butter chips? Go for it. It’s a flexible recipe that adapts to whatever you have in your pantry.
This is my go-to when I need a sweet fix that doesn’t require a full baking session. It’s reliable, delicious, and makes everyone happy without the stress.
Ingredients You’ll Need
The best part about this small batch chocolate chip skillet cookie is how simple the ingredient list is. You probably have almost everything right now. I’m particular about a few things here—especially the butter and the chocolate—but honestly, this recipe is very forgiving.
For the Dough:
Unsalted butter (2 tablespoons / 30g) — Softened. This is crucial. If your butter is cold, it won’t mix evenly. Microwave it for 10-15 seconds just to soften it up. It should be squishable but not melted into a puddle. Using unsalted butter lets you control the saltiness, but salted works if you reduce the added salt slightly.
Granulated sugar (2 tablespoons / 25g) — This helps create that crispy edge. Don’t skip it for brown sugar if you want that texture, though I’ll talk about variations below. White sugar gives that nice crunch.
Packed brown sugar (2 tablespoons / 30g) — This is what makes the center chewy and fudgy. Light or dark brown sugar both work. I prefer dark brown sugar for a deeper molasses flavor, but light is fine too.
Egg yolk (1 large, about 1 tablespoon) — We’re using just the yolk to keep the cookie rich and tender without adding too much liquid (which comes from the white). If you don’t want to waste the white, save it for a smoothie or meringue. Or, honestly, just scramble it into your morning eggs later.
Vanilla extract (½ teaspoon) — Pure vanilla is best here. Since there aren’t many ingredients, the vanilla flavor really shines through. I use the brown bottle stuff, not the imitation kind.
All-purpose flour (¼ cup / 30g) — Just standard flour. Don’t use cake flour or self-rising. If you’re measuring, spoon it into the cup and level it off. Don’t scoop and pack, or you’ll end up with a dry, crumbly cookie.
Baking soda (⅛ teaspoon) — This is the leavening agent. It helps the cookie spread slightly and gives it that baked texture. Be precise here; too much makes it taste metallic.
Salt (¼ teaspoon) — Enhances the chocolate flavor. If you’re using salted butter, reduce this to a pinch.
For the Topping:
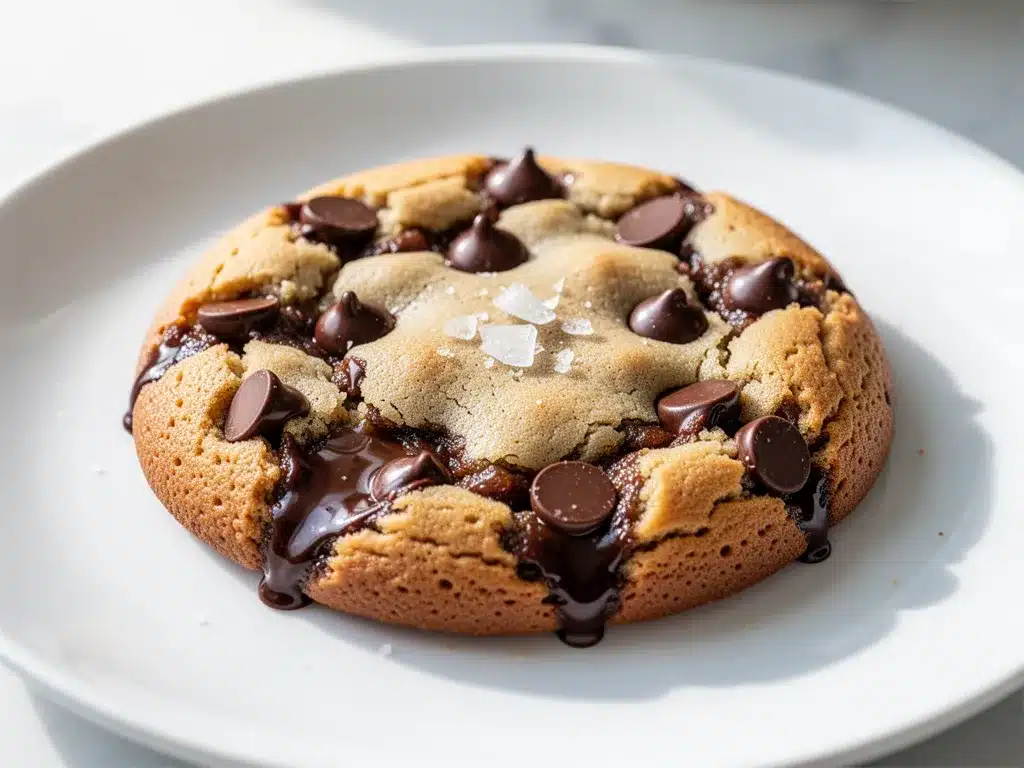
Chocolate chips (¼ cup / 40g) — Semi-sweet is my favorite balance. Milk chocolate is sweeter, and dark chocolate is more intense. I actually mix them sometimes for complexity. Mini chips are great too because they distribute evenly, but regular chips give you those big gooey pockets.
Flaky sea salt (optional, for garnish) — This is the game-changer. Sprinkling a little Maldon sea salt on top right after baking contrasts beautifully with the sweet chocolate. I highly recommend it.
Equipment Needed
You don’t need fancy tools for this. In fact, the beauty of this recipe is how few tools you need. Here’s what I actually use:
Small non-stick skillet (6-8 inches) — This is the star of the show. A 6-inch skillet gives you a thicker, fudgier cookie. An 8-inch skillet gives you a thinner, crispier cookie. I use a 6.5-inch skillet, and it’s perfect. You can use cast iron, but make sure it’s well-seasoned so the cookie doesn’t stick.
Microwave-safe bowl — For melting the butter and mixing the dough. If you don’t have a microwave, you can melt the butter in a small saucepan on the stove, but the microwave is faster.
Fork or small spatula — For mixing. Since the batch is so small, a fork works just fine. No need to pull out a mixer.
Measuring spoons and cups — Standard stuff. The dollar store versions work perfectly for this.
Microplane or box grater — Optional, but if you want to grate fresh chocolate instead of using chips, this is the way to go. Freshly grated chocolate melts differently and tastes incredible.
How to Make It: Step-by-Step
Alright, let’s make this! I’m walking you through exactly how I do it, including the little tricks I’ve picked up over the last few years. It’s so simple that you might wonder why you ever baked full-sized cookies for one person.
Step 1: Melt and Mix the Wet Ingredients (2 minutes)
In a microwave-safe bowl, combine the softened butter and both sugars (granulated and brown). Microwave on high for 20-30 seconds until the butter is melted. Stir vigorously with a fork until the mixture is smooth and glossy. This step is important because it helps dissolve the sugars slightly, which contributes to that crispy edge. Let it cool for about 30 seconds so it doesn’t scramble the egg yolk.
Whisk in the egg yolk and vanilla extract. Mix until fully combined. The mixture should look creamy and emulsified. If it looks separated, just keep whisking; it’ll come together.
Step 2: Add the Dry Ingredients (1 minute)
Add the flour, baking soda, and salt to the wet mixture. Stir gently with your fork. Do not overmix! You just want to incorporate the flour until no dry streaks remain. The dough will be thick and sticky. If it seems too dry, add a tiny splash of milk (about ½ teaspoon). If it’s too wet, add a pinch more flour.
Step 3: Press into the Skillet (1 minute)
Lightly grease your skillet with a little butter or cooking spray. Dump the dough into the center of the pan. Use your fingers or the back of a spoon to press it out evenly into the pan. It should cover the bottom in a single layer. Don’t worry if it’s not perfectly smooth; it will spread a bit as it cooks.
Step 4: Add Chocolate and Bake (5-7 minutes)
Scatter the chocolate chips evenly over the top of the dough. I like to push a few chips slightly into the dough so they don’t all end up on top.
Preheat your oven to 350°F (175°C). Place the skillet in the center rack and bake for 5-7 minutes. This is the critical part. You want the edges to be set and slightly golden, but the center should still look soft and slightly underdone. It will continue to cook from residual heat after you take it out. If you bake it until the center looks firm, it will be dry and crumbly when it cools.
Step 5: Cool and Serve (2 minutes)
Remove the skillet from the oven. If you’re using flaky sea salt, sprinkle it over the top now while the chocolate is melting slightly. Let the cookie sit in the pan for 2 minutes. This allows it to firm up enough to scoop but keeps it warm and gooey.
Serve immediately. I usually eat it straight from the skillet with a spoon, but you can also flip it onto a plate. It’s best enjoyed warm.
Expert Tips & Tricks
Here’s everything I’ve learned from making this dozens of times. These tips will save you from my early mistakes.
Don’t Overbake It
This is the #1 mistake people make. The cookie looks raw in the middle when you take it out, and you want to put it back in. Don’t. The residual heat will finish cooking it. If you wait for it to look done in the oven, it will be tough and dry once it cools. It should look soft and jiggly in the center.
Use Softened Butter
If your butter is cold, the dough will be lumpy and hard to mix. If it’s melted, the cookie will spread too thin. Aim for “softened”—you should be able to leave an indent with your finger easily. If you’re in a hurry, microwave it for 5-10 seconds.
Choose the Right Skillet
A 6-inch skillet is ideal for a thick, fudgy cookie. An 8-inch skillet will make it thinner and crispier. If you only have a large 10-inch skillet, you can still use it, but the cookie will be very thin and might burn on the edges quickly. Keep a close eye on it.
Quality Chocolate Matters
Since there are only a few ingredients, the chocolate is the star. Use good quality chips or chop up a chocolate bar. Avoid the cheapest chips if you can help it; they often contain more wax and don’t melt as smoothly. I love using Ghirardelli or Guittard for this.
Room Temperature Egg Yolk
Cold egg yolk can shock the warm butter mixture. If your eggs are straight from the fridge, let the yolk sit out for 5 minutes, or add it to the warm butter mixture quickly while whisking. It helps the dough emulsify better.
Variations & Substitutions
Once you’ve nailed the basic version, here’s how you can mix it up. I’ve tried all of these, and they’re all delicious.
Double Chocolate Version
Add 1 tablespoon of cocoa powder to the dry ingredients. This makes the dough itself chocolatey, not just the chips. It’s rich and intense. Great for chocolate lovers.
Peanut Butter Chip
Swap the chocolate chips for peanut butter chips. The combination of buttery cookie and salty-sweet peanut butter is incredible. You can also swirl a teaspoon of peanut butter into the dough before baking.
White Chocolate Macadamia
Use white chocolate chips and add 2 tablespoons of chopped macadamia nuts. It’s a tropical twist that feels fancy but is just as easy.
Cherry Almond
Use white chocolate chips, 2 tablespoons of chopped almonds, and 2 tablespoons of dried cherries (chopped if they’re large). It’s a bit more sophisticated, like a dessert from a café.
Mini Cookie Bites
If you have two small skillets, divide the dough in half and make two smaller cookies. Or, if you want individual portions, use ramekins instead of a skillet. The baking time will be slightly less, so check at 4 minutes.
Gluten-Free Option
Swap the all-purpose flour for a 1:1 gluten-free flour blend. The texture might be slightly more crumbly, but it still works well. I’ve used Bob’s Red Mill 1-to-1 with good results.
Dairy-Free Version
Use dairy-free butter (like Miyoko’s or Earth Balance) and dairy-free chocolate chips. The texture is very similar to the original. Just make sure your dairy-free butter is soft enough to mix.
Serving & Storage
How to Serve:
I usually serve this straight from the skillet at the dinner table—it looks rustic and stays warm. But here are other ways I’ve enjoyed it:
- With Ice Cream: A scoop of vanilla bean ice cream on top of the warm cookie is heaven. The contrast of hot and cold is amazing.
- With Coffee or Tea: This is a perfect afternoon snack. Dip a spoonful into your coffee (if you dare!) or just enjoy it alongside a mug.
- With Whipped Cream: If you want to feel fancy, top it with a dollop of freshly whipped cream and a drizzle of caramel sauce.
Storage Instructions:
Honestly, this cookie is best eaten fresh. It doesn’t store well because it continues to cook and can become dry or hard if left out. If you have leftovers (which I doubt), store them in an airtight container at room temperature for up to 2 days. Reheat in the microwave for 10-15 seconds to soften it up before eating.
Reheating:
Microwave for 10-15 seconds. This brings back the gooey texture. Don’t overheat it, or it will get tough.
Freezing:
You can freeze the dough! Scoop it into a small ball, freeze it on a tray, then transfer to a freezer bag. When you want a cookie, just drop the frozen dough into the skillet and bake for 1-2 minutes longer. It’s a great meal-prep trick if you crave cookies but don’t want to make dough every time.
Nutrition Information
I’m not a nutritionist, but here’s the breakdown if you’re tracking. Keep in mind that this is a small batch, so the calories per serving are concentrated.
Per Skillet Cookie (Serves 1-2):
– Calories: ~350-400
– Protein: 4g
– Carbs: 45g
– Fiber: 2g
– Sugar: 28g
– Fat: 20g
– Saturated Fat: 12g
– Cholesterol: 45mg
– Sodium: 200mg
What’s Good:
– It’s a small portion, so it’s easier to control indulgence.
– Contains some calcium from the butter and eggs.
– Quick and satisfying, so you don’t feel like you’re eating a whole tray of cookies.
What to Know:
– Higher in sugar and fat due to the butter and chocolate.
– Contains gluten and dairy.
– Moderate sodium.
My Take:
Look, this is dessert. It’s meant to be enjoyed. It’s not a health food, but it’s a controlled portion that satisfies a craving without leaving you stuffed. When I want to make it slightly lighter, I use half the chocolate chips and add some nuts for protein. But usually? I just eat it and enjoy the moment.
Final Thoughts
So that’s my small batch chocolate chip skillet cookie! I’ve probably talked your ear off at this point, but when you make a recipe this often, you have a lot to say about it. This has saved me on countless late nights when I just wanted something sweet but didn’t want the hassle of a full bake. It’s my answer to “what’s for dessert” when I’m tired, don’t want takeout, and still want something that tastes really good.
Make it yours! Try different add-ins, swap in your favorite chocolate, or top it with sea salt. The best recipes are the ones you adapt to your tastes. If you make this, drop a comment and let me know what you think! I love hearing how recipes turn out in your kitchen. And if something doesn’t work, tell me that too—I’m here to help troubleshoot.
Happy cooking! And I hope your kitchen smells half as good as mine does right now.
Frequently Asked Questions
Can I use a microwave instead of an oven?
Yes! In my original discovery, I used the microwave. Microwave the dough with chocolate chips for about 45-60 seconds on high. Check it every 15 seconds. It will cook very fast. The texture will be more like a brownie than a cookie, but it’s still delicious. Just be careful not to overcook it, or it will get rubbery.
Why did my cookie turn out dry?
This usually happens if you overbake it. Remember, it should look slightly underdone in the center when you take it out. The residual heat finishes the cooking. Also, if you used cold butter and didn’t mix it well, the dough might have been too dry. Make sure your butter is softened and the dough is moist before baking.
Can I double this recipe?
You can, but you’ll need a larger skillet. If you double the ingredients, you’ll need an 8-10 inch skillet. The baking time will increase by 1-2 minutes. Keep a close eye on it to ensure the edges don’t burn. I usually stick to single batches because they’re so quick, but doubling works fine if you have two people craving dessert.
What if I don’t have a skillet?
You can use a small oven-safe ramekin or even a muffin tin. If you use a muffin tin, make one cookie per cup. The baking time will be slightly less, around 4-5 minutes. Just watch them closely. The skillet is best because it gives that crispy edge, but ramekins work well for individual portions.
Can I make this gluten-free?
Absolutely. Swap the all-purpose flour for a 1:1 gluten-free flour blend. The texture might be slightly more crumbly, but it still holds together well. I’ve used Bob’s Red Mill 1-to-1 with great results. Just make sure your baking soda and chocolate chips are certified gluten-free if you have celiac disease.
Is there a way to make this healthier?
You can reduce the sugar by 1 tablespoon and use dark chocolate chips (which have less sugar). You can also add a tablespoon of oats to the dough for some fiber. Or, use almond flour instead of all-purpose flour for a lower-carb option, though the texture will be more dense. It’s still a treat, but slightly more balanced.
Why does my cookie spread too much?
If your butter was too warm or melted, the cookie will spread. Make sure your butter is softened, not liquid. Also, if your oven temperature is too high, it might spread before setting. Make sure your oven is properly preheated to 350°F. If it’s still spreading, try chilling the dough for 5 minutes before baking.
Pin This Recipe!
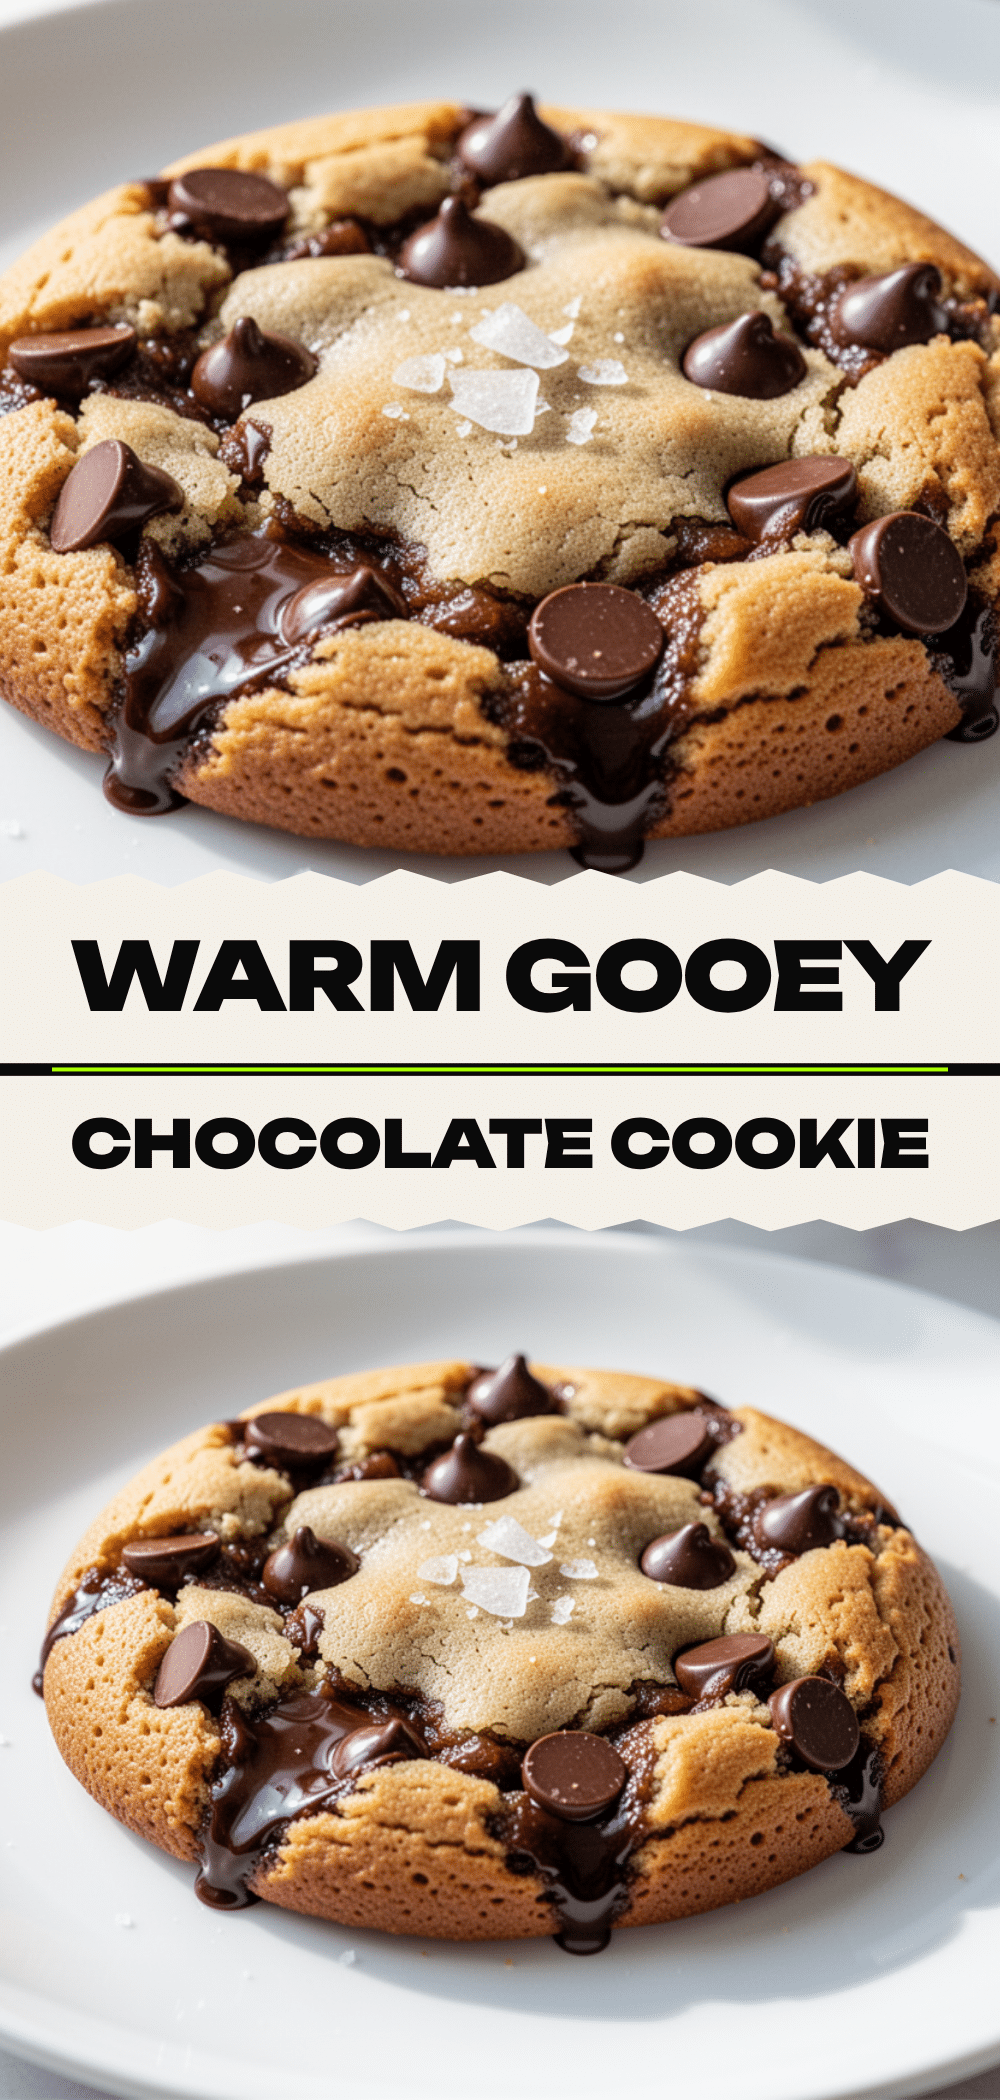
Small Batch Chocolate Chip Skillet Cookie: 10 Min Dessert
- Total Time: 10 minutes
- Yield: 1 serving 1x
Description
A quick, single-serving chocolate chip cookie baked in a skillet, featuring crispy edges and a fudgy center, ready in under 10 minutes.
Ingredients
- 2 tablespoons (30g) unsalted butter, softened
- 2 tablespoons (25g) granulated sugar
- 2 tablespoons (30g) packed brown sugar
- 1 large egg yolk
- ½ teaspoon vanilla extract
- ¼ cup (30g) all-purpose flour
- ⅛ teaspoon baking soda
- ¼ teaspoon salt
- ¼ cup (40g) chocolate chips
- Flaky sea salt, optional for garnish
Instructions
- In a microwave-safe bowl, combine softened butter and both sugars. Microwave on high for 20-30 seconds until melted, then stir vigorously until smooth and glossy. Let cool for 30 seconds.
- Whisk in the egg yolk and vanilla extract until the mixture is creamy and emulsified.
- Add flour, baking soda, and salt to the wet mixture. Stir gently with a fork until no dry streaks remain; do not overmix.
- Lightly grease a 6-8 inch non-stick skillet. Press the dough evenly into the bottom of the skillet.
- Scatter chocolate chips over the dough, pushing a few slightly into the dough.
- Preheat oven to 350°F (175°C). Bake for 5-7 minutes until edges are set and golden but the center still looks soft.
- Remove from oven and sprinkle with flaky sea salt if desired. Let sit for 2 minutes to firm up before serving.
Notes
Do not overbake; the center should look slightly underdone as it will continue to cook from residual heat. Use softened butter, not melted. For a gluten-free version, swap all-purpose flour for a 1:1 gluten-free blend. For a dairy-free version, use dairy-free butter and chocolate chips.
- Prep Time: 2 minutes
- Cook Time: 5-7 minutes
- Category: Dessert
- Cuisine: American
Nutrition
- Serving Size: 1 skillet cookie
- Calories: 375
- Sugar: 28
- Sodium: 200
- Fat: 20
- Saturated Fat: 12
- Carbohydrates: 45
- Fiber: 2
- Protein: 4
Keywords: chocolate chip cookie, skillet cookie, small batch dessert, 10 minute dessert, single serving cookie, quick dessert, gooey cookie


