It was 8:00 PM on a Tuesday, and I was staring at a grocery list that looked like a ransom note. We were supposed to celebrate our third anniversary that weekend, but between work deadlines and a leaky faucet that needed immediate attention, I had completely forgotten to order a cake. Panic is a funny thing. It makes you want to order Uber Eats, but it also makes you realize that you actually want to cook something real. Something with soul.
I rummaged through my pantry, looking for inspiration, and found a bag of dark chocolate chips and a half-empty tin of instant espresso powder. I’ve always believed that chocolate and coffee are best friends—like peanut butter and jelly, or wine and cheese. But I’d never actually tried baking them together in a cake until that night. I was tired, my hands were shaking slightly from caffeine withdrawal, and I was praying this wouldn’t turn out like that disaster I made in college (the one that looked like a wet brick).
So, I threw everything into a bowl. I didn’t measure precisely at first. I just tasted. And then I baked. When that smell hit the kitchen—rich, deep cocoa with a warm, roasted coffee undertone—my husband walked in from the garage, wiped his grease-stained hands on his jeans, and stopped dead in his tracks. He didn’t say anything. He just leaned against the counter, closed his eyes, and sighed. That sigh told me everything I needed to know.
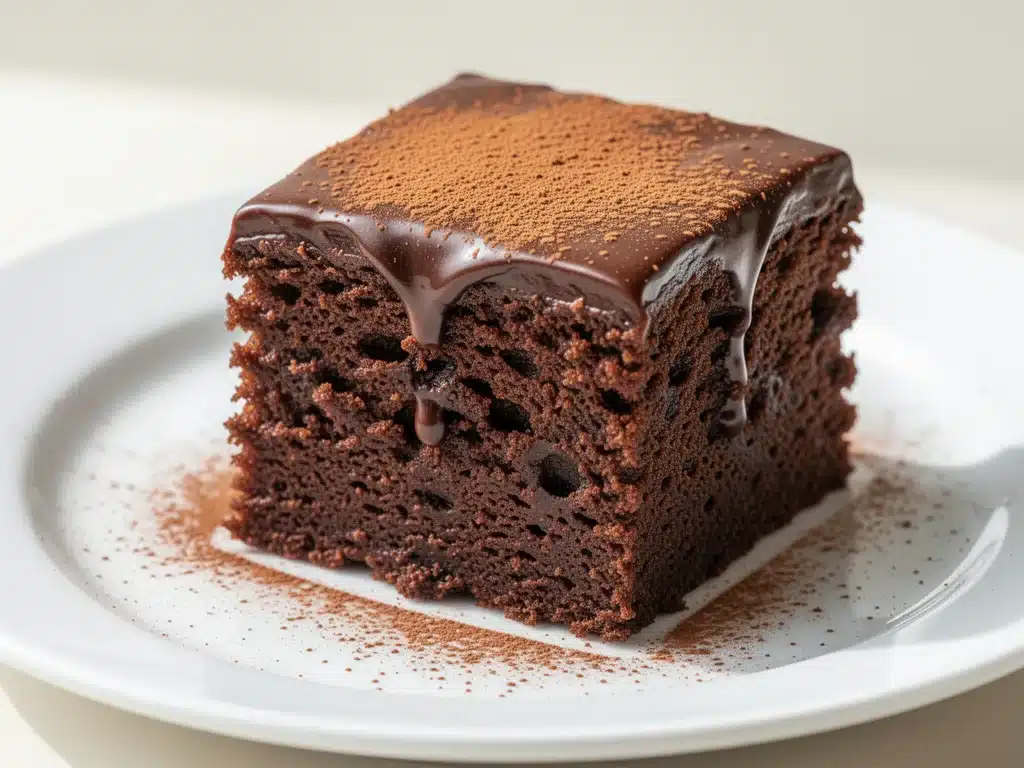
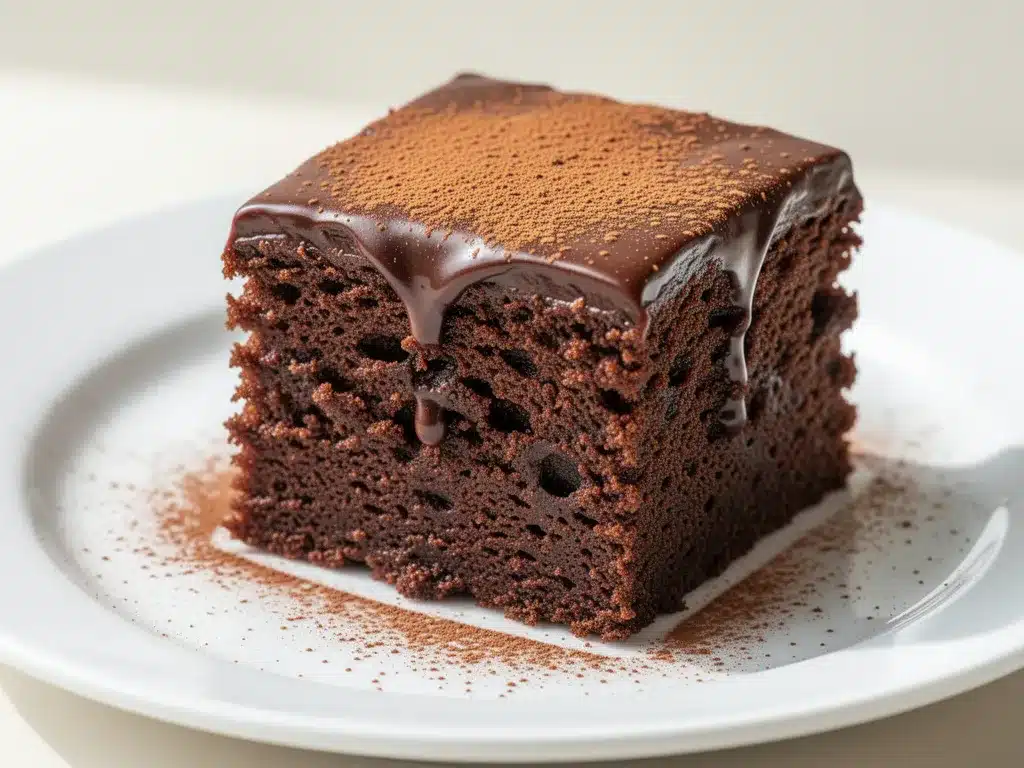
When we finally cut into it, the texture was impossibly moist. Not dry, not crumbly, but fudgy. Dense in the best way possible. The espresso didn’t make it taste like coffee; it made the chocolate taste like chocolate. It amplified the flavor in a way I didn’t think was possible. We ate it straight from the pan with spoons, no plates, no forks, just two people standing in our messy kitchen eating warm fudge cake. It was the best anniversary dinner we ever had, and it cost less than $10 to make.
That night, I realized I had found something special. This isn’t just a dessert; it’s a mood lifter. It’s the kind of cake you make when you need to celebrate, when you need to comfort someone, or when you just need a moment of pure, unadulterated joy. I’ve tested this rich chocolate fudge cake with espresso recipe at least fifteen times since that Tuesday. I’ve tweaked the sugar, adjusted the baking time, and even tried substituting the coffee with tea once (don’t do that). But the core remains the same: simple ingredients, bold flavors, and a result that tastes like it came from a high-end bakery but is actually just… home.
If you’re looking for a dessert that feels indulgent without requiring a degree in pastry arts, this is it. It’s my go-to for holidays, birthdays, and random Wednesdays when I just need chocolate. Let me show you how to make it.
Why You’ll Love This Rich Chocolate Fudge Cake
There are a hundred chocolate cake recipes out there. So why this one? Why the espresso? Why the specific method? Because this cake solves the biggest problem with homemade chocolate cakes: they’re often too dry or too sweet. This recipe balances both perfectly. Here’s why I keep coming back to it:
It’s Actually Fudgy — Not all chocolate cakes are created equal. Some are light and airy, like a sponge. This one is dense, moist, and rich. It’s the difference between a cupcake and a truffle. I love it because it feels substantial. It’s not just a snack; it’s a proper dessert experience.
The Espresso Secret — I know, I know. You’re thinking, “Do I really want my cake to taste like coffee?” Here’s the truth: it won’t. The espresso powder enhances the cocoa. It brings out the deep, bitter notes of the chocolate, making it taste more “chocolatey” than if you just used water. It’s a flavor booster, nothing more. If you hate coffee, you won’t notice it. If you love chocolate, you’ll wonder how you lived without it.
One-Bowl Simplicity — Seriously. You don’t need a stand mixer. You don’t need to cream butter and sugar for twenty minutes. You just mix dry ingredients, mix wet ingredients, and combine them. It’s foolproof. I’ve made this recipe with flour on my hands while holding a toddler. It works every time.
It Stays Moist for Days — This is the real magic. Most cakes dry out by day two. This one? It gets better. The flavors meld overnight. I’ve eaten this cake on day three, and it was still soft and fudgy. It’s perfect for meal prep or if you’re hosting a dinner party and want to make the cake a day ahead.
Budget-Friendly Luxury — You don’t need expensive Belgian chocolate or exotic flours. You need basic pantry staples. Flour, sugar, cocoa, eggs, butter, milk, and instant coffee. That’s it. It tastes expensive, but it costs pennies compared to a bakery cake.
So basically, if you want a dessert that’s easy, delicious, and makes you look like a genius, this is the one. It’s my secret weapon for impressing guests, and I’m sharing it with you so you can do the same.
Ingredients You’ll Need for the Rich Chocolate Fudge Cake
Before we start mixing, let’s talk about what goes into this cake. I’m being specific here because baking is chemistry, and small changes can make a big difference. I’ve tested this recipe with different brands and types, and these are the ones that work best for that perfect fudgy texture.
For the Dry Mix:
All-Purpose Flour (2 cups / 250g) — This is your base. Don’t use cake flour unless you want a lighter crumb. We want dense and fudgy, so all-purpose is perfect. Sift it if it’s clumpy. I use Gold Medal because it’s consistent.
Granulated Sugar (2 cups / 400g) — Yes, two cups. It’s sweet, but the cocoa and espresso balance it out. Don’t reduce the sugar too much, or you’ll lose moisture. Sugar holds water, remember?
Unsweetened Cocoa Powder (¾ cup / 75g) — This is the star. Use natural unsweetened cocoa, like Hershey’s or Ghirandelli. Avoid Dutch-processed cocoa if you can help it, as it can make the cake taste bitter without enough acid to balance it. Natural cocoa has a brighter, fruitier flavor that pairs well with the coffee.
Baking Powder & Baking Soda (1 tsp each) — The leavening agents. They help the cake rise. Make sure they’re fresh! Old baking soda makes flat cakes. I check the date on my box every time I bake.
Salt (1 tsp) — Crucial. Salt enhances flavor. Without it, the cake will taste flat, no matter how much chocolate you add.
Instant Espresso Powder (2 tablespoons) — This is the secret ingredient. Use instant coffee granules or espresso powder. Do not use brewed coffee. You want the concentrated flavor without adding extra liquid. I use Maxwell House or Nescafé, but any brand works.
For the Wet Mix:
Butter (½ cup / 115g, softened) — Unsalted butter is best so you can control the salt. Soften it by leaving it out for 30 minutes. If it’s too cold, it won’t mix evenly. If it’s melted, the texture changes. Softened is the sweet spot.
Large Eggs (2) — Room temperature eggs mix better into the batter. If you forget, just soak them in warm water for 5 minutes. Cold eggs can cause the batter to separate.
Vanilla Extract (2 teaspoons) — Pure vanilla, not imitation. It adds warmth and depth. I use McCormick, but any good quality vanilla works.
Hot Water or Hot Coffee (1 cup / 240ml) — This is key. The hot liquid blooms the cocoa powder, releasing more flavor. I usually use hot coffee because it boosts the espresso note, but hot water works too. Make sure it’s boiling.
Milk (½ cup / 120ml) — Whole milk is best for richness. Skim milk will make the cake drier. Don’t skip it.
Optional but Recommended:
Chocolate Chips (½ cup) — I like to fold in semi-sweet chocolate chips for extra pockets of gooeyness. It’s like having a chocolate chip cookie inside a cake. Totally worth it.
Sea Salt Flakes — For topping. A sprinkle of flaky salt on top of the frosting adds a nice crunch and contrast.
Equipment Needed
You don’t need fancy gadgets for this. Here’s what I actually use in my kitchen:
Two 9-inch Round Cake Pans — Grease and line the bottoms with parchment paper. This is non-negotiable if you want your cake to come out cleanly. I use parchment rounds because they save my sanity.
Large Mixing Bowls — Two bowls are helpful: one for dry, one for wet. I use stainless steel bowls because they’re durable and easy to clean.
Whisk — For mixing the dry ingredients. A wire whisk is best for aerating the flour and sugar.
Electric Mixer or Wooden Spoon — You can use a hand mixer, stand mixer, or even a strong arm and a wooden spoon. I use a hand mixer for speed, but a spoon works fine if you have the energy.
Measuring Cups and Spoons — Level off your dry ingredients. Don’t pack the flour. Spoon it into the cup and level it with a knife. This prevents a dense, dry cake.
Cooling Rack — Essential for cooling the cakes evenly. If you let them cool in the pan, they might steam and get soggy.
Offset Spatula — For frosting. It makes spreading easier and cleaner. I have a cheap one from Target, and it works just as well as the expensive ones.
How to Make It: Step-by-Step
Alright, let’s get baking! This is where the magic happens. I’m walking you through exactly how I do it, including the little tricks I’ve picked up over the years.
Step 1: Prep Your Pans and Oven
Preheat your oven to 350°F (175°C). Grease your two 9-inch cake pans with butter or non-stick spray. Then, line the bottoms with parchment paper. This is the most important step for easy removal. Dust the pans with a little cocoa powder instead of flour—it prevents white streaks in your dark cake.
Step 2: Mix the Dry Ingredients
In a large bowl, whisk together the flour, sugar, cocoa powder, baking powder, baking soda, salt, and espresso powder. Make sure there are no lumps. If your cocoa powder is clumpy, sift it. Whisking these together ensures even distribution of leavening agents and flavor.
Step 3: Combine the Wet Ingredients
In a separate medium bowl, whisk the softened butter, eggs, and vanilla extract until smooth. The mixture should look creamy and uniform. If your butter is too cold, it won’t blend well. Warm it up slightly if needed.
Step 4: Combine Wet and Dry
Gradually add the wet mixture to the dry mixture. Beat on medium speed for about 2 minutes. The batter will be thick and stiff. Don’t worry, that’s normal. Scrape down the sides of the bowl to ensure everything is incorporated.
Step 5: Add the Hot Liquid
Slowly pour in the hot water (or hot coffee) and milk. Mix on low speed until just combined. The batter will become thin and watery. This is correct! The hot liquid hydrates the flour and blooms the cocoa. Be careful not to splatter.
Step 6: Fold in Chocolate Chips (Optional)
If you’re using chocolate chips, gently fold them in now with a spatula. Don’t overmix. Just enough to distribute them evenly.
Step 7: Bake
Pour the batter evenly into the prepared pans. Bake for 30-35 minutes. Check at 30 minutes by inserting a toothpick into the center. If it comes out clean or with a few moist crumbs, it’s done. If it’s wet, bake for 2-3 more minutes. Do not overbake, or the cake will be dry.
Step 8: Cool
Let the cakes cool in the pans for 10 minutes. Then, run a knife around the edges and invert them onto a cooling rack. Peel off the parchment paper. Let them cool completely before frosting. This is crucial—if you frost a warm cake, the frosting will melt and slide off.
Expert Tips & Tricks for the Perfect Cake
Here’s everything I’ve learned from making this cake dozens of times. These tips will save you from my mistakes.
Don’t Skip the Espresso
I know it sounds weird, but trust me. The coffee enhances the chocolate flavor. It makes the cake taste richer and more complex. If you’re sensitive to caffeine, the amount in the cake is negligible, but the flavor impact is huge.
Use Hot Liquid
The hot water/coffee is essential. It “blooms” the cocoa powder, which means it activates the flavors. Cold liquid won’t do this. Always use boiling water.
Room Temperature Ingredients
Eggs and butter should be at room temperature. This helps them emulsify properly, creating a smooth batter. Cold ingredients can cause the batter to break, leading to a dense cake.
Don’t Overmix
Once you add the flour, mix just until combined. Overmixing develops gluten, which makes the cake tough. You want a tender crumb, not a chewy one.
Check for Doneness Early
Ovens vary. Check your cake at 30 minutes. Overbaking is the number one reason for dry cake. It’s better to underbake slightly than overbake.
Variations & Substitutions
Once you’ve nailed the basic version, here’s how you can mix it up. I’ve tried all of these.
Chocolate Ganache Topping
Instead of buttercream, pour a simple ganache over the cooled cake. Heat 1 cup of heavy cream until simmering, pour over 1 cup of chopped chocolate, let sit for 5 minutes, then stir until smooth. Pour over the cake for a glossy, professional finish.
Red Velvet Twist
Add 1 tablespoon of red food coloring and 1 teaspoon of vinegar to the batter. Top with cream cheese frosting. It’s a fun variation for holidays.
Mocha Chip
Add ½ cup of espresso-flavored chocolate chips to the batter. Double down on the coffee flavor.
Gluten-Free
Use a 1:1 gluten-free flour blend. The texture might be slightly different, but it still works. I’ve used Bob’s Red Mill with good results.
Dairy-Free
Use plant-based butter and milk. The cake will be slightly less rich, but still delicious.
Serving & Storage
How to Serve:
This cake is best served at room temperature. It’s too cold straight from the fridge. I usually serve it with a dollop of whipped cream or a scoop of vanilla ice cream. The contrast of hot cake and cold ice cream is amazing.
Storage:
Store leftovers in an airtight container at room temperature for up to 3 days. It stays moist! If you live in a hot climate, refrigerate it, but let it come to room temperature before serving.
Freezing:
You can freeze the unfrosted cake layers. Wrap them tightly in plastic wrap and foil. Freeze for up to 3 months. Thaw overnight in the fridge before frosting.
Nutrition Information
I’m not a nutritionist, but here’s the breakdown if you’re tracking. Keep in mind, this is a rich dessert, so portions matter.
Per Serving (based on 12 slices):
- Calories: 380
- Protein: 5g
- Carbs: 55g
- Fat: 16g
- Sugar: 40g
It’s high in sugar and carbs, but it’s also satisfying. A little goes a long way. Pair it with a black coffee or tea to balance the sweetness.
Final Thoughts
So that’s my rich chocolate fudge cake with espresso! It’s become a staple in my kitchen, and I hope it becomes one in yours too. It’s easy to make, incredibly delicious, and perfect for any occasion. Whether you’re celebrating a special event or just craving chocolate, this cake delivers.
If you make this, drop a comment and let me know what you think! I love hearing how recipes turn out in your kitchen. And if something doesn’t work, tell me that too—I’m here to help troubleshoot.
Happy baking! And I hope your kitchen smells as good as mine does right now.
Frequently Asked Questions
Can I use brewed coffee instead of espresso powder?
You can, but you’ll need to adjust the liquid in the recipe. Espresso powder is concentrated, so if you use brewed coffee, you might need to reduce the hot water by half. I recommend sticking to espresso powder for consistency.
Why is my cake dry?
Most likely, it was overbaked. Check it a few minutes before the recommended time. Also, make sure you’re using the correct amount of flour. Spoon and level, don’t scoop.
Can I make this in a 9×13 pan?
Yes! Just double the baking time. It will take about 45-50 minutes. Check with a toothpick to ensure it’s done.
Can I use Dutch-processed cocoa?
You can, but the cake might taste slightly bitter. Dutch-processed cocoa is less acidic, so it doesn’t react as well with the baking soda. Natural cocoa is preferred for this recipe.
How do I store leftovers?
Store in an airtight container at room temperature for up to 3 days. For longer storage, freeze the unfrosted layers.
Can I add nuts to the cake?
Absolutely! Toasted walnuts or pecans add a nice crunch. Fold them in with the chocolate chips.
Is this cake too sweet?
It’s sweet, but the espresso and cocoa balance it out. If you prefer less sweet, reduce the sugar by ¼ cup, but the texture might be slightly drier.
Pin This Recipe!
Rich Chocolate Fudge Cake: Easy Best Recipe
- Total Time: 50 minutes
- Yield: 12 servings 1x
Description
A dense, moist, and fudgy chocolate cake enhanced with instant espresso powder for deeper flavor. This one-bowl recipe is easy to make, budget-friendly, and stays moist for days.
Ingredients
- 2 cups (250g) All-Purpose Flour
- 2 cups (400g) Granulated Sugar
- ¾ cup (75g) Unsweetened Cocoa Powder
- 1 tsp Baking Powder
- 1 tsp Baking Soda
- 1 tsp Salt
- 2 tablespoons Instant Espresso Powder
- ½ cup (115g) Butter, softened
- 2 Large Eggs, room temperature
- 2 teaspoons Vanilla Extract
- 1 cup (240ml) Hot Water or Hot Coffee
- ½ cup (120ml) Milk
- ½ cup Semi-sweet Chocolate Chips (Optional)
Instructions
- Preheat oven to 350°F (175°C). Grease two 9-inch round cake pans and line bottoms with parchment paper. Dust with cocoa powder.
- In a large bowl, whisk together flour, sugar, cocoa powder, baking powder, baking soda, salt, and espresso powder until no lumps remain.
- In a separate medium bowl, whisk softened butter, eggs, and vanilla extract until smooth and creamy.
- Gradually add the wet mixture to the dry mixture. Beat on medium speed for about 2 minutes until combined. The batter will be thick.
- Slowly pour in the hot water (or hot coffee) and milk. Mix on low speed until just combined. The batter will become thin.
- If using, gently fold in chocolate chips with a spatula.
- Pour batter evenly into prepared pans. Bake for 30-35 minutes, or until a toothpick inserted into the center comes out clean or with moist crumbs.
- Let cakes cool in pans for 10 minutes, then invert onto a cooling rack to cool completely before frosting.
Notes
Use hot liquid to bloom the cocoa powder for richer flavor. Ensure ingredients are at room temperature for best emulsification. Do not overmix the batter to avoid a tough texture. The espresso enhances chocolate flavor but does not make the cake taste like coffee.
- Prep Time: 15 minutes
- Cook Time: 35 minutes
- Category: Dessert
- Cuisine: American
Nutrition
- Serving Size: 1 slice
- Calories: 380
- Sugar: 40
- Sodium: 350
- Fat: 16
- Saturated Fat: 8
- Carbohydrates: 55
- Fiber: 2
- Protein: 5
Keywords: chocolate cake, fudge cake, espresso cake, easy baking, one bowl cake, moist chocolate cake, anniversary dessert


