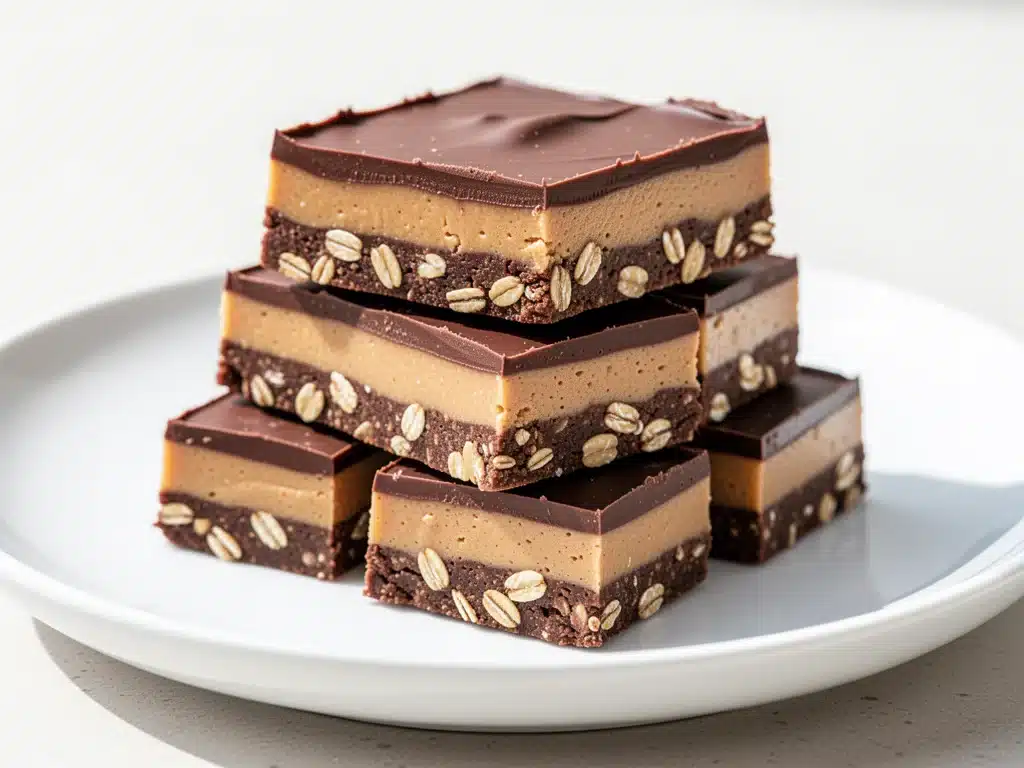
Last Thursday, I was standing in my kitchen at 8:45 PM, staring into the fridge like it owed me money. I had exactly ten minutes before my husband got home from work and three hours before my kids’ soccer practice. I was exhausted. I didn’t want to bake. I didn’t want to wash a bunch of dishes. And I definitely didn’t want to order takeout.
But I had a craving. A deep, soulful craving for something chocolatey, something peanut-buttery, and something that wouldn’t leave me feeling heavy and sleepy by bedtime. I opened the freezer and pulled out a bag of mini marshmallows, a jar of peanut butter, and a bag of semi-sweet chocolate chips. I also had some crushed graham crackers from a snack that happened earlier that day.
I threw them into a bowl. I microwaved them. I stirred. I pressed it into a pan. I stuck it in the fridge. Ten minutes later (okay, maybe fifteen if you count the cooling time), I had a bar that tasted like a premium candy bar but felt like a homemade treat. It was gooey, crunchy, salty, and sweet all at once.
I ate one. Then I ate another. Then I saved the rest for my husband, who came home, took one bite, and immediately asked for the recipe. That was the moment I realized this simple, no-bake peanut butter chocolate bar wasn’t just a lazy snack—it was a legitimate dessert solution for busy weeknights.
I’ve made these bars probably twenty times since that Thursday night. I’ve tweaked the ratios, tried different chocolates, and even experimented with adding pretzels (which, by the way, is a game-changer). But the core recipe remains stupidly simple. If you can melt butter and mix ingredients, you can make these. And if you love the idea of quick, kid-friendly desserts, you might also enjoy checking out my healthy pumpkin bars for when you want something a little more autumnal but just as easy.
Why You’ll Love This No-Bake Peanut Butter Chocolate Bar Recipe
There are about ten reasons I keep making these bars, but here are the big ones that keep them rotating in my weekly dessert menu.
Actually, It Takes About 10 Minutes
Not including the time it spends chilling in the fridge (which you can do while you cook dinner or fold laundry), the active prep time is literally ten minutes. I’m talking melt, mix, press, chill. That’s it. No preheating the oven. No waiting for dough to rise. No cleaning a dozen bowls. It’s the perfect “I need dessert now” solution.
It Uses Pantry Staples
You probably have 80% of these ingredients already. Peanut butter? Check. Chocolate chips? Check. Butter and sugar? Check. You don’t need to run to the store for something obscure. This is why I love it for unexpected guests or when my kids ask for snacks after school.
Kids Can Help (Safely)
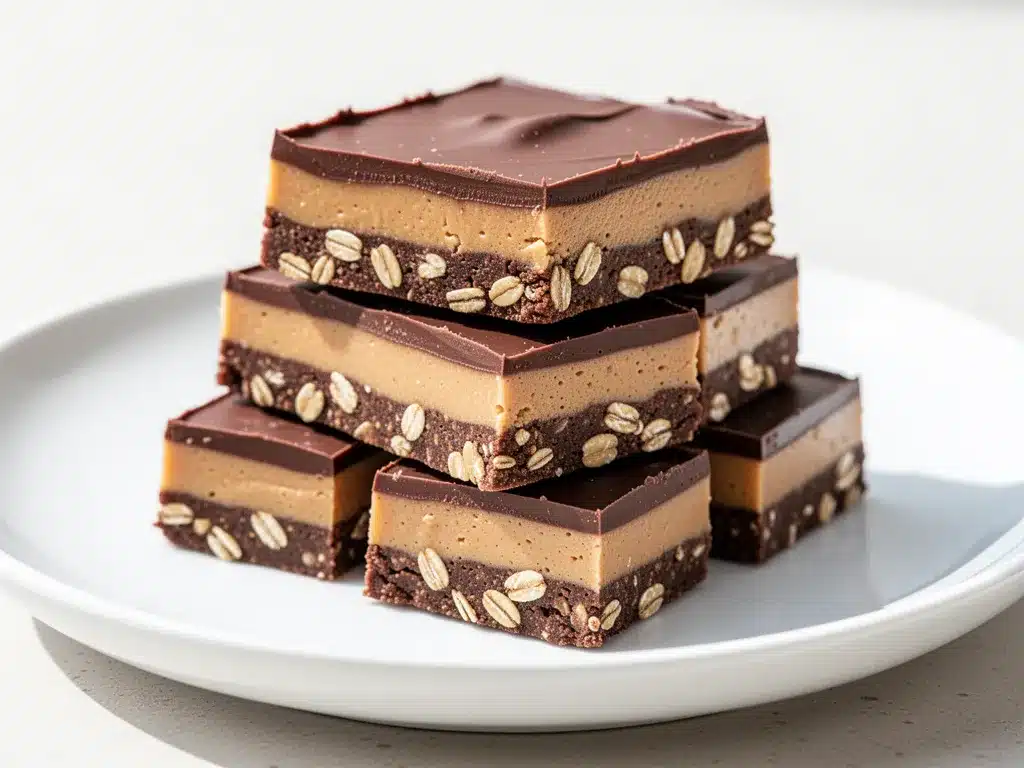
Because there’s no baking, this is a great recipe to get kids involved. My 8-year-old can measure the peanut butter. My 5-year-old can stir the melted mixture (with supervision, obviously). Pressing it into the pan is their favorite part. It gives them a sense of ownership over the dessert, which means they’re way more likely to eat it (and less likely to complain).
It Holds Up in the Fridge
Unlike some no-bake desserts that turn into a mess if left out too long, these bars are stable. They stay firm in the fridge for up to a week. I make a batch on Sunday, and they’re there all week for after-school snacks or lunchbox treats. They travel well too, as long as it’s not a hot day.
It Feels Indulgent but Isn’t
Because it’s no-bake, there’s less sugar and fat overall than a typical cake or brownie. It’s lighter on the palate but still hits that sweet spot. It’s my go-to when I want to treat my family without the guilt of a heavy, floury dessert.
This is my answer to “what’s for dessert?” when I’m tired but still want to make something special. No complicated techniques, no weird ingredients, just reliable, delicious food that makes everyone happy.
Ingredients You’ll Need
Here’s the best part: you probably have most of this already. This looks like a short list, but each ingredient plays a specific role in the texture and flavor. I’m particular about a few things here, and I’ll tell you exactly why.
For the Base:
Peanut Butter (1 cup / 250g) — Use creamy, natural peanut butter if you can. It has a better flavor and melts more smoothly. If you use standard processed peanut butter (like Skippy or Jif), it works fine too, but the texture might be slightly firmer. Avoid “natural” peanut butter that has separated oil on top unless you’ve stirred it thoroughly. The oil content affects the final texture.
Butter (1/4 cup / 55g) — Unsalted butter is best so you can control the saltiness. It adds richness and helps bind the peanut butter and sugar together. If you’re out of butter, you can use coconut oil, but the flavor will be different. I stick with butter.
Powdered Sugar (1 1/2 cups / 180g) — This is the sweetener and the thickener. Don’t use granulated sugar; it won’t dissolve properly in the no-bake method. Powdered sugar gives that smooth, fudgy texture. If you don’t have any, you can make your own by blending granulated sugar in a food processor until it’s fine.
Vanilla Extract (1 teaspoon / 5ml) — Just a splash to round out the flavors. It makes the peanut butter taste more like a dessert than a snack. Use real vanilla extract, not imitation.
For the Chocolate Topping:
Semi-Sweet Chocolate Chips (1 1/2 cups / 250g) — I use semi-sweet because it balances the sweetness of the peanut butter base. Milk chocolate is too sweet for me, and dark chocolate can be too bitter. Ghirardelli or Lindt work great. If you don’t have chips, you can chop up a chocolate bar.
Heavy Cream (2 tablespoons / 30ml) — This is the secret weapon. Adding a little cream to the chocolate chips makes the topping glossy, smooth, and slightly fudgy. Without it, the chocolate can be brittle and snap when you bite it. With it, it’s creamy and delicious.
Salt (1/4 teaspoon / 1g) — A pinch of salt enhances the chocolate flavor and cuts through the sweetness. Don’t skip it. It makes the whole bar taste more professional.
Optional Add-Ins:
Mini Marshmallows (1/2 cup / 50g) — I add these to the base for that classic “candy bar” texture. They melt slightly into the peanut butter, creating little gooey pockets. If you don’t like marshmallows, skip them. They’re optional but recommended.
Crushed Pretzels (1/2 cup / 50g) — For a salty crunch that contrasts with the sweet. I crush them in a ziplock bag with a rolling pin. It’s a great way to add texture.
Crushed Grahams (1/2 cup / 50g) — If you want a graham cracker-like base, add these. It makes it taste more like a s’mies bar. I sometimes mix pretzels and grahams for the best of both worlds.
Chopped Peanuts (1/4 cup / 30g) — For extra peanut flavor and crunch. Sprinkle them on top of the chocolate before it sets.
Common Questions:
Can I use almond butter instead?
Yes, but the texture will be different. Almond butter is thinner, so you might need less powdered sugar. It’s delicious, though, if you’re avoiding peanuts.
Where do I find natural peanut butter?
Usually in the refrigerated section of the grocery store, near the regular peanut butter. Look for brands like Smucker’s Natural or Peter Pan Natural.
Can I make this ahead?
Absolutely. These bars keep well in the fridge for up to a week. You can also freeze them for up to a month. Just thaw them in the fridge before serving.
Equipment Needed
You don’t need fancy equipment for this. Here’s what I actually use.
Microwave-Safe Bowl — I use a large glass bowl. It needs to be big enough to hold all the ingredients without spilling when you stir. A 4-quart bowl works well.
8×8 Inch Baking Pan — This is the standard size for these bars. Line it with parchment paper or foil for easy removal. I prefer parchment paper because it doesn’t stick.
Spatula — A silicone spatula is best for scraping the bowl and pressing the mixture into the pan. A wooden spoon works too, but it’s harder to get into the corners.
Measuring Cups and Spoons — Standard stuff. Dollar store versions work fine.
Knife — For chopping chocolate if you’re not using chips. A serrated knife works best for chopping chocolate bars.
Rolling Pin — Optional, but useful for crushing pretzels or grahams if you don’t have a food processor.
Food Processor — Optional, for crushing pretzels or making powdered sugar from granulated sugar.
Parchment Paper — Essential for easy removal. Without it, you’ll be digging the bars out of the pan with a spoon.
Ziplock Bags — For crushing pretzels or grahams. It’s easier than using a food processor for small amounts.
Small Saucepan — Optional, if you prefer to melt the chocolate on the stovetop instead of in the microwave. Double boiler method works well.
How to Make It: Step-by-Step
Alright, let’s make this! I’m walking you through exactly how I do it, including the little tricks I’ve picked up.
Step 1: Prep Your Pan (2 minutes)
Line an 8×8 inch baking pan with parchment paper or foil. Leave an overhang on the sides so you can lift the bars out later. I spray the parchment with non-stick cooking spray just to be safe. This step takes two minutes but saves you ten minutes of cleanup later.
Step 2: Melt the Peanut Butter Mixture (3 minutes)
In a large microwave-safe bowl, combine the peanut butter and butter. Microwave on high for 1 minute. Stir well. If it’s not fully melted, microwave in 30-second intervals, stirring after each, until smooth. This should take about 2-3 minutes total. Don’t overheat it, or the peanut butter might seize up.
Step 3: Add the Sugar and Vanilla (1 minute)
Remove the bowl from the microwave. Add the powdered sugar and vanilla extract. Stir vigorously until the mixture is smooth and well combined. It will be thick and sticky. If it’s too dry, add a teaspoon of milk. If it’s too wet, add a tablespoon of powdered sugar.
Step 4: Mix in Add-Ins (1 minute)
If you’re using mini marshmallows, crushed pretzels, or crushed grahams, fold them into the peanut butter mixture now. Stir until evenly distributed. The mixture will be very thick and sticky. This is normal. Use a spatula or your hands (greased with butter) to mix it.
Step 5: Press into the Pan (2 minutes)
Transfer the mixture to the prepared pan. Use a spatula or your greased hands to press it firmly and evenly into the pan. I like to use the bottom of a measuring cup to press it down tightly. This ensures the bars hold together when you cut them. Don’t skip this step—loose bars will crumble.
Step 6: Melt the Chocolate Topping (2 minutes)
In a separate microwave-safe bowl, combine the chocolate chips and heavy cream. Microwave on high for 1 minute. Stir well. If it’s not fully melted, microwave in 30-second intervals, stirring after each, until smooth. This should take about 1-2 minutes total. The mixture should be glossy and smooth. If it’s too thick, add a teaspoon of cream. If it’s too thin, add a few more chocolate chips.
Step 7: Pour and Chill (10 minutes)
Pour the melted chocolate over the peanut butter base. Use a spatula to spread it evenly to the edges. Sprinkle with chopped peanuts if you’re using them. Place the pan in the fridge for at least 10 minutes, or until the chocolate is set. I usually chill it for 20-30 minutes to be safe.
Step 8: Cut and Serve (2 minutes)
Once the chocolate is set, lift the bars out of the pan using the parchment paper overhang. Place them on a cutting board. Use a sharp knife to cut into squares or rectangles. I cut them into 12 bars. Serve immediately or store in the fridge.
Total Time: About 10 minutes active, plus 10 minutes chilling.
Built-in Troubleshooting:
- Mixture too dry? Add a teaspoon of milk or cream.
- Mixture too wet? Add a tablespoon of powdered sugar.
- Chocolate too thick? Add a teaspoon of cream.
- Chocolate too thin? Add a few more chocolate chips.
- Bars won’t hold together? You didn’t press them down firmly enough. Or you used too much liquid.
- Chocolate cracked? You chilled it too fast. Let it come to room temperature for a few minutes before cutting.
Expert Tips & Tricks
Here’s everything I’ve learned from making these bars dozens of times. These tips will save you from my mistakes.
Use Natural Peanut Butter
I know it’s more expensive, but natural peanut butter tastes better and has a smoother texture. It also melts more evenly. If you use processed peanut butter, the bars might be firmer and less flavorful. I learned this the hard way with a batch that tasted like cardboard. Now I always use natural.
Don’t Skip the Salt
A pinch of salt in the chocolate topping enhances the flavor and cuts through the sweetness. It makes the whole bar taste more professional. I learned this from a food scientist friend who told me salt is the secret to good chocolate. She was right.
Press Firmly
The base needs to be pressed firmly into the pan. If it’s loose, the bars will crumble when you cut them. I use the bottom of a measuring cup to press it down tightly. This ensures the bars hold together. Don’t skip this step.
Chill Properly
Don’t rush the chilling step. If the chocolate isn’t fully set, the bars will be messy to cut. I usually chill them for 20-30 minutes. If you’re in a hurry, you can put them in the freezer for 10 minutes, but be careful not to freeze them solid.
Use a Sharp Knife
A dull knife will crush the bars. Use a sharp knife and wipe it between cuts for clean edges. I dip the knife in hot water and dry it before each cut for the cleanest results.
Common Mistakes (and how to avoid them):
Mistake: Bars are too soft
Fix: You didn’t chill them long enough. Or you used too much liquid. Chill them for at least 20 minutes.
Mistake: Chocolate is grainy
Fix: You heated it too much. Melt it in short intervals and stir well. If it’s already grainy, add a teaspoon of cream and stir.
Mistake: Base is too sweet
Fix: Use unsweetened cocoa powder in the base, or reduce the powdered sugar by a quarter cup.
Pro Tricks I’ve Learned:
For Restaurant-Quality Finish
Add a pinch of sea salt on top of the chocolate before it sets. It looks pretty and adds a nice crunch.
For Extra Flavor
Add a teaspoon of espresso powder to the chocolate topping. It enhances the chocolate flavor without making it taste like coffee.
For Better Texture
Toast the peanuts before chopping them. It adds a nutty flavor and crunch. I toast them in a dry skillet for 3-4 minutes.
Make-Ahead Strategy
Make the base ahead and store in the fridge for up to 2 days. Melt the chocolate and pour it on right before serving. Almost as good as fresh.
Variations & Substitutions
Once you’ve nailed the basic version, here’s how you can mix it up. I’ve tried all of these.
Almond Butter Version
Replace peanut butter with almond butter. It’s delicious and nutty. The texture will be slightly different, but still good. My almond-allergic friends love this version.
Cashew Butter Version
Replace peanut butter with cashew butter. It’s milder and creamier. Great for people who don’t like the strong flavor of peanut butter.
Cookie Butter Version
Replace peanut butter with Biscoff spread. It’s sweet and spiced. Adds a cinnamon flavor that’s amazing. I love this version in the fall.
Marshmallow Version
Add 1 cup of mini marshmallows to the base. It makes it taste like a s’mies bar. I add these to my kids’ versions because they love the gooey texture.
Pretzel Version
Add 1/2 cup of crushed pretzels to the base. It adds a salty crunch that contrasts with the sweet. I love this version because it’s not too sweet.
Graham Cracker Version
Add 1/2 cup of crushed grahams to the base. It makes it taste like a graham cracker bar. I sometimes mix pretzels and grahams for the best of both worlds.
Dietary Modifications:
Gluten-Free
Use gluten-free chocolate chips and gluten-free pretzels or grahams. Everything else is naturally gluten-free.
Dairy-Free
Replace butter with coconut oil and heavy cream with coconut cream. Use dairy-free chocolate chips. It’s different but still tasty. My lactose-intolerant friend requests this version.
Nut-Free
Replace peanut butter with sunflower seed butter. It’s similar in texture and flavor. Use sunflower seed butter for the base and toppings.
Vegan
Replace butter with coconut oil and heavy cream with coconut cream. Use vegan chocolate chips. It’s different but still tasty. I make this for my vegan friends.
Serving & Storage
How to Serve:
I usually serve these bars straight from the fridge at room temperature. They’re best when they’re slightly chilled but not cold. I cut them into squares and serve them on a plate with a napkin. They’re perfect for after-school snacks, lunchboxes, or dinner parties.
Side Dishes:
- Milk (obviously)
- Coffee or tea
- Ice cream (if you want to make it a dessert)
- Fresh fruit (to balance the sweetness)
Toppings Bar:
When I have guests, I put out: extra chopped peanuts, crushed pretzels, mini marshmallows, sea salt. Everyone customizes their bar.
Wine Pairing:
Not a wine expert, but my wine-snob friend says a sweet Riesling or Moscato works great with this. It complements the sweetness without overwhelming it.
Storage Instructions:
Refrigerator:
Store in an airtight container for up to 1 week. They keep well in the fridge. I layer them with parchment paper to prevent sticking.
Freezing:
These bars freeze well. Store them in an airtight container for up to 1 month. Thaw them in the fridge before serving. They taste almost as good as fresh.
Room Temperature:
They can sit out at room temperature for up to 2 hours. After that, they might get too soft. I usually keep them in the fridge.
Pro tip:
If leftovers are drying out, store them in an airtight container with a slice of bread. The bread adds moisture to the bars. It’s a trick I learned from my grandma.
Nutrition Information
I’m not a nutritionist, but here’s the breakdown if you’re tracking.
Per Serving (based on 12 servings):
| Nutrient | Amount |
|---|---|
| Calories | 180 |
| Protein | 4g |
| Carbs | 18g |
| Fiber | 1g |
| Sugar | 15g |
| Fat | 12g |
| Saturated Fat | 5g |
| Cholesterol | 10mg |
| Sodium | 120mg |
| Calcium | 30mg |
What’s Good:
- Decent protein from peanut butter
- Calcium from the chocolate and peanut butter
- Can add vegetables to boost nutrition (like adding peanut butter to veggies? No, that’s weird. But you can add nuts or seeds)
- More filling than it looks
What to Know:
- Higher in calories from chocolate and peanut butter
- Contains dairy and gluten
- Moderate sodium (use low-sodium peanut butter to reduce)
My Take:
Look, this is a treat with chocolate and peanut butter. It’s not a diet recipe. But it’s way better than store-bought candy bars, costs less, and I know exactly what’s in it. When I want to make it lighter, I use less chocolate and more peanut butter. But usually? I just eat a reasonable portion and enjoy it.
Dietary Notes:
- Contains: gluten, dairy, peanuts
- Can be made: gluten-free, vegetarian
- Not suitable for: vegan (without modifications), dairy-free (without modifications), nut-free (without modifications)
Final Thoughts
So that’s my no-bake peanut butter chocolate bar recipe! I’ve probably talked your ear off at this point, but when you make a recipe this often, you have a lot to say about it.
This has saved weeknight desserts more times than I can count. It’s my answer to “what’s for dessert?” when I’m tired, don’t want to bake, and still want something that tastes really good. My kids are happy, my husband’s happy, and I’m happy because I’m not stressed about cooking.
Make it yours! Try different add-ins, swap in your favorite nuts, adjust the sweetness. The best recipes are the ones you adapt to your family’s tastes. If you’re looking for more easy desserts, you might also like my neapolitan ice cream cake for a more festive option, or my classic apple crisp if you want something warm and comforting.
If you make this, drop a comment and let me know what you think! I love hearing how recipes turn out in your kitchen. And if something doesn’t work, tell me that too—I’m here to help troubleshoot.
Happy cooking! And I hope your kitchen smells half as good as mine does right now.
Frequently Asked Questions
Can I use almond butter instead of peanut butter?
Yes, but the texture will be different. Almond butter is thinner, so you might need less powdered sugar. It’s delicious, though, if you’re avoiding peanuts.
My bars are too soft—what happened?
Usually means you didn’t chill them long enough, or you used too much liquid. Let them chill for at least 20 minutes. If they’re already soft, put them in the freezer for 10 minutes to firm up.
Can I make this ahead for a party?
Absolutely. Make the bars up to 2 days ahead and store in the fridge. They hold up well. Just bring them to room temperature before serving for the best texture.
Why did my chocolate topping crack?
The chocolate was too thick when you poured it, or you chilled it too fast. Make sure the chocolate is smooth and glossy before pouring. If it cracks, don’t worry—it still tastes good.
Can I use milk chocolate instead of semi-sweet?
You can, but it will be sweeter. I prefer semi-sweet because it balances the sweetness of the peanut butter. If you use milk chocolate, reduce the powdered sugar in the base.
How do I store leftovers?
Store in an airtight container in the fridge for up to 1 week. They keep well. You can also freeze them for up to 1 month.
Can I double this recipe?
Yes, double everything and use a 9×13 inch pan. The cooking times stay the same. I do this when I’m feeding a crowd.
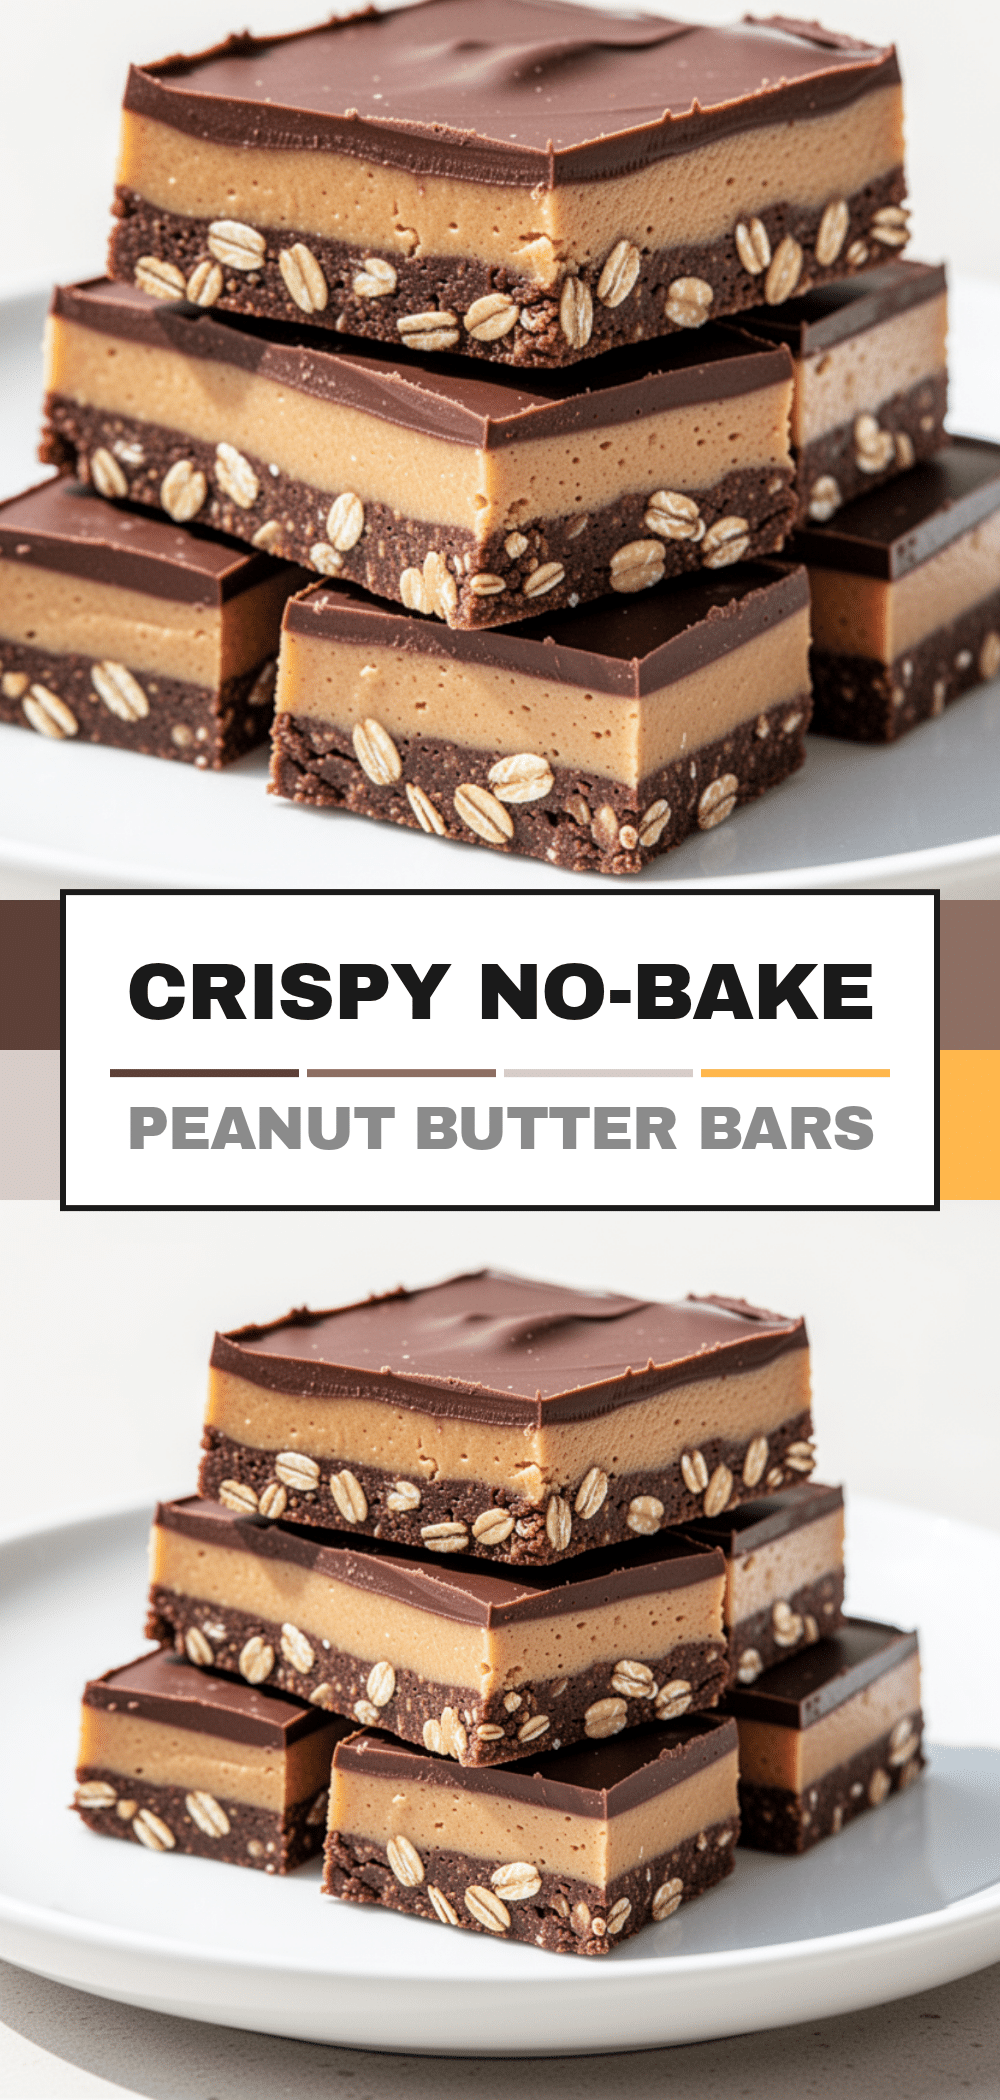
Pin This Recipe!
No-Bake Peanut Butter Chocolate Bars
- Total Time: 20 minutes
- Yield: 12 servings 1x
Description
A quick, easy, and indulgent no-bake dessert made with pantry staples. These bars combine a creamy peanut butter base with a smooth chocolate topping, ready in just 10 minutes of active prep time.
Ingredients
- 1 cup (250g) creamy natural peanut butter
- 1/4 cup (55g) unsalted butter
- 1 1/2 cups (180g) powdered sugar
- 1 teaspoon vanilla extract
- 1/2 cup (50g) mini marshmallows (optional)
- 1 1/2 cups (250g) semi-sweet chocolate chips
- 2 tablespoons heavy cream
- 1/4 teaspoon salt
- 1/2 cup crushed pretzels (optional)
- 1/2 cup crushed graham crackers (optional)
- 1/4 cup chopped peanuts (optional)
Instructions
- Line an 8×8 inch baking pan with parchment paper or foil, leaving an overhang on the sides for easy removal.
- In a large microwave-safe bowl, combine peanut butter and butter. Microwave on high for 1 minute, stir, then continue in 30-second intervals until smooth.
- Remove from microwave and stir in powdered sugar and vanilla extract until the mixture is smooth and thick.
- Fold in optional add-ins like mini marshmallows, crushed pretzels, or crushed grahams if desired.
- Transfer the mixture to the prepared pan and press firmly and evenly into the bottom using a spatula or the bottom of a measuring cup.
- In a separate microwave-safe bowl, combine chocolate chips and heavy cream. Microwave on high for 1 minute, stir, then continue in 30-second intervals until smooth and glossy.
- Pour the melted chocolate over the peanut butter base and spread evenly to the edges. Sprinkle with chopped peanuts if using.
- Refrigerate for at least 10-20 minutes, or until the chocolate is fully set.
- Lift the bars out of the pan using the parchment overhang and cut into squares or rectangles. Serve immediately or store in the fridge.
Notes
Use natural peanut butter for better flavor and texture. Press the base firmly to prevent crumbling. If the chocolate is too thick, add a teaspoon of cream; if too thin, add more chips. Bars can be stored in the fridge for up to a week or frozen for up to a month.
- Prep Time: 10 minutes
- Cook Time: 0 minutes
- Category: Dessert
- Cuisine: American
Nutrition
- Serving Size: 1 bar
- Calories: 180
- Sugar: 15
- Sodium: 120
- Fat: 12
- Saturated Fat: 5
- Carbohydrates: 18
- Fiber: 1
- Protein: 4
Keywords: no-bake, peanut butter, chocolate bars, easy dessert, 10 minute snack, kid-friendly, pantry staples, gluten-free option


