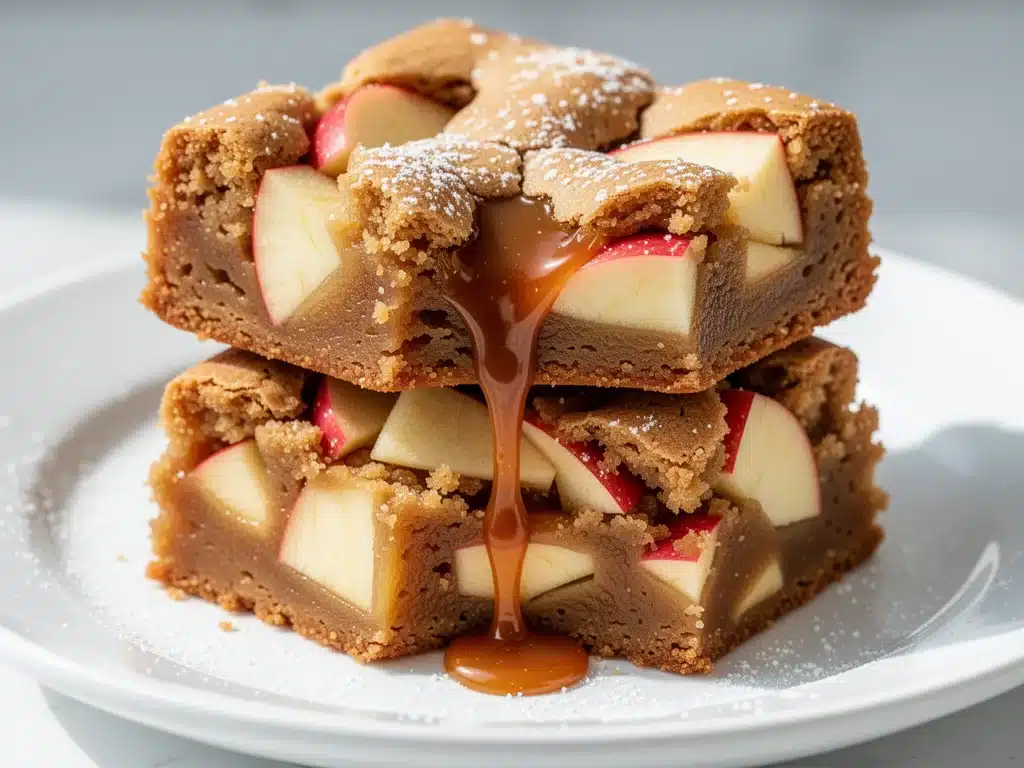
There’s a specific kind of magic that happens in October when the air turns crisp and the leaves start turning gold. For me, that magic smells like cinnamon, brown sugar, and baked apples. Last weekend, I was standing in my kitchen, staring at a bag of Honeycrisp apples that were looking a little too perfect to just eat raw, and I realized I didn’t want another cobbler. I didn’t want another crisp. I wanted something denser. Chewier. Something that felt like a hug from the inside out.
So I pulled out the blondie mix. Well, not the box mix—I made my own from scratch—but the idea was the same. I wanted that rich, buttery, vanilla-forward base that blondies are famous for, but I wanted to infuse it with the essence of fall. The result? Gooey Caramel Apple Blondies. And let me tell you, they are not just good. They are dangerously good.
I’ve made these about six times in the last month alone. Some batches I loaded them with extra apples. Some batches I went heavy on the caramel drizzle. One time, I accidentally left them in the oven five minutes too long and they came out more cake-like, which was still delicious, but the *perfect* batch—the one with the chewy edges, the soft center, and chunks of tender apple suspended in caramel—is now my official dessert for October. It’s the kind of treat that disappears within hours of baking. My kids call them “fall cookies,” but don’t tell them they’re actually blondies. It keeps them coming back for more.
If you’ve ever made fall chocolate chip pumpkin bread and loved that cozy spice profile, you’re going to feel right at home here. These blondies are easier to make than a cake, faster than a pie, and infinitely more portable than a bowl of ice cream. Whether you’re bringing them to a potluck, packing them for lunch, or just eating them straight from the pan with a spoon (I won’t judge), these Gooey Caramel Apple Blondies are the ultimate easy fall dessert.
Why You’ll Love This Recipe
Look, I love a good dessert, but I also love my sanity. There are days when I don’t have the energy to deal with three different bowls, a hand mixer, and a 90-minute bake time. These blondies are my rescue. Here’s why they’ve taken over my kitchen (and hopefully yours soon):
- One-Bowl Wonder — Seriously. You can mix the entire batter in one large bowl. No fancy equipment needed. If you can whisk butter and sugar, you can make these. I’ve made them while holding a toddler and answering a work call. It happens.
- Chewy, Not Cakey — The secret to a great blondie is the ratio of brown sugar to butter. We’re leaning heavy on the brown sugar for that molasses-rich, chewy texture. These aren’t fluffy cupcakes. They’re dense, fudgy, and satisfying.
- Pantry Staples — You probably have everything you need except the apples and maybe some extra caramel sauce. Flour, sugar, butter, eggs, vanilla. That’s it. No weird ingredients you have to drive to three stores to find.
- Perfect for Meal Prep — These store beautifully. In fact, I find they taste even better the next day once the flavors have had time to meld. I make a batch on Sunday, and they’re my go-to snack all week long.
- Adaptable — Hate apples? Swap them for chopped pecans or white chocolate chips. Love spice? Add an extra teaspoon of cinnamon. This recipe is a blank canvas for your fall cravings.
I’ve served these to my husband’s colleagues at a casual office party, and they were gone in ten minutes. I’ve brought them to a neighbor’s house as a “thanks for watching my dog” gift, and she asked for the recipe immediately. They’re the kind of dessert that makes you look like a pro baker, even if you’re just following a simple list of steps.
Ingredients You’ll Need
Before we get to the mixing, let’s talk about what’s going into the bowl. I’m particular about a few things here, mostly because I’ve learned the hard way what works and what doesn’t. You want ingredients that bring flavor, not just bulk.
For the Blondie Base
Unsalted Butter (1 cup / 226g) — I use salted butter if I’m in a rush, but unsalted lets you control the saltiness. Melt it, don’t bake it solid. We want that rich, buttery flavor infused throughout.
Dark Brown Sugar (2 cups / 400g) — This is the star. Dark brown sugar has more molasses than light, which gives that deep, toffee-like flavor. If you only have light, it’ll work, but dark is better for this specific recipe.
Granulated Sugar (½ cup / 100g) — This helps with the chewiness. It creates those crispy edges. Don’t skip it, or they’ll be too soft.
Eggs (2 large) — Room temperature eggs mix better. If you forget, just drop them in warm water for 5 minutes. Cold eggs can seize the butter.
Vanilla Extract (2 teaspoons) — Use the real stuff. The artificial stuff tastes like chemicals in a delicate dessert like this. Your nose will thank you.
All-Purpose Flour (2 ½ cups / 315g) — Don’t pack it down! Spoon it into the cup and level it off. Too much flour makes these dry bricks.
Baking Powder (1 teaspoon) — Just a little lift. We don’t want them to rise too much.
Salt (1 teaspoon) — Essential for balancing the sweetness. If using salted butter, reduce this to ½ teaspoon.
For the Fillings
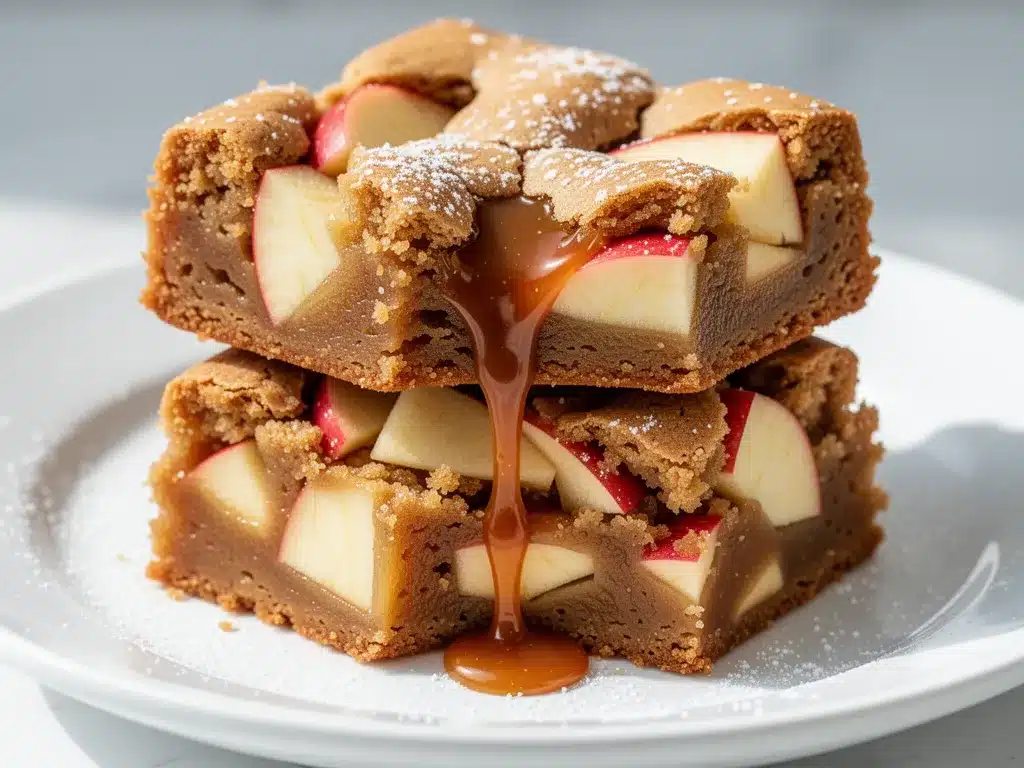
Apples (3 medium, about 400g peeled and diced) — This is crucial: use a firm apple that holds its shape. Honeycrisp, Fuji, or Granny Smith are best. Avoid Red Delicious—they turn to mush. Dice them into small, bite-sized cubes, about ½ inch.
Caramel Sauce (1 cup / 240ml) — I buy a high-quality jarred caramel sauce like Smucker’s or Aunt Jemima for convenience, but homemade is amazing if you have time. The gooeyness is non-negotiable.
Chopped Pecans or Walnuts (½ cup / 60g) — Optional, but I highly recommend it. The nuttiness pairs perfectly with the apple and caramel. Toast them first for extra flavor.
Sea Salt Flakes (for sprinkling) — This is the pro move. A pinch of flaky salt on top cuts through the sweetness and makes the flavors pop.
Equipment Needed
You don’t need a fancy kitchen for this. Here’s what I actually use:
Large Microwave-Safe Bowl or Saucepan — For melting the butter. I use a glass bowl in the microwave because it’s faster and easier to clean.
Large Mixing Bowl — Something with a wide mouth so you can whisk easily. 4-quart size is perfect.
Whisk and Spatula — A silicone spatula is your best friend for scraping the sides of the bowl and folding in the apples.
9×9 Inch Baking Pan — Standard square pan. Line it with parchment paper for easy removal. I also grease it lightly, though the parchment usually does the job.
Knife and Cutting Board — For dicing the apples. Keep the pieces uniform so they bake evenly.
Cooling Rack — Let them cool slightly before cutting, but you don’t need to wait forever.
How to Make It: Step-by-Step
Alright, let’s get baking. This is straightforward, but there are a few tricks to keep those apples from sinking to the bottom and to keep the blondies chewy.
Step 1: Prep Your Pan and Oven (5 minutes)
Preheat your oven to 350°F (175°C). Line your 9×9 inch baking pan with parchment paper, leaving an overhang on the sides. This is your lifeline for lifting the blondies out later. Grease the parchment lightly with butter or cooking spray.
Step 2: Melt the Butter (2 minutes)
Melt the butter in the microwave in 30-second intervals, stirring in between, until completely liquid. Let it cool for about 5 minutes. It should be warm, not hot, so it doesn’t cook the eggs when we add them.
Step 3: Mix the Wet Ingredients (3 minutes)
In your large mixing bowl, whisk the melted butter, brown sugar, and granulated sugar together until smooth and glossy. This takes about a minute of vigorous whisking. Add the eggs and vanilla extract. Whisk again until the mixture is slightly lighter in color and combined. Don’t overmix, but make sure there are no streaks of sugar.
Step 4: Add the Dry Ingredients (2 minutes)
Add the flour, baking powder, and salt to the wet mixture. Use a spatula to fold it in gently. Stop as soon as the white streaks of flour disappear. Overmixing develops gluten, which makes blondies tough. We want tender and chewy, not bread-like.
Step 5: Fold in the Apples and Nuts (2 minutes)
Gently fold in the diced apples and chopped nuts. Try to distribute them evenly. If you want extra caramel swirled in, reserve about ¼ cup now.
Step 6: Assemble and Bake (35-40 minutes)
Pour the batter into your prepared pan. Smooth the top with your spatula. Drizzle the reserved caramel sauce over the top in a zig-zag pattern. If you have extra caramel, you can swirl it in with a knife for a marbled effect. Bake for 35-40 minutes. You’ll know they’re done when the edges are golden brown and a toothpick inserted into the center comes out with a few moist crumbs (not wet batter). If you want gooey centers, pull them out a minute or two early.
Step 7: Cool and Serve (15 minutes)
Let the blondies cool in the pan for at least 15 minutes. This allows them to set so they don’t fall apart when you cut them. Sprinkle with sea salt flakes while they’re still warm. Cut into squares and enjoy.
Expert Tips & Tricks
I’ve made these enough times to know where people trip up. Here’s how to avoid my mistakes:
Don’t Skip the Parchment — Blondies are sticky. Without parchment, you’ll be scraping bits out of the pan for days. I’ve ruined pans trying to free stuck blondies. Don’t be me.
Apple Size Matters — If your apple chunks are too big, they won’t cook through and will be crunchy in the middle. If they’re too small, they’ll disintegrate. Aim for ½-inch cubes. Consistency is key.
Watch the Bake Time — Ovens vary. My oven runs hot, so I check at 35 minutes. If the top is browning too fast, tent it with foil. You want a golden top, not a burnt one.
The Caramel Swirl — For maximum gooeyness, don’t just drizzle on top. Drop spoonfuls of caramel into the batter before baking, then swirl with a knife. It creates pockets of caramel throughout.
Storage is Key — Store leftovers in an airtight container at room temperature for up to 3 days. They actually taste better on day 2 as the caramel softens the edges.
Variations & Substitutions
Once you’ve mastered the basic version, here are some fun twists I’ve tried:
Apple Pie Spice Version — Add 1 teaspoon of apple pie spice (or a mix of cinnamon, nutmeg, and ginger) to the dry ingredients. It tastes like biting into an apple pie.
White Chocolate Chip — Swap the nuts for white chocolate chips. The vanilla sweetness of the chips pairs amazingly with the caramel. This is a crowd-pleaser for kids.
Maple Bacon Blondies — Add ½ cup of crispy, crumbled bacon and a drizzle of maple syrup on top. Savory, sweet, and smoky. It sounds weird, but trust me, it’s incredible.
Gluten-Free — Use a 1:1 gluten-free flour blend. The texture will be slightly more tender, but it works well. Add a teaspoon of xanthan gum if your blend doesn’t have it.
Dairy-Free — Use dairy-free butter sticks and dairy-free caramel sauce. The result is surprisingly rich and creamy.
If you’re looking for other fall baking inspiration, these go great alongside my classic apple crisp for a full autumn dessert spread.
Serving & Storage
How you serve these matters. I usually cut them into 16 squares. They’re perfect for lunchboxes, potlucks, or just a quiet night in with a glass of milk.
Side Dishes — They’re sweet enough to stand alone, but if you want a drink pairing, a hot cup of tea or a glass of cold milk is perfect. For a meal, they pair well with a simple green salad or roasted vegetables if you’re using them as a dessert after a savory dinner.
Reheating — If you want them warm, microwave a square for 15-20 seconds. The caramel will melt and become extra gooey. Avoid the oven unless you’re reheating a large batch.
Storage — Keep them in an airtight container at room temperature for up to 3 days. If it’s very humid, you might want to refrigerate them, but they’ll be firmer. Bring to room temperature before eating.
Freezing — Yes, you can freeze these! Wrap individual squares in plastic wrap and place them in a freezer bag. They’ll last for up to 2 months. Thaw at room temperature or microwave briefly. Don’t freeze them with the caramel drizzle on top if you can help it, as it can get sticky. Drizzle after thawing.
For more easy dessert ideas that freeze well, check out my fall cinnamon pumpkin dump cake, which is another no-fuss option.
Nutrition Information
I’m not a nutritionist, but here’s a rough estimate if you’re tracking. These are indulgent treats, so enjoy them in moderation!
Per Serving (1 of 16 squares):
- Calories: 280
- Carbs: 42g
- Sugar: 30g
- Fat: 12g
- Saturated Fat: 7g
- Protein: 3g
- Fiber: 1g
- Sodium: 180mg
These are higher in sugar and carbs because of the caramel and brown sugar, but they’re also filling. A little goes a long way. If you’re watching sugar, try reducing the caramel drizzle or using a sugar-free caramel sauce.
Final Thoughts
So there you have it—my Gooey Caramel Apple Blondies. I hope you make these this fall. There’s something so comforting about baking with apples and caramel. It feels like autumn in a pan. These blondies are easy to make, hard to resist, and perfect for sharing (or not sharing, I won’t tell).
Make them your own. Add extra nuts, swap the apples for pears, or drizzle extra caramel on top. The best recipes are the ones you adapt to your taste. And if you make them, I’d love to hear how they turn out. Drop a comment below and let me know if you added extra cinnamon or went heavy on the nuts.
Happy baking! And I hope your kitchen smells as amazing as mine does right now.
Frequently Asked Questions
Can I use canned apples?
You can, but I don’t recommend it. Canned apples are usually softer and have more moisture, which can make the blondies soggy. Fresh apples give you that nice contrast of tender but still slightly firm bites. If you must use canned, drain them very well and pat them dry with paper towels.
Why did my blondies turn out cakey?
This usually happens if you overmix the batter or use too much flour. Make sure you’re spooning the flour into the measuring cup, not scooping it down. Also, don’t overbake. Pull them out when the toothpick has moist crumbs, not when it’s completely clean.
Can I use apple sauce instead of butter?
No, I wouldn’t recommend it. Butter provides the fat and structure that blondies need. Applesauce will make them dense and gummy. If you want a lighter version, you can reduce the butter by ¼ cup, but it won’t be traditional blondies.
How do I store leftovers?
Store them in an airtight container at room temperature for up to 3 days. If you live in a hot climate, refrigerate them. They’ll last up to 5 days in the fridge.
Can I make these gluten-free?
Yes! Use a 1:1 gluten-free flour blend. The texture will be slightly more tender, but it works well. Make sure your baking powder and caramel sauce are also certified gluten-free if you have celiac disease.
What kind of apples are best?
Firm apples that hold their shape when baked are best. Honeycrisp, Fuji, Gala, and Granny Smith are all great choices. Avoid Red Delicious or McIntosh, as they turn mushy.
Can I double this recipe?
Yes, but you’ll need a 9×13 inch pan. Double all the ingredients and bake for 45-50 minutes. Keep an eye on them, as larger pans can bake unevenly.
Pin This Recipe!
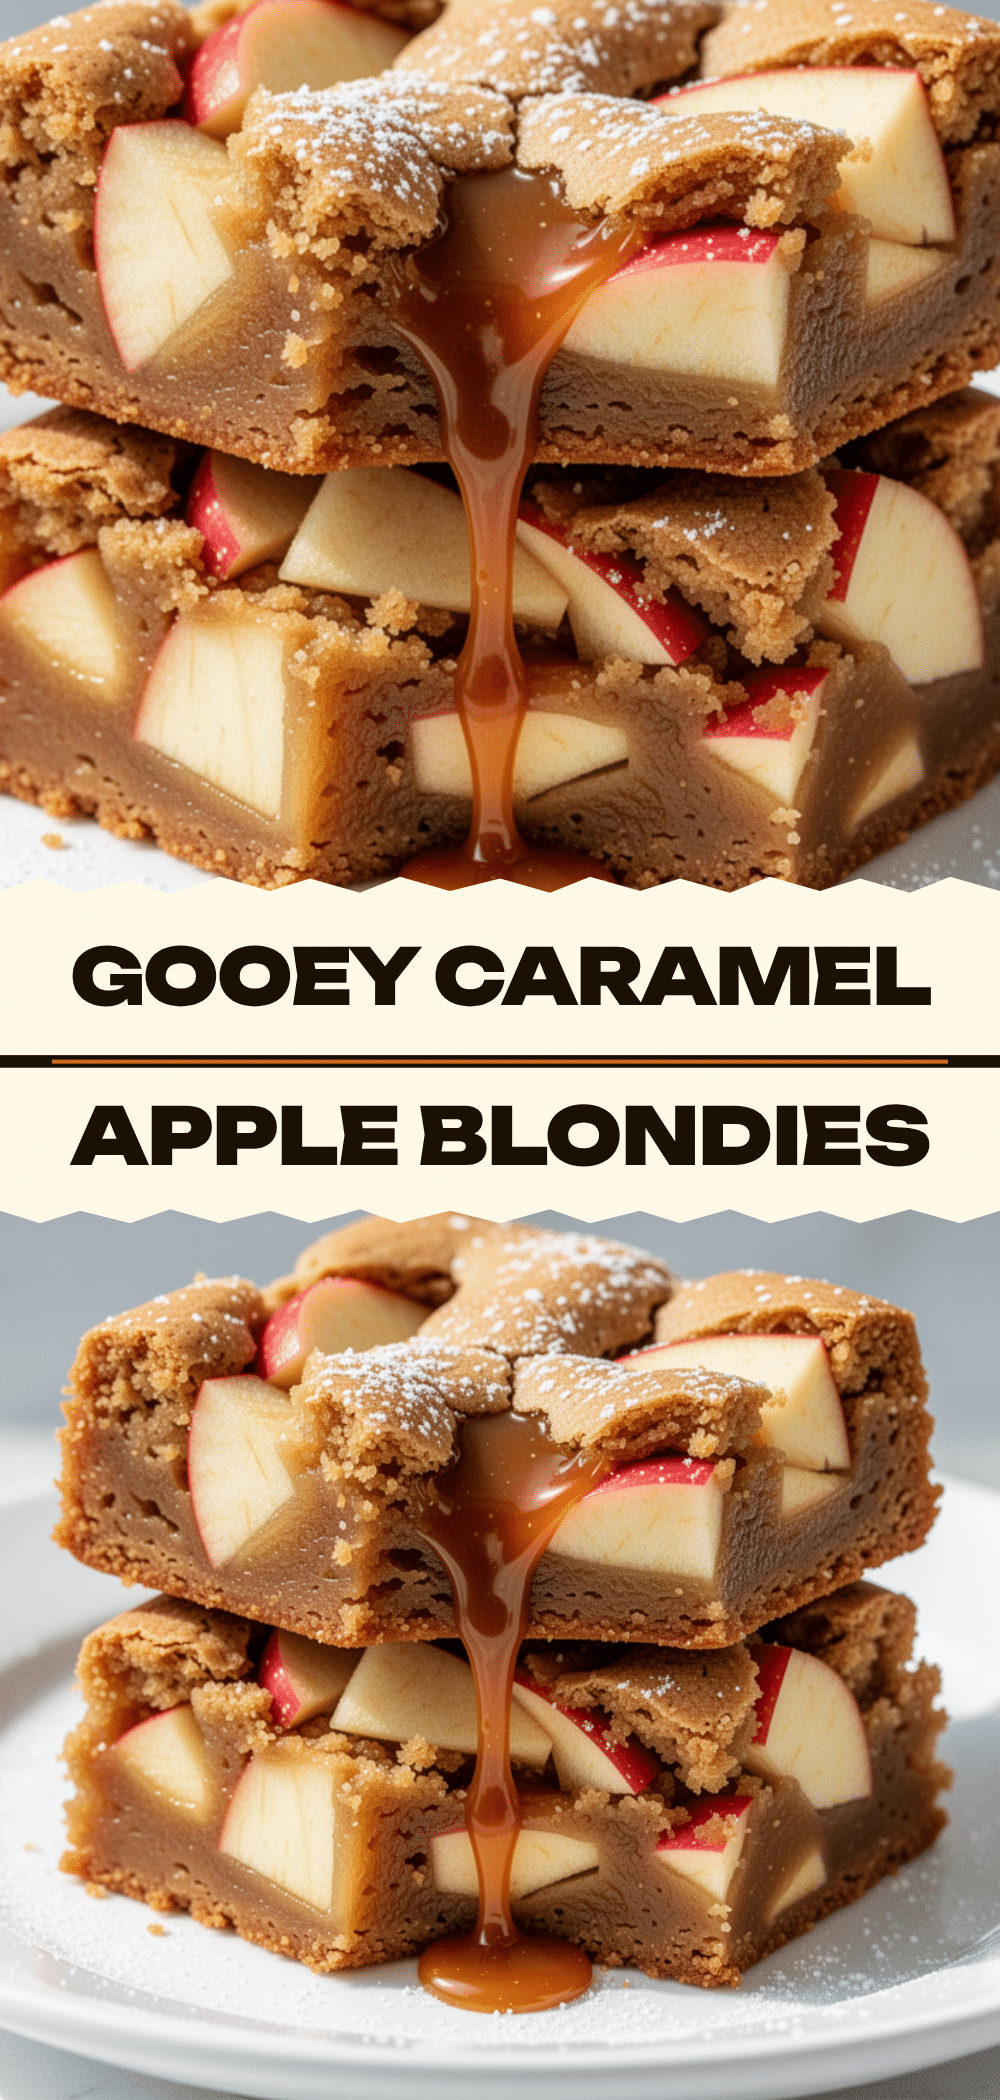
Gooey Caramel Apple Blondies: Easy Fall Dessert
- Total Time: 55 minutes
- Yield: 16 servings 1x
Description
Chewy, dense blondies infused with the flavors of fall, featuring tender Honeycrisp apples, gooey caramel sauce, and a hint of sea salt. This one-bowl recipe is perfect for autumn baking.
Ingredients
- 1 cup (226g) unsalted butter, melted
- 2 cups (400g) dark brown sugar
- ½ cup (100g) granulated sugar
- 2 large eggs, room temperature
- 2 teaspoons vanilla extract
- 2 ½ cups (315g) all-purpose flour
- 1 teaspoon baking powder
- 1 teaspoon salt (reduce to ½ tsp if using salted butter)
- 3 medium firm apples (Honeycrisp, Fuji, or Granny Smith), peeled and diced into ½-inch cubes
- 1 cup (240ml) caramel sauce
- ½ cup (60g) chopped pecans or walnuts (optional)
- Sea salt flakes, for sprinkling
Instructions
- Preheat oven to 350°F (175°C). Line a 9×9 inch baking pan with parchment paper, leaving an overhang on the sides, and grease lightly.
- Melt the butter in a microwave-safe bowl in 30-second intervals, stirring until liquid. Let cool for 5 minutes until warm but not hot.
- In a large mixing bowl, whisk the melted butter, brown sugar, and granulated sugar until smooth and glossy.
- Add the eggs and vanilla extract, whisking until the mixture is slightly lighter in color and combined.
- Add the flour, baking powder, and salt. Fold gently with a spatula until just combined and no white streaks remain.
- Fold in the diced apples and chopped nuts (if using). Reserve about ¼ cup of caramel sauce for the topping.
- Pour batter into the prepared pan and smooth the top. Drizzle the reserved caramel sauce over the top in a zig-zag pattern.
- Bake for 35-40 minutes, or until edges are golden brown and a toothpick inserted in the center comes out with moist crumbs.
- Cool in the pan for at least 15 minutes to set. Sprinkle with sea salt flakes while warm.
- Cut into 16 squares and serve.
Notes
For maximum gooeyness, swirl caramel into the batter before baking. Store leftovers in an airtight container at room temperature for up to 3 days. They taste even better on day 2. Can be frozen for up to 2 months.
- Prep Time: 15 minutes
- Cook Time: 40 minutes
- Category: Dessert
- Cuisine: American
Nutrition
- Serving Size: 1 square
- Calories: 280
- Sugar: 30
- Sodium: 180
- Fat: 12
- Saturated Fat: 7
- Carbohydrates: 42
- Fiber: 1
- Protein: 3
Keywords: fall dessert, caramel apple blondies, easy baking, one bowl dessert, autumn treats, apple blondies, chewy bars


