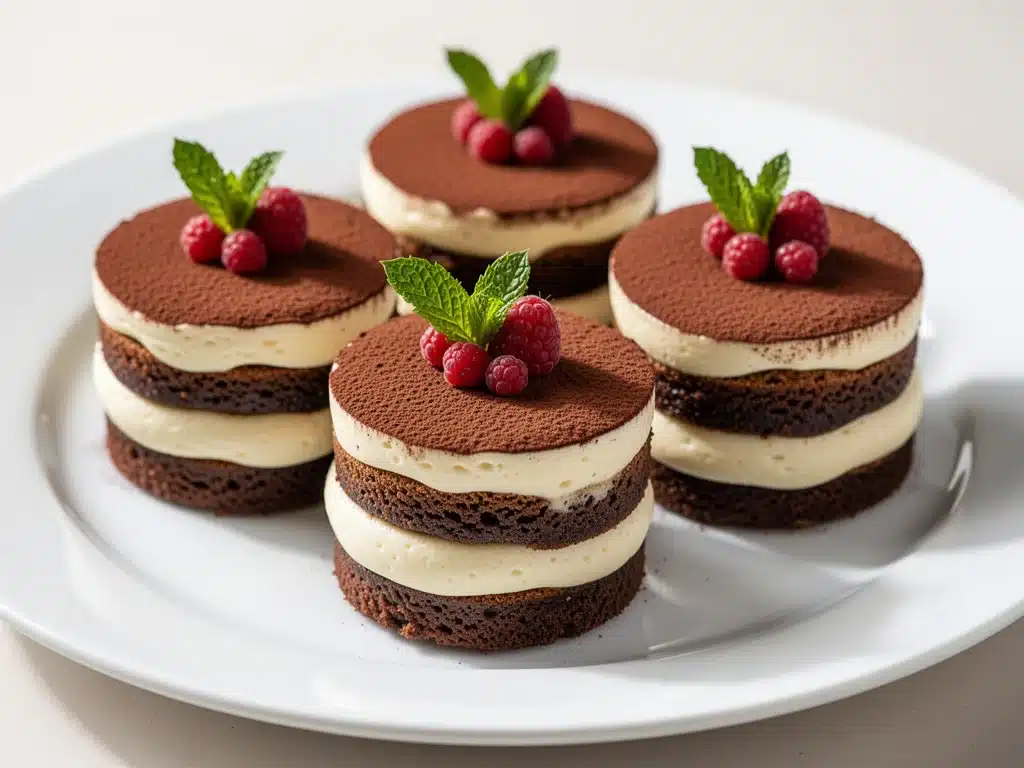
It was a rainy Sunday in November, the kind where the sky looks like wet concrete and you just want to stay under the covers. But my kitchen smelled like espresso and vanilla, and I was standing over a bowl of mascarpone cheese, trying to decide if I had enough eggs to make a proper tiramisu. The truth? I didn’t. And honestly, I didn’t want to risk raw eggs anyway, not with the kids running around.
So I did what any desperate home cook does: I improvised. I grabbed some leftover ladyfingers, a splash of cold brew coffee, and a tub of cream cheese I had in the fridge. I whipped it all together, layered it into little mason jars, and popped them in the fridge. I told myself it was just a quick snack. But when I tasted it three hours later, I realized I had accidentally invented the best dessert I’d ever made.
These Ultra-Creamy Tiramisu Cups changed everything for me. No raw eggs. No soggy bottoms (if you layer them right). No giant pan that takes up your entire fridge for two days. Just pure, coffee-infused, creamy perfection in a portable size. I’ve made these for dinner parties, for potlucks, and just for Tuesday night treats. They are hands-down the easiest no bake dessert to pull off, and they always look fancy enough to impress people who don’t know you just whipped it up in 20 minutes.
If you’ve ever been intimidated by traditional tiramisu—the delicate balance of egg yolks, the risk of breaking the mascarpone, the mess of a large dish—this is your answer. It’s foolproof. It’s creamy. And it’s ready whenever you are.
Why You’ll Love This No Bake Tiramisu Dessert
There’s a reason I keep coming back to these cups. They solve all the problems I had with the classic version while keeping all the flavor. Here’s why they’ve earned a permanent spot in my weekly dessert rotation:
- Zero Raw Eggs Needed — I’m not a huge fan of raw eggs in my desserts, even pasteurized ones. This version uses whipped cream cheese and heavy cream, so it’s completely safe and stable. No food safety worries, just peace of mind.
- Ready in 20 Minutes — The active work time is incredibly short. I spend about 10 minutes whipping the cream and 10 minutes layering. The rest is just waiting for the fridge to do its job. This is my go-to when guests call and say, “We’re leaving in an hour!”
- Perfect Portion Control — Let’s be real: sometimes you don’t want a whole pan of dessert. These cups are individual servings. Perfect for meal prep, for kids’ lunches (okay, maybe not school, but definitely home), or for when you just want a small treat without committing to a whole slice.
- Make-Ahead Friendly — These actually taste better the next day. The flavors meld together, the coffee soaks in, and the texture becomes even silkier. I often make them the night before a party so I don’t have to stress in the morning.
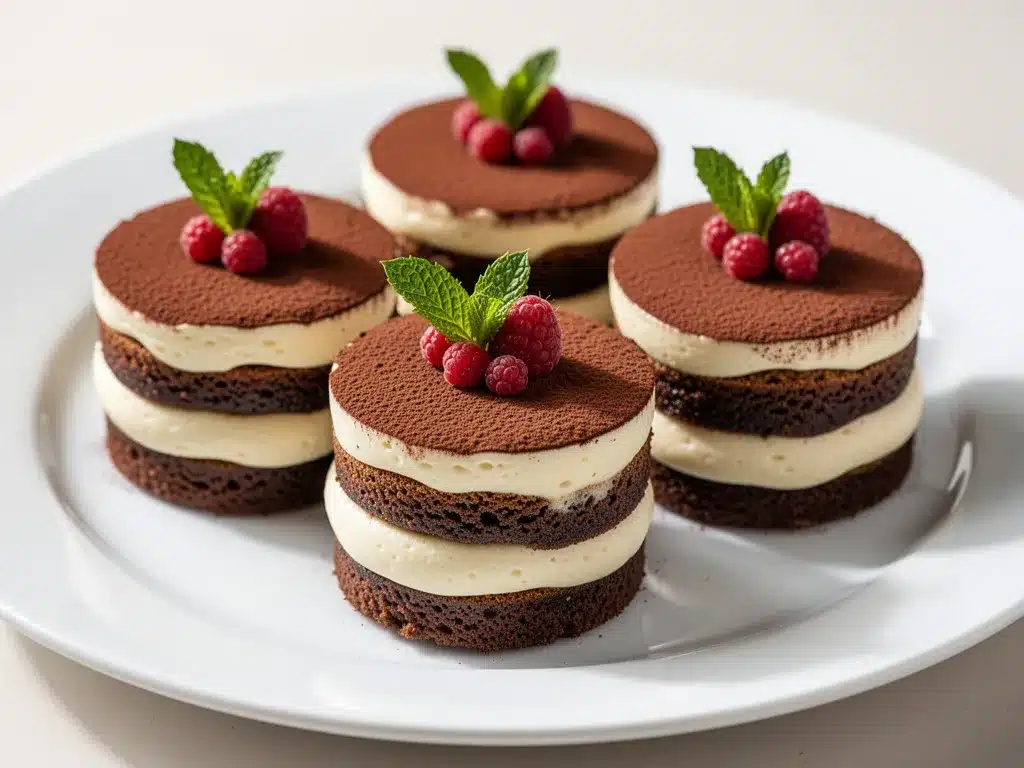
- Impressive but Simple — They look elegant with the dusting of cocoa powder and the little garnish on top. People assume you spent hours on them. I don’t correct them.
It’s the kind of dessert that feels like a hug in a jar. Warm, comforting, and just sweet enough.
Ingredients You’ll Need
Here’s the best part: you probably have most of this already. This isn’t a recipe that requires a special trip to three different specialty stores. It uses simple, accessible ingredients that you can find at any grocery store.
For the Creamy Filling:
Full-fat cream cheese (8 ounces / 225g) — This is the base. Do not use light cream cheese. It won’t hold its shape and the texture will be runny. Let it sit out for 15 minutes before you start so it whips smoothly. I use Philadelphia because it’s consistent, but any brand works.
Heavy cream (1 cup / 240ml) — You need the high fat content here to whip it up stiff. If you use half-and-half or milk, you won’t get those airy peaks. Cold cream whips better, so keep it in the fridge until the last minute.
Confectioners’ sugar (½ cup / 60g) — Also known as powdered sugar. It dissolves instantly, which is crucial because you don’t want gritty sugar in your smooth cream. Sift it if it’s clumpy.
Vanilla extract (2 teaspoons) — Use real vanilla, not imitation. The flavor is the star here, so fake vanilla will make the whole dessert taste artificial. If you have vanilla bean paste, use that—it looks gorgeous with the little black specks.
Unsalted butter (2 tablespoons, softened) — This is my secret trick. Softened butter adds richness and helps stabilize the cream cheese mixture, making it extra silky. Don’t skip it.
For the Layering:
Strong brewed coffee (1 cup / 240ml, cooled) — You can use espresso, but strong brewed coffee works just fine. Let it cool completely! Warm coffee will melt the cream immediately. I sometimes add a tablespoon of sugar to the coffee if I want it sweeter, but plain is good too.
Ladyfingers (24-30 pieces) — These are the classic sponge cookies. Look for the dry, crisp ones, not the soft cake-like ones. If you can’t find ladyfingers, you can use graham crackers broken into pieces, or even a quick sponge cake. But ladyfingers are traditional for a reason—they soak up the coffee perfectly without turning to mush too fast.
Cocoa powder (for dusting) — Unsweetened cocoa powder. I like to use high-quality Dutch-process cocoa because it’s darker and less bitter. It’s just for garnish, but it makes the dessert look professional.
Optional: Coffee liqueur (2 tablespoons) — Kahlúa is classic. Add it to the coffee mixture if you want an adult version. Leave it out for kids or a family-friendly treat.
Equipment Needed
You don’t need fancy gadgets for this. Here’s what I actually use in my kitchen:
Mixing bowls — Two medium bowls. One for the cream cheese mixture, one for whipping the heavy cream. Glass or metal bowls work best because they stay cold.
Electric hand mixer or stand mixer — You *can* do this by hand, but it takes forever and your arm will hurt. An electric mixer makes light work of whipping the cream and blending the cream cheese. I use a hand mixer because it’s easier to clean.
Measuring cups and spoons — Standard stuff. I keep a set on my counter.
Small whisk or spatula — For folding the cream into the cheese mixture gently. A spatula is better because it scrapes the sides of the bowl.
Jars or glasses — I love using 8-ounce mason jars or simple pint glasses. You can also use small ramekins or even plastic cups for kids. Just make sure they’re clean and dry.
Sieve or sifter — For dusting the cocoa powder. A small mesh sieve gives the most even, professional-looking dusting. A fork works in a pinch, but it’s less pretty.
How to Make It: Step-by-Step
Alright, let’s make these! I’m walking you through exactly how I do it, including the little tricks I’ve picked up over time.
Step 1: Prep Your Coffee and Cool It (10 minutes)
Brew a cup of strong coffee. I usually make it the night before, but if you’re in a rush, brew it strong and put it in the freezer for 10 minutes to cool it down fast. It needs to be completely cold before you touch it. If you add coffee liqueur, stir it in now.
Step 2: Whip the Heavy Cream (3-5 minutes)
In a cold mixing bowl, pour the heavy cream. Start beating on medium speed. Gradually increase to high. Watch it closely. You want stiff peaks—when you lift the beaters, the cream should stand up straight without drooping. Do not over-whip it into butter! Stop as soon as you see those peaks. Set it aside.
Step 3: Beat the Cream Cheese Mixture (2-3 minutes)
In a separate bowl, beat the softened cream cheese, softened butter, confectioners’ sugar, and vanilla extract. Start on low speed to combine, then turn up to medium-high. Beat for about 2-3 minutes until it’s completely smooth and creamy. Scrape down the sides of the bowl with a spatula to make sure there are no lumps. This mixture should be thick and rich.
Step 4: Fold It All Together (2 minutes)
Now comes the gentle part. Add about one-third of the whipped cream to the cream cheese mixture and stir it in to lighten the texture. Then, gently fold in the rest of the whipped cream using a spatula. Use a cutting motion, going from the bottom up. You want to keep as much air in the cream as possible. Stop when you see no more white streaks. Don’t overmix!
Step 5: Assemble the Cups (10 minutes)
Take your jars or glasses. Dip each ladyfinger quickly into the cold coffee mixture. I mean *quickly*—just a half-second per side. You want them moist, not soggy. Place one or two ladyfingers at the bottom of the jar. Spoon a generous layer of the cream mixture on top. Smooth it out with the back of a spoon. Repeat the layers: coffee-dipped ladyfingers, then cream. Aim for two layers of each. Stop just below the rim of the jar.
Step 6: Chill and Dust (30+ minutes)
Cover the jars with plastic wrap or lids. Refrigerate for at least 2 hours, but ideally overnight. This is crucial. It lets the ladyfingers soften and absorb the coffee flavor, and it lets the cream set. When you’re ready to serve, sift a generous layer of cocoa powder over the top. Add a little extra cocoa powder on a spoon for decoration if you’re feeling fancy.
Total Time: About 20 minutes active, plus chilling time.
Expert Tips & Tricks
Here’s everything I’ve learned from making these dozens of times. These tips will save you from my mistakes.
Don’t Over-Dip the Ladyfingers
This is the #1 mistake people make. Ladyfingers are like sponges. If you soak them for more than a second or two, they will disintegrate in the jar and your dessert will be a mushy mess. Dip, dip, done. Move on.
Keep Everything Cold
Warm cream doesn’t whip. Warm cream cheese doesn’t blend smoothly. Make sure your cream is cold, your bowls are cold, and your coffee is cold. I sometimes put my mixing bowl in the fridge for 10 minutes before whipping.
Use a Piping Bag (Optional)
If you want it to look super professional, put the cream mixture in a piping bag with a star tip. Pipe it onto the ladyfingers instead of spooning it. It looks like you bought it from a fancy bakery. But spooning works fine if you’re keeping it casual.
Choose the Right Ladyfingers
Look for dry, crisp ladyfingers. The soft, cake-like ones (often found in the baking aisle near cakes) are too moist already and will make the dessert heavy. You want the ones that snap when you break them.
Adjust the Sweetness
Taste your coffee. If it’s bitter, add a little sugar or liqueur. If it’s sweet, leave the sugar in the cream less. Everyone’s palate is different. I like a balance of bitter coffee and sweet cream.
Common Mistakes (and how to avoid them):
Mistake: The cream is runny.
Fix: You probably didn’t whip the heavy cream enough, or you used low-fat cream. Make sure you hit stiff peaks. Also, ensure your cream cheese was fully softened before mixing.
Mistake: The layers are too thick.
Fix: Aim for a 1:1 ratio of ladyfingers to cream. Too much cream and it’s just a cheese mousse. Too much cookie and it’s dry. Find the balance.
Mistake: The cocoa powder is clumpy.
Fix: Sift it! Don’t just sprinkle it from a jar. Use a fine-mesh sieve for a dusting that looks like snow.
Variations & Substitutions
Once you’ve nailed the basic version, here’s how you can mix it up. I’ve tried all of these, and they’re all delicious.
Chocolate Tiramisu
Add 2 tablespoons of cocoa powder to the cream cheese mixture. It’s like a chocolate cream pie meets tiramisu. Rich and indulgent.
Strawberry Tiramisu
Skip the coffee. Dip the ladyfingers in a mixture of strawberry jam and water (or just use a thin strawberry syrup). Layer with fresh sliced strawberries. It’s like a strawberry shortcake in a jar. This is a hit with kids.
Mocha Tiramisu
Add 1 tablespoon of instant espresso powder to the cream mixture. For coffee lovers who want an extra kick.
Gluten-Free
Use gluten-free ladyfingers (they’re available in most grocery stores now) or substitute with gluten-free graham crackers. Everything else is naturally gluten-free.
Dairy-Free
Use vegan cream cheese (like Kite Hill) and coconut cream instead of heavy cream. Whip the coconut cream like you would regular cream. It’s not quite the same texture, but it’s still creamy and delicious. My lactose-intolerant friend loves this version.
Alcohol-Free
Just leave out the Kahlúa. The coffee flavor is still strong and satisfying. Perfect for kids or daytime parties.
Serving & Storage
How to Serve:
I usually serve these straight from the fridge. They’re best cold. Garnish with a single cocoa powder heart, a chocolate shavings, or a fresh mint leaf if you want to look fancy. They go great with a hot cup of coffee or tea. I also serve them alongside classic apple pie for a mixed dessert table, because sometimes you want variety.
Storage Instructions:
Refrigerator: Store covered in the fridge for up to 3 days. They actually get better on day 2. The flavors meld and the texture sets up nicely.
Freezing: I don’t recommend freezing these. The ladyfingers will get weird and the cream might separate when thawed. It’s best enjoyed fresh or chilled.
Meal Prep: These are perfect for meal prep. Make a batch on Sunday, and you have dessert ready for the week. Just keep them in the fridge.
Pro Tip: If you’re making them for a party, assemble them the night before. That way, you’re not stressed on the day of the event. Just dust with cocoa right before serving.
Nutrition Information
I’m not a nutritionist, but here’s the breakdown if you’re tracking. Keep in mind that these are estimates and can vary based on the specific brands and sizes of jars you use.
Per Serving (based on 8 cups):
- Calories: 320
- Protein: 4g
- Carbs: 28g
- Fiber: 1g
- Sugar: 18g
- Fat: 22g
- Saturated Fat: 13g
- Cholesterol: 65mg
- Sodium: 180mg
What’s Good: It’s a small portion, so it’s easy to control. The cream cheese provides some protein and calcium.
What to Know: It’s high in sugar and saturated fat because of the cream cheese, sugar, and heavy cream. It’s a treat, not a health food. Enjoy it mindfully.
Final Thoughts
So that’s my go-to Ultra-Creamy Tiramisu Cups! I’ve probably talked your ear off at this point, but when you make a recipe this often, you have a lot to say about it.
This has saved my dessert game more times than I can count. It’s my answer to “what’s for dessert” when I’m tired, don’t want to bake, and still want something that tastes really good. My kids are happy, my husband’s happy, and I’m happy because I’m not stressed about cooking.
Make it yours! Try different liqueurs, swap in your favorite cookies, or add fresh fruit. The best recipes are the ones you adapt to your family’s tastes.
If you make this, drop a comment and let me know what you think! I love hearing how recipes turn out in your kitchen. And if something doesn’t work, tell me that too—I’m here to help troubleshoot.
Happy cooking! And I hope your kitchen smells half as good as mine does right now.
Frequently Asked Questions
Can I use instant coffee instead of brewed coffee?
Yes, you can! Dissolve 1-2 tablespoons of instant espresso powder in 1 cup of hot water and let it cool completely. It’s actually stronger and more convenient than brewing a whole pot. I do this all the time when I’m in a rush.
Why did my cream cheese mixture turn out lumpy?
Usually, this means the cream cheese wasn’t softened enough. If it’s cold and firm, it won’t blend smoothly with the sugar. Let it sit out on the counter for 15-20 minutes before you start. If it’s already lumpy, you can force it through a sieve, but prevention is better than cure.
Can I make this ahead for a dinner party?
Absolutely. In fact, it’s better if you make it ahead. Assemble the cups up to 24 hours in advance. Cover them tightly and refrigerate. Just add the cocoa powder dusting right before you serve so it doesn’t dissolve into the cream.
What can I use if I can’t find ladyfingers?
Graham crackers are the best substitute. Break them into pieces that fit your jar. You can also use sponge cake cut into strips, or even ginger snaps for a spicier twist. Just make sure they’re dry enough to soak up the coffee without falling apart.
How do I store leftover tiramisu cups?
Keep them in the refrigerator in their jars with lids or plastic wrap. They’ll last for up to 3 days. Do not freeze them, as the texture will change. Eat them within 3 days for the best flavor and texture.
Can I make this dairy-free?
Yes! Use vegan cream cheese and whip chilled full-fat coconut cream instead of heavy cream. It won’t be exactly the same, but it’s still creamy and delicious. My friends who are lactose intolerant love this version.
Why is my tiramisu too runny?
This usually happens if you didn’t whip the heavy cream enough or if you used low-fat cream. Make sure you whip the cream to stiff peaks. Also, ensure your cream cheese was fully softened and smooth before mixing. If it’s still runny after chilling, you can try adding a little more whipped cream to stabilize it, but prevention is key.
Pin This Recipe!
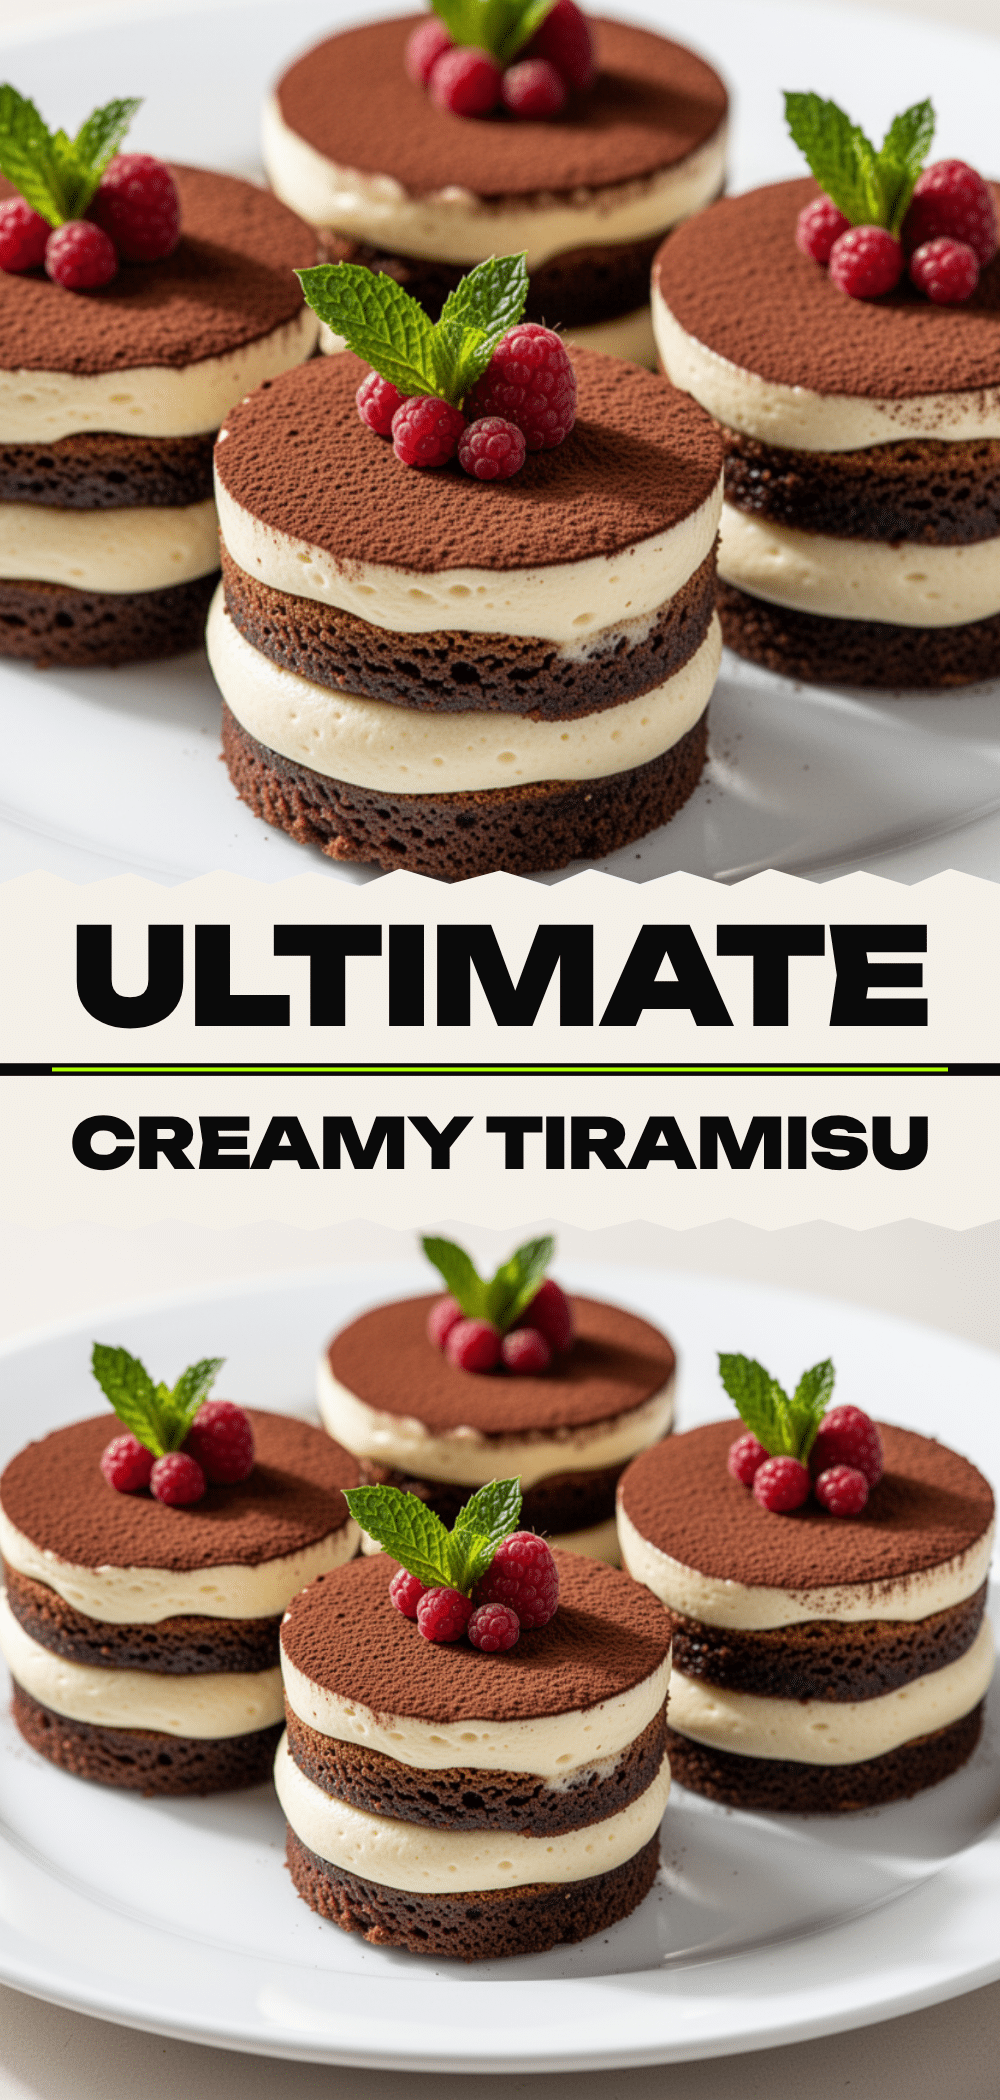
Easy Ultra-Creamy Tiramisu Cups: No Bake Dessert
- Total Time: 2 hours 20 minutes
- Yield: 8 servings 1x
Description
A foolproof, no-bake tiramisu dessert served in individual cups. This recipe uses cream cheese and heavy cream instead of raw eggs for a safe, ultra-creamy texture that is ready in just 20 minutes of active time.
Ingredients
- 8 ounces (225g) full-fat cream cheese, softened
- 1 cup (240ml) heavy cream, cold
- ½ cup (60g) confectioners’ sugar
- 2 teaspoons vanilla extract
- 2 tablespoons unsalted butter, softened
- 1 cup (240ml) strong brewed coffee, cooled
- 24–30 ladyfingers
- Unsweetened cocoa powder, for dusting
- 2 tablespoons coffee liqueur (optional)
Instructions
- Brew strong coffee and let it cool completely. If using liqueur, stir it into the coffee now.
- In a cold mixing bowl, whip the heavy cream on medium-high speed until stiff peaks form. Set aside.
- In a separate bowl, beat the softened cream cheese, softened butter, confectioners’ sugar, and vanilla extract on medium-high speed until smooth and creamy, about 2-3 minutes.
- Add one-third of the whipped cream to the cream cheese mixture and stir to lighten. Gently fold in the remaining whipped cream until no white streaks remain.
- Quickly dip each ladyfinger into the cold coffee (about half a second per side) and place one or two at the bottom of a jar.
- Spoon a layer of the cream mixture over the ladyfingers. Repeat to create two layers of each, stopping just below the rim.
- Cover jars and refrigerate for at least 2 hours or overnight.
- Before serving, sift cocoa powder over the top of each cup.
Notes
Do not over-dip the ladyfingers or they will become soggy. Ensure all ingredients, especially the cream and bowls, are cold for best whipping results. The dessert tastes better the next day as flavors meld. Do not freeze as the texture may change.
- Prep Time: 20 minutes
- Cook Time: 0 minutes
- Category: Dessert
- Cuisine: Italian
Nutrition
- Serving Size: 1 cup
- Calories: 320
- Sugar: 18
- Sodium: 180
- Fat: 22
- Saturated Fat: 13
- Carbohydrates: 28
- Fiber: 1
- Protein: 4
Keywords: tiramisu, no bake dessert, cream cheese tiramisu, easy tiramisu, individual desserts, make ahead dessert, coffee dessert


