It was 6:15 PM on a Tuesday, and I was staring at the clock like it was personally insulting me. My husband was still at work, the dog was doing that restless pacing thing she does when she knows dinner is late, and I had absolutely zero energy left to cook something complicated. I opened the freezer, hoping for frozen nuggets, but the bag was empty. I checked the fridge. Just half a lemon, some wilted spinach, and three chicken breasts that looked like they’d been judging me all day.
Most days, I’d have ordered takeout. But we’ve been trying to stretch our grocery budget tighter lately, and takeout prices have gotten ridiculous. So, I did what I always do when I’m tired and broke: I raided the pantry. I grabbed some panko breadcrumbs, a jar of parmesan cheese, some garlic powder, and a few spices. I had no idea if it would work. I just knew I needed protein on the table in under 30 minutes.
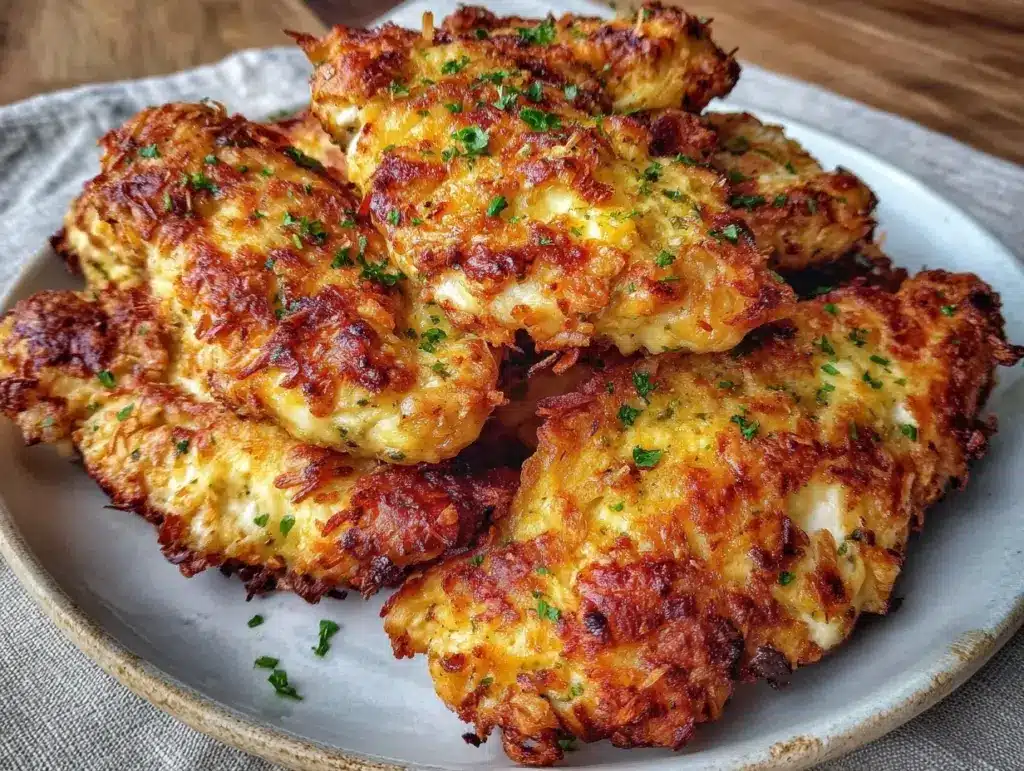
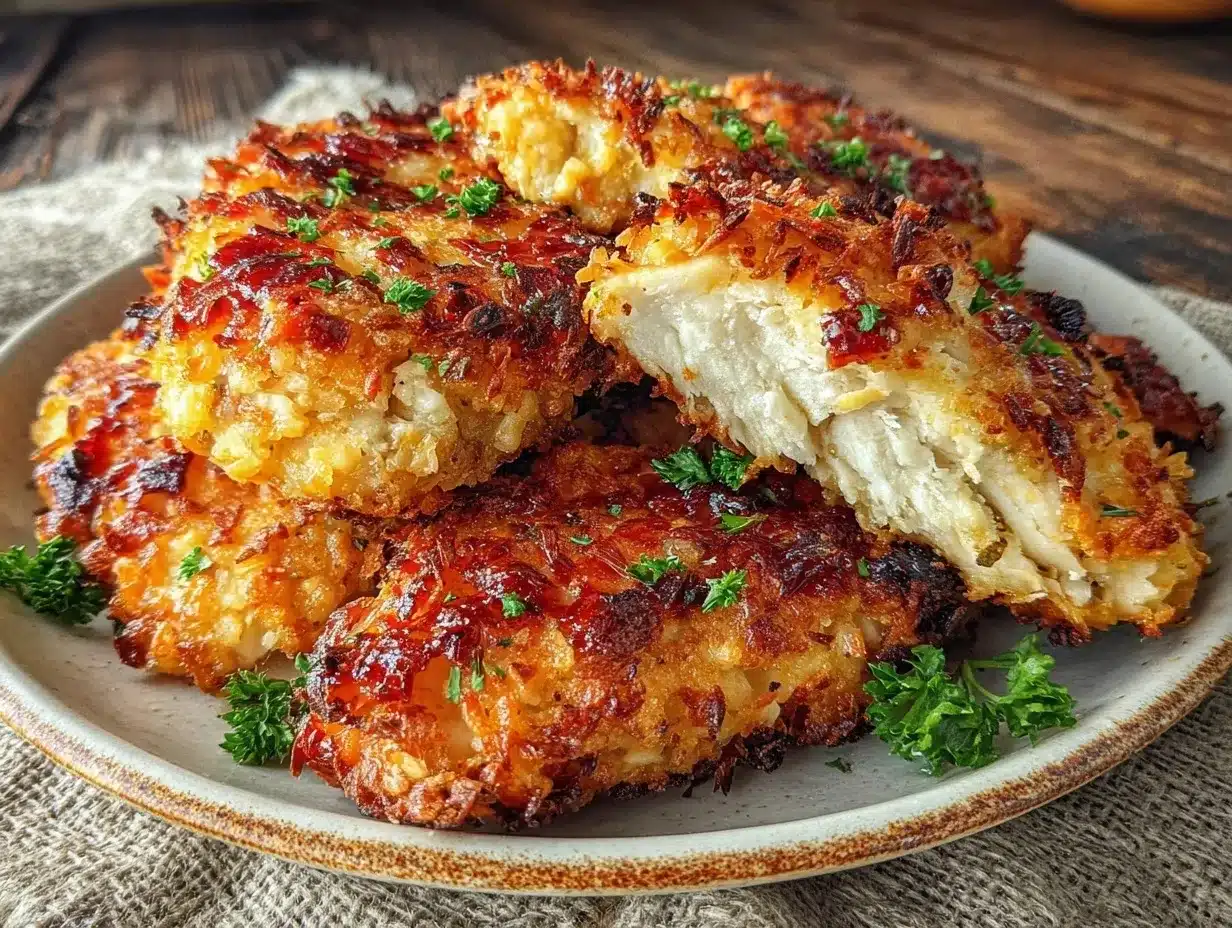
Twenty minutes later, I was pulling a baking sheet out of the oven, and the smell was incredible. Crispy, golden, cheesy chicken strips that actually tasted like I’d spent an hour in the kitchen. My kids devoured them before the sauce even cooled down. That night, I realized I didn’t need fancy ingredients or a deep fryer to make something the whole family loved. I just needed the right ratio of cheese to breadcrumbs and a little bit of patience.
That was the birth of my Easy Parmesan Crusted Chicken Tenders Ready in 20 Min recipe. It’s not just about speed (though that helps when you’re racing the clock). It’s about having a reliable, budget-friendly dinner that doesn’t feel like a compromise. I’ve made this Easy Parmesan Crusted Chicken Tenders Ready in 20 Min version at least twelve times since that Tuesday. Sometimes I add a pinch of cayenne. Sometimes I use almond flour because that’s what was in the cupboard. But the core method? It’s solid. It’s honest. And it works every single time.
If you’ve been searching for a way to get dinner on the table without breaking the bank or your spirit, this is it. Let’s talk about why this Easy Parmesan Crusted Chicken Tenders Ready in 20 Min dish has taken over my weekly rotation.
Why You’ll Love This Recipe
Look, I get it. You’re tired. You want food that tastes good, doesn’t cost a fortune, and doesn’t leave you with a sink full of dirty dishes. This recipe hits all those marks. Here’s why it’s earned its spot in your kitchen:
- Lightning Fast — Seriously. From raw chicken to hot plate, it takes 20 minutes. I’ve made this after getting home from school pickup at 3:30 PM with zero stress. The oven does the heavy lifting while you chop or just sit on the couch for five minutes.
- Budget-Friendly — Chicken breasts are one of the most affordable proteins you can buy. When you pair them with pantry staples like breadcrumbs and spices instead of expensive marinades or sauces, you’re saving money without sacrificing flavor. This Easy Parmesan Crusted Chicken Tenders Ready in 20 Min meal costs a fraction of what you’d pay at a restaurant.
- Kid-Approved Crust — My kids are picky. Like, “only eats white food” picky. But the parmesan crust? They love it. It’s savory, crunchy, and familiar. It’s the perfect bridge between chicken tenders and actual dinner.
- Minimal Cleanup — One baking sheet. One bowl for the coating. That’s it. You’re not washing three pans and a colander. For a busy parent, this low-dish count is a huge win.
- Flexible for Leftovers — These reheat beautifully. I often make a double batch and freeze half. They’re perfect for lunchboxes the next day, or for quick sandwiches if you have extra bread and lettuce.
This is my go-to when dinner needs to just work. It’s comforting, it’s cheap, and it’s fast. If you’re looking for more quick family meals, you might also enjoy checking out my air fryer honey garlic chicken wings for when you want a slightly different crunch.
Key Ingredients
Let’s break down what you need. I’ve kept this list short on purpose. You probably have most of this in your kitchen right now. I’m using US measurements, but I’ve included metric for my international friends.
Chicken Breasts
(2 large breasts, about 1.5 lbs / 680g)
Go for boneless, skinless breasts. They’re leaner and cook faster. I usually buy the big family pack when they’re on sale and freeze them individually. That’s how you keep the cost down. If you can’t find whole breasts, chicken tenders (the actual strips) work too, but you’ll need less coating. Pro tip: Don’t buy the pre-cut tenders from the store. They’re expensive and often treated with weird chemicals. Buy whole breasts and cut them yourself. It’s cheaper and you control the size.
Panko Breadcrumbs
(1 cup / 90g)
This is non-negotiable for that super crispy texture. Regular breadcrumbs are too dense and powdery. Panko is like little flakes of crunch. I buy the large bags because I use them for everything—from this Easy Parmesan Crusted Chicken Tenders Ready in 20 Min recipe to coating fish. If you run out, you can pulse regular breadcrumbs in a blender, but they won’t get as crispy.
Grated Parmesan Cheese
(½ cup / 50g)
Use the real stuff. The pre-grated shaker kind has cellulose in it to prevent clumping, and that stops it from melting properly into the crust. Buy a wedge of parmesan and grate it yourself. It takes two minutes and makes a huge difference in flavor. If you’re in a pinch, you can use Pecorino Romano, but it’s saltier, so reduce the added salt in the recipe.
Eggs
(2 large eggs)
The binder. Whisk them with a little milk or water to make an egg wash. This helps the dry ingredients stick to the chicken. Don’t skip this step, or your coating will fall off in the oven.
Garlic Powder & Onion Powder
(1 tsp each)
These are the flavor boosters. Fresh garlic burns too fast in the oven for this method. Powder gives you that savory, aromatic background note without any risk of burning. I use it in my smoked buffalo chicken dip too, so it’s a staple in my spice rack.
Dried Parsley
(1 tsp)
Just for color and a tiny bit of freshness. It makes the golden crust look more appetizing. If you don’t have it, skip it. It’s not critical.
Salt and Black Pepper
(½ tsp salt, ¼ tsp pepper)
Season the chicken itself, not just the coating. This ensures every bite is flavorful.
Cooking Spray or Olive Oil
(For spraying)
We’re baking, not deep-frying. A light spray of oil helps the breadcrumbs brown evenly. I use an olive oil spray because it coats well and doesn’t leave a heavy greasy taste.
Tools Needed
You don’t need fancy equipment. Here’s what I use, and what you can swap if needed.
- Large Baking Sheet — I use a standard half-sheet pan. Make sure it’s rimmed so the oil doesn’t spill. If yours is small, you might need to do two batches. Don’t overcrowd the pan, or the chicken will steam instead of bake.
- Wire Rack (Optional but Recommended) — If you have a wire cooling rack that fits inside your baking sheet, use it. It lets air circulate under the chicken, making the bottom crispy too. I learned this the hard way when my first batch had a soggy bottom. Now, I never bake without it.
- Shallow Bowls — You’ll need three. One for flour (optional, see tips), one for egg wash, one for the panko mix. If you don’t have three, you can do a two-step process, but it’s messier.
- Pastry Brush or Spray Bottle — For the oil. A silicone pastry brush works great if you don’t want to buy a spray bottle.
- Instant-Read Thermometer — This is my best friend. Chicken is done at 165°F (74°C). It takes the guesswork out so you don’t overcook and dry out the meat.
How to Make Easy Parmesan Crusted Chicken Tenders Ready in 20 Min
Here is exactly how I make this, step by step. Pay attention to the timing and the cues. That’s where the magic happens.
Step 1: Prep the Chicken (5 minutes)
Start by washing your hands and setting up your workspace. Take your chicken breasts and place them on a cutting board. If a breast is thick in the middle, slice it horizontally to create two even cutlets. This ensures they cook at the same rate. If you leave them thick, the outside will burn before the inside is cooked. Cut the cutlets into strips about 1-inch wide. You should get about 8-10 strips per breast. Pat them dry with paper towels. This is crucial. Wet chicken doesn’t stick to coating. It slides right off. Dry chicken = happy crust.
Step 2: Set Up the Dredging Station (3 minutes)
Get three shallow bowls ready. In the first bowl, mix your panko breadcrumbs, grated parmesan, garlic powder, onion powder, dried parsley, salt, and black pepper. Whisk it all together so the spices are evenly distributed. In the second bowl, whisk the eggs with a splash of milk or water until smooth. If you’re using flour (I skip it for a lighter crust, but you can use ½ cup flour in the first bowl if you want extra crunch), mix it in here. For my version, I skip the flour entirely to keep it low-carb friendly and lighter.
Step 3: Coat the Chicken (5 minutes)
Take a chicken strip and dip it into the egg wash, turning to coat both sides. Let the excess drip off for a second. Then, press it firmly into the panko mixture. Use your fingers to press the crumbs into the chicken. Don’t just roll it; press it. You want a thick, even layer. Place the coated strip on a clean plate. Repeat with all the chicken. You’ll have a stack of coated tenders ready to go. This is the perfect time to preheat your oven if you haven’t already.
Step 4: Bake to Perfection (7-10 minutes)
Preheat your oven to 400°F (200°C). Line your baking sheet with parchment paper for easy cleanup, or lightly grease it. Place the chicken strips on the sheet, leaving about an inch of space between each one. You don’t want them touching. Spray the tops lightly with olive oil spray. This helps them turn golden brown. Put them in the oven. Bake for 10-12 minutes. About halfway through, flip them over and spray the other side. This ensures even browning on both sides. The chicken is done when the crust is golden and the internal temperature reaches 165°F (74°C). If you don’t have a thermometer, cut into the thickest piece. The juices should run clear, and the meat should be opaque white, not pink.
Total time: 20 minutes. 5 for prep, 3 for station, 5 for coating, 7-10 for baking. It’s that simple.
Expert Tips from My Kitchen to Yours
Here’s everything I learned from making this too many times. I’ve made mistakes so you don’t have to.
The Game-Changers
Don’t Skimp on the Parmesan
I know cheese is expensive. But the parmesan is what gives that savory, umami flavor that makes people ask for seconds. If you use too little, it tastes like plain breaded chicken. If you use too much, it’s just salty cheese. The ½ cup ratio is sweet spot. I once tried to cut it in half to save money, and the kids sent it back. Lesson learned.
Use a Wire Rack
I mentioned this earlier, but I can’t stress it enough. If you put the chicken directly on the pan, the bottom gets soggy. A wire rack lets the hot air hit all sides. If you don’t have a rack, just flip them carefully halfway through. It’s not as good, but it’s better than nothing.
Don’t Overcrowd the Pan
When I’m in a rush, I try to fit all the chicken on one pan. Bad idea. The moisture from the chicken gets trapped, and the crumbs get soggy. If you’re feeding a crowd, do two batches. It takes two extra minutes but the quality is worth it.
Common Problems & Solutions
Problem: The coating fell off.
Solution: Your chicken was too wet. Pat it drier next time. Or, you didn’t press the crumbs in firmly enough. Think of it like putting a band-aid on; you need pressure for it to stick.
Problem: The crust burned before the chicken was done.
Solution: Your oven is too hot, or the chicken pieces were too small. Check your oven temperature with a separate thermometer. Also, make sure your strips are uniform in size. If some are tiny and some are huge, they’ll cook at different rates.
Problem: It’s not crispy enough.
Solution: You skipped the oil spray. The panko needs fat to brown. Without the oil, it stays pale and soft. Spray it well.
Pro Tricks
Double the Batch
I always make double. Half for dinner, half for lunch the next day. The leftovers are actually better than the fresh ones because the flavors meld overnight. Just reheat in the oven or air fryer, not the microwave, or they’ll get chewy.
Add Heat
If you like spice, add ½ tsp of cayenne pepper or red pepper flakes to the panko mix. It adds a nice kick that balances the richness of the cheese. I love this version with a spicy honey drizzle.
Recipe Variations
Once you’ve nailed the basic version, here’s how to mix it up. This Easy Parmesan Crusted Chicken Tenders Ready in 20 Min base is incredibly versatile.
Spicy Buffalo Style
Add 1 tsp of cayenne and ½ tsp of paprika to the panko mix. After baking, toss the hot tenders in a little buffalo sauce. It’s like having chicken wings without the bones. My husband loves this version with celery sticks and blue cheese dressing.
Herb Garden
Swap the parsley for a mix of dried basil, oregano, and thyme. It gives it an Italian vibe. Great with marinara sauce for dipping. I use this version when I’m making a big pasta dinner.
Gluten-Free
Simply swap the panko for gluten-free panko or crushed gluten-free cornflakes. The cornflakes give a different kind of crunch, but they work surprisingly well. I use this for my friend who is celiac, and she says it’s just as good as the original.
Baked, Not Broiled
You can broil these for the last 2 minutes to get extra color, but watch them like a hawk. Broilers burn quickly. I prefer baking for consistent results.
Serving & Storage
Serving:
I serve these with a simple side of steamed broccoli or roasted carrots. They’re also great with a green salad and a slice of crusty bread. For dipping, classic ranch or BBQ sauce is perfect. But try a garlic aioli or a spicy mustard for something different. They’re also fantastic in a sub roll with lettuce and tomato for a quick chicken sandwich.
Storage:
Store leftovers in an airtight container in the fridge for up to 3 days. They don’t freeze well raw because the coating gets mushy when thawed. But cooked tenders freeze beautifully for up to 3 months. Let them cool completely, then freeze in a single layer on a baking sheet before transferring to a bag. To reheat, put them in a 350°F oven for 10 minutes or in an air fryer for 3-4 minutes. The microwave makes them soggy, so avoid it if you can.
Meal Prep Tip:
Coat the chicken and store the raw strips in the fridge for up to 24 hours before baking. This saves time on cooking night. Just pop them in the oven when you get home.
Nutrition Information
I’m not a nutritionist, but here’s the breakdown based on my calculations. This is per serving (2 tenders).
| Nutrient | Amount |
|---|---|
| Calories | 320 |
| Protein | 35g |
| Carbs | 12g |
| Fiber | 1g |
| Fat | 14g |
| Sodium | 450mg |
My Take:
This is a high-protein meal with moderate carbs. It’s not “diet food,” but it’s certainly better than fried chicken tenders from a fast-food joint. The parmesan adds sodium, so if you’re watching your salt, reduce the added salt in the coating. Overall, it’s a balanced, satisfying meal that keeps you full without making you feel sluggish.
Final Thoughts
I hope this Easy Parmesan Crusted Chicken Tenders Ready in 20 Min recipe becomes a staple in your house too. It’s one of those meals that feels like a treat but doesn’t require a treat budget. It’s perfect for busy weeknights, lazy Sundays, or when you just need something reliable.
If you make this, please drop a comment! I love hearing how it turns out in your kitchen. Did you add extra spice? Did your kids eat the whole batch? Let me know. And if you need more quick dinner ideas, check out my smoked chorizo queso dip for a fun appetizer option.
Happy cooking!
FAQs
Can I use chicken thighs instead of breasts?
Yes! Chicken thighs are juicier and have more flavor. Just note that they will cook slightly faster and have a higher fat content. Cut them into similar-sized strips and check the temperature at 165°F (74°C), though thighs can go up to 175°F (79°C) for a more tender result.
How do I keep the coating from falling off?
The three main reasons coating falls off are: wet chicken, not pressing the crumbs in, and flipping too early. Pat the chicken dry, press the crumbs firmly, and let them set for a minute before putting them in the oven. Don’t flip them until the crust has started to firm up.
Can I make these in an air fryer?
Absolutely. Air fryer Easy Parmesan Crusted Chicken Tenders Ready in 20 Min are even crispier. Cook at 380°F (190°C) for 8-10 minutes, flipping halfway. You might need to spray them with oil more generously since air fryers can dry out the coating.
What dipping sauces go best with these?
Classic ranch, BBQ sauce, and honey mustard are crowd-pleasers. For something fancier, try a garlic aioli or a spicy sriracha mayo. They also taste great with a simple marinara sauce if you want a “chicken parmesan” vibe.
Can I prep these ahead of time?
You can coat the chicken and store it in the fridge for up to 24 hours before baking. Just keep it covered. Do not freeze the raw coated chicken, as the texture of the coating will suffer when thawed.
Why is my chicken dry?
Overcooking is the culprit. Chicken breasts cook very quickly. Use a thermometer and pull them out as soon as they hit 165°F (74°C). They will continue to cook slightly from residual heat. If you leave them in until they’re 175°F, they’ll be dry.
Pin This Recipe!
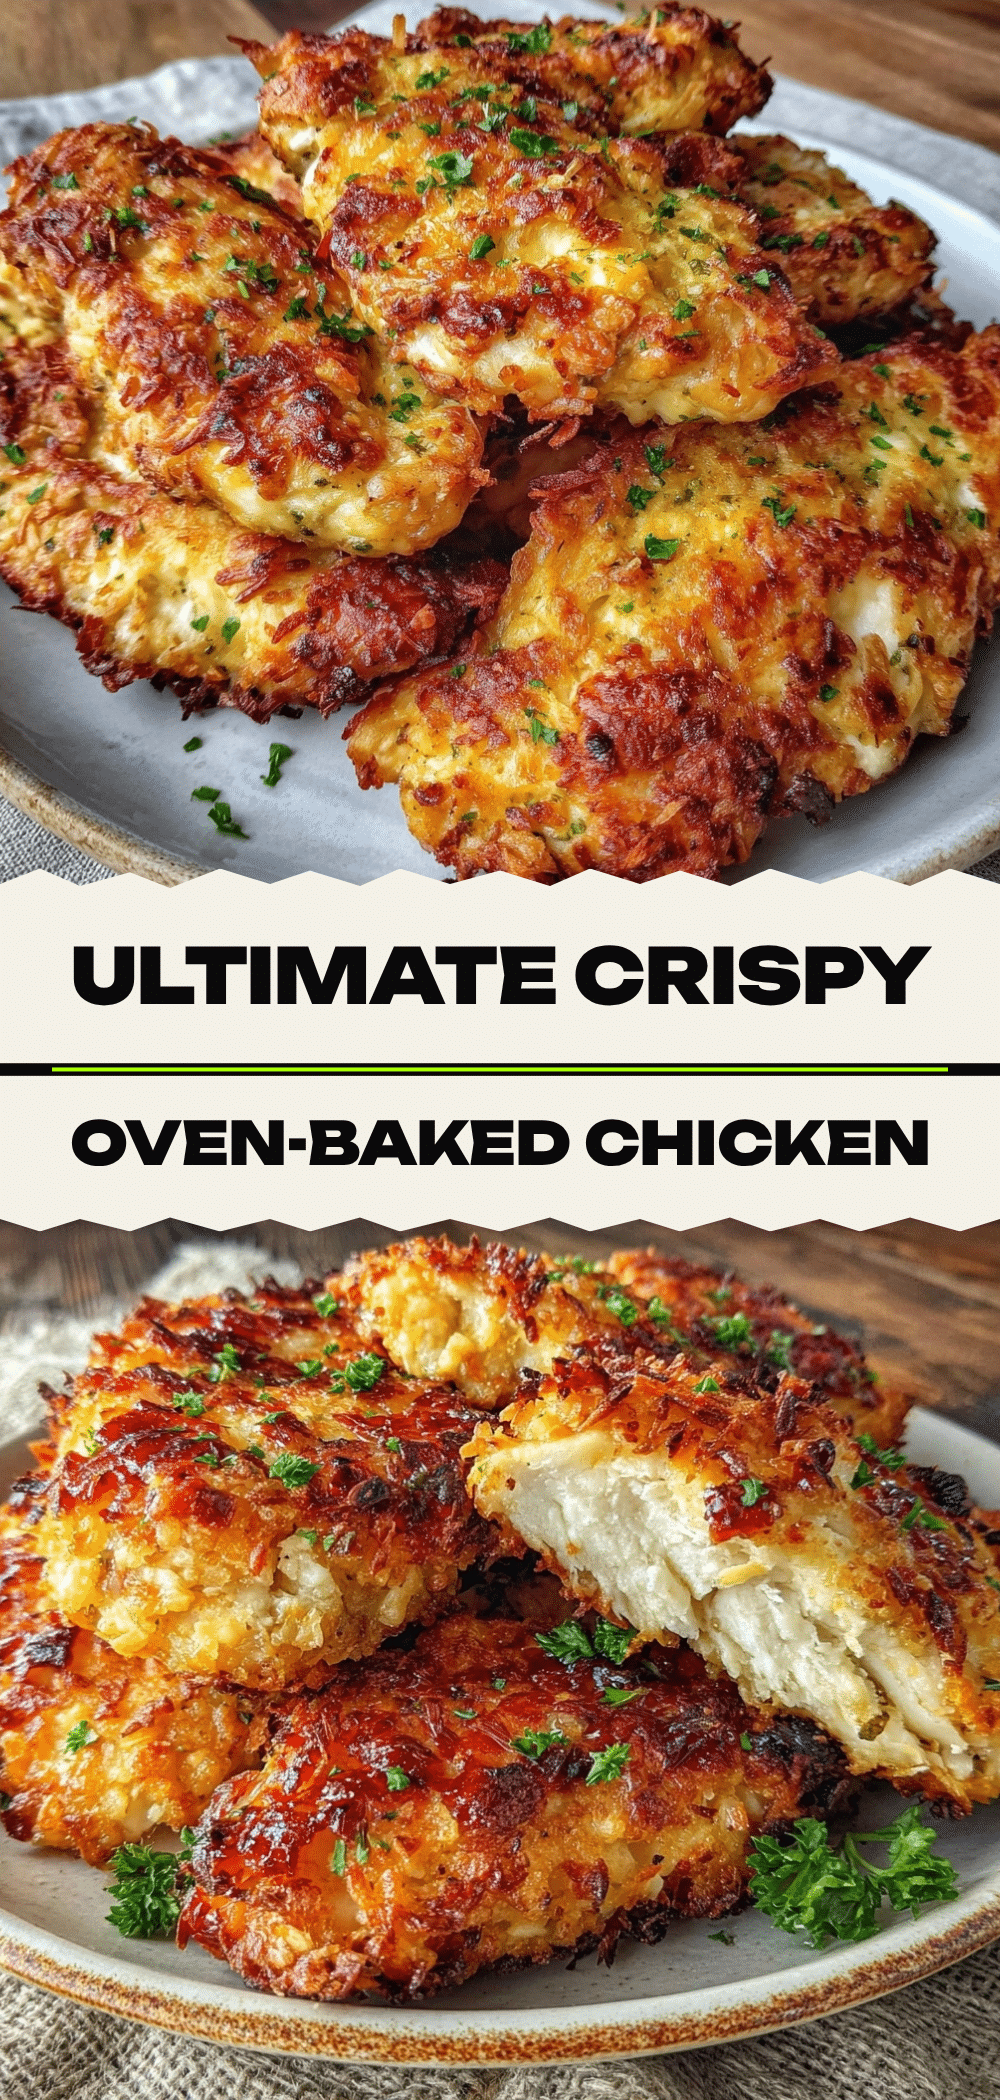

Easy Parmesan Crusted Chicken Tenders Ready in 20 Min
- Total Time: 20 minutes
- Yield: 4 servings 1x
Description
A lightning-fast, budget-friendly dinner featuring crispy, golden chicken strips coated in panko and parmesan cheese, baked to perfection in just 20 minutes.
Ingredients
- 2 large boneless, skinless chicken breasts (about 1.5 lbs / 680g)
- 1 cup panko breadcrumbs (90g)
- ½ cup grated parmesan cheese (50g)
- 2 large eggs
- 1 tsp garlic powder
- 1 tsp onion powder
- 1 tsp dried parsley
- ½ tsp salt
- ¼ tsp black pepper
- Cooking spray or olive oil (for spraying)
Instructions
- Preheat oven to 400°F (200°C). Line a large baking sheet with parchment paper or grease lightly.
- Pat chicken breasts dry with paper towels. Slice horizontally to create even cutlets, then cut into 1-inch wide strips.
- In a shallow bowl, whisk together panko breadcrumbs, grated parmesan, garlic powder, onion powder, dried parsley, salt, and black pepper.
- In a second shallow bowl, whisk eggs with a splash of milk or water until smooth.
- Dip each chicken strip into the egg wash, letting excess drip off, then press firmly into the panko mixture to coat evenly.
- Place coated strips on the baking sheet, leaving space between them. Spray tops lightly with olive oil spray.
- Bake for 10-12 minutes, flipping halfway through and spraying the other side with oil, until internal temperature reaches 165°F (74°C) and crust is golden.
Notes
Pat chicken dry before coating to ensure the crust sticks. Do not overcrowd the pan to prevent steaming. For extra crispiness, use a wire rack. Leftovers reheat best in an oven or air fryer, not a microwave.
- Prep Time: 15 minutes
- Cook Time: 10 minutes
- Category: Main Course
- Cuisine: American
Nutrition
- Serving Size: 2 tenders per servin
- Calories: 320
- Sugar: 1
- Sodium: 450
- Fat: 14
- Saturated Fat: 5
- Carbohydrates: 12
- Fiber: 1
- Protein: 35
Keywords: chicken tenders, parmesan chicken, quick dinner, family meal, baked chicken, panko crust, easy recipe, weeknight dinner


