It was 6:15 AM on a Tuesday. I had ten minutes before I needed to leave for work, my toddler was crying because his toast was “too crunchy,” and my husband was already staring at his phone, looking for excuses to skip the morning routine. The fridge was mostly empty except for eggs, a sad bag of spinach, and half a block of cheddar. I didn’t have time to chop, sauté, or plan. I just needed fuel.
So I did what I’ve done a dozen times since: I grabbed four tiny tortillas, scrambled two eggs with a handful of cheese, rolled them up tight, and shoved them in the microwave. They were hot, sure. But they were also messy, greasy, and tasted like a rushed decision. I looked at the clock. Six twenty-five. I was running late again. That’s when I realized I wasn’t just bad at mornings; I was bad at preparing for mornings.
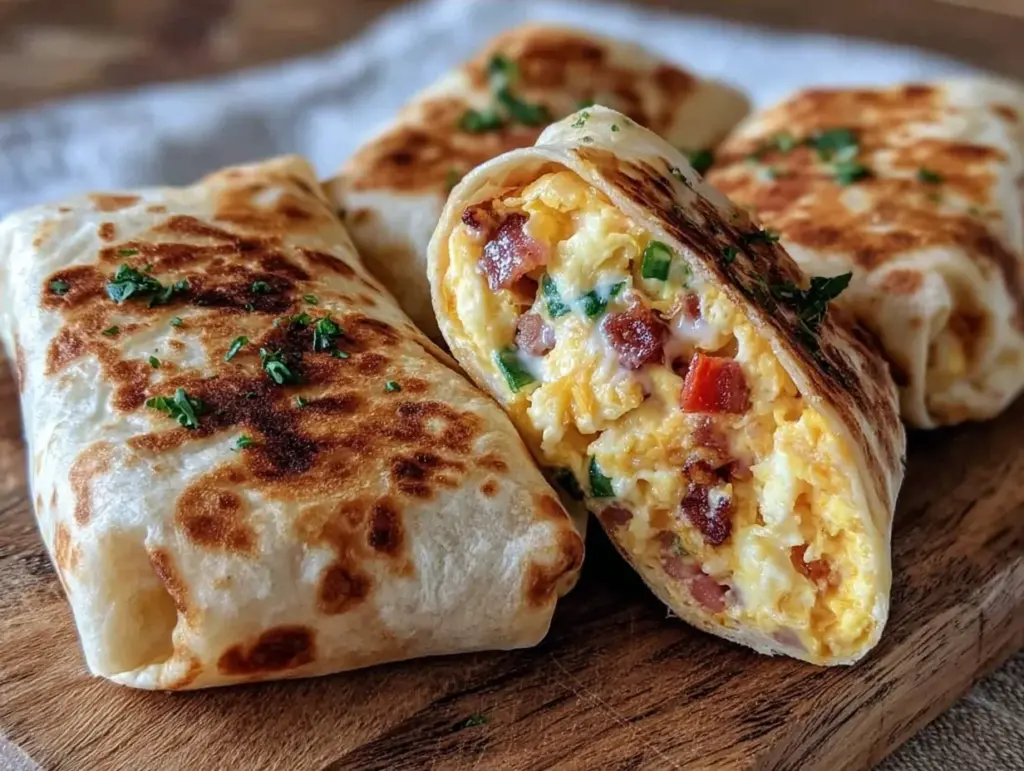
That Tuesday was the last time I ate breakfast in a panic. I started experimenting with batch cooking, freezing, and wrapping. I wanted something portable, something that didn’t require a plate, and something that could survive in the freezer without turning into a soggy brick. After three weeks of testing (and three weeks of my family eating slightly burnt tortillas), I nailed it. These Easy Freezer Mini Breakfast Burritos Ready in 10 Min are the result. They’re not just convenient; they’re the reason I actually look forward to waking up during the work week.
I’ve made this batch of Easy Freezer Mini Breakfast Burritos Ready in 10 Min so many times that I can now assemble them in my sleep. And honestly? That’s the point. You don’t want to think about breakfast when you’re half-asleep. You want to grab, heat, and go. This recipe is simple, forgiving, and infinitely customizable. Whether you’re a busy parent, a student, or just someone who hates morning stress, these little pockets of breakfast goodness will save your sanity. Let’s get into why this specific method works better than anything else you’ve tried.
Why You’ll Love This Recipe
Look, I know there are a million breakfast recipes out there. Pancakes, waffles, overnight oats… the list goes on. But here’s the thing: most of them require active time in the morning. You have to flip, wait, or stir. These burritos are different. They are the ultimate meal-prep hero. Here’s why they’ve earned a permanent spot in my freezer:
- Zero Morning Decision Fatigue — You assemble them on Sunday night (or any free evening). In the morning, you literally just grab one from the freezer and pop it in the microwave. No chopping, no heating a pan, no cleanup. I’ve made this while holding my baby and tying my shoe at the same time. It works.
- Perfect Texture Every Time — The biggest fear with freezer burritos is that the tortilla gets soggy or the filling gets rubbery. I’ve tested the wrapping technique and the cooling method to prevent this. The result? A tortilla that stays pliable and a filling that stays moist. No more dry, crumbly egg mess.
- Portion Control Without the Math — These are mini. They’re small enough to eat in two or three bites, but filling enough to keep you full until lunch. If you’re watching calories, you know exactly what you’re getting. If you’re hungry, you can eat two. It’s flexible.
- Uses Up Leftovers — I’ve made this recipe with leftover roasted veggies, bits of cooked bacon, and even cold pizza (don’t judge, it’s delicious). It’s the perfect way to use up whatever random ingredients are lurking in your crisper drawer.
- Kid-Approved Simplicity — My toddler loves these because they’re finger food. No fork required. No sauce dripping down his chin. Just a warm, cheesy pocket he can hold. If you have picky eaters, this is your golden ticket.
- Actually Ready in 10 Minutes — Not counting prep time, the assembly is fast. But even more importantly, the reheating is fast. You’re eating within 90 seconds of pulling them from the freezer. That’s faster than driving to a drive-thru.
This is my go-to when dinner needs to just work, but it’s even better for breakfast. It’s reliable, it’s cheap, and it tastes like you actually tried.
Key Ingredients
You don’t need fancy ingredients for this. In fact, the beauty of Easy Freezer Mini Breakfast Burritos Ready in 10 Min is that it relies on pantry staples and fridge leftovers. But there are a few specific choices I’ve made to ensure the texture holds up after freezing and reheating.
Small Flour Tortillas (4 inches / 10 cm)
You need small tortillas. I use the ones usually sold for tacos or quesadillas. Regular 10-inch tortillas are too big for a single-serving burrito and result in too many layers of dough, which makes the center hard to heat through. Look for brands like La Tortilla Factory or any store-brand “small” or “mini” tortillas. They’re thin, pliable, and freeze beautifully.
Eggs (6 large / ~300g)
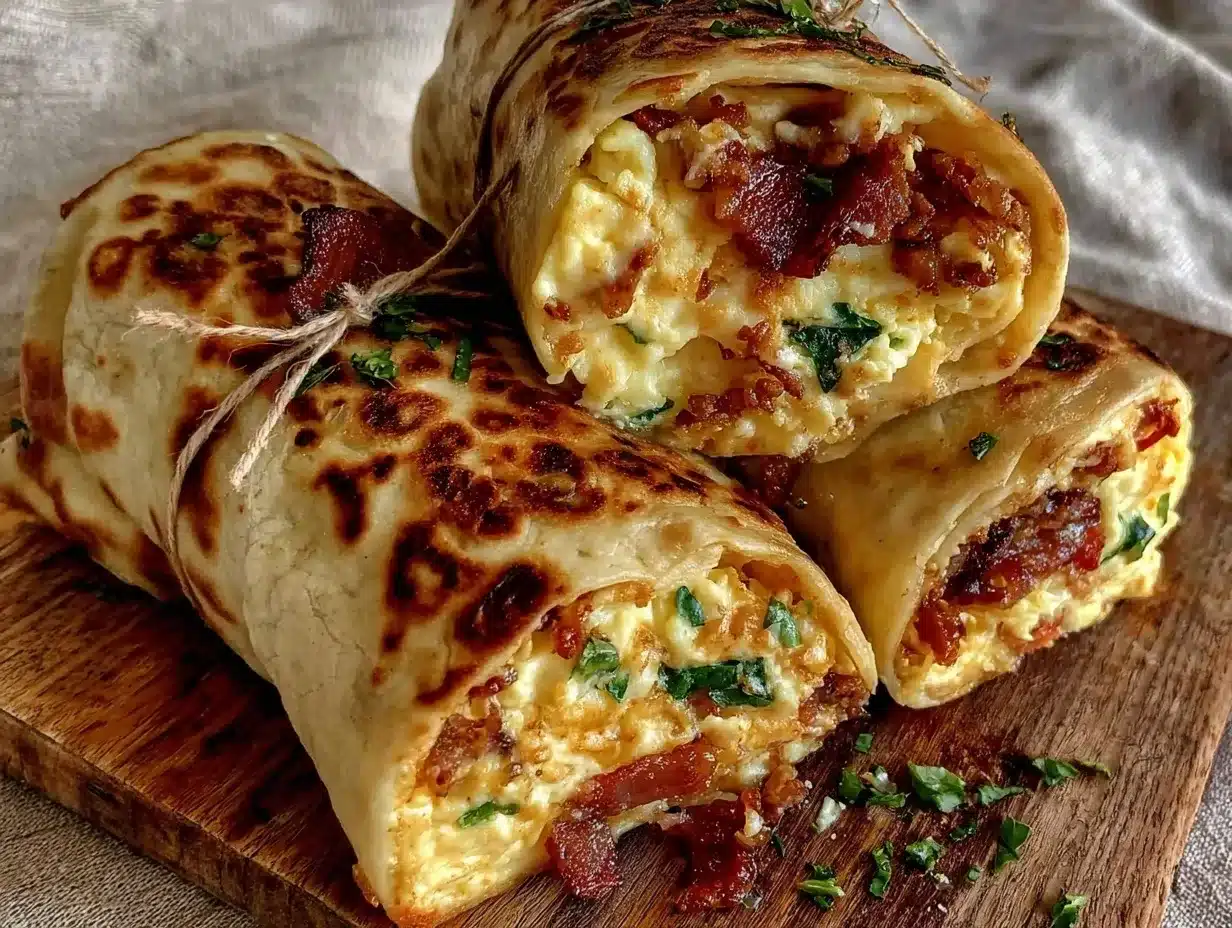
Standard large eggs. I don’t recommend using egg whites only here; the yolk provides the fat that keeps the filling from drying out in the freezer. If you’re avoiding cholesterol, you can use 2 whole eggs and 2 whites, but I prefer all whole eggs for flavor.
Shredded Cheddar Cheese (1 cup / 115g)
Pre-shredded cheese actually works well here. Why? Because the anti-caking agents (cellulose) in pre-shredded cheese help prevent the cheese from clumping into a giant solid block when it freezes. If you shred your own, it might melt into a single cheese brick. If you use block cheese, shred it yourself but know it might be slightly chewier.
Heavy Cream or Milk (2 tbsp / 30ml)
This is the secret weapon. Adding a splash of cream or milk to your eggs before scrambling keeps them tender. Without it, scrambled eggs can become rubbery after freezing and reheating. I use heavy cream for richness, but whole milk works fine if you’re watching fats.
Spinach (1 cup / 30g, packed)
Fresh or frozen spinach works. If using frozen, thaw it and squeeze out all the water. Excess moisture is the enemy of a good burrito. I usually just grab a handful of fresh spinach because it’s easier, but if you’re using frozen, this step is non-negotiable.
Optional Add-ins (Bacon, Sausage, Bell Peppers)
Any cooked meat or veg. If using raw veggies like onions or peppers, cook them first. Raw veggies release water as they thaw, making your burrito soggy. Pre-cooked bacon or sausage adds smokiness and salt, which balances the mild eggs.
Tools Needed
You don’t need fancy equipment. Here’s what I use. Most of this is already in your kitchen.
- Non-stick skillet — I use an 8-inch skillet. It’s small enough to scramble eggs quickly without them sticking. A larger pan makes the eggs spread too thin and dry out.
- Microwave-safe plate — You’ll need this for reheating. Paper towels are helpful here to absorb excess moisture.
- Freezer bags (Quart-sized) — I use heavy-duty freezer bags. Standard ziplocks might leak or tear. You need something that can handle the temperature shock.
- Small bowl and fork — For whisking eggs. Nothing fancy needed.
- Measuring cups — I’m not a baker, but I like consistency. 1/4 cup for cheese, 2 tbsp for cream. It helps keep the burritos uniform.
That’s it. No stand mixer, no food processor, no special gadgets. Just basic kitchenware.
Cooking Instructions
Let’s walk through exactly how I make these. I’ve broken it down into two phases: Prep (which you do when you have time) and Reheat (which you do when you’re rushing). The assembly is the most critical part.
Step 1: Scramble the Eggs (5 minutes)
Crack 6 eggs into a bowl. Add 2 tablespoons of heavy cream (or milk), a pinch of salt, and black pepper. Whisk until well combined. Heat your non-stick skillet over medium-low heat. Add a tiny bit of butter or oil. Pour in the eggs. Stir gently with a spatula. You want soft curds, not dry crumbs. Take them off the heat when they look slightly underdone—they’ll cook a bit more from residual heat. This prevents them from becoming rubbery in the freezer.
Step 2: Prepare the Fillings (2 minutes)
If you’re adding veggies or meat, make sure they are fully cooked and cooled. Warm fillings will steam the tortillas and make them soggy. I usually cook my bacon in the same skillet, then use the bacon grease to scramble the eggs. Flavor bonus! If using spinach, squeeze it dry. If using cheese, measure it out.
Step 3: Assemble the Burritos (5 minutes)
This is the trickiest part, so pay attention. Lay a tortilla flat. In the center, place 1/4 cup of scrambled eggs. Top with 2 tablespoons of cheese and any other fillings. Here’s the game-changer: Fold the bottom of the tortilla up over the filling. Fold the left and right sides in. Roll tightly from the bottom up. The key is a tight roll. If it’s loose, the filling will fall out, and the tortilla will puff up with steam and burst. Wrap each burrito tightly in plastic wrap. This step is crucial for maintaining shape.
Step 4: Freeze (1 hour)
Place the plastic-wrapped burritos on a baking sheet. Put them in the freezer for at least 1 hour, or until solid. This “flash freezing” prevents them from sticking together in the bag. Once solid, transfer them to a heavy-duty freezer bag. Squeeze out as much air as possible. Label with the date. They’ll last up to 3 months.
Step 5: Reheat (90 seconds)
When you’re ready to eat, take one burrito out of the bag. Remove the plastic wrap. Place it on a microwave-safe plate. Cover loosely with a damp paper towel. This steam helps keep the tortilla soft. Microwave on high for 60 seconds. Flip it over. Microwave for another 30-60 seconds, depending on your microwave’s power. Let it sit for 1 minute before eating—the filling is lava hot!
Total Time Breakdown: Prep: 12 minutes. Freeze: 1 hour (passive). Reheat: 90 seconds. Total active time: 12 minutes.
Expert Tips
Here’s everything I learned from making this too many times. These tips separate the good burritos from the great ones.
The Plastic Wrap Trick
I cannot stress this enough: wrap each burrito individually in plastic wrap before freezing. If you just throw them loose in a bag, they’ll stick together in a frozen brick. You’ll have to thaw the whole bag to get one out, which ruins the texture. Individual wrapping ensures you can grab exactly what you need. I know it’s extra plastic, but it’s worth it. You can reuse the plastic wrap if you’re careful, or compost it if it’s clean.
Cool Everything Down
Never put hot filling into a tortilla. The heat creates condensation. Condensation creates sogginess. Sogginess creates a sad burrito. Let your eggs and any cooked veggies cool to room temperature before assembling. It’s an extra step, but it’s the difference between a fresh burrito and a mushy one.
Don’t Overfill
It’s tempting to pile on the cheese and bacon. Resist. Stick to 1/4 cup eggs and 2 tbsp cheese. If you overfill, the tortilla will tear when you roll it. A tear means leakage. Leakage means a messy microwave. Keep it modest.
Reheating Hack
If you don’t have a microwave, you can bake them. Preheat oven to 350°F (175°C). Wrap the frozen burrito in foil. Bake for 20-25 minutes. It takes longer, but the texture is actually better—the tortilla gets slightly crisp. I prefer the microwave for speed, but the oven method is great for weekends.
Recipe Variations
Once you’ve nailed the basic version, here’s how to mix it up. The base is always eggs, cheese, and tortilla. The rest is up to your mood.
Southwest Style
Add diced jalapeños, black beans, and corn to the eggs. Use pepper jack cheese instead of cheddar. This adds a nice kick. I love this with a dash of hot sauce after reheating.
Mediterranean Twist
Skip the bacon. Add crumbled feta cheese, chopped sun-dried tomatoes, and a pinch of dried oregano. The feta doesn’t melt as much, giving it a nice tangy contrast. Serve with a side of tzatziki if you have time.
Classic Bacon & Egg
The OG. Crispy bacon bits, cheddar, and maybe a little maple syrup drizzle if you like sweet and savory. This is my husband’s favorite. He says it tastes like a diner breakfast.
Veggie Heavy
Sauté mushrooms, onions, and bell peppers with garlic. Mix into the eggs. Use mozzarella cheese for a milder flavor. This is great for using up leftover roasted vegetables.
Dairy-Free Option
Use a dairy-free egg substitute (like Just Egg) and dairy-free cheese shreds. Note: Dairy-free cheese doesn’t melt the same way, so the texture might be slightly different. I’ve tried Daiyo and Violife, and they work okay.
Gluten-Free Option
Use gluten-free small tortillas. Be careful—some GF tortillas are more brittle. Handle them gently when rolling. I use Mission’s GF tortillas, and they hold up well if you wrap them tightly.
Serving & Storage
Serving
Eat it plain, or add toppings. I like a drizzle of hot sauce, salsa, or even avocado slices if I’m feeling fancy. These are perfect for on-the-go. Wrap the reheated burrito in a napkin and eat it in the car. No mess, no guilt.
Side Dish Ideas
Pair with a piece of fruit, a handful of nuts, or a glass of orange juice. If you’re having a lazy weekend, serve with a side of crispy pumpkin streusel muffins for a full brunch spread.
Storage
Freezer: Up to 3 months. After that, they’re still safe to eat, but the quality degrades. The tortilla might get stale.
Refrigerator: If you’ve assembled them but haven’t frozen them yet, keep them in the fridge for up to 2 days. Wrap tightly in plastic.
Reheating: Microwave is best. If you’re in a hurry, 90 seconds is all you need. If you have time, let it sit for a minute to distribute the heat evenly.
Nutrition Information
I’m not a nutritionist, but here’s the breakdown per burrito (assuming 1 of 6 burritos from the base recipe):
| Nutrient | Amount |
|---|---|
| Calories | ~280 |
| Protein | 14g |
| Carbs | 22g |
| Fiber | 1g |
| Fat | 16g |
| Sodium | 350mg |
My Take: This is comfort food. It’s not a diet meal, but it’s balanced enough to be a decent breakfast. The protein from the eggs and cheese will keep you full. The carbs from the tortilla give you energy. It’s much better than a sugary cereal or a plain bagel. I consider it a “clean-ish” indulgence.
Final Thoughts
Life is messy. Mornings are chaotic. But breakfast doesn’t have to be. These Easy Freezer Mini Breakfast Burritos Ready in 10 Min are my little secret weapon against morning stress. They’re cheap, they’re fast, and they taste like you care. I hope they become a staple in your kitchen too. Give them a try this weekend, and let me know how they turn out. If you make them, drop a comment! I love hearing how it turns out in your kitchen. And if you need more easy breakfast ideas, check out my fall pumpkin streusel muffins for a sweet alternative.
Happy cooking!
FAQs
Can I make these ahead of time?
Yes! That’s the whole point. You can assemble them up to 3 months in advance. Just make sure they are cooled completely before wrapping and freezing to prevent ice crystals.
Do I have to use plastic wrap?
For freezing, yes. Plastic wrap creates a tight seal that prevents freezer burn and keeps the burrito’s shape. If you don’t have plastic wrap, you can use aluminum foil, but plastic is more flexible and easier to handle.
Can I freeze these without eggs?
You can use tofu scramble or chickpea flour scramble as an egg substitute. Just make sure the mixture is thick and not watery. Tofu scramble works surprisingly well in these burritos.
Why did my tortillas crack?
This usually happens if the tortillas were too cold or if you rolled them too tightly. Warm your tortillas slightly in the microwave for 10 seconds before assembling. They become more pliable. Also, don’t overfill them.
Can I reheat these in the oven?
Absolutely. Wrap them in foil and bake at 350°F for 20-25 minutes. It takes longer, but the texture is often better than the microwave. The tortilla gets slightly crispier.
Can I double the recipe?
Yes! Just make sure you have enough freezer space. I usually make a double batch every two weeks. It saves time in the long run.
What if I don’t have small tortillas?
You can use regular tortillas and cut them in half. Or, use them as is, but you’ll get larger burritos. You might need to adjust the filling amount accordingly. But small tortillas are really the best for portion control.
Pin This Recipe!
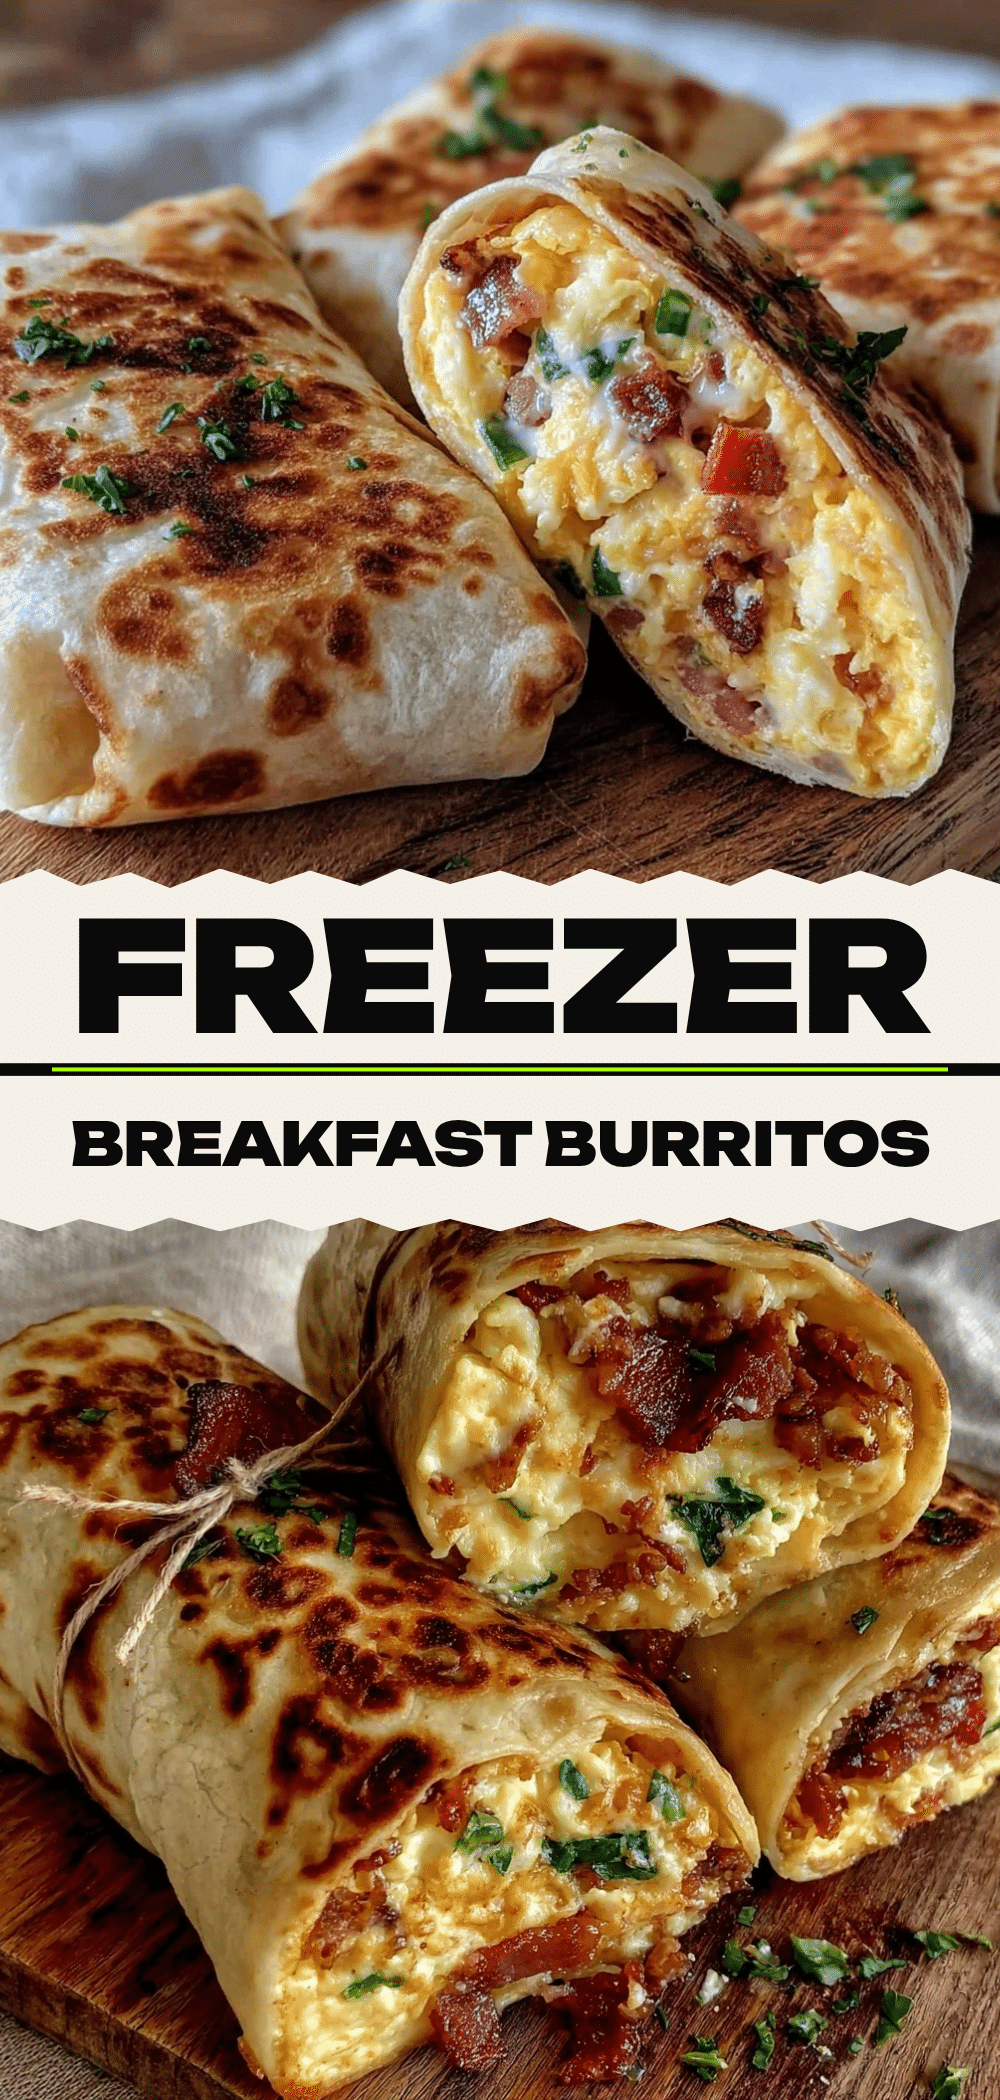

Easy Freezer Mini Breakfast Burritos Ready in 10 Min
- Total Time: 17 minutes
- Yield: 4 servings 1x
Description
These mini breakfast burritos are designed for busy mornings, allowing you to assemble them in advance and freeze them for a quick, 90-second microwave reheating. They feature scrambled eggs, cheese, and spinach in small tortillas, ensuring a portable and mess-free breakfast.
Ingredients
- 4 small flour tortillas (4 inches / 10 cm)
- 6 large eggs
- 1 cup shredded cheddar cheese (115g)
- 2 tbsp heavy cream or whole milk (30ml)
- 1 cup packed fresh or frozen spinach (30g)
- Salt and black pepper to taste
- Butter or oil for cooking
Instructions
- Crack 6 eggs into a bowl and add heavy cream (or milk), salt, and pepper. Whisk until well combined.
- Heat a non-stick skillet over medium-low heat with a little butter or oil. Pour in the eggs and stir gently with a spatula until soft curds form. Remove from heat while slightly underdone to prevent rubberiness.
- Ensure any additional fillings (veggies, meat) are fully cooked and cooled to room temperature. If using frozen spinach, thaw and squeeze out all excess water.
- Lay a tortilla flat. Place 1/4 cup of scrambled eggs in the center, topped with 2 tablespoons of cheese and any other desired fillings.
- Fold the bottom of the tortilla up over the filling, then fold the left and right sides in. Roll tightly from the bottom up to create a secure burrito.
- Wrap each burrito tightly in plastic wrap to maintain shape.
- Place wrapped burritos on a baking sheet and freeze for at least 1 hour until solid (flash freezing).
- Transfer frozen burritos to heavy-duty freezer bags, squeezing out excess air. Label with the date and store for up to 3 months.
- To reheat, remove plastic wrap and place burrito on a microwave-safe plate. Cover loosely with a damp paper towel.
- Microwave on high for 60 seconds, flip, and microwave for another 30-60 seconds. Let sit for 1 minute before eating.
Notes
Cool all fillings completely before assembling to prevent sogginess. Wrap each burrito individually in plastic wrap before freezing to prevent them from sticking together. Do not overfill the tortillas to avoid tearing. For oven reheating, wrap in foil and bake at 350°F (175°C) for 20-25 minutes.
- Prep Time: 12 minutes
- Cook Time: 5 minutes
- Category: Breakfast
- Cuisine: American
Nutrition
- Serving Size: 1 mini burrito
- Calories: 280
- Sugar: 2
- Sodium: 350
- Fat: 16
- Saturated Fat: 7
- Carbohydrates: 22
- Fiber: 1
- Protein: 14
Keywords: breakfast burritos, freezer meals, meal prep, quick breakfast, mini burritos, egg burritos, busy morning breakfast


