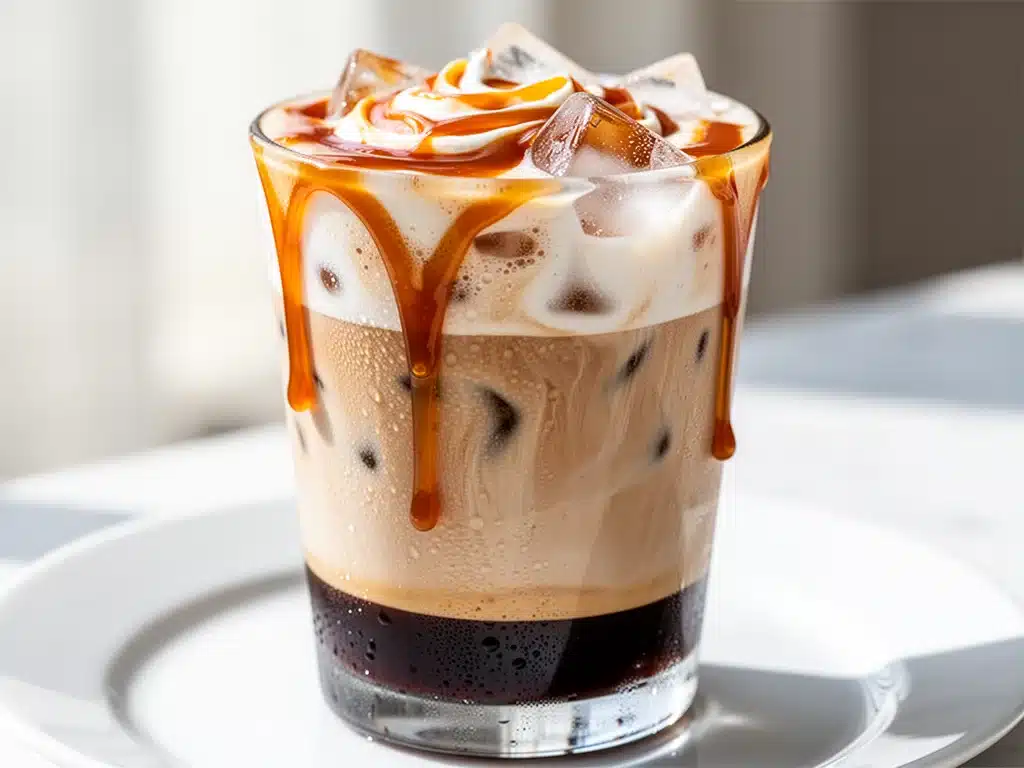
It’s 9:15 AM on a Tuesday. The coffee shop line is already wrapping around the counter, and I’m standing there in my pajamas (don’t judge me, it’s laundry day), staring at the menu board with glazed-over eyes. I know exactly what I want. It’s the same thing I’ve been buying every single week for three years: a grande iced caramel macchiato with extra foam. But as I watch the barista pour that perfect, layered look—espresso on top of milk, caramel drizzle on top of everything—I realize I’m paying $6.50 for ice water and syrup.
That was the breaking point. I’m not cheap, but I am tired. Tired of the monthly coffee bill adding up to more than my grocery budget. Tired of the wait. And honestly? Tired of wondering if they actually used real milk or just watered-down creamer.
So, I came home, opened my fridge, and decided to hack the system. I wanted to recreate that specific, creamy, sweet, coffee-shop magic in my own kitchen. And you know what? It took 10 minutes. The first batch I made, I poured it into a glass and just stared at it. The layers were perfect. The caramel was glossy. The first sip? It was identical to the $7 drink, but with zero pretension and half the price.
That was six months ago. Now, I make my creamy iced caramel macchiato every morning. It’s become my ritual. I’ve tested it with different milks, different sugars, and even different espresso strengths until I landed on the version that makes my husband stop scrolling through his phone long enough to appreciate it. This isn’t just a coffee recipe; it’s a lifestyle upgrade for anyone who loves that sweet, café-style treat but wants to keep their wallet intact.
Why You’ll Love This Copycat Recipe
There are about ten reasons I keep making this creamy iced caramel macchiato instead of driving to the shop, but let’s be real about the big ones.
It’s Cheaper Than Groceries — Seriously. A single homemade drink costs about $1.20 to make. If you buy it daily, that’s nearly $40 a month saved. That’s enough for a nice loaf of fall chocolate chip pumpkin bread to go with your afternoon coffee. Do the math.
Customizable to Your Cravings — Want it sweeter? Add more caramel. Want it lighter? Use almond milk. Want it stronger? Double the espresso shots. At the shop, you’re stuck with their standard recipe. Here, you’re the barista. I love tweaking the sweetness level depending on my mood. Some days I go heavy on the vanilla; other days I keep it bold and coffee-forward.
Actually Fresh Ingredients — When I make this, I know exactly what’s in it. Real milk. Real espresso (or good instant espresso). Real vanilla. No weird syrups with high-fructose corn syrup that I can’t pronounce. It tastes cleaner, lighter, and honestly, better because I’m not drowning it in artificial flavoring.
Zero Wait Time — This is huge for me. I make it while my toast is popping. It’s ready before my phone notifications even buzz. No standing in line. No awkward small talk with a barista who doesn’t know my name. Just pure, caffeine-fueled efficiency.
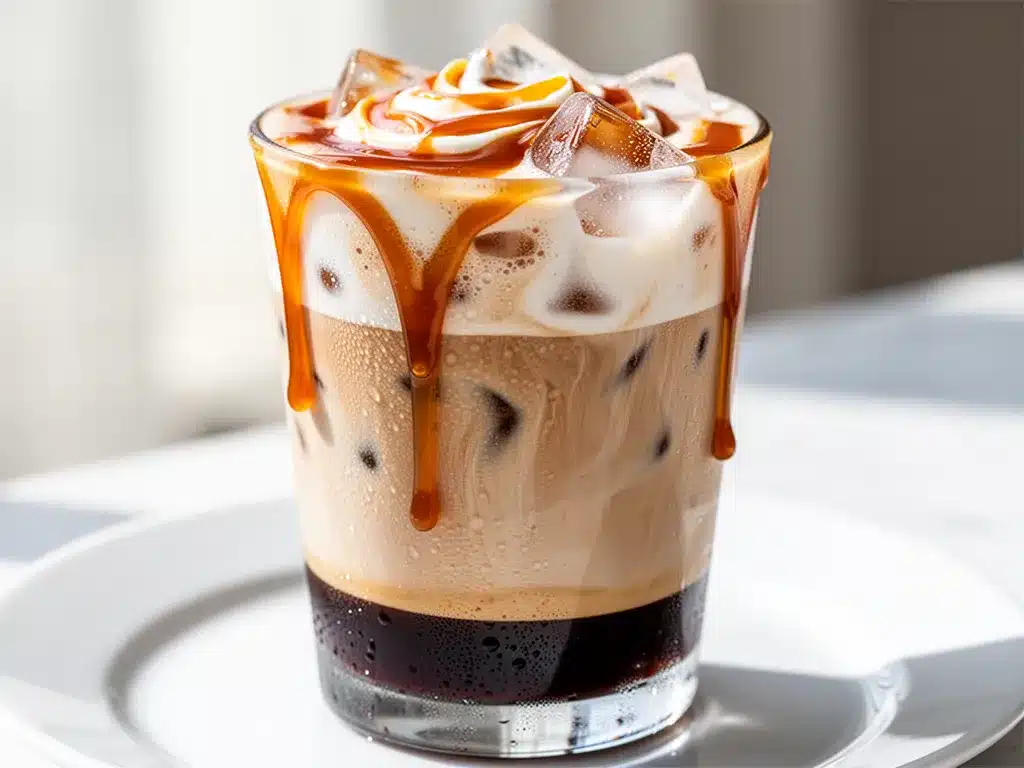
Instagram-Worthy Layers — Look, I’m not gonna lie. Part of the joy is watching the dark espresso sink through the white milk to create those beautiful, distinct layers. It looks fancy. It looks professional. It makes my morning feel special, even if I’m just wearing sweatpants.
This recipe has completely changed my morning routine. It’s reliable, delicious, and makes me feel like a pro barista without the training. If you’ve ever wanted that coffee shop taste but wanted to do it on your own terms, this is the one.
Ingredients You’ll Need for the Perfect Macchiato
Here’s the best part: you probably have most of this already. A macchiato is simple by design—”macchiato” means “stained” or “marked” in Italian, referring to the espresso marking the milk. It’s not a complex drink, which is why it works so well at home.
For the Base
Strong Coffee or Espresso (2 shots / 2 ounces / 60ml) — This is the soul of the drink. You want something bold. Freshly brewed espresso is ideal, but a strong cold brew concentrate or even high-quality instant espresso powder mixed with hot water works perfectly. I use a French press with a slightly higher coffee-to-water ratio for a richer base.
Milk (1 cup / 240ml) — Whole milk gives the creamiest, richest texture that mimics the coffee shop version best. But honestly, any milk works. Oat milk is my personal favorite for its natural sweetness and frothiness. Almond milk is lighter, and soy milk froths well too. I keep a carton of oat milk just for this recipe because it makes the drink feel indulgent without the dairy heaviness.
Ice Cubes (1 cup / about 150g) — Standard ice works, but if you have large, square ice cubes, use those. They melt slower, so your drink doesn’t get watery as quickly. I keep a separate container of ice just for coffee drinks so it doesn’t taste like my freezer.
For the Sweetness
Vanilla Syrup or Extract (1-2 teaspoons) — This is where you customize the sweetness. Simple syrup infused with vanilla is great, but store-bought vanilla syrup (like Torani or Monin) is the classic coffee shop choice. If you don’t have syrup, use 1 teaspoon of pure vanilla extract mixed with 1 teaspoon of sugar or honey. Don’t use artificial vanilla flavoring; it tastes chemical and ruins the whole vibe.
Caramel Sauce (2-3 tablespoons) — We’re using actual caramel sauce, not just syrup. You want something thick and glossy that will drizzle nicely and sit on top. I make my own caramel sauce sometimes, but store-bought is totally fine for this. Just make sure it’s pourable. If it’s too thick, warm it up slightly in the microwave for 10 seconds.
Optional Add-ins
Whipped Cream — The coffee shops always add a dollop on top. I do too, sometimes. It’s decadent. If you’re skipping it, the drink is still delicious.
Extra Caramel Drizzle — For the top. Because more caramel is always better in my book.
Equipment Needed
You don’t need fancy equipment for this. Here’s what I actually use.
Clear Glass or Mug — A tall, clear glass is non-negotiable. You need to see those beautiful layers. I use a 16oz pint glass or a tall mason jar. It looks rustic and stays cold.
Espresso Machine or Coffee Maker — Obviously. If you have an espresso machine, great. If you have a Keurig, a French press, or a pour-over setup, use that. The key is strong, concentrated coffee.
Milk Frother — Optional but nice. A handheld frother makes the milk light and airy, which mimics the foam at the coffee shop. If you don’t have one, just whisk the milk vigorously or shake it in a jar. It doesn’t need to be stiff peaks, just slightly aerated.
Measuring Spoons — For the vanilla and caramel. Precision helps keep the sweetness consistent.
Long Spoon or Straw — You’ll need a long spoon to stir the layers together before drinking. The whole point of a macchiato is drinking it in stages: first the sweet caramel/espresso top, then the milky middle, then the strong coffee bottom.
How to Make It: Step-by-Step
Alright, let’s make this! I’m walking you through exactly how I do it, including the little tricks I’ve picked up over the last six months.
Step 1: Brew Your Espresso or Strong Coffee
Start by brewing your coffee. You need about 2 ounces of very strong espresso. If you’re using a French press, use double the amount of coffee grounds you normally would. If you’re using instant espresso, dissolve 2 teaspoons in 2 ounces of hot water. Let it cool slightly. You don’t want hot coffee melting the ice immediately, but it doesn’t need to be ice cold either. Room temperature is fine.
Step 2: Prep Your Glass
Take your tall, clear glass. Fill it almost to the top with ice cubes. Pack them in tight. The more ice, the slower it melts, and the longer your drink stays cold. I usually pack it until it’s heaping slightly.
Step 3: Add the Milk
Pour your cold milk over the ice. Leave about an inch of space at the top. If you’re using a frother, froth the milk right before pouring for that nice, creamy texture. If not, just pour it straight from the fridge. The milk should be cold and creamy.
Step 4: Sweeten the Milk (The Base Layer)
Here’s the trick: stir your vanilla syrup or extract into the milk *before* you add the espresso. This ensures the sweetness is distributed evenly throughout the creamy part of the drink. Stir well. Now you have a sweet, vanilla-infused milk base.
Step 5: The “Mark” – Adding the Espresso
This is the most important step. Take your strong espresso and slowly pour it over the back of a spoon held just above the surface of the milk. This slows down the pour and allows the dark espresso to float on top of the white milk, creating that stunning layered effect. If you just dump it in, it’ll mix immediately and look muddy. Pour slowly. You want a distinct dark layer on top.
Step 6: The Caramel Drizzle
Finish it off with the caramel sauce. Drizzle it generously over the top of the espresso layer. It will sink slightly, creating even more beautiful swirls. I usually do a zig-zag pattern because it looks pretty and ensures every sip has a bit of caramel.
Step 7: Serve and Stir
Serve immediately with a long spoon and a straw. Drink it in stages if you want the full experience, or stir it all up for a uniform, sweet coffee drink. I usually stir it halfway through because I like the balance of sweet and strong.
Total Time: About 10 minutes (5 minutes active, 5 minutes brewing)
Expert Tips & Tricks
Here’s everything I’ve learned from making this dozens of times. These tips will save you from my early mistakes.
Cool Your Espresso
I used to pour hot espresso over ice, and the result was a watery mess. The ice melted too fast. Now, I brew my espresso and let it sit for 5 minutes, or I even chill it in the fridge for 15 minutes before assembling the drink. Cold espresso over ice = no dilution. Game changer.
Froth Your Milk
Even if you don’t like foam, lightly frothing your milk makes the texture so much better. It adds airiness and makes the drink feel lighter. A handheld frother costs $10 and is worth every penny for this recipe alone.
Use Real Caramel
Do not use thin caramel syrup for the drizzle. It runs off too fast and doesn’t stick to the glass. Use a thick caramel sauce. If you want to make your own, it’s just butter, brown sugar, cream, and salt. Simmer for 5 minutes. It’s easier than you think and tastes 100x better.
The Spoon Trick
When pouring the espresso, use the back of a spoon. Hold it upside down, just above the milk surface, and pour the espresso onto the bowl of the spoon. This disperses the liquid gently so it floats on top. It’s a classic barista trick that’s super easy to do at home.
Keep It Cold
If you’re not drinking it immediately, keep the glass in the fridge. Once the ice melts, the drink gets watery and loses its magic. Make it right before you’re ready to sip.
Variations & Substitutions
Once you’ve nailed the basic version, here’s how you can mix it up. I’ve tried all of these.
Dirty Macchiato
Add a shot of espresso to the milk layer for an extra caffeine kick. I do this when I have a big meeting in the afternoon. It’s not traditional, but it’s effective.
Dairy-Free Dream
Swap the milk for oat milk or cashew milk. Oat milk is best because it froths well and has a natural sweetness. Use dairy-free caramel sauce if you’re avoiding dairy entirely. It’s still creamy and delicious.
Decaf Version
Use decaf espresso or cold brew. I make this in the evening if I want the flavor without the jitters. It’s surprisingly satisfying.
Seasonal Spice
Add a pinch of cinnamon or nutmeg to the milk before frothing. It turns it into a fall-inspired macchiato. It pairs beautifully with the caramel. It’s like a liquid apple pie, but coffee.
Chocolate Macchiato
Add a teaspoon of chocolate syrup to the bottom of the glass before the ice. Then add milk, espresso, and caramel. It’s like a mocha macchiato. Rich, sweet, and decadent.
Serving & Storage
How to Serve:
I serve this straight in the tall glass with a straw. It’s casual but looks fancy. I usually pair it with a light breakfast, like toast or a muffin. If I’m having a slow morning, I’ll sit on the porch and enjoy it while the world wakes up.
Leftovers:
This drink is best made fresh. If you have leftover espresso, store it in the fridge for up to 2 days. Reheat it or use it cold for another drink. Do not store the assembled macchiato with ice in it. It will turn into watery coffee by lunchtime.
Make-Ahead:
You can make a batch of sweetened milk (milk + vanilla syrup) and keep it in the fridge for 3-4 days. When you’re ready for a drink, just pour the milk over ice, add fresh espresso, and drizzle with caramel. It saves about 2 minutes of prep time.
Nutrition Information
I’m not a nutritionist, but here’s the breakdown if you’re tracking. Keep in mind, this is a treat drink, so it’s higher in sugar and calories than black coffee.
Per Serving (one grande-sized drink, made with whole milk and standard caramel):
- Calories: 180-220 (depending on milk and caramel amount)
- Protein: 6-8g
- Carbs: 25-30g
- Sugar: 20-25g
- Fat: 6-8g
What’s Good:
- Calcium from the milk
- Antioxidants from the coffee
- Customizable sweetness
What to Know:
- High in sugar if you use lots of caramel
- Contains dairy (unless substituted)
- High caffeine content (2 shots of espresso)
My Take:
Look, this is a sweet treat. It’s not a health food. But it’s way better than the coffee shop version because you control the sugar. If you want to lighten it up, use skim milk, skip the whipped cream, and use only 1 tablespoon of caramel. You’ll cut the calories in half and still get the flavor.
Final Thoughts
So that’s my go-to creamy iced caramel macchiato! I’ve probably talked your ear off at this point, but when you make a recipe this often, you have a lot to say about it.
This has saved me hundreds of dollars and countless minutes in line. It’s my answer to “I need coffee” when I’m tired of the shop routine. My mornings are better because I start them with something I made myself, something sweet and comforting and perfectly balanced.
Make it yours! Try different milks, different caramels, different coffee strengths. The best recipes are the ones you adapt to your tastes. If you make this, drop a comment and let me know what you think! I love hearing how recipes turn out in your kitchen. And if something doesn’t work, tell me that too—I’m here to help troubleshoot.
Happy brewing! And I hope your kitchen smells half as good as mine does right now.
Frequently Asked Questions
Can I use regular coffee instead of espresso?
Yes, but it needs to be strong. If you use drip coffee, make it twice as strong as you normally would. You want the coffee flavor to stand up to the milk and caramel. Cold brew concentrate is also a great option because it’s naturally strong and smooth.
Why did my layers mix together?
This usually happens if you pour the espresso too fast or if the espresso is too hot. Make sure your espresso is cooled down and pour it slowly over the back of a spoon. Also, make sure your milk is cold. Cold milk is denser and helps the espresso float on top.
Can I make this with almond milk?
Absolutely. Almond milk is lighter and less creamy than whole milk, but it works well. Oat milk is my recommendation because it froths better and has a creamier texture. If you use almond milk, you might want to add a little more vanilla to compensate for the milder flavor.
How much caramel should I use?
It’s up to you! I usually use 2 tablespoons for the drizzle and 1 teaspoon in the milk. If you have a sweet tooth, go for 3 tablespoons of drizzle. If you want it less sweet, skip the vanilla in the milk and just use the caramel drizzle.
Can I make this ahead of time?
Not the assembled drink. The ice will melt and dilute it. But you can prep the components. Brew your espresso and chill it. Mix your vanilla milk. Store both in the fridge. When you’re ready, just assemble it. It takes 2 minutes.
Is this drink healthy?
It’s a treat. It has sugar and calories. But compared to a coffee shop drink, it’s often healthier because you control the ingredients. You can use sugar-free syrup, skim milk, or no caramel at all if you want to make it lighter. It’s what you make of it.
Can I use instant coffee?
Yes! High-quality instant espresso powder is actually very convenient. Just dissolve 2 teaspoons in 2 ounces of hot water, let it cool, and use it. It’s not quite the same as fresh espresso, but it’s close enough for a morning drink.
Pin This Recipe!
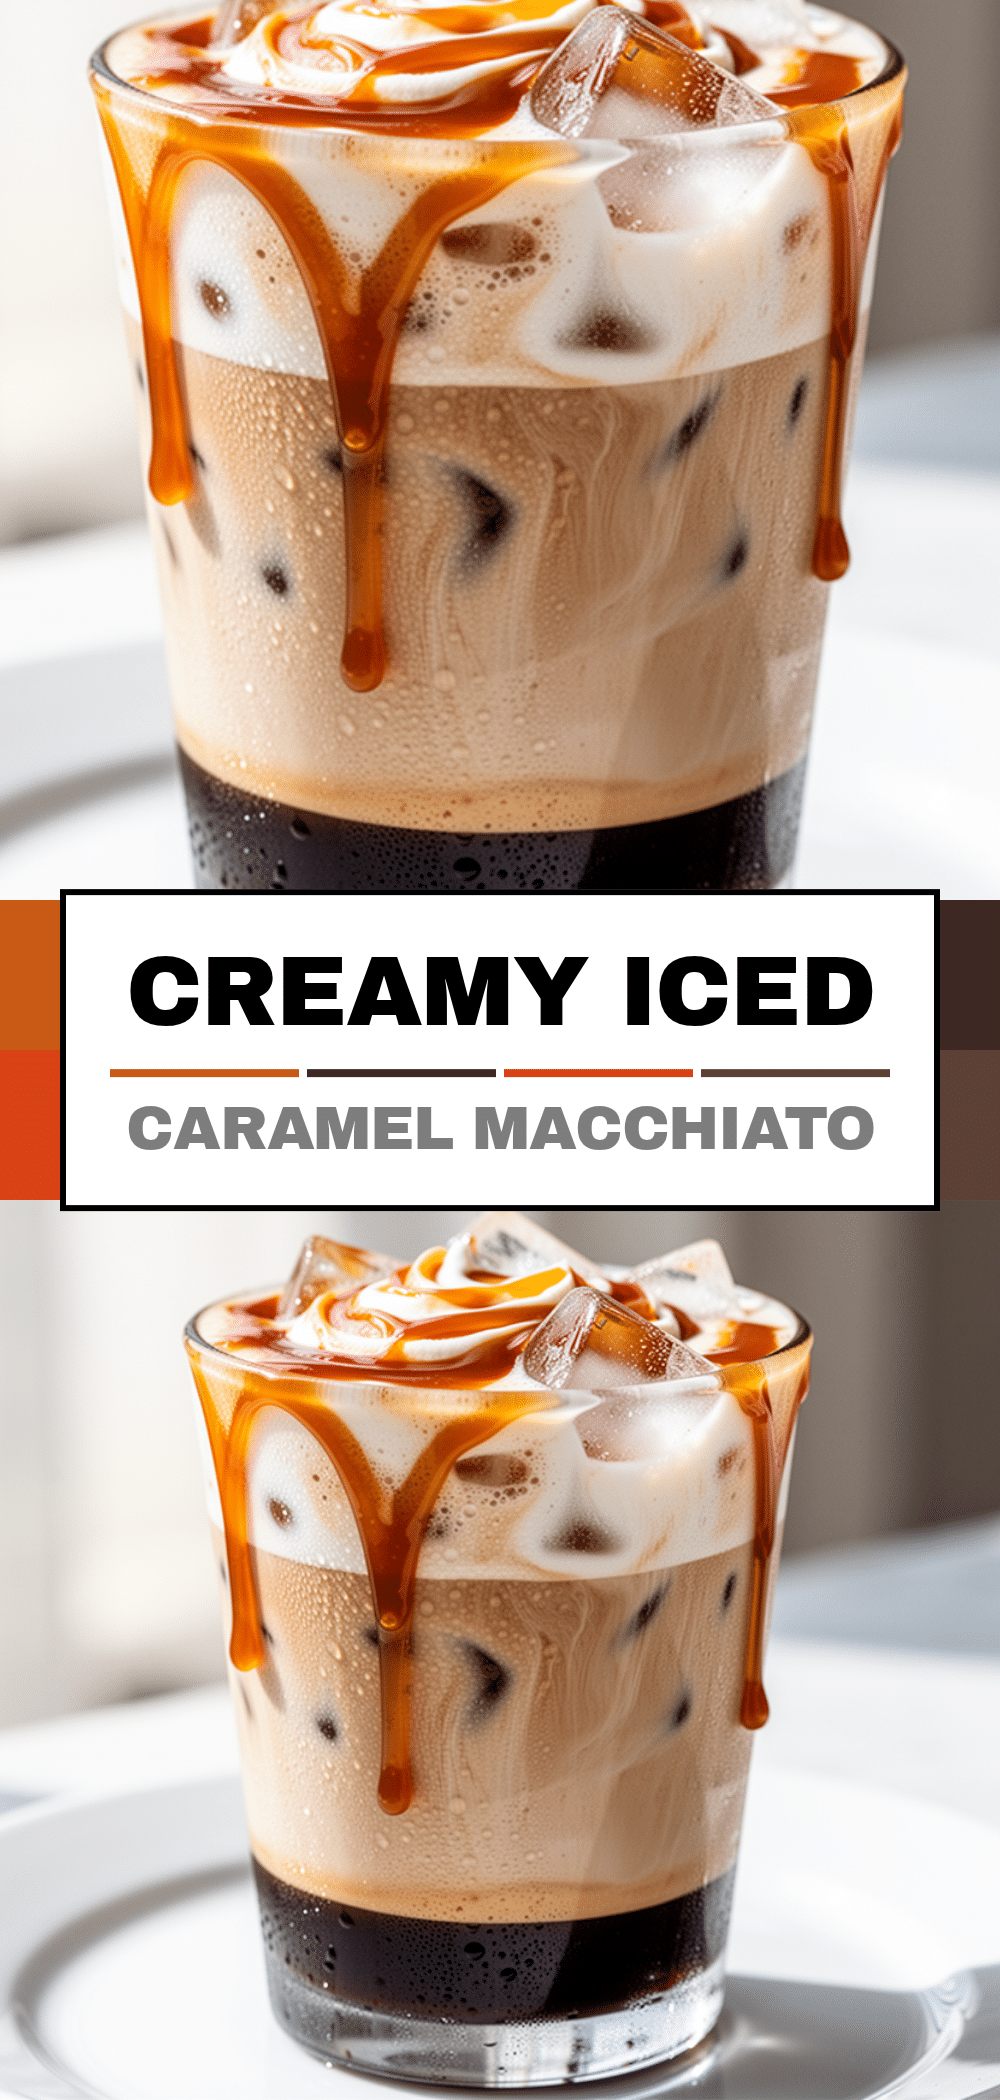
Creamy Iced Caramel Macchiato: Easy Copycat Recipe
- Total Time: 10 minutes
- Yield: 1 serving 1x
Description
Recreate your favorite coffee shop drink at home with this easy, customizable iced caramel macchiato recipe. It takes just 10 minutes to make, costs significantly less than buying it, and allows you to control the sweetness and ingredients.
Ingredients
- 2 shots (2 ounces / 60ml) strong espresso or strong brewed coffee, cooled
- 1 cup (240ml) milk (whole, oat, almond, or soy)
- 1 cup (about 150g) ice cubes
- 1–2 teaspoons vanilla syrup or extract mixed with sugar/honey
- 2–3 tablespoons thick caramel sauce
- Whipped cream (optional)
- Extra caramel drizzle for topping (optional)
Instructions
- Brew strong espresso or coffee. Let it cool to room temperature or chill in the fridge to prevent melting the ice.
- Fill a tall, clear glass almost to the top with ice cubes, packing them in tight.
- Pour the cold milk over the ice, leaving about an inch of space at the top. Froth the milk if desired for a creamier texture.
- Stir the vanilla syrup or extract into the milk to create a sweet, vanilla-infused base.
- Slowly pour the cooled espresso over the back of a spoon held just above the milk surface to create distinct layers.
- Drizzle the caramel sauce generously over the top of the espresso layer in a zig-zag pattern.
- Serve immediately with a long spoon and straw. Stir halfway through for a balanced flavor.
Notes
For best results, ensure the espresso is cooled before pouring to prevent the ice from melting too quickly. Use thick caramel sauce rather than thin syrup for better drizzling. You can prep the sweetened milk and chilled espresso ahead of time and store in the fridge for up to 2 days.
- Prep Time: 5 minutes
- Cook Time: 5 minutes
- Category: Beverage
- Cuisine: American
Nutrition
- Serving Size: 1 grande-sized drink
- Calories: 180220
- Sugar: 2025
- Sodium: 5080
- Fat: 68
- Saturated Fat: 34
- Carbohydrates: 2530
- Protein: 68
Keywords: iced caramel macchiato, copycat coffee recipe, homemade macchiato, iced coffee, caramel latte, coffee shop copycat, easy breakfast drink


