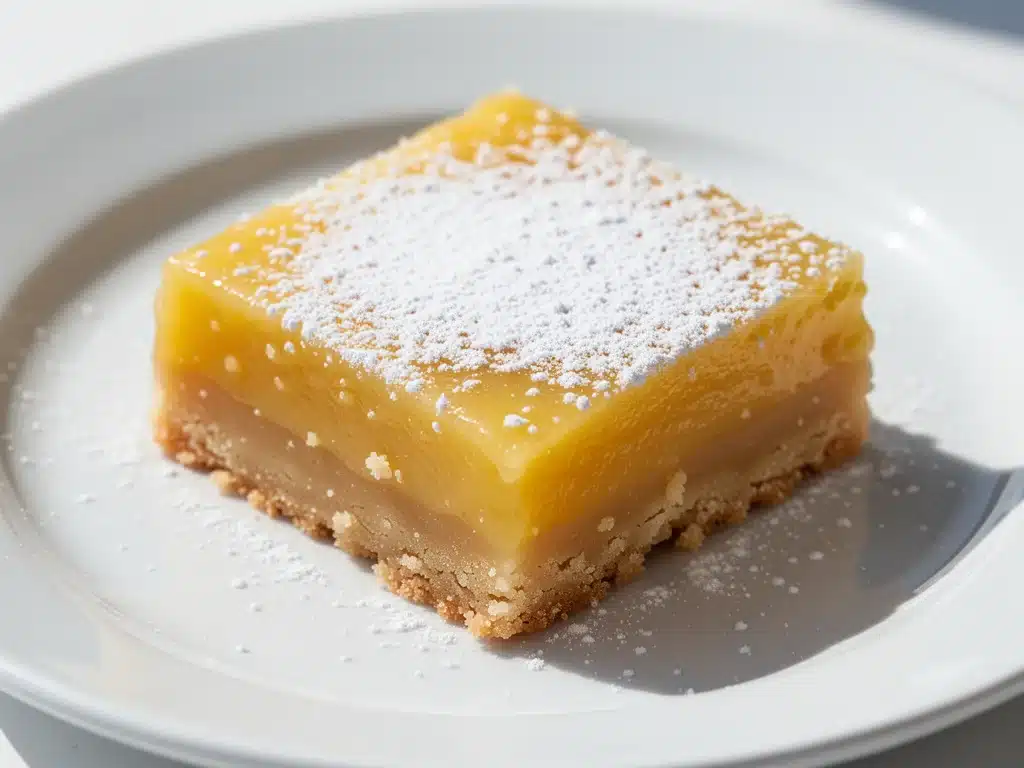
There is a specific kind of panic that sets in when you realize your grocery list is missing one critical ingredient for the dessert you’re planning to bake. I know this feeling well. It was last Tuesday, about an hour before my book club was scheduled to arrive, when I pulled out my mixing bowls for what I thought would be a simple batch of classic lemon bars. I had the crust mixed. I had the oven preheated. I was ready to go. Then I opened the fridge, and there it was: a single, sad lemon that looked like it had been sitting there since the Obama administration. It was hard, pale, and completely devoid of juice.
My heart sank. I was ready to order takeout and serve it on a nice plate to pretend I’d baked something. But then I remembered I had a jar of lemon curd in the back of the pantry—a leftover from a failed attempt at making lemon tarts years ago. It wasn’t the same, but it was tangy, it was sweet, and it was there. I improvised. I whipped up a quick cream cheese filling, spread the curd over the crust, and hoped for the best. When my friends arrived, they devoured them. One of them actually asked for the recipe, assuming I’d made them from scratch. That moment stuck with me. It taught me that the best classic lemon bars aren’t just about following a recipe perfectly; they’re about understanding the balance of flavors so well that you can adapt when life throws you a curveball.
Since then, I’ve made these bars dozens of times. Not with pantry leftovers, but with fresh, zesty lemons that pop with flavor. I’ve tweaked the crust until it’s perfectly crumbly, adjusted the sweetness until it balances the sharp citrus, and perfected the baking time so the filling is set but still jiggly. The version I’m sharing with you today is the one I make when I want to impress without stress. It’s tangy, it’s creamy, and it’s the kind of dessert that disappears from the counter faster than you can say “recipe.” If you’re looking for a classic lemon bars recipe that actually works and tastes like sunshine, you’re in the right place.
Why You’ll Love This Recipe
I’ve tried my fair share of lemon bar recipes over the years. Some were too sour, like eating a lemon wedge with sugar on it. Others were too sweet, masking the citrus entirely and tasting more like a lemon candy than a sophisticated dessert. This recipe hits that sweet spot—pun intended—every single time. Here’s why these classic lemon bars have earned a permanent spot in my rotation:
- Perfect Texture Every Time — The crust is buttery and shortbread-like, not soggy. The filling is silky and smooth, with just enough firmness to hold its shape when cut. I’ve tested this multiple times, and the ratio of eggs to lemon juice is exactly right.
- Real Lemon Flavor — We use both fresh lemon juice and zest. The zest contains the essential oils that give lemon its bright aroma, while the juice provides the tang. No bottled juice allowed. Trust me, your taste buds will know the difference.
- Simple Ingredients — You don’t need fancy gadgets or obscure ingredients. Just butter, flour, sugar, eggs, and lemons. If you can mix these together, you can make these bars. It’s that straightforward.
- Makes Ahead Friendly — These bars actually taste better the next day. The flavors meld together, and the crust softens just a tiny bit, creating a more cohesive bite. I often make them two days in advance for parties.
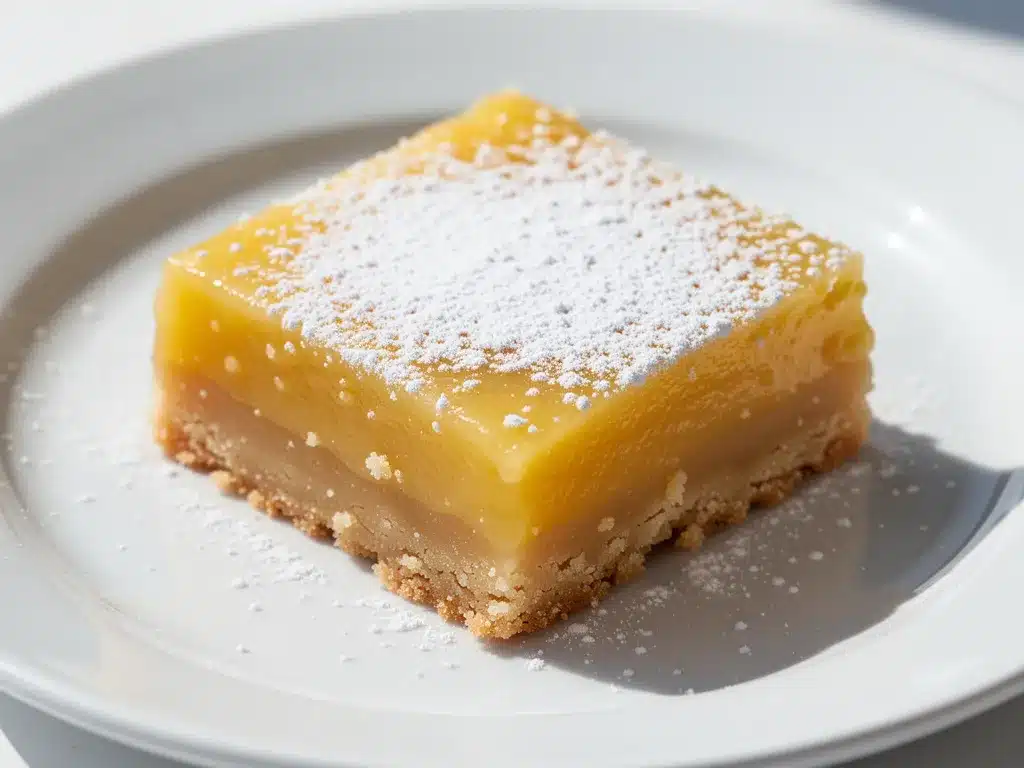
- Visually Stunning — There’s something satisfying about dusting them with powdered sugar right before serving. It looks elegant and professional, even if you made them in your pajamas.
Whether you’re hosting a summer BBQ, bringing a dessert to a potluck, or just need a pick-me-up on a rainy afternoon, these classic lemon bars deliver. They’re refreshing without being heavy, and they pair beautifully with a cup of coffee or a glass of iced tea.
Ingredients You’ll Need
The beauty of classic lemon bars is that the ingredient list is short and manageable. You likely have most of these items in your kitchen already. Here’s what you need and why each part matters:
For the Shortbread Crust
Unsalted butter (1/2 cup / 113g, softened) — This gives the crust its rich, melt-in-your-mouth texture. Softened butter creams easily with the sugar, creating a tender crumb. If your butter is too cold, it won’t mix well. If it’s melted, the crust will be greasy.
Powdered sugar (1/4 cup / 30g) — Unlike granulated sugar, powdered sugar dissolves completely into the butter, creating a smooth, sandy texture for the crust. It also adds a subtle sweetness that balances the tart filling.
All-purpose flour (1 cup / 120g) — The base of the crust. Don’t use whole wheat flour here; it will make the crust dense and gritty. All-purpose gives that classic shortbread consistency.
Vanilla extract (1/2 teaspoon) — A small amount adds depth and warmth, rounding out the buttery flavor. It’s subtle but makes a difference.
For the Lemon Filling
Granulated sugar (1 cup / 200g) — This sweetens the tart lemon juice. If you prefer less sweet bars, you can reduce this to 3/4 cup, but don’t go lower, or the filling won’t set properly.
Fresh lemon juice (1/2 cup / 120ml, from about 3-4 lemons) — This is the star. Squeeze your own lemons. Bottled juice often has preservatives that can alter the flavor and prevent proper setting. Warm the lemons slightly before juicing to get more liquid out.
Lemon zest (2 tablespoons) — The orange-yellow skin of the lemon, grated finely. This is where the intense lemon flavor lives. Avoid the white pith, as it’s bitter.
Large eggs (4 large) — Eggs provide structure and richness. They help the filling set into a custard-like consistency. Room temperature eggs mix more evenly, but cold eggs work fine too.
All-purpose flour (1/3 cup / 40g) — A little flour in the filling helps stabilize it and prevents it from becoming too runny. It’s a small amount, but crucial for the right texture.
Powdered sugar (1/2 cup / 60g, for dusting) — For that classic snowy finish. You can skip this if you’re watching sugar intake, but it really does make it look like a bakery dessert.
Equipment Needed
You don’t need much fancy gear for these. Here’s what I use:
8×8 inch baking pan — This is the standard size for lemon bars. It gives you the perfect thickness. Line it with parchment paper for easy removal. Grease it lightly first so the parchment sticks.
Whisk — For mixing the filling until it’s smooth and lump-free. A balloon whisk works best.
Mixer — A hand mixer or stand mixer makes creaming the butter and sugar for the crust much easier. You can do it by hand, but it takes more arm strength.
Zester or fine grater — For getting that fluffy lemon zest. A microplane is my favorite tool for this.
Wire cooling rack — Essential for cooling the bars completely before cutting. Cutting them warm is a recipe for mush.
How to Make It: Step-by-Step
Alright, let’s get baking. I’m going to walk you through exactly how I make these classic lemon bars, including the little tricks that ensure success.
Step 1: Prep Your Pan and Oven
Preheat your oven to 350°F (175°C). Line an 8×8 inch baking pan with parchment paper, leaving an overhang on the sides. This is your safety net for lifting the bars out later. Lightly grease the parchment with butter or cooking spray.
Step 2: Make the Crust
In a medium bowl, mix the softened butter, powdered sugar, and vanilla extract until smooth. If using a mixer, beat on medium speed for 2 minutes. The mixture should look like wet sand. Add the flour and mix just until combined. Don’t overmix, or the crust will become tough. Press the mixture firmly and evenly into the bottom of your prepared pan. Use the bottom of a measuring cup to pack it down tightly.
Step 3: Bake the Crust
Bake the crust for 15-18 minutes, or until the edges are lightly golden. It might still look a bit soft in the center, but it will firm up as it cools. Remove from the oven and set aside. Leave the oven on.
Step 4: Make the Filling
In a large bowl, whisk together the granulated sugar and lemon zest. Use your fingers to rub the zest into the sugar for a minute. This releases the essential oils and makes the lemon flavor pop. Add the lemon juice and whisk until combined. Add the eggs one at a time, whisking well after each addition. Whisk in the 1/3 cup flour until the mixture is smooth and no lumps remain.
Step 5: Assemble and Bake
Pour the lemon filling over the hot crust. It might sizzle a little, which is normal. Smooth the top with a spatula. Bake for 20-25 minutes. The edges should be set and slightly golden, but the center should still have a slight jiggle. It will continue to set as it cools. Do not overbake, or the filling will crack.
Step 6: Cool and Chill
Place the pan on a wire rack and let it cool completely to room temperature. This takes about an hour. Then, cover the pan with plastic wrap and refrigerate for at least 2 hours, or ideally overnight. Chilling is crucial for clean cuts. If you try to cut them warm, they will be a mess.
Step 7: Cut and Serve
Once chilled, lift the bars out of the pan using the parchment paper. Place them on a cutting board. Use a sharp knife to cut into squares or rectangles. Wipe the knife clean between cuts for neat edges. Dust generously with powdered sugar just before serving.
Expert Tips & Tricks
Here’s everything I’ve learned from making these bars dozens of times. These tips will save you from common pitfalls.
Room Temperature Eggs — While not strictly necessary, room temperature eggs blend more evenly into the filling, preventing curdling. If you’re in a hurry, just drop them in warm water for 5 minutes.
Don’t Skimp on Zest — The zest is where the intense flavor is. If you don’t use enough, the bars will taste flat. Make sure you’re getting the yellow part only, not the white pith.
Hot Crust, Cold Filling — Pouring the filling over the hot crust helps it adhere better and prevents the crust from getting soggy. It also starts the cooking process immediately, ensuring a crisp base.
Cool Completely — I know it’s tempting to dig in early, but patience pays off. The bars need to set fully. Rushing this step leads to messy, runny bars.
Sharp Knife — Use a sharp chef’s knife for clean cuts. Dull knives will crush the bars and make a mess. Dip the knife in hot water and wipe it dry between cuts for extra-neat squares.
Variations & Substitutions
Once you’ve mastered the basic classic lemon bars, here are some fun ways to mix it up:
Lavender Lemon Bars — Add 1 teaspoon of culinary lavender to the crust mixture. It adds a floral note that pairs beautifully with citrus.
Blueberry Lemon Bars — Sprinkle fresh blueberries over the crust before adding the filling. The berries burst during baking, adding pockets of sweetness.
Gluten-Free — Use a 1:1 gluten-free flour blend in both the crust and filling. The texture will be slightly different but still delicious.
Vegan — Replace butter with vegan butter, eggs with a flax egg (1 tablespoon ground flaxseed mixed with 3 tablespoons water per egg), and use agave nectar instead of sugar. The texture will be chewier, but the flavor is still great.
Mint Chocolate Chip — Add 1 teaspoon of peppermint extract to the filling and sprinkle chocolate chips on top after baking. A fun twist for spring.
Serving & Storage
How to Serve — I love serving these with a dollop of whipped cream and a sprig of mint. They also pair well with a cup of Earl Grey tea or a glass of sparkling water with a lemon twist. They’re elegant enough for a dinner party but casual enough for a weeknight treat.
Storage — Store leftovers in an airtight container in the refrigerator for up to 5 days. They actually taste better after a day or two as the flavors meld. Do not leave them at room temperature for more than 2 hours.
Freezing — You can freeze unbaked bars. Press the crust, add the filling, and freeze the pan. When ready to bake, let it thaw in the fridge overnight and bake as directed. Baked bars can also be frozen. Wrap them tightly in plastic wrap and foil. Thaw in the fridge overnight before serving. Dust with powdered sugar after thawing.
Nutrition Information
I’m not a nutritionist, but here’s the breakdown if you’re tracking. These bars are indulgent, so enjoy in moderation.
Per serving (based on 16 bars):
- Calories: 180
- Protein: 2g
- Carbs: 26g
- Fiber: 0g
- Sugar: 18g
- Fat: 8g
- Saturated Fat: 5g
- Cholesterol: 45mg
- Sodium: 90mg
Look, this is a dessert. It’s sweet, buttery, and made with sugar. It’s not a health food. But it’s homemade, so you know exactly what’s in it. When I want to make it lighter, I reduce the sugar in the filling by 25% and use a lighter crust. But usually? I just enjoy a square and savor the moment.
Final Thoughts
So that’s my go-to classic lemon bars recipe! I’ve probably talked your ear off at this point, but when you make a recipe this often, you have a lot to say about it. These bars have saved me more times than I can count. They’re my answer to “what dessert should I bring?” when I’m short on time but want to impress. They’re tangy, creamy, and utterly satisfying.
Make it yours! Try different variations, adjust the sweetness to your taste, or experiment with different toppings. The best recipes are the ones you adapt to your own preferences. If you make these classic lemon bars, drop a comment and let me know how they turned out! I love hearing from you. And if something doesn’t work, tell me that too—I’m here to help troubleshoot.
Happy baking! And I hope your kitchen smells half as good as mine does right now. If you’re looking for more easy dessert ideas, you might also enjoy my classic apple crisp with oat crumble for a warm, comforting treat, or these healthy pumpkin bars if you’re in the mood for something spiced and seasonal.
Frequently Asked Questions
Can I use bottled lemon juice?
You can, but I don’t recommend it. Bottled juice often contains preservatives and has a different acid balance that can affect the setting of the filling. Fresh lemon juice is bright and clean-tasting. If you must use bottled, choose one with no additives, but fresh is always best.
Why did my lemon bars crack on top?
Cracking usually happens when the bars are overbaked. The filling continues to cook even after you remove it from the oven. Take them out when the edges are set but the center still jiggles slightly. Also, avoid opening the oven door too often during baking, as temperature fluctuations can cause cracking.
Can I make these ahead of time?
Absolutely. These bars are even better the next day. You can make them up to 2 days in advance. Store them in the refrigerator in an airtight container. Dust with powdered sugar just before serving to keep it fresh.
How do I get clean cuts?
The key is chilling. Make sure the bars are completely cold, preferably overnight. Use a sharp knife, and wipe it clean between cuts. For extra-neat squares, dip the knife in hot water and dry it before each cut.
Can I freeze lemon bars?
Yes, you can. Freeze them unbaked for best results, or freeze baked bars wrapped tightly in plastic and foil. Thaw in the refrigerator overnight before serving. The texture might be slightly softer after freezing, but the flavor remains great.
Pin This Recipe!
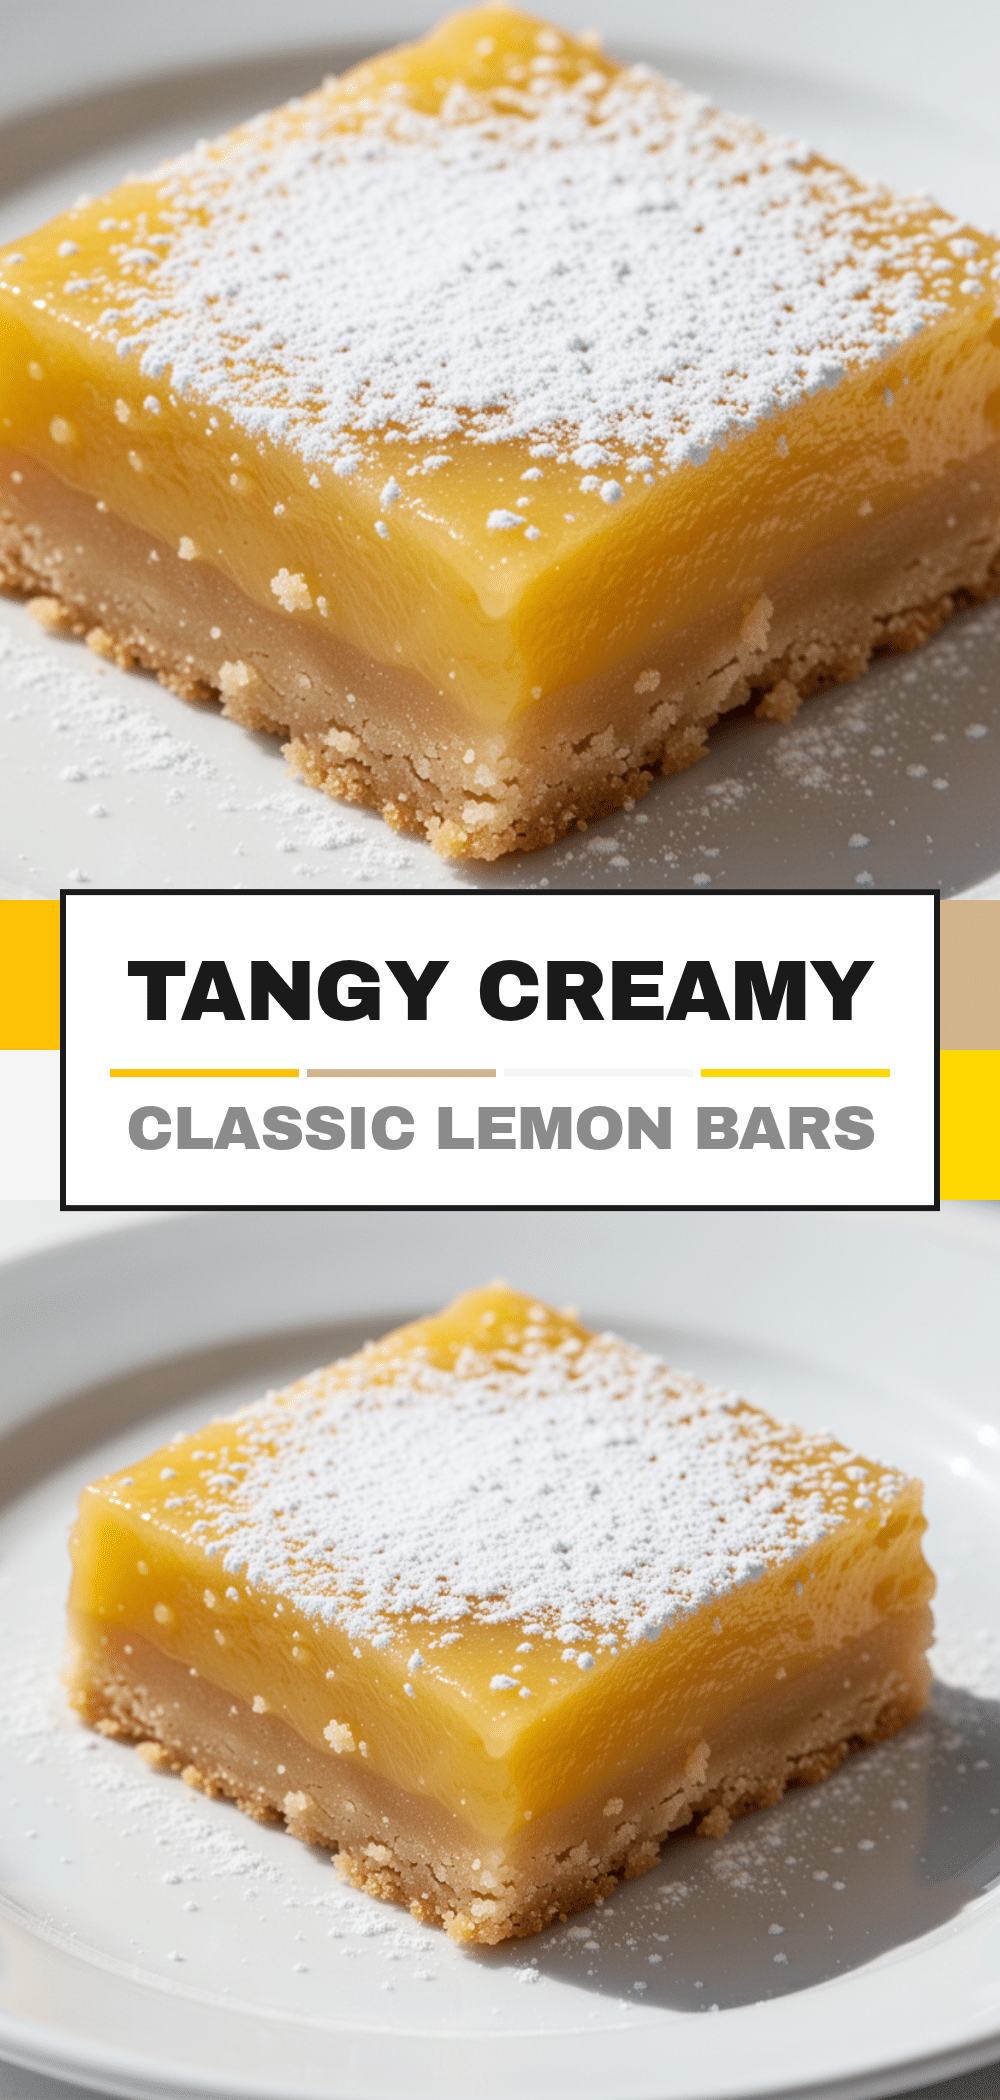

Classic Lemon Bars: Easy Tangy Creamy Dessert
- Total Time: 60 minutes
- Yield: 16 servings 1x
Description
These classic lemon bars feature a buttery shortbread crust and a silky, tangy lemon filling. They are easy to make, make-ahead friendly, and deliver the perfect balance of sweet and sour.
Ingredients
- 1/2 cup (113g) unsalted butter, softened
- 1/4 cup (30g) powdered sugar
- 1 cup (120g) all-purpose flour
- 1/2 teaspoon vanilla extract
- 1 cup (200g) granulated sugar
- 1/2 cup (120ml) fresh lemon juice (from 3–4 lemons)
- 2 tablespoons lemon zest
- 4 large eggs
- 1/3 cup (40g) all-purpose flour
- 1/2 cup (60g) powdered sugar, for dusting
Instructions
- Preheat oven to 350°F (175°C). Line an 8×8 inch baking pan with parchment paper, leaving an overhang on the sides, and lightly grease the parchment.
- In a medium bowl, mix softened butter, powdered sugar, and vanilla extract until smooth. Add flour and mix just until combined. Press mixture firmly and evenly into the bottom of the prepared pan.
- Bake the crust for 15-18 minutes until edges are lightly golden. Remove from oven and leave oven on.
- In a large bowl, whisk granulated sugar and lemon zest together for a minute to release oils. Add lemon juice and whisk to combine.
- Add eggs one at a time, whisking well after each addition. Whisk in 1/3 cup flour until smooth and lump-free.
- Pour lemon filling over the hot crust. Bake for 20-25 minutes until edges are set and center has a slight jiggle.
- Place pan on a wire rack and cool completely to room temperature (about 1 hour).
- Cover and refrigerate for at least 2 hours or overnight until completely chilled.
- Lift bars out of pan using parchment paper. Cut into squares with a sharp knife, wiping knife between cuts. Dust with powdered sugar before serving.
Notes
For clean cuts, ensure bars are completely chilled. Use a sharp knife and wipe it clean between cuts. You can substitute gluten-free flour for a gluten-free version. For vegan bars, use vegan butter, flax eggs, and agave nectar.
- Prep Time: 20 minutes
- Cook Time: 40 minutes
- Category: Dessert
- Cuisine: American
Nutrition
- Serving Size: 1 bar
- Calories: 180
- Sugar: 18
- Sodium: 90
- Fat: 8
- Saturated Fat: 5
- Carbohydrates: 26
- Protein: 2
Keywords: lemon bars, classic lemon bars, dessert, citrus dessert, shortbread crust, tangy lemon, easy baking, make ahead dessert


