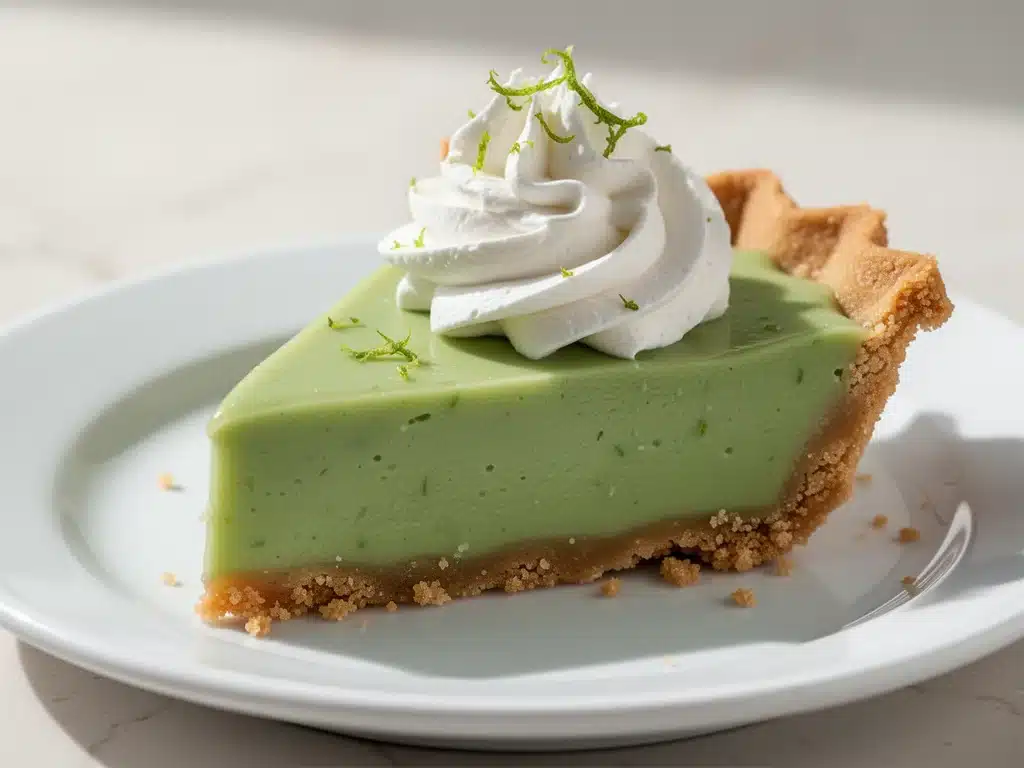
I still remember the first time I ate a real key lime pie. It wasn’t in some fancy Miami restaurant with white tablecloths and waiters in tuxedos. It was in a tiny, fluorescent-lit diner in the Florida Keys, sitting at a wobbly plastic table while my husband and I were recovering from a day of snorkeling that went horribly wrong. I was sticky, sunburned, and done with life. Then the waiter set this small, unassuming pie in front of me.
The crust was crumbly and buttery. The filling was this vibrant, electric yellow that looked almost fake. And the first bite? It hit me like a shock to the system. Tart. Sweet. Cold. Creamy. It was so bright and zesty that it literally made me forget I was covered in sand. I ate the whole thing in three bites and asked the waiter for the recipe. He laughed and said, “Honey, there’s no recipe. It’s just magic.”
Well, it’s not magic. It’s chemistry. And it’s also the easiest dessert I’ve ever made. This classic key lime pie has become my go-to when I need to impress guests without spending hours in the kitchen. I’ve tested this version dozens of times, tweaking the ratio of sweetened condensed milk to lime juice until it hit that perfect sweet-tart balance. It’s tangy, it’s creamy, and it comes together in about 15 minutes of active work. If you can whisk and pour, you can make this.
I’ve made this pie for everything from Fourth of July picnics to impromptu Tuesday night desserts. It travels well, it tastes better the next day, and it always disappears faster than any other dessert in my house. No one complains about it being “too simple.” They just ask for another slice.
Why You’ll Love This Classic Key Lime Pie
There are about ten reasons I keep making this pie, but here are the big ones that keep it in my regular rotation.
Stupid Simple Ingredients — Seriously, if you can boil water and chop an onion, you can make this. The filling has only three main ingredients: sweetened condensed milk, key lime juice, and egg yolks. That’s it. No complicated techniques, no tempering eggs, no fancy equipment. I’ve walked my teenage son through making this over FaceTime, and he nailed it on the first try.
Lightning Fast Prep — 15 minutes from start to finish for the filling. The chilling time is hands-off, so you’re not babysitting it. I make this on weeknights when I get home at 7pm and need dessert to just work. It’s the antidote to “what’s for dessert?” panic.
Make-Ahead Friendly — This pie actually tastes better the next day. The flavors meld together, and the texture firms up perfectly. I deliberately make extra for lunch throughout the week because leftovers are delicious. It keeps in the fridge for up to 4 days.
Crowd-Pleaser — I’ve served this to my vegetarian sister, my gluten-free neighbor, and my I-only-eat-chocolate-dad (with modifications). Everyone loved it. The bright flavor cuts through the richness of the crust, so you never feel weighed down.
Budget-Smart — Feeds 8-10 people for under $10. That’s less than one meal at a fast-food place. You probably have most of these ingredients already in your pantry.
This is my go-to when I need dinner to just work. No complicated techniques, no weird ingredients, just reliable, delicious food that makes everyone happy.
Ingredients You’ll Need
Here’s the best part: you probably have most of this already. The beauty of this pie is how few ingredients it takes to make something that tastes gourmet.
For the Crust
Graham cracker crumbs (1 ½ cups / 150g) — I use standard honey graham crackers. You can crush them in a food processor or put them in a bag and smash them with a rolling pin. Don’t use saltine crackers; they don’t have the right sweetness.
Unsalted butter (6 tablespoons / 85g, melted) — This binds the crumbs. Make sure it’s fully melted but not hot. If it’s boiling, let it cool for a minute so it doesn’t cook the crumbs.
Granulated sugar (2 tablespoons / 25g) — Just a little bit to sweeten the crust. You don’t want it too sweet; the filling is plenty sweet.
Salt (¼ teaspoon) — Crucial. It balances the sweetness and brings out the buttery flavor. Don’t skip it.
For the Filling
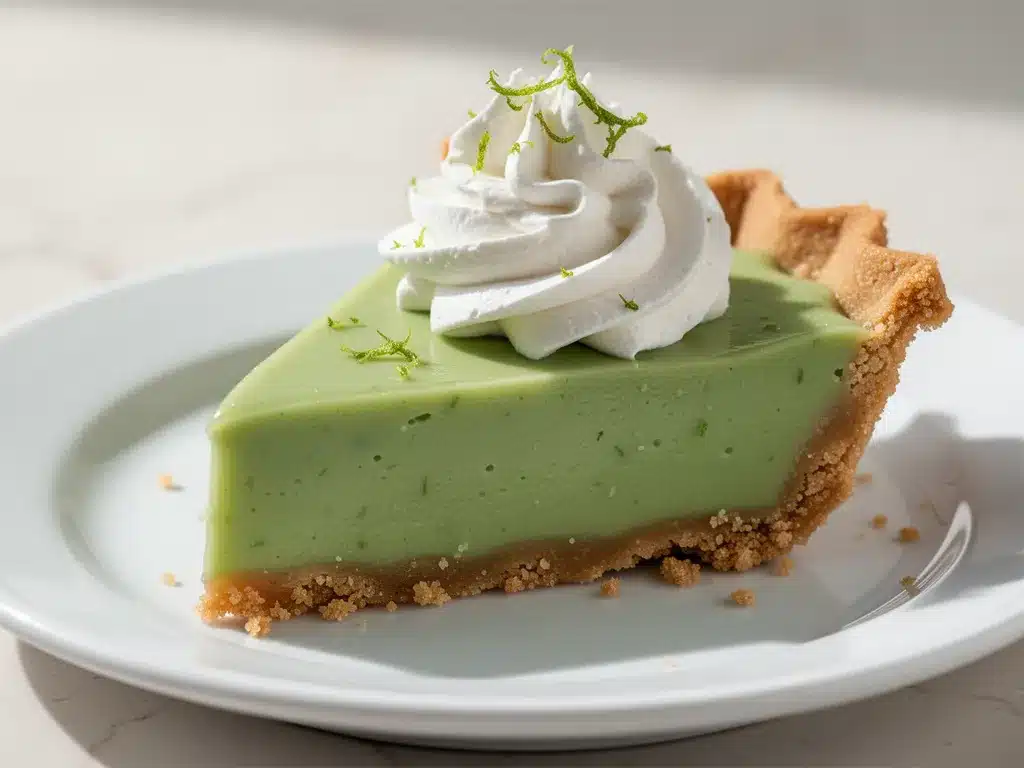
Sweetened condensed milk (1 can / 14 oz / 397g) — Do not use evaporated milk. They are totally different. Sweetened condensed milk is thick, syrupy, and sweet. It’s the base of the filling. I always buy the big can; the leftovers freeze well.
Key lime juice (½ cup / 120ml) — This is the star. Real key lime juice is tart and aromatic. You can use bottled key lime juice (like Realemon Key Lime) or fresh key limes. Fresh is best, but bottled is perfectly fine and consistent. Do not use regular Persian lime juice; it’s not tart enough and tastes different.
Egg yolks (4 large / about 60ml) — This gives the filling structure and richness. I use only yolks because whites make the texture rubbery. Save the whites for an omelet or meringue.
For the Topping
Heavy cream (1 cup / 240ml) — For whipping into stiff peaks. Cold cream whips best. I take mine out of the fridge 15 minutes before.
Granulated sugar (2 tablespoons / 25g) — To sweeten the whipped cream slightly.
Vanilla extract (½ teaspoon) — Enhances the flavor.
Key lime zest (1 lime, zested) — Optional but recommended. Adds a pop of fresh aroma that bottled juice can’t quite match.
Common Questions:
- Can I use Persian limes? You can, but the flavor won’t be as bright or aromatic. If you must, add a little extra zest and maybe a splash more juice.
- Where do I find key lime juice? Most grocery stores have it in the juice aisle, next to the orange juice. Look for brands like Realemon or Tropicana Key Lime.
- Can I make this gluten-free? Yes! Use gluten-free graham crackers or a nut crust instead.
Equipment Needed
You don’t need fancy equipment for this. Here’s what I actually use.
9-inch pie dish — Glass or ceramic works best. I use a glass pie dish because I can see the bottom crust browning. Metal works too.
Food processor or zip-top bag — For crushing graham crackers. A food processor is faster, but a bag and rolling pin works if you want to save cleanup.
Mixing bowls — Two medium bowls. One for the filling, one for the whipped cream.
Whisk — For mixing the filling. A whisk incorporates air and ensures no lumps. A fork works in a pinch.
Electric mixer or hand whisk — For whipping the cream. An electric mixer is faster, but a hand whisk works if you have strong arms.
Zester or microplane — For zesting the lime. A regular grater works too, but be careful not to get the white pith, which is bitter.
Cooling rack — For cooling the crust before adding filling.
Tool Tips:
- Don’t have a food processor? Put crackers in a bag and smash them with a rolling pin or a heavy pan. It’s satisfying.
- Need to crush cookies quickly? Pulse in a blender, but don’t over-process or you’ll get powder.
How to Make It: Step-by-Step
Alright, let’s make this! I’m walking you through exactly how I do it, including the little tricks I’ve picked up.
Step 1: Make the Crust (5 minutes)
Preheat your oven to 350°F (175°C). Mix the graham cracker crumbs, melted butter, sugar, and salt in a medium bowl until it looks like wet sand. Press this mixture firmly into the bottom and up the sides of your 9-inch pie dish. Use the bottom of a glass to pack it down evenly. Bake for 8-10 minutes until it smells toasted and looks slightly darker. Let it cool completely on a wire rack. This step is crucial; if the crust is warm, the filling will slide around.
Step 2: Mix the Filling (10 minutes)
In a large bowl, whisk the egg yolks until they are bright yellow and slightly frothy. This takes about 1 minute. Slowly whisk in the sweetened condensed milk. It will be thick and sticky. Once combined, whisk in the key lime juice and zest. The mixture will thicken slightly as the acid from the lime reacts with the milk. Pour the filling into the cooled crust. Smooth the top with a spatula.
Step 3: Bake the Pie (15 minutes)
Place the pie in the oven and bake for 15 minutes. The edges should be set, but the center should still have a slight jiggle when you shake the pan. It will continue to set as it cools. Do not overbake, or the filling will crack. Remove from the oven and let it cool to room temperature on the counter.
Step 4: Chill the Pie (4 hours minimum)
Once cooled, cover the pie with plastic wrap and refrigerate for at least 4 hours, preferably overnight. This is the hardest part—waiting—but it’s necessary for the texture to set properly. If you rush this, you’ll get a gooey mess instead of a sliceable pie.
Step 5: Whip the Cream (5 minutes)
When you’re ready to serve, whip the cold heavy cream, sugar, and vanilla in a chilled bowl until stiff peaks form. Don’t over-whip, or it’ll turn to butter. Spread the whipped cream over the chilled pie. It doesn’t need to be perfect; rustic looks good here.
Step 6: Garnish and Serve
Garnish with extra lime zest and a few lime slices if you want it to look pretty. Slice with a sharp knife dipped in hot water for clean cuts. Serve immediately.
Total Time: About 5 hours (5 minutes active prep, 4 hours chilling)
Expert Tips & Tricks
Here’s everything I’ve learned from making this dozens of times. These tips will save you from my mistakes.
Use Real Key Lime Juice
This is the #1 tip. Regular lime juice is too mild. Key lime juice is tart and aromatic. If you can’t find key lime juice, look for bottled brands that specifically say “key lime.” It makes a huge difference in flavor.
Don’t Overbake
The pie should still jiggle in the center when you take it out. It sets as it cools. If you bake it until it’s firm in the center, it will crack and become rubbery. I learned this the hard way with a cracked pie that looked awful.
Cool Completely Before Chilling
If you put a warm pie in the fridge, condensation forms on top, making the crust soggy. Let it cool on the counter for at least an hour before refrigerating.
Chill Your Bowl
For the whipped cream, put your mixing bowl in the freezer for 15 minutes before whipping. Cold cream whips faster and holds its shape better. This is a pro trick that makes a big difference.
Common Mistakes (and how to avoid them):
- Mistake: Crust is soggy Fix: Make sure the crust is completely cool before adding filling. Also, blind-bake it (pre-bake without filling) for 10 minutes.
- Mistake: Filling is runny Fix: You didn’t chill it long enough. It needs at least 4 hours. Overnight is best.
- Mistake: Cracked top Fix: You overbaked it. Next time, take it out when the center still jiggles.
Variations & Substitutions
Once you’ve nailed the basic version, here’s how you can mix it up. I’ve tried all of these.
Chocolate Key Lime Pie
Add ½ cup cocoa powder to the filling mixture. It creates a chocolate-lime combo that’s surprisingly delicious. My kids love this version.
Coconut Key Lime Pie
Replace half the heavy cream with coconut cream for whipping. Add shredded coconut to the crust. Tropical vibes all the way.
Gluten-Free
Use gluten-free graham crackers or make a nut crust (almonds or pecans). Everything else is naturally gluten-free.
Dairy-Free
Use coconut milk instead of condensed milk (specifically, a thick coconut milk product designed for desserts) and coconut cream for whipping. It’s different but still tasty. My lactose-intolerant friend requests this version.
Key Lime Bars
Press the crust into an 8×8 pan and bake as bars. Cut into squares. Easier to serve at parties.
Serving & Storage
I usually serve this straight from the fridge at the dinner table—it looks rustic and stays cold. But here are other ways I’ve enjoyed it:
Side Dishes:
This is a dessert, so it stands alone. But if you need something light to balance the richness, a simple green salad with lemon vinaigrette works well before the pie.
Toppings Bar:
When I have guests, I put out: extra lime zest, crushed graham crackers, fresh berries, and chocolate shavings. Everyone customizes their slice.
Wine Pairing:
Not a wine expert, but my wine-snob friend says a Moscato d’Asti or a sweet Riesling works great with this. It complements the citrus perfectly.
Storage Instructions:
- Refrigerator: Store covered in the fridge for up to 4 days. The whipped cream might deflate slightly, but it’s still good.
- Freezing: You can freeze the pie (without whipped cream) for up to 2 months. Thaw in the fridge overnight before serving. Whip fresh cream before serving.
- Meal Prep: Make the pie 2 days ahead. Whip the cream the day of. This is how I handle dinner parties.
Nutrition Information
I’m not a nutritionist, but here’s the breakdown if you’re tracking.
Per Serving (based on 8 servings):
- Calories: 380
- Protein: 5g
- Carbs: 45g
- Fiber: 1g
- Sugar: 38g
- Fat: 20g
- Saturated Fat: 12g
- Cholesterol: 110mg
- Sodium: 180mg
What’s Good:
– Decent protein from egg yolks and milk
– Calcium from the dairy
– No artificial colors or flavors
What to Know:
– Higher in sugar from condensed milk
– Contains dairy and gluten
– Moderate sodium
My Take:
“Look, this is dessert with condensed milk and whipped cream. It’s not a diet recipe. But it’s way better than takeout, costs less, and I know exactly what’s in it. When I want to make it lighter, I use less whipped cream and more fruit on top. But usually? I just eat a reasonable slice and enjoy it.”
Final Thoughts
So that’s my go-to classic key lime pie! I’ve probably talked your ear off at this point, but when you make a recipe this often, you have a lot to say about it.
This has saved summer dinners more times than I can count. It’s my answer to “what’s for dessert” when I’m tired, don’t want to bake a complicated cake, and still want something that tastes really good. My kids are happy, my husband’s happy, and I’m happy because I’m not stressed about cooking.
Make it yours! Try different toppings, swap in your favorite citrus, or add a chocolate layer. The best recipes are the ones you adapt to your family’s tastes.
If you make this, drop a comment and let me know what you think! I love hearing how recipes turn out in your kitchen. And if something doesn’t work, tell me that too—I’m here to help troubleshoot.
Happy cooking! And I hope your kitchen smells half as good as mine does right now.
Frequently Asked Questions
Q: Can I use regular limes instead of key limes?
A: You can, but the flavor won’t be as bright or aromatic. Key limes are smaller, more tart, and have a distinct floral note. If you must use Persian limes, use 6-8 limes instead of 4, and add extra zest. The pie will still be good, just not “authentic.”
Q: Why did my pie crack?
A: Overbaking. The pie should still jiggle in the center when you take it out. It sets as it cools. If you bake it until it’s firm, it will crack. Next time, take it out 2-3 minutes earlier.
Q: Can I make this ahead for a party?
A: Absolutely! This pie actually tastes better the next day. Make it 1-2 days ahead. Keep it covered in the fridge. Whip the cream the day of serving. This is my preferred method for stress-free entertaining.
Q: Can I freeze key lime pie?
A: Yes, but without the whipped cream. Freeze the baked and cooled pie for up to 2 months. Thaw in the fridge overnight. Whip fresh cream before serving. The texture of the filling holds up well to freezing.
Q: Can I use egg whites instead of yolks?
A: No. Egg whites make the filling rubbery and stiff. Egg yolks provide the rich, creamy texture. If you have leftover whites, save them for meringue or an omelet.
Q: What if I don’t have a pie dish?
A: You can use a springform pan. Just press the crust into the bottom. The filling will set the same way. It makes slicing easier too.
Q: How long does key lime pie last?
A: Up to 4 days in the fridge. After that, the crust gets soggy and the whipped cream breaks down. It’s best eaten fresh or within 2 days.
Pin This Recipe!
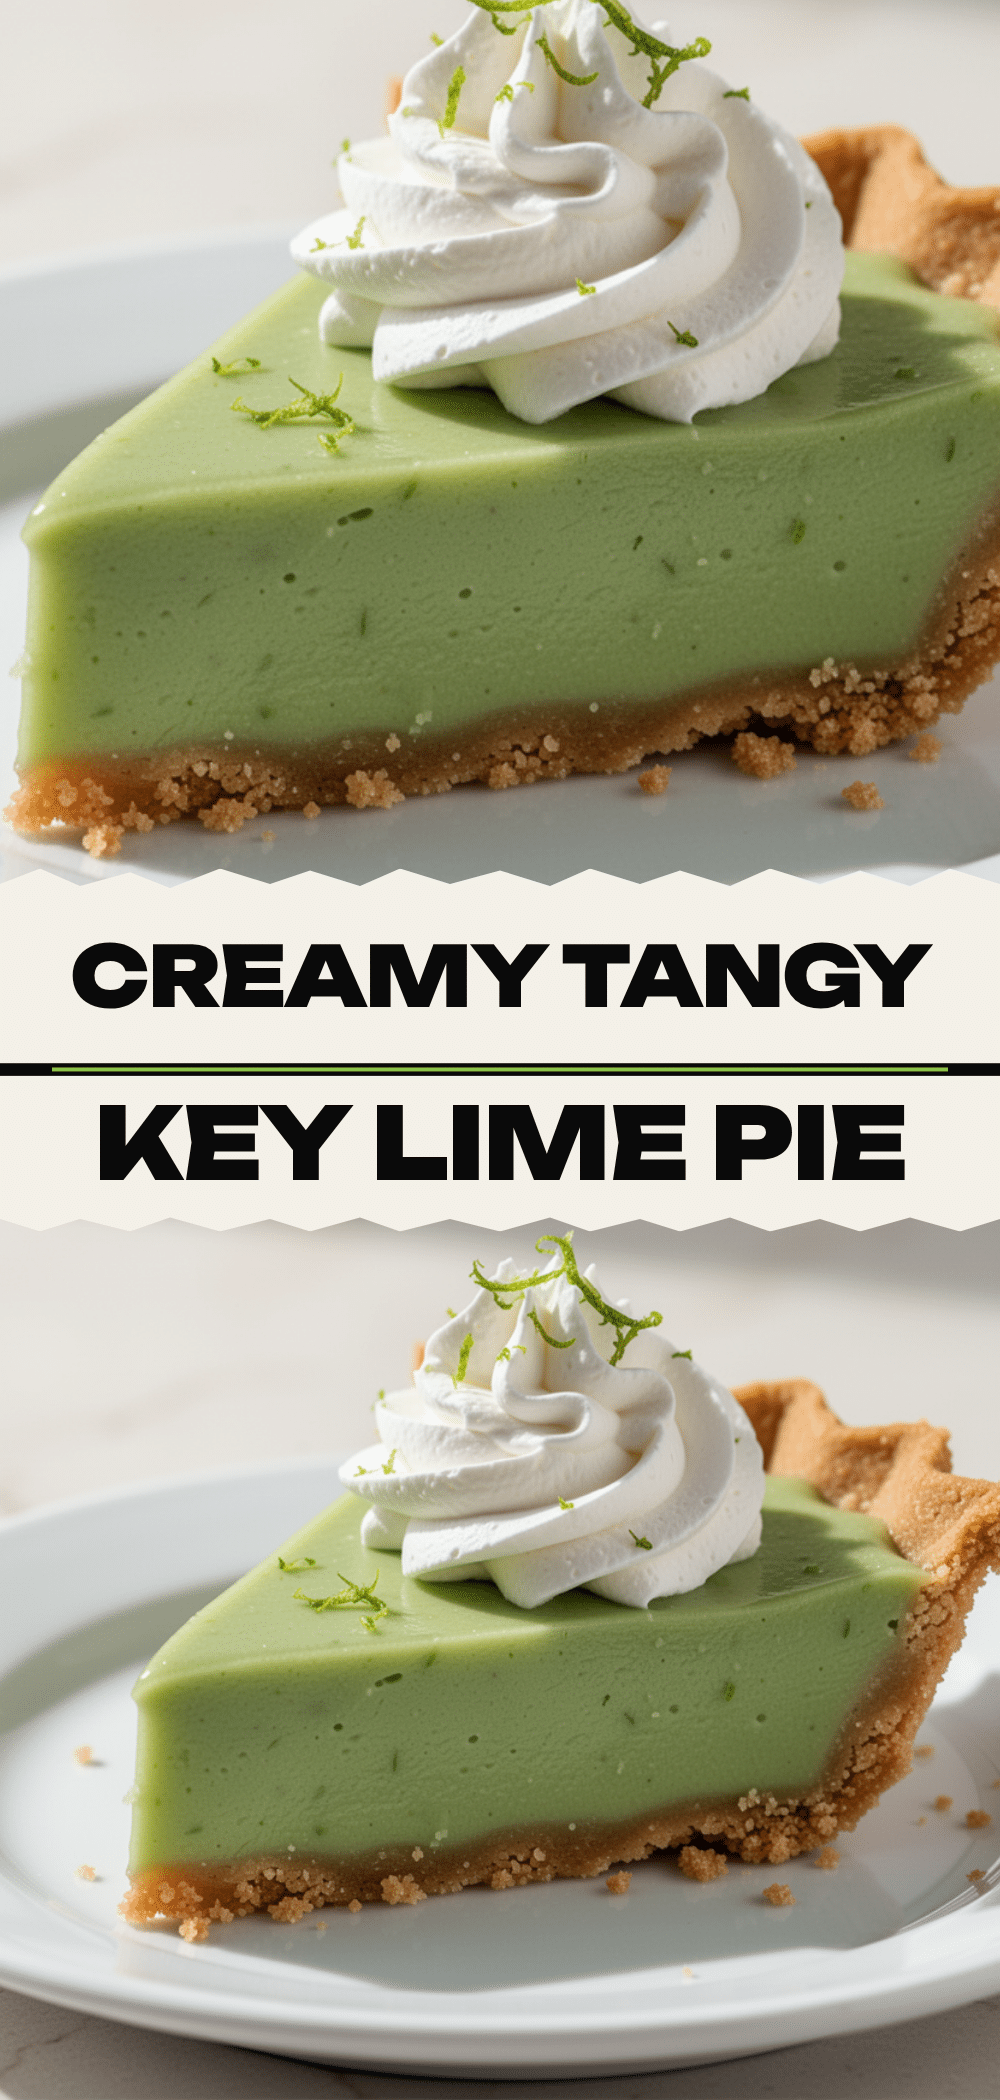
Classic Key Lime Pie: Easy 3-Ingredient Dessert
- Total Time: 5 hours
- Yield: 8 servings 1x
Description
A tangy, creamy, and zesty key lime pie with a buttery graham cracker crust. This easy dessert comes together in about 15 minutes of active work and tastes better the next day.
Ingredients
- 1 ½ cups graham cracker crumbs
- 6 tablespoons unsalted butter, melted
- 2 tablespoons granulated sugar
- ¼ teaspoon salt
- 1 can (14 oz) sweetened condensed milk
- ½ cup key lime juice
- 4 large egg yolks
- 1 cup heavy cream, cold
- 2 tablespoons granulated sugar
- ½ teaspoon vanilla extract
- 1 key lime, zested
Instructions
- Preheat oven to 350°F (175°C).
- Mix graham cracker crumbs, melted butter, 2 tablespoons sugar, and salt in a medium bowl until it resembles wet sand.
- Press the mixture firmly into the bottom and up the sides of a 9-inch pie dish. Use the bottom of a glass to pack it evenly.
- Bake the crust for 8-10 minutes until toasted and slightly darker. Let it cool completely on a wire rack.
- In a large bowl, whisk egg yolks until bright yellow and frothy (about 1 minute).
- Slowly whisk in the sweetened condensed milk until combined.
- Whisk in the key lime juice and zest. The mixture will thicken slightly.
- Pour the filling into the cooled crust and smooth the top.
- Bake the pie for 15 minutes. The edges should be set, but the center should still have a slight jiggle.
- Remove from oven and let cool to room temperature on the counter.
- Cover with plastic wrap and refrigerate for at least 4 hours, preferably overnight.
- When ready to serve, whip the cold heavy cream, 2 tablespoons sugar, and vanilla in a chilled bowl until stiff peaks form.
- Spread the whipped cream over the chilled pie.
- Garnish with extra lime zest and lime slices if desired. Slice with a sharp knife dipped in hot water for clean cuts.
Notes
Use real key lime juice for the best flavor; regular lime juice is not tart enough. Do not overbake the pie, as it will crack; it should still jiggle in the center when removed from the oven. Cool the crust completely before adding filling to prevent sogginess. Chill the mixing bowl for 15 minutes before whipping cream for better results. The pie tastes better the next day after flavors meld.
- Prep Time: 15 minutes
- Cook Time: 25 minutes
- Category: Dessert
- Cuisine: American
Nutrition
- Serving Size: 1 slice
- Calories: 380
- Sugar: 38
- Sodium: 180
- Fat: 20
- Saturated Fat: 12
- Carbohydrates: 45
- Fiber: 1
- Protein: 5
Keywords: key lime pie, dessert, easy dessert, key lime, graham cracker crust, make ahead dessert, summer dessert


