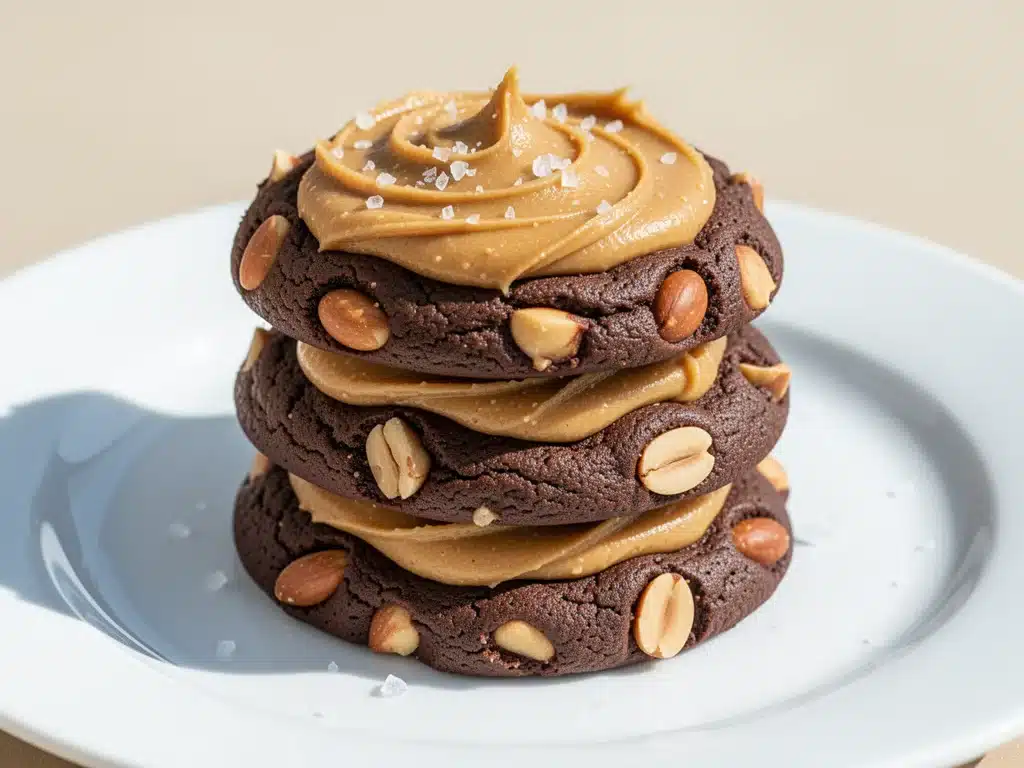
I’ll be honest with you. For years, I thought a cookie was just a cookie. You know the type: a scoop of dough, a bake, a cool, and a crunch. Simple. Safe. Boring. Then, last winter, I made the mistake of eating a Reese’s Peanut Butter Cup while watching a movie. I wasn’t even hungry. I just wanted something sweet. But that specific combination—the snap of the chocolate, the creamy saltiness of the peanut butter, the way the two flavors fight and then make up on your tongue—stopped me cold.
I went to my kitchen and stared at my pantry like it owed me money. I had flour. I had butter. I had peanut butter. I had chocolate chips. I had about thirty seconds of willpower left. I mixed a batch, threw them in the oven, and waited. When they came out, warm and gooey, I took one bite. And then another. And then I ate the whole batch before my husband even got home from work. I felt guilty for about ten minutes, and then I decided that life is too short for boring cookies.
That was the birth of these Chocolate Peanut Butter Cup Cookies. They aren’t just “good for homemade.” They are the real deal. They have that soft, chewy center you crave, a crisp edge that shatters when you bite down, and a surprise of creamy peanut butter in the middle that feels like a little reward. I’ve tested this recipe at least twelve times. I’ve burned the chocolate twice (don’t make my mistake). I’ve used the wrong type of peanut butter once (spoiler: it needs to be creamy, not crunchy, for the filling). I’ve tweaked the ratios until the dough was perfectly balanced—not too cakey, not too flat.
What makes this recipe special isn’t just the taste. It’s the nostalgia. It tastes like Saturday afternoons spent in the kitchen, or that trip to the gas station on a road trip where you couldn’t resist the candy aisle. But unlike the candy bar, these are fresh. They’re soft. They’re made with real butter and real chocolate. And they’re incredibly easy to make, even if your idea of “baking” is usually just heating up leftovers.
If you love the combo of sweet and salty, you’re going to lose your mind over these. They’re the ultimate sweet salty treat, and I promise you, once you try them, you’ll never go back to the store-bought version. Let me show you exactly how to make them.
Why You’ll Love This Recipe
There are a million cookie recipes out there. Why this one? Why now? Because this recipe solves the biggest problem with homemade cookies: the “good but not great” factor. These hit every single note. Here’s why they’ve taken over my kitchen:
- The Texture Game is Strong — Most peanut butter cookies are dry. They crumble if you look at them wrong. These are different. The dough is rich with butter and brown sugar, giving you a chewy, fudgy interior. But the edges get slightly crisp in the oven. It’s that contrast—soft center, crisp edge—that keeps me coming back. I’ve made pumpkin spice snickerdoodle cookies before, and while those are great, these have a deeper, more complex flavor profile that feels more indulgent.
- It’s a Two-in-One Dessert — You’re getting chocolate and peanut butter in every single bite. You don’t need to serve this with anything else. I’ve served these at dinner parties as the main dessert, and people ask if I bought them from a fancy bakery. The truth? It takes 20 minutes of active prep. That’s it.
- The “Surprise” Factor — When you bite into these, you hit that pocket of peanut butter. It’s like a treasure hunt. I like to press a little extra peanut butter cup into the top before baking, so you get a melted chocolatey peak on top too. It looks professional and tastes like heaven.
- Super Forgiving — I’m a messy baker. I don’t weigh every ingredient unless I have to. This recipe is very forgiving. If your dough is a little sticky, that’s fine. If you overmix it slightly, it’ll still be chewy. It’s designed for real life, not a test kitchen with a stopwatch.
- Great for Meal Prep — These freeze beautifully. I make a double batch, freeze the unbaked dough balls, and pull them out on weeknights. Ten minutes later, I have fresh cookies. It’s my secret weapon when I don’t want to cook dinner but still want to feel like I provided a homemade treat.
This isn’t just a cookie. It’s a mood. It’s comfort food in cookie form. And it’s going to become your new favorite way to use up that jar of peanut butter sitting in your pantry.
Ingredients You’ll Need
Here’s the good news: you probably have most of these ingredients already. This isn’t a recipe that requires a trip to three different specialty stores. It’s pantry-friendly, simple, and straightforward. I’m particular about three things here, and I’ll tell you exactly why, because I’ve learned the hard way.
For the Cookie Dough
Unsalted Butter (1 cup / 226g, softened) — This is non-negotiable. Use real butter. Margarine will change the texture and flavor completely. I like unsalted so I can control the saltiness, especially since we’re adding salty peanut butter later. Make sure it’s softened to room temperature. If you microwave it, you’ll get greasy cookies. Just let it sit on the counter for an hour.
Granulated Sugar (1 cup / 200g) — This helps create those crisp edges. Don’t skip it. It caramelizes in the oven and gives the cookie structure.
Brown Sugar (1 cup / 220g, packed) — This is the chewy factor. The molasses in the brown sugar keeps the cookies soft. I use dark brown sugar because it has a deeper, richer flavor, but light brown works too. Press it firmly into your measuring cup.
Eggs (2 large, room temperature) — Again, room temp matters. Cold eggs can seize up your butter mixture. Crack them into a small bowl first to check for shells, then add them.
Vanilla Extract (2 teaspoons) — Use real vanilla. The cheap imitation stuff tastes like chemicals and will ruin the delicate balance of the chocolate and peanut butter. If you have pure extract, use it. If you have homemade vanilla bean paste, even better.
All-Purpose Flour (2 ½ cups / 315g) — Don’t over-measure this. Spoon it into the cup and level it off. If you scoop straight from the bag, you’ll pack it down and get dry, crumbly cookies. I sift mine just to be safe, but spooning is fine.
Baking Soda (1 teaspoon) — This helps the cookies spread and brown. Make sure it’s fresh. If your baking soda is older than six months, it might not work properly. Test it by dropping a little vinegar on it—if it doesn’t fizz, toss it.
Salt (½ teaspoon) — Even though we’re using unsalted butter, you need salt to balance the sweetness. It makes the chocolate taste more chocolatey. Don’t skip it.
For the Peanut Butter Centers
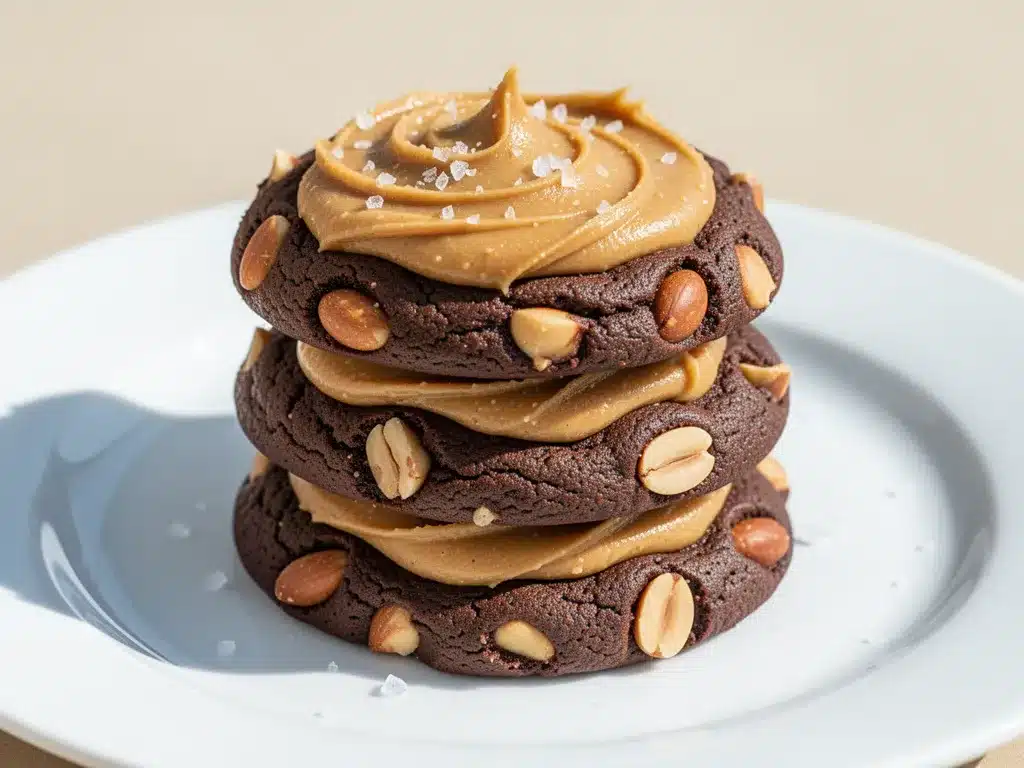
Creamy Peanut Butter (½ cup / 125g) — This is the key. Use a standard brand like Jif or Skippy. Natural peanut butter (the kind that separates) is too oily and won’t hold its shape. You want something with stabilizers so it stays creamy when baked. If you use crunchy peanut butter, the filling will be lumpy and hard to press into the dough.
Butter (2 tablespoons, softened) — Mixing a little butter into the peanut butter helps it blend better with the sugar and makes it easier to shape into balls.
Confectioners’ Sugar (½ cup / 60g) — This sweetens the filling without making it too sticky. It’s what gives that “fudge” texture.
Vanilla Extract (½ teaspoon) — Just a hint to tie it together.
For the Chocolate Topping
Milk Chocolate Chips (1 cup / 170g) — I prefer milk chocolate for the topping because it’s sweeter and melts smoother than dark chocolate. It mimics the classic peanut butter cup coating. Semi-sweet works if you prefer less sweet, but it might taste a bit bitter against the peanut butter.
Heavy Cream (2 tablespoons) — This turns the chips into a ganache. It makes the topping glossy and smooth, not chalky. Don’t use milk; it’s too thin. You need the fat content of heavy cream.
Flaky Sea Salt (optional, for sprinkling) — This is the “chef’s kiss” touch. Sprinkling a little Maldon sea salt on top right after baking adds a sophisticated crunch and enhances the peanut butter flavor. If you don’t have it, skip it. It’s not essential, but it’s delicious.
Equipment Needed
You don’t need fancy gadgets for this. Here’s what I actually use in my kitchen.
Large Mixing Bowl — I use a 5-quart stainless steel bowl. It’s big enough to mix the dough without making a mess. Glass works too, but I like metal because it conducts heat differently and cools down faster if I’m working in a warm kitchen.
Electric Hand Mixer or Stand Mixer — You can do this by hand, but it takes effort. I use my KitchenAid on medium speed. It takes about 2 minutes to cream the butter and sugars properly. If you’re using a hand mixer, be prepared for some arm workout.
Measuring Cups and Spoons — Standard stuff. I have a set from the dollar store that works perfectly fine. Just make sure they’re clean and dry.
Baking Sheets — I use two large rimmed baking sheets. Rimmed is important because the chocolate ganache can drip. If you use sheet pans without rims, you’ll have a sticky mess in your oven. I line them with parchment paper. It’s worth the extra minute of cleanup because nothing sticks, and the cookies bake evenly.
Small Saucepan or Microwave-Safe Bowl — For melting the chocolate chips. I prefer the microwave because it’s faster. 30-second intervals, stirring in between. If you use a saucepan, make sure the water isn’t boiling vigorously, or you’ll scorch the chocolate.
Silicone Spatula — For scraping the bowl. I have a big, flat one that gets into the corners. It helps me get all the dough out of the bowl so I don’t waste any.
Parchment Paper — I never bake cookies without it. It’s the easiest way to get clean cookies off the pan. If you’re trying to save money, you can use a silicone baking mat, but parchment is cheaper and easier to replace.
How to Make It: Step-by-Step
Alright, let’s make these! I’m walking you through exactly how I do it, including the little tricks I’ve picked up over the years. This process is straightforward, but there are a few key moments where attention matters.
Step 1: Make the Peanut Butter Centers (10 minutes)
Before you start the dough, let’s get the centers ready. In a small bowl, mix the creamy peanut butter, softened butter, confectioners’ sugar, and vanilla extract. Stir until it’s smooth and paste-like. It should be thick but manageable. If it’s too dry, add a teaspoon more peanut butter. If it’s too wet, add a little more sugar.
Roll the mixture into 1-inch balls. You should get about 12-15 balls. Place them on a small plate lined with parchment paper and put them in the freezer. They need to be firm when you add them to the dough, so freezing for 15-20 minutes is crucial. If they’re soft, they’ll melt into the dough and you won’t get that nice pocket of filling. I usually set a timer so I don’t forget them.
Step 2: Cream the Butter and Sugars (3 minutes)
In your large mixing bowl, beat the softened unsalted butter, granulated sugar, and brown sugar together on medium-high speed. This is the most important step for texture. You need to beat this for about 2-3 minutes until it’s light, fluffy, and pale in color. I know it seems like a long time, but this incorporates air into the butter, which helps the cookies rise slightly and stay chewy. If you rush this, your cookies will be dense and flat.
Step 3: Add Wet Ingredients (1 minute)
Add the eggs one at a time, beating well after each addition. Then add the vanilla extract. Scrape down the sides of the bowl with your spatula to make sure everything is incorporated. The mixture should look smooth and glossy.
Step 4: Mix Dry Ingredients (2 minutes)
In a separate bowl (or just sift it directly into the wet mixture), whisk together the flour, baking soda, and salt. Add the dry ingredients to the wet mixture on low speed. Mix just until the flour disappears. Do not overmix! If you keep mixing after the flour is added, you’ll develop gluten, and your cookies will be tough. I stop as soon as I see no more white streaks of flour. It’s okay if it looks a little uneven; it will mix more when you fold in the chocolate chips.
Step 5: Fold in Chocolate Chips (1 minute)
Stir in the milk chocolate chips by hand with your spatula. I use about ½ cup here, reserving the rest for the topping. You want chocolate in the dough, but not so much that it overpowers the peanut butter. If you’re a chocoholic, add the whole cup, but I find ½ cup strikes the perfect balance.
Step 6: Assemble the Cookies (10 minutes)
Take the frozen peanut butter balls out of the freezer. Scoop out about 2 tablespoons of cookie dough. Flatten it into a disc in your palm. Place one frozen peanut butter ball in the center. Wrap the dough around it, sealing it completely. Roll it into a smooth ball. It’s important that the peanut butter is completely enclosed. If there are cracks, the peanut butter will leak out and burn on the pan.
Place the dough balls on your prepared baking sheets, about 2 inches apart. They will spread. Press a few reserved chocolate chips onto the top of each ball. This gives them a nice, professional look.
Step 7: Bake (10-12 minutes)
Preheat your oven to 350°F (175°C). Bake the cookies for 10-12 minutes. They should look set around the edges but still soft and slightly underdone in the center. They will continue to cook on the hot pan after you take them out. If you bake them until they look firm in the oven, they’ll be hard when they cool. I like them soft and chewy, so I err on the side of underbaking.
Let them cool on the baking sheet for 5 minutes. This is the hardest part—waiting five minutes. But if you move them too soon, they’ll fall apart. After 5 minutes, transfer them to a wire rack to cool completely.
Step 8: Make the Chocolate Ganache Topping (5 minutes)
While the cookies cool, make the topping. In a microwave-safe bowl, combine the remaining ½ cup chocolate chips and the heavy cream. Microwave in 30-second intervals, stirring between each, until smooth and glossy. If you’re using a saucepan, melt the cream gently over low heat, then pour it over the chips and stir until melted.
Dip the top of each cooled cookie into the ganache. Use a fork to lift it out, letting the excess drip off. Place it back on the parchment-lined sheet. If you want to add flaky sea salt, sprinkle it on immediately before the chocolate sets.
Total Time: About 45 minutes (10 minutes prep, 10 minutes freezing, 15 minutes baking, 10 minutes cooling and topping).
Expert Tips & Tricks
Here’s everything I’ve learned from making this dozens of times. These tips will save you from my mistakes.
Freeze Those Centers — I can’t stress this enough. If you skip the freezing step, the peanut butter will melt into the dough, and you’ll just have chocolate peanut butter cookies. You want that distinct layer. Cold dough also helps the cookies hold their shape in the oven.
Room Temperature Ingredients — I mentioned this before, but it bears repeating. Cold butter doesn’t cream properly. Cold eggs cause the mixture to curdle. Take your butter and eggs out of the fridge an hour before you start. If you forget, you can soften butter by microwaving it for 5-10 seconds at a time, but watch it closely.
Don’t Overbake — This is the #1 mistake people make with homemade cookies. They want to make sure they’re “cooked,” so they leave them in too long. Cookies continue to cook on the hot pan. Take them out when they look slightly soft in the middle. They’ll firm up as they cool.
Chill the Dough (Optional) — If your kitchen is hot, or if you have time, chill the assembled cookie balls in the fridge for 30 minutes before baking. This helps them keep their shape and prevents them from spreading too thin. I usually do this when I’m making them for a party and want them to look perfect.
Use Good Chocolate — For the topping, don’t use cheap, waxy chips. Look for brands like Ghirardelli or Lindt. They melt smoother and have a better flavor. The topping is the first thing people taste, so it needs to be good.
Salt is Your Friend — If you’re sensitive to salt, you might think less is better. But in sweet treats, salt enhances the flavor. It makes the chocolate taste richer and the peanut butter taste more nutty. Don’t be afraid of it.
Variations & Substitutions
Once you’ve nailed the basic version, here’s how you can mix it up. I’ve tried all of these, and they all work.
Dark Chocolate Version — Swap the milk chocolate chips for dark chocolate chips (60% cocoa or higher). This cuts the sweetness and makes the cookies taste more sophisticated. Great for people who find milk chocolate too sweet.
Crunchy Peanut Butter — If you love crunch, use crunchy peanut butter for the filling. It adds a nice texture contrast. You might need to add a tiny bit more sugar to help it hold together.
White Chocolate Ganache — Instead of milk chocolate, melt white chocolate chips with heavy cream for a vanilla-bean flavor. It looks beautiful against the dark dough and tastes amazing.
Mini Cupcakes — You can make these into mini cupcakes. Fill cupcake liners with dough, add the peanut butter center, and bake for 12-14 minutes. Top with ganache. They’re perfect for parties.
Gluten-Free — Use a 1:1 gluten-free flour blend. I’ve used Bob’s Red Mill and it works great. Just make sure the blend contains xanthan gum, or add ½ teaspoon yourself.
Vegan — Use vegan butter and eggs (like flax eggs), vegan chocolate chips, and vegan peanut butter (check the label for honey or dairy). The texture might be slightly different, but it’s still delicious.
Serving & Storage
How to Serve: I usually serve these plain, but they’re great with a cold glass of milk. If you’re having a dinner party, arrange them on a platter with a few mint leaves for a pop of color. They’re also great crumbled over ice cream for a “cookie dough ice cream” effect.
Storage: Store the cookies in an airtight container at room temperature for up to 5 days. If you’re in a humid climate, keep them in the fridge to prevent the ganache from getting sticky. They freeze beautifully for up to 3 months. Freeze the unbaked dough balls, then bake from frozen (add 1-2 minutes to bake time).
Reheating: If you want them warm, microwave for 10-15 seconds. The center will be gooey and perfect. Don’t overheat, or the chocolate will melt off.
Nutrition Information
I’m not a nutritionist, but here’s the breakdown if you’re tracking. This is a rich treat, so portion control is key.
Per Cookie (approximate):
- Calories: 280
- Protein: 5g
- Carbs: 32g
- Fat: 16g
- Sugar: 22g
- Sodium: 180mg
Look, this is comfort food. It’s chocolate and peanut butter. It’s not a diet recipe. But it’s way better than store-bought candy, and you know exactly what’s in it. Enjoy a couple and savor them.
Final Thoughts
So that’s my take on Chocolate Peanut Butter Cup Cookies. I’ve probably talked your ear off, but when you make a recipe this often, you have a lot to say about it. These cookies have saved my dessert game more times than I can count. They’re my answer to “what can I bring to the potluck?” or “what can I bake when I need to comfort myself?”
They’re sweet, salty, chewy, crisp, and full of flavor. They’re the perfect sweet salty treat for any occasion. Whether you’re baking for kids, for a party, or just for yourself, these will hit the spot. Make them your own. Try different chocolates, add nuts, or skip the topping. The best recipes are the ones you adapt to your tastes.
If you make these, drop a comment and let me know what you think! I love hearing how recipes turn out in your kitchen. And if something doesn’t work, tell me that too—I’m here to help troubleshoot. Happy baking!
Frequently Asked Questions
Can I use crunchy peanut butter instead of creamy?
You can, but the filling will be lumpy and harder to shape. Creamy peanut butter creates a smooth, fudge-like center that’s easier to enclose in the dough. If you want crunch, you can stir a few chopped peanuts into the filling, but start with creamy for the best results.
Why did my cookies spread too much?
This usually happens if the butter was too warm or if the dough wasn’t chilled. Make sure your butter is softened, not melted. Also, if your kitchen is hot, chill the assembled dough balls in the fridge for 30 minutes before baking. This helps them hold their shape.
Can I freeze the unbaked cookies?
Yes! Roll the dough balls with the peanut butter centers, place them on a baking sheet, and freeze until solid. Then transfer them to a freezer bag. Bake from frozen, adding 1-2 minutes to the bake time. They freeze beautifully.
Can I make the peanut butter filling ahead of time?
Absolutely. Make the filling, roll it into balls, and store it in the freezer for up to a month. Just take them out when you’re ready to assemble the cookies.
What if I don’t have heavy cream for the ganache?
You can use half-and-half, but the ganache might be slightly thinner. Or, you can melt the chocolate chips with a tablespoon of butter and a teaspoon of milk. It won’t be as glossy, but it will still work.
Can I use natural peanut butter?
I don’t recommend it. Natural peanut butter separates and is too oily. It won’t hold its shape when baked and might leak out of the cookies. Stick to standard brands with stabilizers.
How do I keep the ganache from getting sticky?
Make sure the cookies are completely cool before dipping them. If the cookies are warm, the ganache will melt and stick to your fingers. Also, store the finished cookies in a single layer in an airtight container. If you stack them, the ganache might stick to the cookie above.
Pin This Recipe!
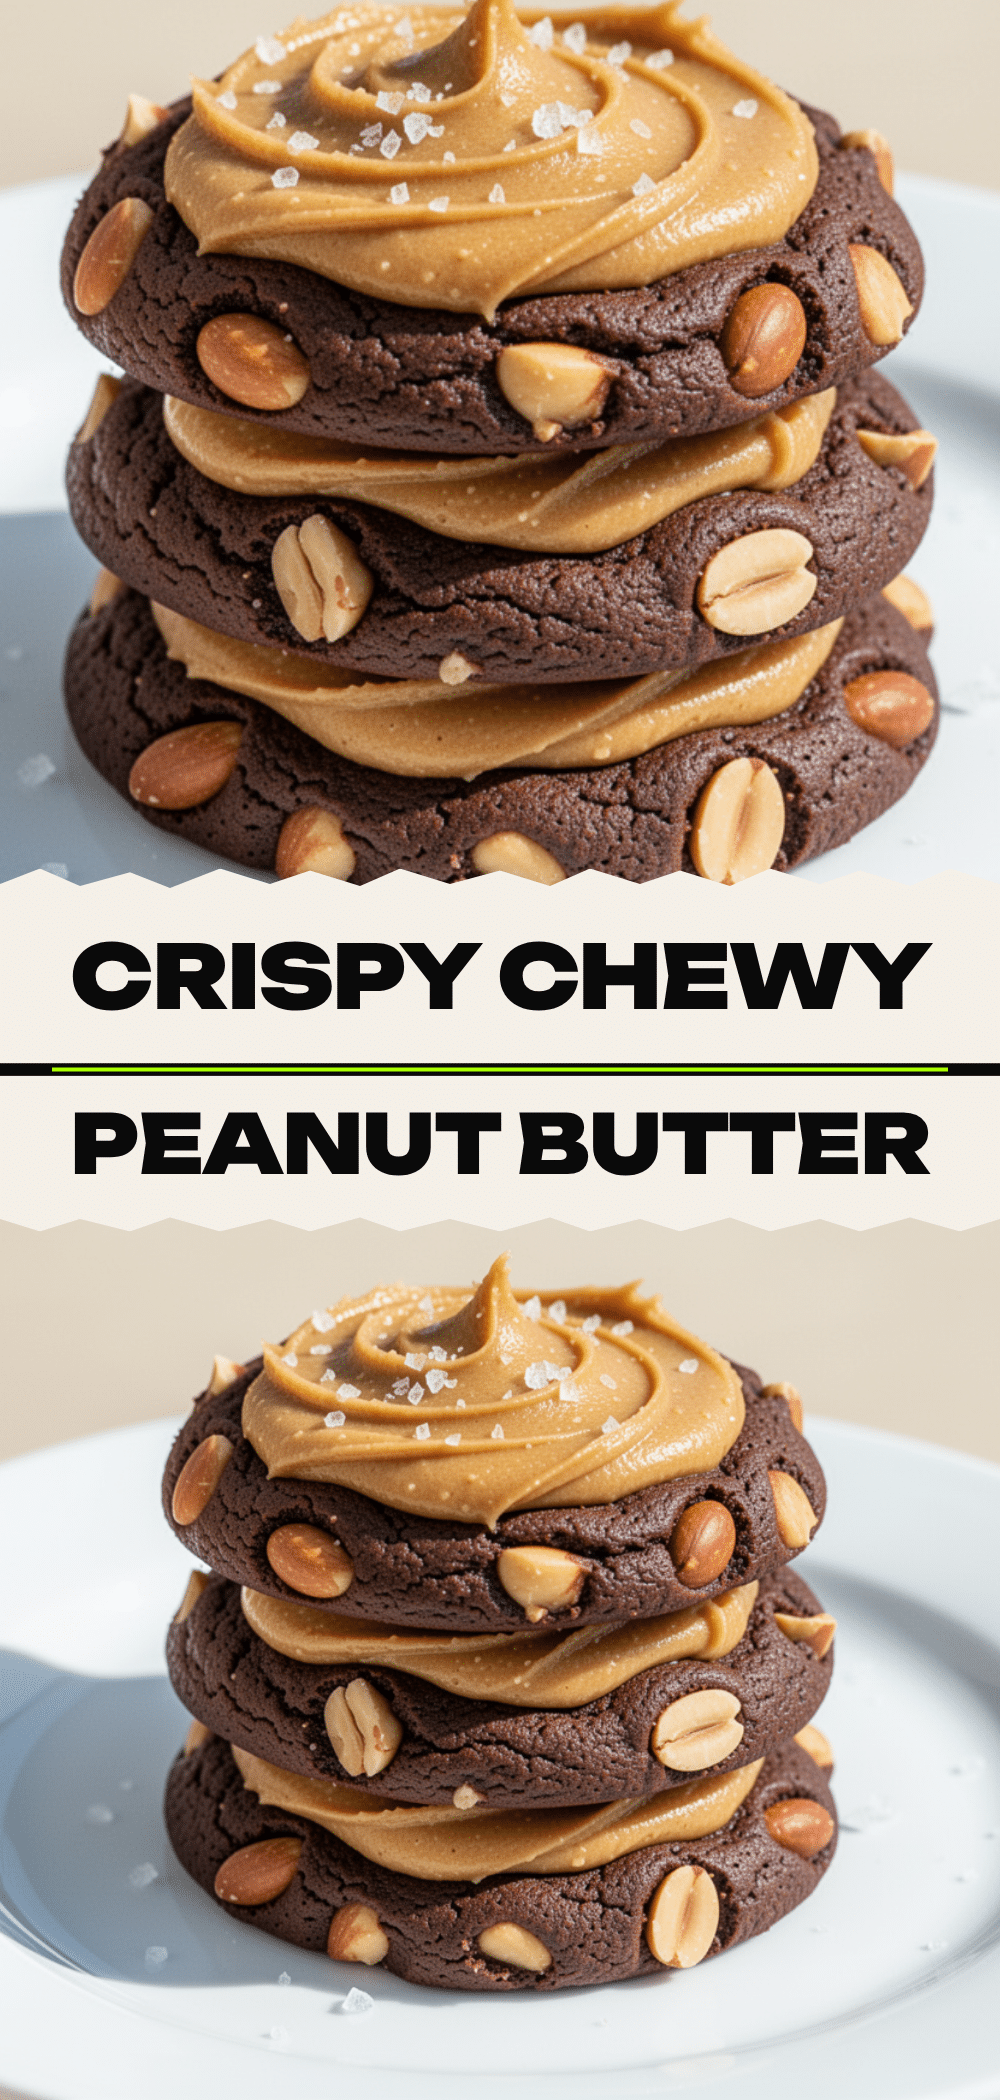
Chocolate Peanut Butter Cup Cookies
- Total Time: 45 minutes
- Yield: 12-15 cookies 1x
Description
Soft, chewy homemade cookies with a crisp edge, filled with a creamy peanut butter center and topped with a rich chocolate ganache. These sweet and salty treats are easy to make and freeze well.
Ingredients
- 1 cup (226g) unsalted butter, softened
- 1 cup (200g) granulated sugar
- 1 cup (220g) packed brown sugar
- 2 large eggs, room temperature
- 2 teaspoons vanilla extract
- 2 ½ cups (315g) all-purpose flour
- 1 teaspoon baking soda
- ½ teaspoon salt
- ½ cup (125g) creamy peanut butter
- 2 tablespoons butter, softened
- ½ cup (60g) confectioners’ sugar
- ½ teaspoon vanilla extract
- 1 cup (170g) milk chocolate chips
- 2 tablespoons heavy cream
- Flaky sea salt, optional for sprinkling
Instructions
- Mix creamy peanut butter, 2 tablespoons softened butter, confectioners’ sugar, and ½ teaspoon vanilla extract in a small bowl until smooth.
- Roll the peanut butter mixture into 1-inch balls (about 12-15 balls) and freeze for 15-20 minutes until firm.
- Preheat oven to 350°F (175°C) and line baking sheets with parchment paper.
- In a large bowl, beat 1 cup softened butter, granulated sugar, and brown sugar on medium-high speed for 2-3 minutes until light and fluffy.
- Add eggs one at a time, beating well after each addition, then add 2 teaspoons vanilla extract.
- Whisk together flour, baking soda, and salt in a separate bowl.
- Add dry ingredients to the wet mixture on low speed and mix just until flour disappears.
- Fold in ½ cup milk chocolate chips by hand.
- Scoop 2 tablespoons of dough, flatten into a disc, place a frozen peanut butter ball in the center, and wrap dough around it to seal.
- Place dough balls on baking sheets 2 inches apart and press remaining chocolate chips onto the tops.
- Bake for 10-12 minutes until edges are set but centers are still soft.
- Cool on baking sheet for 5 minutes, then transfer to a wire rack to cool completely.
- Melt remaining ½ cup chocolate chips with heavy cream in 30-second intervals until smooth.
- Dip the top of each cooled cookie into the ganache and sprinkle with flaky sea salt if desired.
Notes
Ensure peanut butter centers are frozen before assembling to prevent leaking. Do not overbake; cookies continue to cook on the hot pan. Use real butter and vanilla extract for best flavor. For gluten-free version, use a 1:1 gluten-free flour blend.
- Prep Time: 20 minutes
- Cook Time: 10-12 minutes
- Category: Dessert
- Cuisine: American
Nutrition
- Serving Size: 1 cookie
- Calories: 280
- Sugar: 22
- Sodium: 180
- Fat: 16
- Saturated Fat: 8
- Carbohydrates: 32
- Fiber: 1
- Protein: 5
Keywords: chocolate peanut butter cookies, homemade cookies, sweet and salty treats, peanut butter cup cookies, easy baking, dessert recipes


