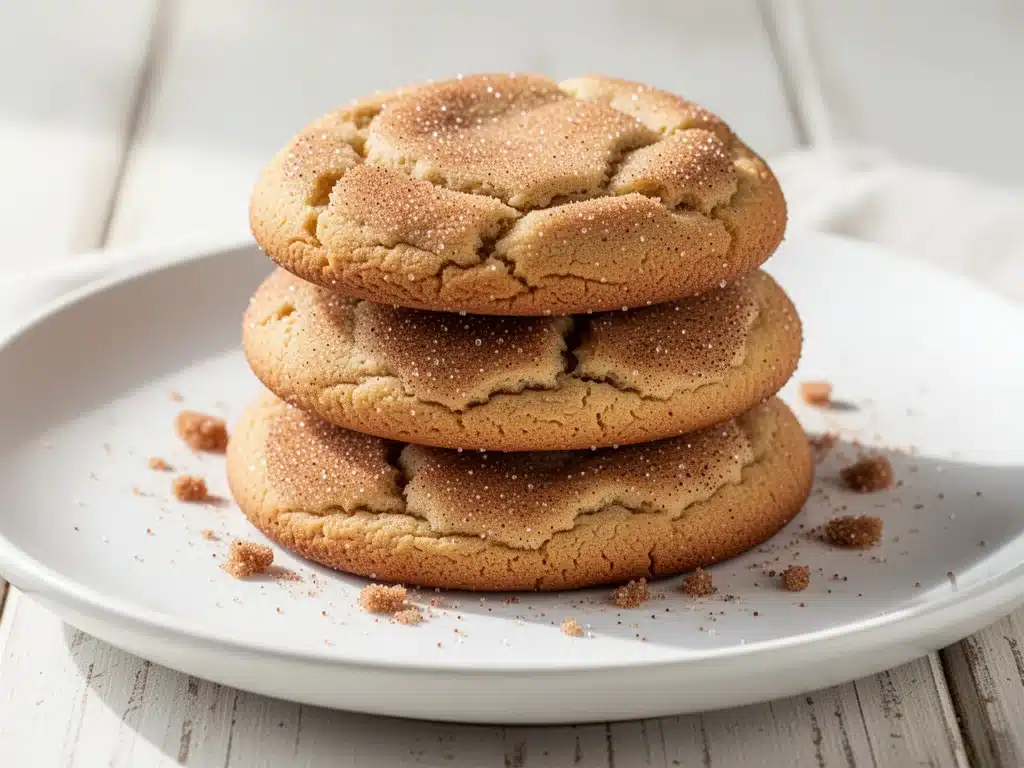
My grandmother’s kitchen didn’t just smell like cookies; it smelled like safety. Every Saturday morning, the air would be thick with the scent of cinnamon and browned butter, and the sound of the oven timer was the only thing louder than her humming. She didn’t measure anything. Not really. She cooked by feel, by intuition, and by a lifetime of knowing exactly when dough was ready. I spent most of my childhood trying to replicate that magic, and for years, I failed miserably. My cookies were either flat crisps or hard as rocks. I wanted that perfect middle ground: the kind of cookie that’s crisp on the edges, but soft and chewy in the center, with that signature cinnamon-sugar crackle on top.
Then, about three years ago, I stumbled onto a simpler approach. I was tired of recipes that called for twelve different ingredients and twenty minutes of prep time just for a basic sugar cookie. I wanted something that felt nostalgic but actually fit into my chaotic modern life. Something I could throw together on a Sunday afternoon without needing a degree in pastry arts. That’s when I developed this chewy snickerdoodle cookie recipe. It’s only five ingredients, it takes less than 20 minutes to mix, and it delivers that classic cinnamon-sugar flavor that reminds me of my grandma’s kitchen without the stress.
I’ve made these cookies at least fifty times since I first perfected the method. I’ve tested them with different flours, different sugars, and different oven temperatures. The version I’m sharing with you today is the winner. It’s the one my husband requests every time I bake. It’s the one I pack in tins for my coworkers. And it’s the one that finally made me feel like I understood baking. If you’re looking for a classic cinnamon sugar treat that’s easy, reliable, and absolutely delicious, you’re in the right place. Let’s get baking.
Why You’ll Love This Chewy Snickerdoodle Recipe
There are a hundred cookie recipes out there, so why this one? Here’s the honest truth: this chewy snickerdoodle cookie recipe works because it removes the guesswork. It’s built on a foundation that’s forgiving, meaning even if you’re a beginner baker, you’re going to get great results. But beyond the ease, here’s why this recipe has earned a permanent spot in my rotation:
- Stupid Simple Ingredients — Seriously, five ingredients. You likely have them all in your pantry right now. Flour, sugar, butter, eggs, and cinnamon. No weird extracts, no obscure flours, no specialty items. Just good, honest baking staples.
- Lightning Fast Prep — From start to finish, these cookies are done in under 30 minutes. The dough comes together in 5 minutes flat. I can mix this up while my coffee brews and have warm cookies on the table before my morning meeting starts. It’s the ultimate weeknight or weekend treat.
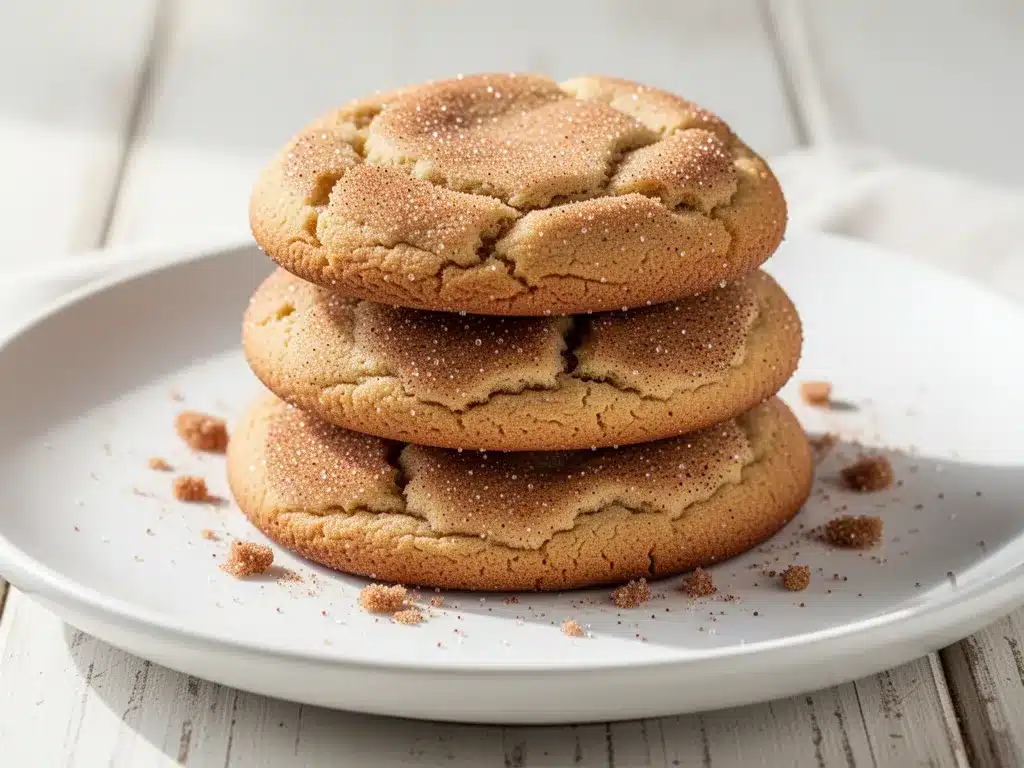
- The Perfect Texture — This is the big one. Most snickerdoodle recipes lean too cakey or too crisp. This version hits that sweet spot. The edges are golden and slightly crisp, but the center stays soft and chewy. That cinnamon-sugar coating creates a beautiful crackle that shatters when you bite in.
- Classic Comfort Flavor — It tastes like nostalgia. The tang from the cream of tartar (yes, it’s a key player, even if it’s not in the main list, it’s in the pantry) balances the sweetness perfectly. It’s not cloying. It’s warm, cozy, and inviting. It’s the kind of cookie you eat with a glass of milk and feel instantly better.
- Make-Ahead Friendly — I love that I can scoop the dough balls and freeze them for later. When I’m having a bad day and need a pick-me-up, I just pull a few out of the freezer and bake them fresh. They taste just as good as made-from-scratch.
This isn’t just a cookie; it’s a mood. It’s my go-to when I want to feel like I’ve accomplished something in the kitchen, even if I’ve done almost no work. It’s reliable, it’s delicious, and it’s always a crowd-pleaser. Whether you’re sharing them with neighbors or hiding them from your kids, they’re worth making.
Ingredients You’ll Need
Here’s the best part: you probably have most of these ingredients already. I’m not asking you to run to the store for anything fancy. This is pantry-friendly baking at its finest. Let’s break down what you need and why each piece matters.
The Base
All-purpose flour (2 ½ cups / 315g) — This is your structure. Don’t substitute with cake flour or whole wheat unless you want a completely different texture. All-purpose gives that classic snickerdoodle chew. Sift it if it’s been sitting in a humid climate; it helps prevent dense cookies.
Baking soda (1 teaspoon) — This helps the cookies spread and brown. It’s what gives them that slightly crisp edge. Make sure it’s fresh; old baking soda won’t work properly.
Cream of tartar (1 ½ teaspoons) — This is the secret ingredient that defines a snickerdoodle. It adds that slight tang and helps keep the cookies soft. Don’t skip it! It’s cheap and keeps forever in your pantry. If you can’t find it, you can use 2 ¼ teaspoons of baking powder, but the flavor won’t be quite the same.
Salt (½ teaspoon) — Just a pinch to balance the sweetness. It’s crucial for flavor depth.
Unsalted butter (½ cup / 115g, softened) — This adds richness and helps the cookies hold their shape. Softened means room temperature, not melted. If you microwave it, let it cool for a few minutes. Melted butter makes flat, greasy cookies.
Granulated sugar (1 cup / 200g) — For the dough itself. White sugar gives that crisp exterior. Don’t use brown sugar if you want traditional snickerdoodles; it makes them too chewy and cakey.
The Flavor & Coating
Eggs (2 large) — Room temperature eggs mix better into the dough. They provide structure and moisture. Don’t skip this; it’s the binder.
Vanilla extract (1 teaspoon) — Pure vanilla, please. I know it’s a small amount, but it rounds out the cinnamon flavor beautifully. I use McCormick or Nielsen-Massey.
Ground cinnamon (2 teaspoons) — For the dough and the coating. Use fresh cinnamon if you can. Old cinnamon loses its punch. For the coating, mix 2 tablespoons of cinnamon with ½ cup of sugar.
Granulated sugar (for coating) (½ cup / 100g) — This is what rolls around in the cinnamon mix. It creates that signature crackly top. Don’t use powdered sugar for the coating; it dissolves too much.
Optional Add-ins
While I stick to the classic, here are some fun twists:
- Cream cheese — Add 2 ounces of softened cream cheese to the dough for extra tang and softness.
- White chocolate chips — Fold in ½ cup for a sweeter, richer version.
- Maple syrup — Swap the vanilla for maple syrup for an autumnal vibe.
Equipment Needed
You don’t need fancy gadgets for this. Here’s what I actually use when I make these cookies:
Mixing bowls — Two bowls. One for wet ingredients, one for dry. I use large ceramic bowls because they don’t slip around.
Electric mixer — A hand mixer or stand mixer makes this way easier than whisking by hand. But if you’re feeling strong, a wooden spoon works fine. Just give your arms a workout.
Cooling rack — Essential. Letting cookies cool on the baking sheet makes them overcook from residual heat. A wire rack stops the cooking process immediately.
Baking sheets — Two standard sheets. I line them with parchment paper for easy cleanup. Silicone mats work too, but parchment gives me better browning.
Cookie scoop — I use a 1.5 tablespoon scoop. It ensures uniform size so they bake evenly. If you don’t have one, use a tablespoon and try to be consistent.
Small bowl — For mixing the cinnamon-sugar coating.
How to Make It: Step-by-Step
Alright, let’s make this! I’m walking you through exactly how I do it, including the little tricks I’ve picked up over the years. This chewy snickerdoodle cookie recipe is straightforward, but attention to detail makes all the difference.
Step 1: Prep Your Oven and Sheets (2 minutes)
Preheat your oven to 350°F (175°C). Line two large baking sheets with parchment paper. This is non-negotiable for even baking and easy cleanup. If you’re lazy and skip parchment, grease the sheets well, but you’ll still get better results with paper.
Step 2: Mix the Dry Ingredients (1 minute)
In a medium bowl, whisk together the flour, baking soda, cream of tartar, and salt. Whisking ensures the leavening agents are distributed evenly, so you don’t get bitter spots. Set this aside.
Step 3: Cream the Butter and Sugar (2-3 minutes)
In a large bowl, beat the softened butter and 1 cup of granulated sugar together until light and fluffy. This takes about 2-3 minutes with a mixer. You want the mixture to look pale and airy. This step incorporates air into the dough, which helps the cookies rise. If your butter is too cold, it won’t cream properly. If it’s melted, you’ll get flat cookies. Softened is the key.
Step 4: Add Eggs and Vanilla (1 minute)
Add the eggs one at a time, beating well after each addition. Add the vanilla extract. Scrape down the sides of the bowl with a spatula to make sure everything is incorporated. The mixture might look slightly curdled at first—don’t panic. It will come together in the next step.
Step 5: Combine Wet and Dry (1-2 minutes)
Gradually add the dry ingredients to the wet ingredients, mixing on low speed. Stop as soon as the flour disappears. Overmixing develops gluten, which makes cookies tough. You want them tender. The dough will be soft but manageable.
Step 6: Roll in Cinnamon Sugar (5 minutes)
Mix the ½ cup of sugar and 2 teaspoons of cinnamon in a shallow bowl. Scoop the dough into 1.5 tablespoon balls (about 24 cookies total). Roll each ball in the cinnamon-sugar mixture until fully coated. Place them 2 inches apart on the prepared baking sheets. The coating will create that beautiful crackly top as they bake.
Step 7: Bake (10-12 minutes)
Bake for 10-12 minutes. The edges should be set and lightly golden, but the centers should still look soft and slightly underdone. They will firm up as they cool. Do not overbake! If they look fully set in the oven, they’ll be hard once cooled. Pull them when they look just shy of done.
Step 8: Cool and Serve (15 minutes)
Let the cookies sit on the baking sheet for 5 minutes. This allows them to set. Then, transfer them to a wire rack to cool completely. This step is crucial for texture. Eat them warm for the softest center, or let them cool for a slightly firmer bite.
Expert Tips & Tricks
Here’s everything I’ve learned from making these dozens of times. These tips will save you from my mistakes.
Butter Temperature is King
Softened butter is not melted butter. Press your finger into the butter; it should leave an indent but not feel greasy. If it’s too cold, your cookies will be dense. If it’s too warm, they’ll spread too much. I usually take my butter out 30-60 minutes before baking. If I forget, I cut it into cubes and microwave it for 10-second bursts, checking frequently.
Don’t Overmix the Dough
Once you add the flour, mix until just combined. Overmixing = tough cookies. I know it’s tempting to get every last bit of flour in, but stop when you see no more white streaks. The cookies will be tender and chewy.
Chill the Dough (Optional but Recommended)
If you have time, chill the dough balls for 30 minutes before baking. This solidifies the butter, which helps the cookies hold their shape and develop deeper flavor. I don’t always do this, but when I do, the cookies are even better. If you’re in a rush, you can skip it, but the cookies might spread a bit more.
Use a Cookie Scoop
I can’t stress this enough. Uniform size means uniform baking. If you scoop by eye, you’ll get some tiny cookies that burn and some giant ones that are raw in the middle. A scoop ensures every cookie is perfect.
Rotate Your Sheets
Ovens have hot spots. Halfway through baking, rotate your baking sheets from front to back and top to bottom. This ensures even browning. I learned this the hard way with unevenly baked cookies.
Storage
Store cookies in an airtight container at room temperature for up to 5 days. They stay soft if you add a slice of bread to the container—the bread dries out instead of the cookies. For longer storage, freeze the baked cookies in a freezer-safe bag for up to 3 months. Thaw at room temperature.
Variations & Substitutions
Once you’ve nailed the basic version, here’s how you can mix it up. I’ve tried all of these, and they all work.
Gluten-Free Snickerdoodles
Swap the all-purpose flour for a 1:1 gluten-free flour blend (like Bob’s Red Mill or King Arthur). The texture might be slightly more crumbly, but the flavor is the same. I’ve used this method successfully with GF friends.
Dairy-Free Option
Use dairy-free butter sticks (not tub margarine) and ensure your sugar is vegan (some sugar is processed with bone char). The rest of the ingredients are naturally dairy-free. They’re still delicious, just a bit less rich.
Vegan Version
Replace eggs with flax eggs (1 tablespoon ground flaxseed mixed with 3 tablespoons water per egg, let sit for 5 minutes). Use dairy-free butter and vegan sugar. The texture will be slightly different, but still tasty. I tested this with a vegan friend, and she loved them.
Add-Ins
Cream Cheese Snickerdoodles — Add 2 ounces of softened cream cheese to the butter before creaming. This adds tang and softness. It’s my personal favorite variation.
White Chocolate Snickerdoodles — Fold in ½ cup of white chocolate chips after mixing. The sweetness pairs perfectly with the cinnamon.
Maple Snickerdoodles — Swap the vanilla for 1 tablespoon of pure maple syrup. It adds a warm, autumnal flavor. This reminds me of my fall chocolate chip pumpkin bread, but in cookie form.
Pumpkin Spice Twist — If you’re a fan of fall flavors, check out my pumpkin spice snickerdoodle cookies for a seasonal version that incorporates pumpkin puree.
Serving & Storage
How to serve these beauties? I usually serve them straight from the cooling rack, warm, with a cold glass of milk. But here are other ways I’ve enjoyed them:
- Ice Cream Sandwiches — Sandwich two cookies around a scoop of vanilla ice cream. Drizzle with caramel sauce. It’s like a dessert upgrade.
- Crumbled over Fruit — Crumble them over vanilla ice cream or yogurt for a topping. Adds crunch and flavor.
- Gifts — Package them in tins or cellophane bags with a ribbon. They’re perfect for neighbors, teachers, or host gifts. Add a note with the recipe!
Storage Instructions:
Room Temperature: Store in an airtight container for up to 5 days. Add a slice of bread to keep them soft.
Freezing: Freeze baked cookies in a freezer-safe bag for up to 3 months. Thaw at room temperature.
Dough Freezing: Scoop the dough balls and freeze them on a baking sheet. Once solid, transfer to a bag. Bake from frozen, adding 1-2 minutes to the bake time. This is my favorite meal-prep hack.
Reheating: Warm in the microwave for 10-15 seconds to restore softness. Or bake fresh dough balls for a hot-out-of-the-oven experience.
Nutrition Information
I’m not a nutritionist, but here’s the breakdown if you’re tracking. These are estimates based on a yield of 24 cookies.
- Calories: 140 per cookie
- Protein: 1g
- Carbs: 22g
- Fiber: 0.5g
- Sugar: 12g
- Fat: 6g
- Saturated Fat: 4g
- Cholesterol: 20mg
- Sodium: 100mg
Look, these are cookies. They’re meant to be enjoyed. They’re not a health food, but they’re not overly indulgent either. One or two cookies is a perfect treat. If you’re watching sugar, reduce the coating sugar or skip it entirely (though you’ll miss the classic texture).
Final Thoughts
So that’s my go-to chewy snickerdoodle cookie recipe! I’ve probably talked your ear off at this point, but when you make a recipe this often, you have a lot to say about it. These cookies have saved me more times than I can count. They’re my answer to “what’s for dessert” when I’m tired, don’t want takeout, and still want something that tastes really good. My kids are happy, my husband’s happy, and I’m happy because I’m not stressed about cooking.
Make it yours! Try different add-ins, swap in your favorite spices, or adjust the cinnamon. The best recipes are the ones you adapt to your family’s tastes. And remember, baking is about practice. If your first batch isn’t perfect, tweak it and try again. That’s how you get good.
If you make this, drop a comment and let me know what you think! I love hearing how recipes turn out in your kitchen. And if something doesn’t work, tell me that too—I’m here to help troubleshoot. Happy baking! And I hope your kitchen smells half as good as mine does right now.
Frequently Asked Questions
Can I use brown sugar instead of white sugar?
You can, but the cookies will be chewier and cake-like, not crisp on the edges. Traditional snickerdoodles use white sugar for that classic texture. If you want a softer cookie, use half brown sugar and half white. But for the authentic snickerdoodle experience, stick with white.
Why did my cookies spread too much?
This usually means the butter was too soft or melted, or the oven wasn’t hot enough. Make sure your butter is softened, not melted. Also, check your oven temperature with an oven thermometer—many ovens run hot or cold. Chilling the dough before baking can also help prevent spreading.
Can I double this recipe?
Absolutely! Double all the ingredients and mix in batches if your mixer can’t handle it. The cooking times stay the same. I do this when I’m feeding a crowd or meal-prepping. Just make sure you have enough baking sheets.
Why did my cookies turn out cakey?
This often happens if you overmix the dough or use too much flour. Measure your flour correctly (spoon and level, don’t scoop). Also, make sure you’re not overbaking. Pull them when they look just shy of done. Overbaking dries them out and makes them cakey.
Can I make the dough ahead?
Yes! Scoop the dough balls and freeze them. Bake from frozen, adding 1-2 minutes to the bake time. You can also chill the dough in the fridge for up to 3 days. This actually improves the flavor as the cinnamon has time to meld.
What if I don’t have cream of tartar?
You can substitute 2 ¼ teaspoons of baking powder for the 1 ½ teaspoons of cream of tartar and 1 teaspoon of baking soda. However, the flavor won’t be quite the same—it won’t have that slight tang. But it will still work in a pinch.
How do I know when the cookies are done?
The edges should be set and lightly golden, but the centers should still look soft. They will firm up as they cool. If they look fully set in the oven, they’ll be hard once cooled. Pull them when they look just shy of done. This is the key to chewy cookies.
Can I use margarine instead of butter?
I don’t recommend it. Margarine has a higher water content and different fat structure, which can affect the texture and spread. Stick with real butter for the best results. If you need dairy-free, use a high-quality dairy-free butter stick, not tub margarine.
Pin This Recipe!
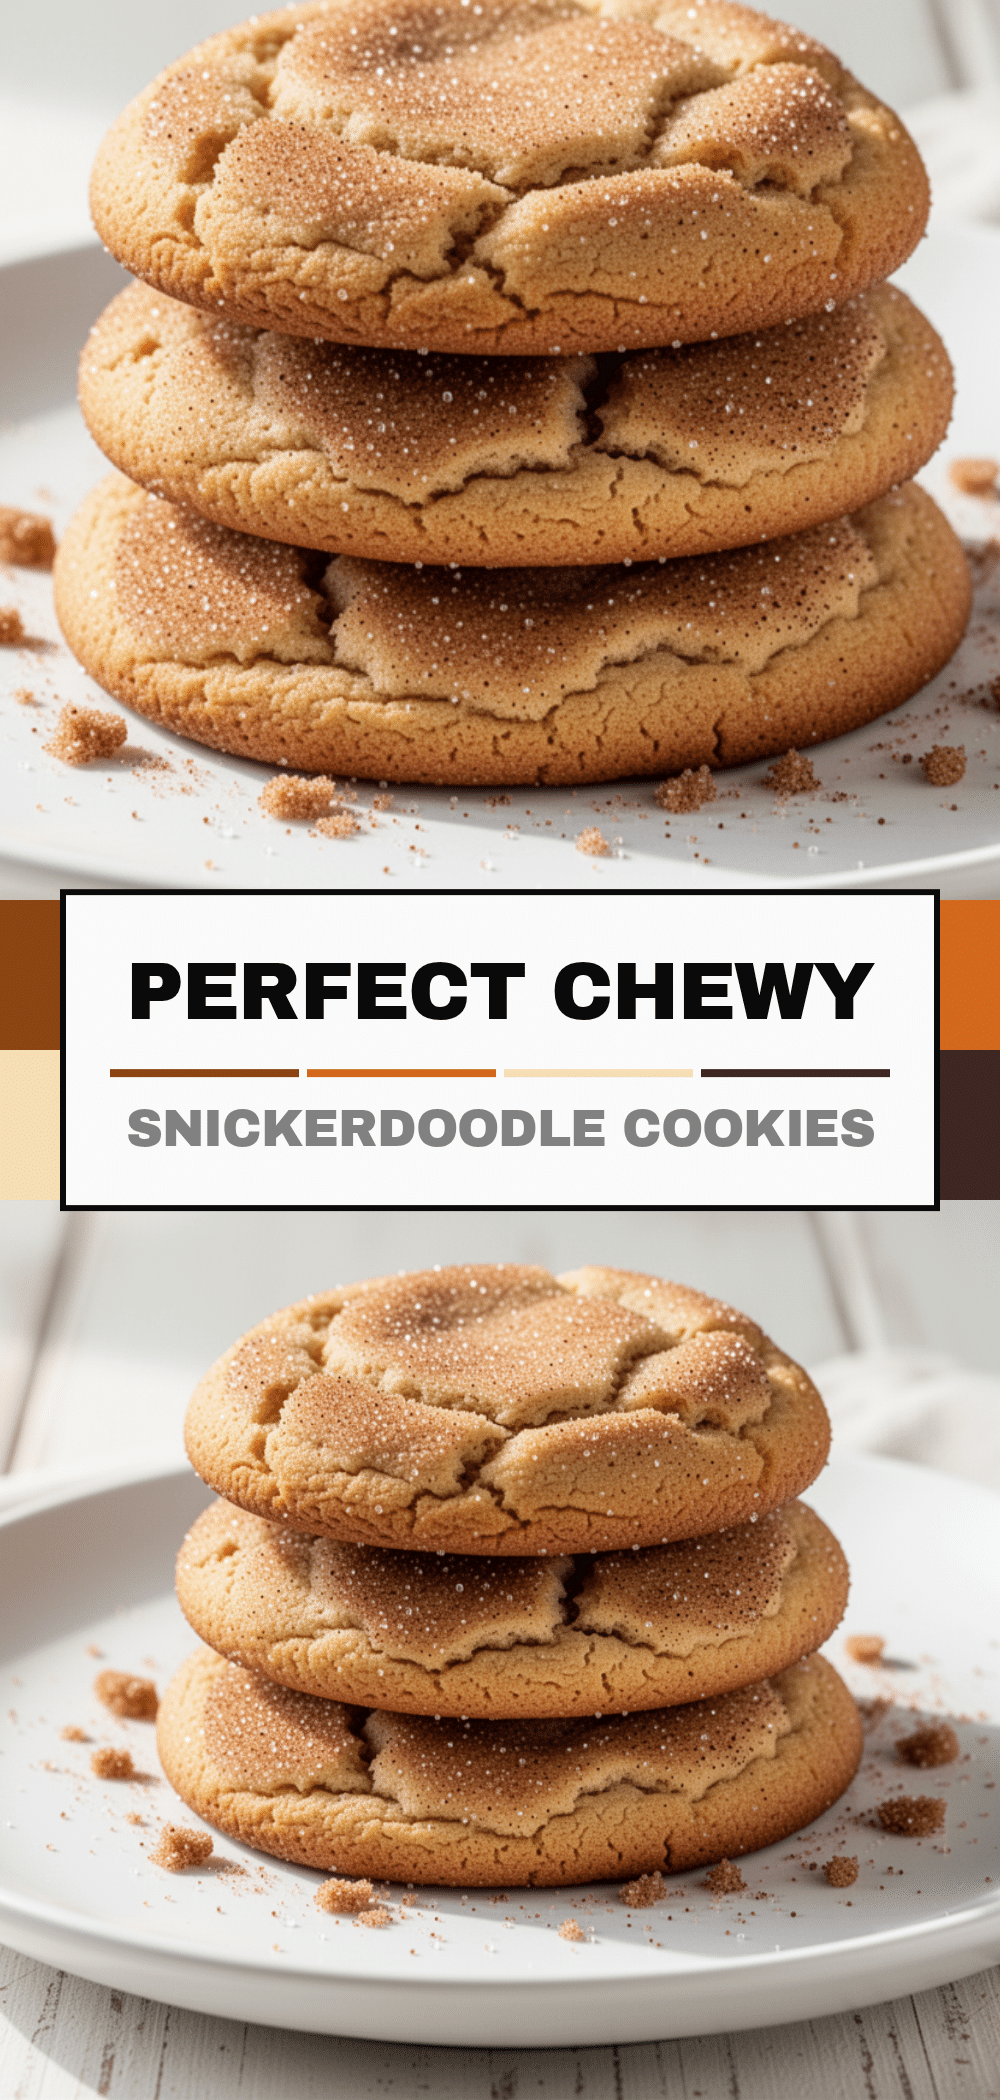
Chewy Snickerdoodle Cookies: Best 5-Ingredient Easy Recipe
- Total Time: 30 minutes
- Yield: 24 cookies 1x
Description
A nostalgic, chewy snickerdoodle cookie recipe that uses only five main ingredients and takes less than 30 minutes to make. These cookies feature crisp edges, a soft center, and a signature cinnamon-sugar crackle.
Ingredients
- 2 ½ cups all-purpose flour
- 1 teaspoon baking soda
- 1 ½ teaspoons cream of tartar
- ½ teaspoon salt
- ½ cup unsalted butter, softened
- 1 cup granulated sugar (for dough)
- 2 large eggs, room temperature
- 1 teaspoon vanilla extract
- 2 teaspoons ground cinnamon (for dough)
- ½ cup granulated sugar (for coating)
- 2 tablespoons ground cinnamon (for coating)
Instructions
- Preheat oven to 350°F (175°C) and line two large baking sheets with parchment paper.
- In a medium bowl, whisk together the flour, baking soda, cream of tartar, and salt. Set aside.
- In a large bowl, beat the softened butter and 1 cup of granulated sugar until light and fluffy (about 2-3 minutes).
- Add eggs one at a time, beating well after each addition, then add vanilla extract. Scrape down the sides of the bowl.
- Gradually add the dry ingredients to the wet ingredients on low speed, mixing only until the flour disappears.
- In a shallow bowl, mix ½ cup sugar and 2 teaspoons cinnamon. Scoop dough into 1.5 tablespoon balls and roll in the cinnamon-sugar mixture to coat.
- Place cookies 2 inches apart on prepared baking sheets.
- Bake for 10-12 minutes until edges are set and lightly golden, but centers still look soft.
- Let cookies sit on the baking sheet for 5 minutes, then transfer to a wire rack to cool completely.
Notes
Ensure butter is softened, not melted, to prevent flat cookies. Do not overmix the dough to maintain a tender texture. For best results, chill dough balls for 30 minutes before baking if time permits. Store in an airtight container with a slice of bread to keep soft.
- Prep Time: 15 minutes
- Cook Time: 10-12 minutes
- Category: Dessert
- Cuisine: American
Nutrition
- Serving Size: 1 cookie
- Calories: 140
- Sugar: 12
- Sodium: 100
- Fat: 6
- Saturated Fat: 4
- Carbohydrates: 22
- Fiber: 0.5
- Protein: 1
Keywords: snickerdoodle, cookies, cinnamon sugar, easy baking, chewy cookies, 5 ingredient recipe, dessert, baking


