I have a confession to make: I used to think brown sugar cookies were just a slightly darker version of regular cookies. I was wrong. So, so wrong.
Three years ago, during a particularly stressful Tuesday in October, I was staring at a bag of light brown sugar that had somehow hardened into a brick. My daughter was crying because she wanted cookies, and I was too tired to deal with the usual sugar-cookie drama. I decided to make the hardest brown sugar I could into something edible. I mixed it with butter, flour, and a panic-induced extra egg. I pressed it into a pan instead of rolling individual cookies because I literally didn’t have the energy.
What came out of the oven wasn’t just edible. It was the best thing I had ever tasted.
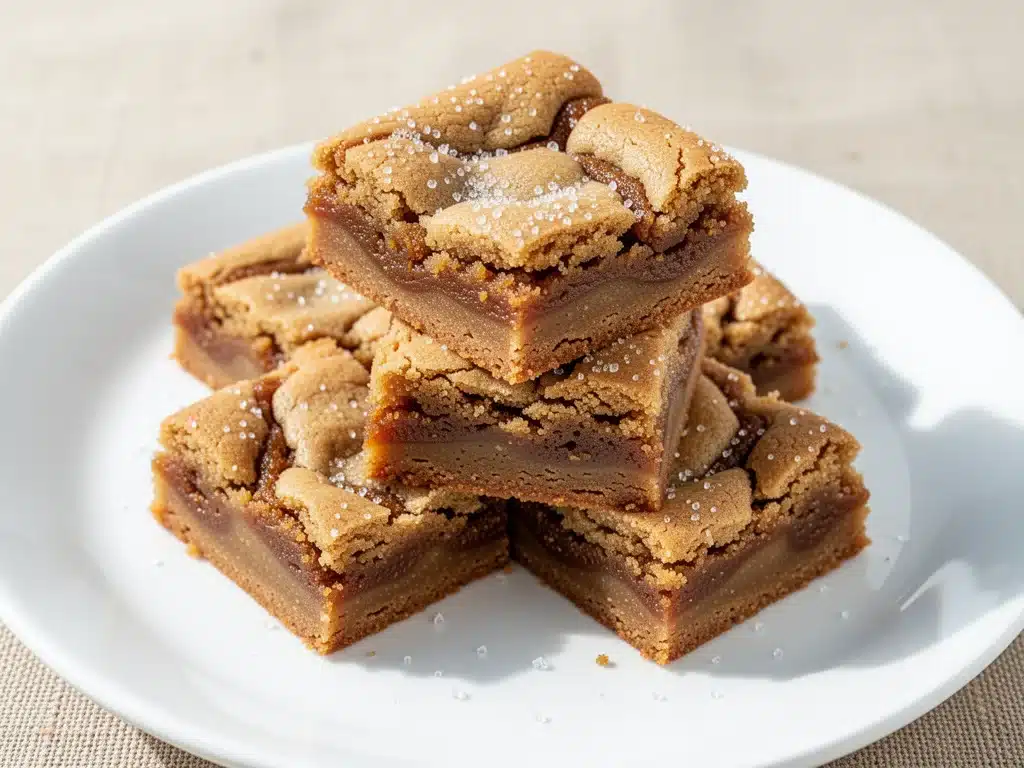
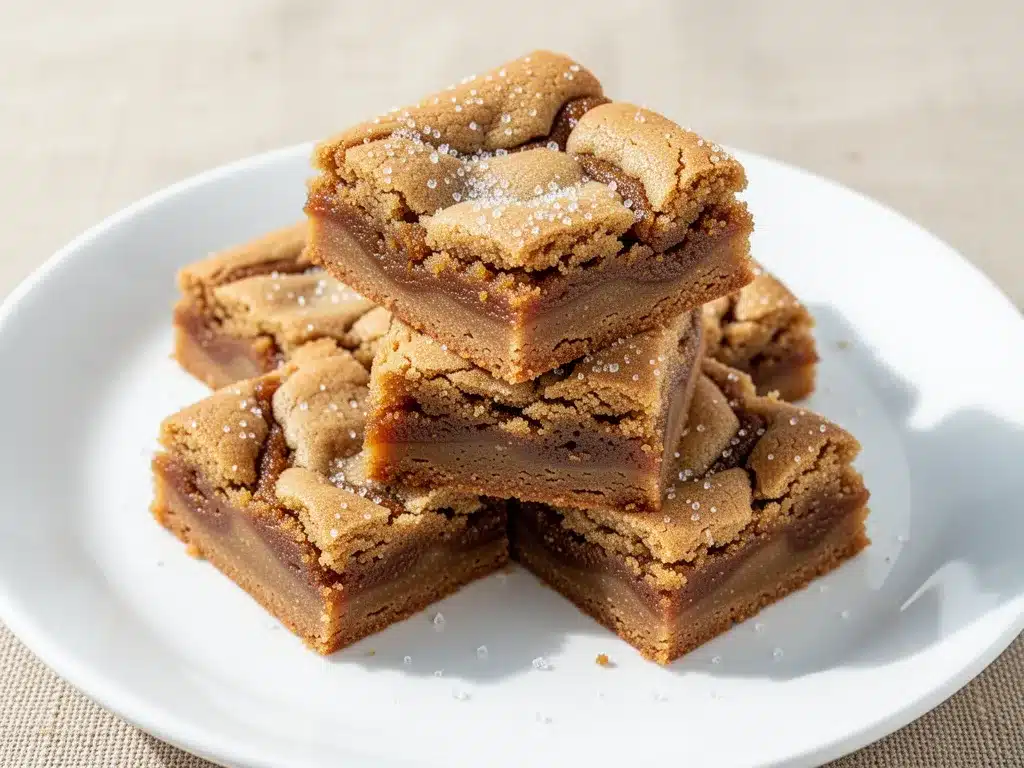
These Chewy Brown Sugar Cookie Bars have a texture that is impossible to describe unless you’ve had them. They aren’t crisp like a shortbread, and they aren’t cakey like a blondie. They are dense, moist, and impossibly chewy, with a deep, molasses-rich flavor that hits you before you even take a bite. The edges get slightly caramelized and crisp, while the center stays soft and gooey.
I made them again the next day. Then the day after that. Now, this recipe is my go-to when I need a dessert that feels special but requires almost zero effort. It’s basically five ingredients, one bowl, and a 9×13 pan. If you love the idea of pumpkin spice snickerdoodle cookies but want something faster and easier, these bars are your new best friend.
I’ve tested this recipe at least a dozen times, tweaking the butter temperature and baking time to get that perfect chew. And I’m here to tell you: once you try these, you’ll never go back to regular cookie bars. They are rich, buttery, and dangerously easy to eat straight from the pan.
Why You’ll Love This Recipe
There are a hundred cookie recipes out there. So why this one? Why these Chewy Brown Sugar Cookie Bars? Here’s the real talk on why they’ve stolen the spotlight in my kitchen.
One-Bowl Simplicity — Seriously, you don’t need a stand mixer. You don’t need a hand mixer. You just need a whisk and a bowl. I’ve made this while holding a toddler, while watching TV, and while pretending to listen to a work call. It’s that easy. Mix, press, bake. Done.
The Texture is Unbeatable — Most bar cookies end up dry or crumbly. These stay moist for days. The high brown sugar content creates that signature chew that makes you want to eat the whole batch in one sitting (I won’t judge you). They are dense but tender, with a slight snap on the edges.
Pantry Staples Only — You probably have everything you need right now. Butter, brown sugar, flour, egg, vanilla. That’s it. No weird spices, no exotic flours, no last-minute grocery runs. It’s the ultimate “I have nothing left in the fridge” dessert.
Perfect for Any Occasion — I’ve served these at potlucks, brought them to school bake sales, and eaten them for breakfast when no one was looking. They travel well, store well, and freeze well. Plus, they look rustic and homemade, which always impresses people who think baking is hard.
Customizable — While the plain version is incredible, these bars are a blank canvas. Add chocolate chips, nuts, or even a drizzle of caramel. But honestly? Sometimes the simple version is the best version.
This recipe has saved me more times than I can count. It’s my answer to “what’s for dessert?” when I’m tired, broke, or just want something sweet without the fuss. It’s reliable, delicious, and always a crowd-pleaser.
Ingredients You’ll Need
Here’s the best part: you likely have most of these ingredients already. This isn’t a recipe that requires a trip to the specialty store. It’s built on basics, but the quality of those basics matters more than you might think.
Unsalted Butter (1 cup / 226g) — This is the foundation. Use real butter, not margarine. Margarine has too much water and will make the bars greasy and spread too much. I like to use unsalted so I can control the saltiness. Let it soften to room temperature before you start—this helps it cream properly with the sugar.
Brown Sugar (2 cups / 400g) — This is the star of the show. I use dark brown sugar for a deeper, more molasses-rich flavor, but light brown sugar works too. If your brown sugar is clumpy, microwave it for 10-15 seconds to soften it. The moisture in the brown sugar is what makes these bars chewy. Don’t skimp on it.
All-Purpose Flour (2 ½ cups / 315g) — Standard flour works perfectly. Don’t try to use whole wheat unless you want a denser, nuttier bar. For the softest texture, spoon the flour into your measuring cup and level it off. Don’t scoop directly from the bag, or you’ll pack it down and end up with dry bars.
Egg (1 large) — Just one egg. This binds everything together without making the bars cakey. Room temperature eggs mix in more easily, but if you’re in a rush, just crack it into the warm butter mixture—it’ll work fine.
Vanilla Extract (2 teaspoons) — Use pure vanilla extract, not imitation. The vanilla adds that warm, comforting aroma that makes a kitchen smell like a bakery. I know it’s tempting to skip it, but it really makes a difference.
Baking Powder (1 teaspoon) — This gives the bars a slight lift. Don’t skip it, or they’ll be too dense. Make sure it’s not expired—old baking powder won’t work, and you’ll end up with flat, hard cookies.
Salt (½ teaspoon) — Even though we’re using unsalted butter, a pinch of salt is crucial. It balances the sweetness and enhances the flavor of the brown sugar. Don’t skip it.
Optional Add-ins — I love adding 1 cup of chocolate chips or chopped pecans, but they’re not necessary. If you want to keep it simple, just stick to the base recipe. It’s already rich and flavorful enough.
Pro Tip: If you want to take these to the next level, sprinkle a little flaky sea salt on top right after they come out of the oven. It’s a game-changer for the flavor profile.
Equipment Needed
You don’t need fancy gear for this. Here’s what I actually use.
9×13 Inch Baking Pan — This is the standard size for bars. I use a metal pan because it conducts heat evenly. Glass pans can sometimes result in slightly drier edges, so keep an eye on the baking time if you use glass. Line it with parchment paper for easy removal—trust me, you’ll want to thank me later.
Mixing Bowl — A medium-sized bowl is perfect. I like a wide bowl so it’s easy to whisk everything together.
Whisk — A simple wire whisk works best for creaming the butter and sugar. You can use a spoon, but a whisk makes it faster and ensures no lumps of sugar remain.
Measuring Cups and Spoons — Standard stuff. Dollar store versions work fine. Just make sure your dry measuring cups are flat, not nested.
Spatula — A silicone spatula is great for scraping the bowl and spreading the batter evenly. A wooden spoon works too, but a spatula gives you better control.
Parchment Paper — Not strictly necessary, but highly recommended. It prevents sticking and makes cleanup a breeze. You can grease the pan instead, but parchment is just easier.
Cooling Rack — For cooling the bars after baking. You can cool them in the pan, but a rack allows air to circulate and prevents the bottom from getting soggy.
Knife or Pizza Cutter — For cutting the bars into squares. A pizza cutter is surprisingly effective for clean cuts without squishing the bars.
How to Make It: Step-by-Step
Alright, let’s make these Chewy Brown Sugar Cookie Bars! I’m walking you through exactly how I do it, including the little tricks I’ve picked up over the years.
Step 1: Prep Your Pan and Oven (2 minutes)
Preheat your oven to 350°F (175°C). Line a 9×13 inch baking pan with parchment paper, leaving an overhang on the sides. This overhang is your handle for lifting the bars out later. Grease the parchment lightly with butter or cooking spray. It sounds like extra work, but it guarantees no sticking.
Step 2: Cream the Butter and Sugar (3-4 minutes)
In your mixing bowl, combine the softened unsalted butter and brown sugar. Use your whisk to beat them together until the mixture is smooth, creamy, and slightly lighter in color. This step is crucial for texture. If you just stir it, you’ll get a grainy result. Aim for about 3 minutes of vigorous whisking. The mixture should look like wet sand.
Step 3: Add the Wet Ingredients (1 minute)
Crack the egg into the butter-sugar mixture and add the vanilla extract. Whisk vigorously again until everything is fully incorporated. The mixture might look a bit curdled at first—that’s normal. Keep whisking, and it will come together into a glossy, smooth batter. If it looks too separated, just whisk for another 30 seconds.
Step 4: Mix in the Dry Ingredients (2 minutes)
Add the all-purpose flour, baking powder, and salt to the bowl. Switch to a spatula or a wooden spoon now. Gently fold the dry ingredients into the wet mixture. Stop as soon as the flour disappears. Overmixing at this stage develops gluten, which leads to tough, chewy (in a bad way) bars. You want tender, not tough. The batter will be thick and sticky.
Step 5: Spread the Batter (2 minutes)
Transfer the batter to your prepared pan. Use your spatula or the back of a spoon to press it into the corners. Get it as even as you can. If it’s too sticky, wet your hands slightly and press it down. This ensures even baking and consistent texture throughout.
Step 6: Bake (20-25 minutes)
Place the pan in the preheated oven. Bake for 20-25 minutes. You’ll know they’re done when the edges are golden brown and the center is just set. It should still look slightly soft in the middle—don’t overbake them, or they’ll dry out. The edges will pull away slightly from the sides of the pan.
Step 7: Cool and Cut (30 minutes)
Remove the pan from the oven and let it cool in the pan for at least 20 minutes. This is the hardest part, I know. But if you cut them while hot, they’ll fall apart. Once they’re cool enough to handle, lift them out using the parchment paper overhang. Place them on a cutting board and slice into squares. Dust with powdered sugar or flaky salt if desired.
Total Time: About 45 minutes (10 minutes prep, 25 minutes baking, 20 minutes cooling)
Troubleshooting:
- Bars are too dry: You likely overbaked them. Next time, check them at 20 minutes. They should still look slightly underdone in the center.
- Bars are too cakey: You probably overmixed the flour or used too much flour. Spoon and level your flour, and mix gently.
- Edges are burning: Your oven might run hot. Check them at 18 minutes, or cover the edges with foil for the last 5 minutes.
Expert Tips & Tricks
Here’s everything I’ve learned from making these dozens of times. These tips will save you from my mistakes.
Butter Temperature is Key
Your butter needs to be soft, not melted. If it’s melted, the bars will spread too much and become greasy. If it’s too hard, it won’t cream properly. I leave it out for 30 minutes before baking. If you’re in a rush, cut it into cubes and microwave for 10-second intervals until it’s soft enough to leave an indent with your finger.
Don’t Overmix the Flour
This is the #1 mistake people make. Once you add the flour, mix just until combined. Overmixing creates gluten, which makes the bars tough instead of tender. It’s okay if there are a few small lumps of flour—they’ll disappear as the bars bake.
Use Dark Brown Sugar for Depth
Light brown sugar works, but dark brown sugar has more molasses, which gives these bars that rich, caramel-like flavor. If you only have light brown sugar, it’s fine, but the flavor will be milder. I always keep dark brown sugar on hand for recipes like this.
Let Them Cool Completely
I know it’s tempting to cut into them while they’re warm, but patience pays off. The bars continue to set as they cool. If you cut them too soon, they’ll be messy and fall apart. Let them cool in the pan for at least 20 minutes, or until they’re completely cool for the cleanest cuts.
Pro Trick: The Egg Wash Shine
For a bakery-style shine, brush the top with a little melted butter right after they come out of the oven. It adds a beautiful gloss and keeps the surface moist.
Variations & Substitutions
Once you’ve nailed the basic version, here’s how you can mix it up. I’ve tried all of these.
Chocolate Chip Brown Sugar Bars
Add 1 cup of semi-sweet chocolate chips to the batter before spreading. The chocolate melts into pockets of gooey goodness. This is my family’s favorite version.
Pecan Praline Bars
Stir in 1 cup of chopped pecans. For extra richness, melt ¼ cup of butter and mix it with ½ cup of brown sugar and 1 teaspoon of cinnamon, then drizzle over the top before baking. It’s like a pecan pie in bar form.
Maple Brown Sugar Bars
Replace the vanilla extract with 1 teaspoon of maple extract. The maple flavor pairs beautifully with the brown sugar. It’s perfect for fall.
Gluten-Free Version
Use a 1-to-1 gluten-free flour blend. Most blends work well in this recipe. Just make sure your baking powder is gluten-free. The texture will be slightly different but still delicious.
Dairy-Free Option
Use vegan butter instead of regular butter. Make sure it’s a high-quality vegan butter that behaves like real butter (not coconut oil, which melts at a different temperature). The bars will be slightly less rich but still tasty.
Different Shapes
If you don’t have a 9×13 pan, you can use a 9×9 pan for thicker bars (increase baking time by 5-10 minutes) or a 10×15 jelly roll pan for thinner bars (decrease baking time by 5 minutes).
Serving & Storage
How to Serve:
I usually serve these warm, straight from the pan. They’re perfect with a glass of cold milk or a cup of coffee. For a fancier presentation, dust with powdered sugar or drizzle with caramel sauce. They also go great with a scoop of vanilla ice cream if you’re feeling indulgent.
Side Dishes:
Since these are rich and sweet, they pair well with bitter or acidic drinks. Coffee, black tea, or a crisp apple cider work perfectly. I also like to serve them with fresh berries to cut through the sweetness.
Storage Instructions:
Room Temperature: Store in an airtight container for up to 3 days. They stay moist and chewy if kept sealed. If your kitchen is hot, they might get a bit soft, but they’ll still be good.
Refrigerator: You can store them in the fridge for up to 5 days. Let them come to room temperature before eating for the best texture. Cold brown sugar bars can be a bit hard.
Freezer: These freeze beautifully! Wrap individual bars in plastic wrap, then place them in a freezer-safe bag. They’ll last for up to 3 months. Thaw at room temperature before eating. I make a double batch and freeze half for later.
Pro Tip: If the bars seem dry after storage, microwave them for 10-15 seconds to soften them up. They’ll be gooey and fresh-tasting again.
Nutrition Information
I’m not a nutritionist, but here’s the breakdown if you’re tracking. Keep in mind that these are rich, sweet bars, so portion control is key.
Per Serving (based on 16 bars):
- Calories: 280
- Protein: 3g
- Carbs: 42g
- Fiber: 1g
- Sugar: 28g
- Fat: 12g
- Saturated Fat: 7g
- Cholesterol: 35mg
- Sodium: 150mg
What’s Good:
- Simple ingredients with no artificial additives
- Quick to make, so you control what goes in
- Can be adjusted for dietary needs (gluten-free, dairy-free)
What to Know:
- High in sugar and calories due to brown sugar and butter
- Contains gluten and dairy
- Best enjoyed as an occasional treat, not a daily snack
My Take:
Look, these are dessert bars. They’re meant to be sweet and indulgent. They’re not a health food. But they’re better than store-bought options because you know exactly what’s in them. When I make them, I enjoy one or two and share the rest. It’s all about balance.
Final Thoughts
So that’s my go-to Chewy Brown Sugar Cookie Bars! I’ve probably talked your ear off at this point, but when you make a recipe this often, you have a lot to say about it.
This has saved weeknight desserts more times than I can count. It’s my answer to “what’s for dessert?” when I’m tired, don’t want to order takeout, and still want something that tastes really good. My kids are happy, my husband’s happy, and I’m happy because I’m not stressed about baking.
Make it yours! Try different add-ins, swap in your favorite nuts, or adjust the sweetness. The best recipes are the ones you adapt to your family’s tastes. If you want something a bit more seasonal, check out these healthy pumpkin bars for a fall twist.
If you make this, drop a comment and let me know what you think! I love hearing how recipes turn out in your kitchen. And if something doesn’t work, tell me that too—I’m here to help troubleshoot.
Happy baking! And I hope your kitchen smells half as good as mine does right now.
Frequently Asked Questions
Can I use light brown sugar instead of dark?
Yes, you can. Light brown sugar will result in a milder, less molasses-heavy flavor. Dark brown sugar gives a richer, deeper taste. If you only have light brown sugar, it will still work perfectly fine. The texture will be the same.
Why did my bars turn out dry?
This usually happens if you overbake them or use too much flour. Make sure you spoon and level your flour, don’t scoop it. Also, check them at 20 minutes. They should look slightly soft in the center. They will continue to cook in the pan as they cool.
Can I make these ahead of time?
Absolutely! You can make the batter ahead and refrigerate it for up to 24 hours. Just let it come to room temperature before baking. Or, bake them a day ahead and store them in an airtight container. They actually taste better the next day as the flavors meld.
Can I freeze the batter?
I haven’t tried freezing the raw batter, but I’ve successfully frozen the baked bars. If you want to freeze, bake them first, cool them completely, then wrap and freeze. Thaw at room temperature before eating.
Can I use margarine instead of butter?
I don’t recommend it. Margarine has a higher water content and different fat structure, which can affect the texture. The bars might spread too much or become greasy. Real butter gives the best flavor and texture.
How do I cut them cleanly?
Let them cool completely in the pan. Use a sharp knife or a pizza cutter. Wipe the blade between cuts for the cleanest edges. If they’re still a bit sticky, chill them in the fridge for 15 minutes before cutting.
Can I add nuts to the batter?
Yes! 1 cup of chopped pecans or walnuts works great. Stir them in with the flour. They add a nice crunch and pair beautifully with the brown sugar flavor.
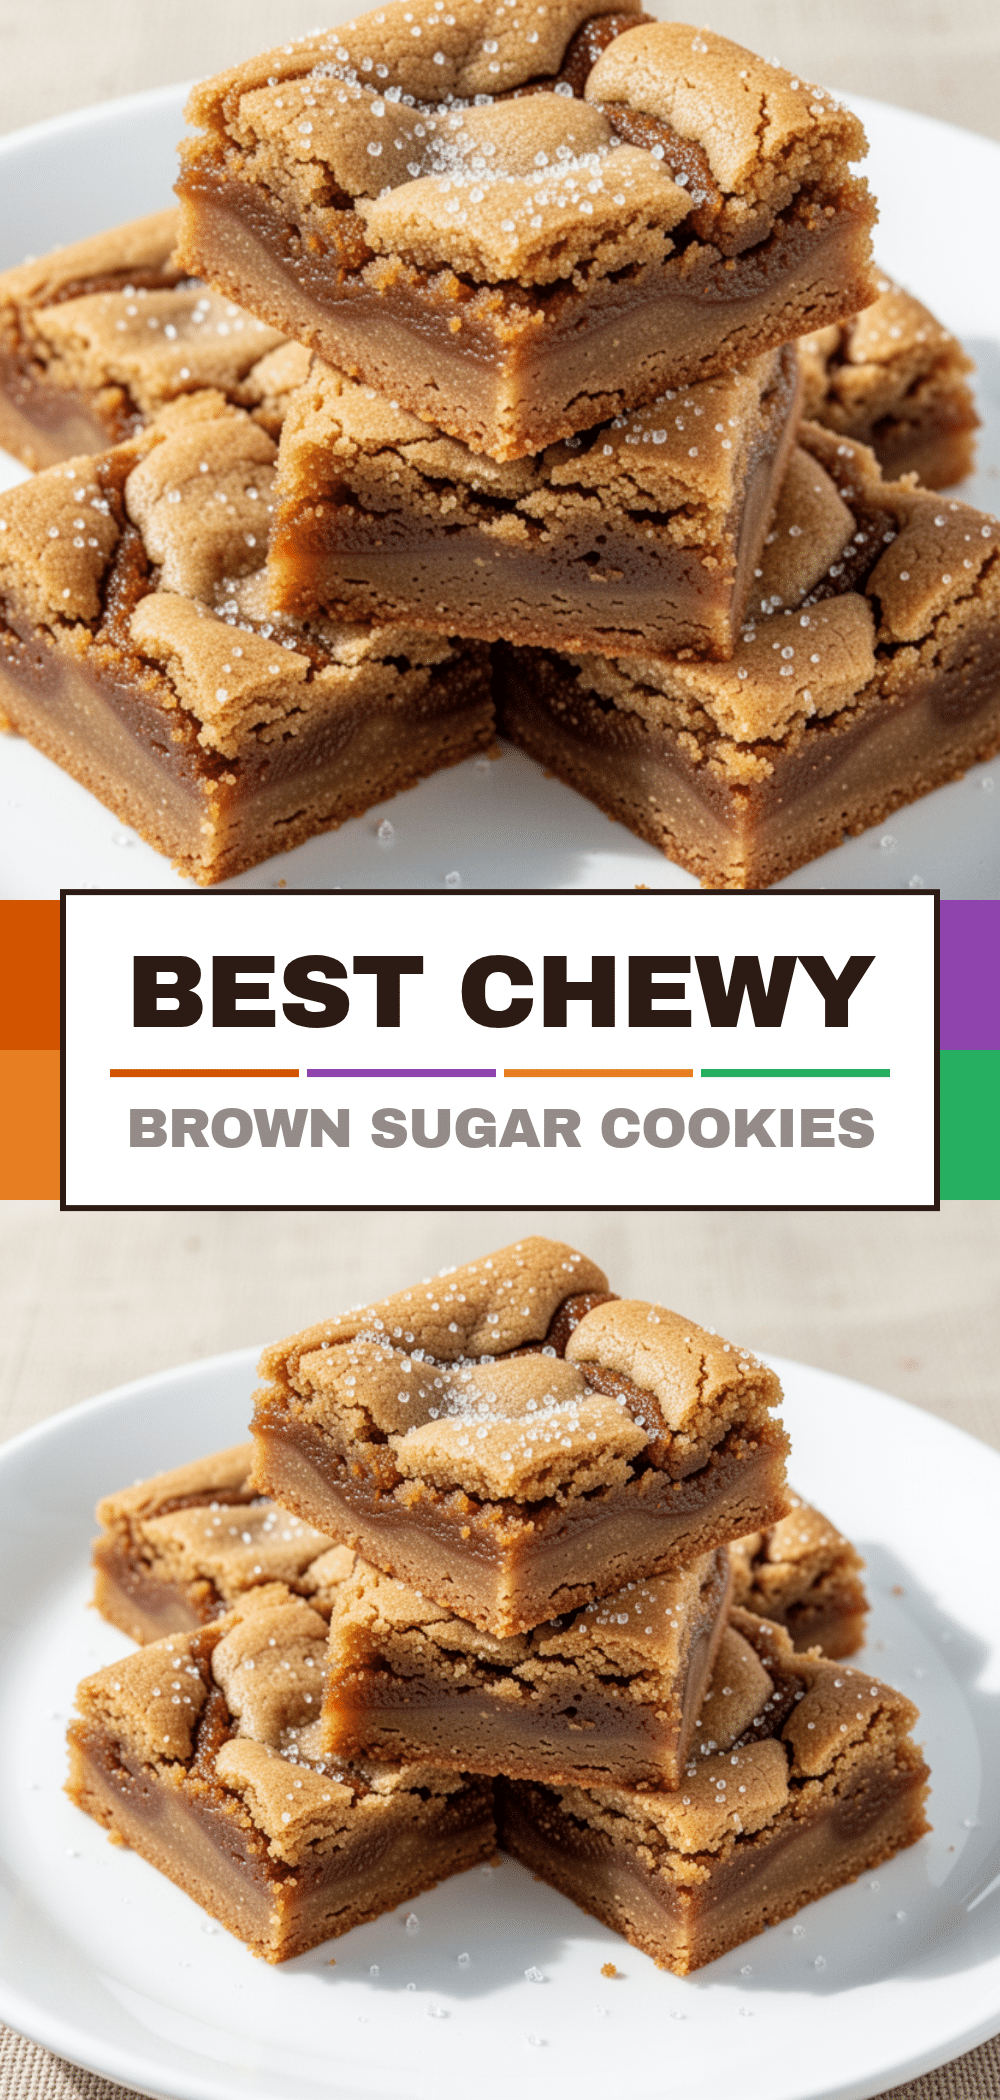
Pin This Recipe!
Chewy Brown Sugar Cookie Bars: 5-Ingredient Easy Dessert
- Total Time: 45 minutes
- Yield: 16 servings 1x
Description
These Chewy Brown Sugar Cookie Bars are a dense, moist, and impossibly chewy dessert made with just five pantry staples. They feature caramelized edges, a soft gooey center, and require only one bowl for mixing.
Ingredients
- 1 cup (226g) unsalted butter, softened to room temperature
- 2 cups (400g) dark brown sugar
- 2 ½ cups (315g) all-purpose flour
- 1 large egg, room temperature
- 2 teaspoons pure vanilla extract
- 1 teaspoon baking powder
- ½ teaspoon salt
- Optional: 1 cup chocolate chips or chopped pecans
Instructions
- Preheat oven to 350°F (175°C). Line a 9×13 inch baking pan with parchment paper, leaving an overhang on the sides, and grease lightly.
- In a medium mixing bowl, combine softened butter and brown sugar. Whisk vigorously for about 3 minutes until the mixture is smooth, creamy, and resembles wet sand.
- Add the egg and vanilla extract to the butter-sugar mixture. Whisk vigorously until fully incorporated and glossy.
- Add the flour, baking powder, and salt. Switch to a spatula or wooden spoon and gently fold the dry ingredients into the wet mixture until just combined. Do not overmix.
- Transfer the thick batter to the prepared pan. Press it evenly into the corners using a spatula or slightly wet hands.
- Bake for 20-25 minutes, or until the edges are golden brown and the center is just set but still slightly soft.
- Remove from oven and let cool in the pan for at least 20 minutes to allow them to set. Lift out using parchment overhang, place on a cutting board, and slice into squares.
Notes
Ensure butter is softened but not melted. Spoon and level flour for accurate measurement to avoid dry bars. Do not overmix the flour to prevent toughness. Bars can be stored at room temperature for 3 days, in the fridge for 5 days, or frozen for 3 months. For a bakery-style shine, brush with melted butter after baking.
- Prep Time: 10 minutes
- Cook Time: 25 minutes
- Category: Dessert
- Cuisine: American
Nutrition
- Serving Size: 1 bar
- Calories: 280
- Sugar: 28
- Sodium: 150
- Fat: 12
- Saturated Fat: 7
- Carbohydrates: 42
- Fiber: 1
- Protein: 3
Keywords: brown sugar cookies, cookie bars, easy dessert, one bowl recipe, chewy bars, 5 ingredient dessert, fall baking


