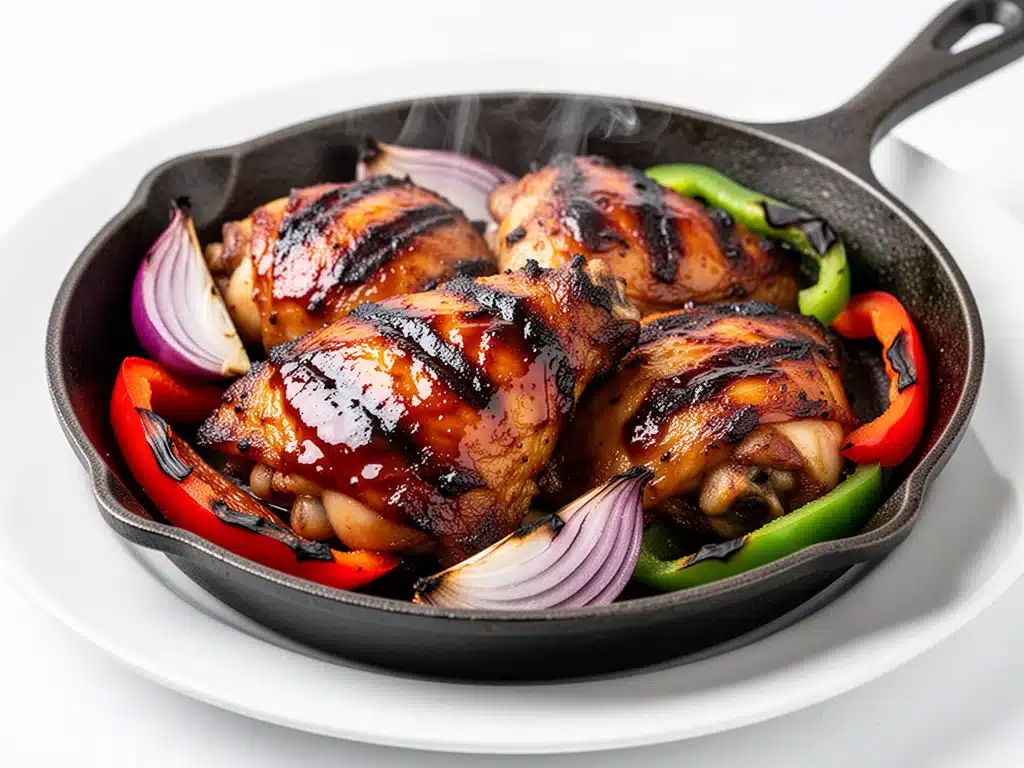
There is a specific kind of magic that happens when you pull a cast iron skillet out of a 450-degree oven and set it on the counter. The sizzle is loud, the smoke alarm threatens to go off (just kidding, I opened a window), and the smell hits you like a warm hug. It’s smoky, sweet, and deeply savory. This is the moment I knew I had finally cracked the code on the perfect Cast Iron Skillet BBQ Chicken.
Last Labor Day, I was stressed. You know the vibe. It’s August, the heat is still oppressive, and you’re supposed to be celebrating the end of summer by firing up the grill. But my grill is temperamental, my patio is too small, and my kids are currently in a phase where they only eat food that hasn’t touched the ground. So, I stood in my kitchen, staring at four chicken thighs, wondering if I’d have to cave and order pizza.
Then I remembered an old technique I’d read about years ago: roasting chicken directly in the skillet with the sauce. No flipping. No standing over a hot grill sweating through my shirt. Just toss it in, put it in the oven, and let the cast iron do the heavy lifting. I made this Cast Iron Skillet BBQ Chicken on a whim, expecting mediocre results. Instead, we ended up scraping the pan clean with crusty bread. My husband asked for it the very next night. And the night after that. Now, it’s our unofficial “easy summer dinner” staple, even though we make it year-round.
If you’re looking for a dish that delivers restaurant-quality flavor with half the effort, this is it. It’s juicy, it’s sticky, and it’s incredibly forgiving. I’ve tested this method at least ten times, tweaking the sauce ratios and cooking times, and I’m confident this is the best way to cook chicken thighs for a crowd. Let’s get into why this recipe is about to become your new best friend.
Why You’ll Love This Cast Iron Skillet BBQ Chicken
I’m not exaggerating when I say this recipe has completely changed my weeknight dinner game. Here’s why I keep coming back to this Cast Iron Skillet BBQ Chicken:
Zero Grill Stress — Seriously. If you hate cleaning a grill, or if you live in an apartment without outdoor space, this is your savior. The oven does all the work. You just prep and roast. I’ve made this while managing three kids and a dog, and I didn’t have to leave my kitchen once.
Maximum Crispy Skin — Boiled or steamed chicken is boring. This method uses high heat to crisp up the skin while keeping the meat tender. The cast iron retains heat better than any baking sheet, giving you that perfect crunch without needing a broiler at the end. It’s the kind of texture that makes people ask for the recipe.
Sauce That Actually Sticks — One of the biggest complaints with baked BBQ chicken is that the sauce slides off as it cooks. Not here. The sugar in the BBQ sauce caramelizes against the hot iron, creating a sticky, glossy glaze that clings to every inch of the chicken. It’s like candy for savory lovers.
Feeds an Army — One skillet feeds 4-6 people easily. I served this to my in-laws last month, and they were shocked it wasn’t catered. It looks impressive—rustic, hearty, and colorful—but it’s basically dump-and-roast. Perfect for potlucks, casual dinners, or that Labor Day gathering you’ve been dreading.
Leftovers Are Better — I don’t know if it’s scientifically possible, but the flavors meld overnight. The next day, I slice the chicken up and toss it into salads or wrap it in tortillas. It’s still juicy, still flavorful, and honestly, sometimes tastier than fresh.
Ingredients You’ll Need
Here’s the good news: you probably have most of these items in your pantry right now. This Cast Iron Skillet BBQ Chicken relies on simple, accessible ingredients. The secret isn’t in complexity; it’s in the quality of the chicken and the balance of the sauce.
Chicken Thighs (2.5 lbs / 1.1 kg) — Bone-in, skin-on thighs are non-negotiable here. Boneless thighs dry out too fast in high heat, and breasts are just too lean for this method. The bone adds flavor, and the skin keeps it moist. Look for thighs that are roughly the same size so they cook evenly.
BBQ Sauce (1 cup / 240ml) — This is where you can get creative. I use a mix of two sauces: a sweet Kansas City-style sauce (like Sweet Baby Ray’s or Stubb’s) for the base, and a spicy vinegar-based sauce (like Carolina Gold or Frank’s RedHot) for depth. If you’re buying one bottle, go for a bold, smoky BBQ sauce. Avoid the thin, watery “grilling sauces” unless you plan to reduce them significantly.
Brown Sugar (2 tablespoons) — This helps the sauce caramelize and get sticky. It balances the acidity in the BBQ sauce. Don’t skip it, or the chicken won’t get that gorgeous glaze.
Apple Cider Vinegar (1 tablespoon) — A splash of vinegar cuts through the sweetness and adds a tangy brightness. It prevents the dish from feeling too heavy. If you don’t have apple cider vinegar, white wine vinegar works too.
Garlic (4 cloves, minced) — Fresh garlic is key. Jarred garlic has a metallic aftertaste that clashes with the smoky BBQ flavor. Mince it finely so it distributes evenly.
Smoked Paprika (1 teaspoon) — This adds that “grilled” flavor even though you’re using the oven. It’s a flavor bomb. If you only have regular paprika, you can use it, but smoked paprika makes a huge difference.
Garlic Powder & Onion Powder (1 teaspoon each) — These dry spices penetrate the meat better than fresh alone. They add a savory backbone to the chicken.
Salt & Black Pepper — Generous amounts. Season the chicken well before it goes in the sauce. I use about 1 teaspoon of kosher salt.
Optional: Red Pepper Flakes (½ teaspoon) — If you like a little kick, add these to the sauce. It adds a nice heat that balances the sweet BBQ.
Optional Garnish: Fresh Parsley or Green Onions — Chopped up, these add a pop of color and freshness. It makes the dish look like you spent more time on it than you actually did.
Equipment Needed
You don’t need fancy gadgets for this. Here’s what I actually use when I make this Cast Iron Skillet BBQ Chicken:
12-Inch Cast Iron Skillet — This is the star of the show. I use a Lodge skillet because it’s heavy, durable, and holds heat like a dream. If you don’t have a 12-inch skillet, a 10-inch will work, but you might need to overlap the chicken pieces slightly. Make sure your skillet is oven-safe (all cast iron is).
Baking Sheet (Optional) — I place a baking sheet on the rack below the skillet. Why? Because the sugar in the BBQ sauce can bubble over and burn on the oven floor. It makes cleanup so much easier. Trust me on this one.
Tongs — For handling the hot chicken. Metal tongs are best because they won’t melt if they touch the hot skillet.
Pastry Brush — For applying the sauce. Silicone brushes are easier to clean, but a natural bristle brush works fine if you wash it immediately.
Cutting Board & Knife — For prepping the garlic and any garnishes. A sharp knife makes mincing garlic much less painful.
Mixing Bowl — For mixing the sauce ingredients. A small bowl is fine; you don’t need much volume.
Measuring Spoons — Standard stuff. I keep a basic set on my counter because I use them daily.
How to Make It: Step-by-Step
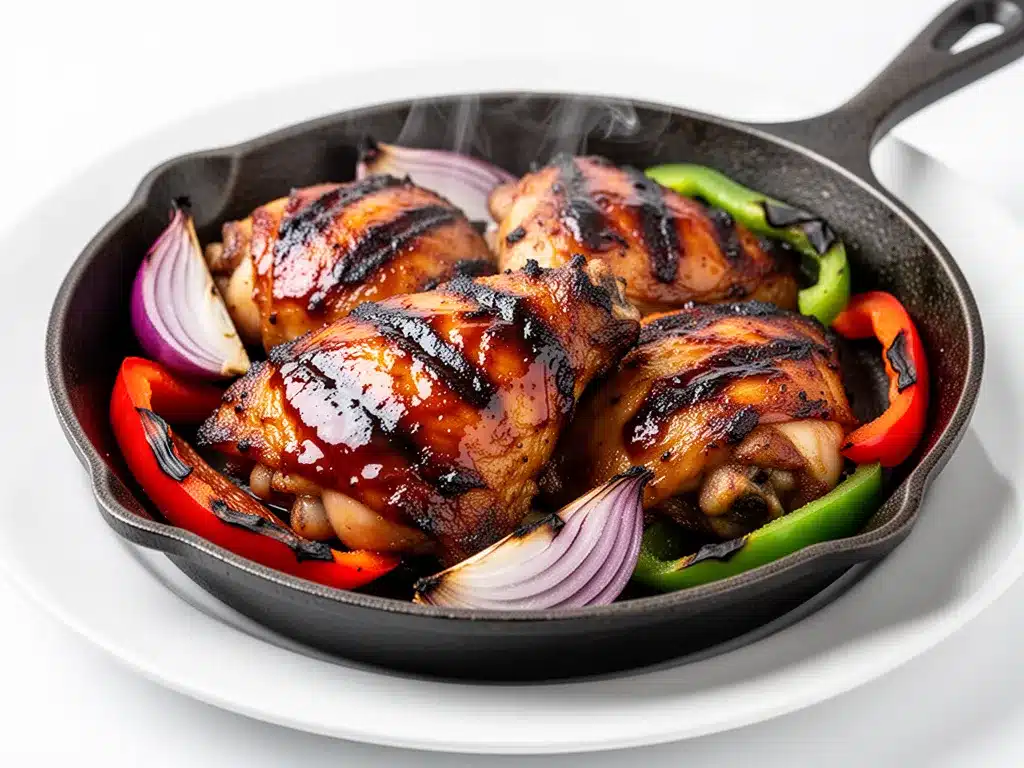
Alright, let’s make this! I’m walking you through exactly how I do it, including the little tricks I’ve picked up over the years. This process is straightforward, but timing matters.
Step 1: Prep the Oven and Skillet (10 minutes)
Preheat your oven to 450°F (230°C). High heat is crucial for crispy skin. While the oven heats, pat your chicken thighs dry with paper towels. This seems like a small step, but removing moisture is the secret to crispy skin. If the chicken is wet, it steams instead of roasts. Season the chicken generously with salt, pepper, garlic powder, onion powder, and smoked paprika. Rub it in with your hands.
Step 2: Sear the Chicken (5-7 minutes)
Place your cast iron skillet on the stovetop over medium-high heat. Add a tablespoon of oil (like avocado or vegetable oil). Once the oil shimmers, lay the chicken thighs in the skillet, skin-side down. Don’t crowd the pan; if your skillet is small, do this in batches. Let them sear for 3-4 minutes without moving them. You want a deep golden-brown crust. Flip them over and sear for another 1-2 minutes. This step locks in juices and starts the browning process.
Step 3: Mix the Sauce (2 minutes)
While the chicken sears, whisk together the BBQ sauce, brown sugar, apple cider vinegar, minced garlic, and red pepper flakes (if using) in a small bowl. The sugar might be lumpy, but that’s okay—it will dissolve in the oven. Taste it. If you want it sweeter, add more brown sugar. If you want it tangier, add a splash more vinegar.
Step 4: Glaze and Roast (25-30 minutes)
Remove the skillet from the stovetop. Brush the chicken thighs generously with the BBQ sauce. Make sure you get into the crevices. Place the skillet in the preheated oven. Roast for 20 minutes. Then, pull the skillet out (use oven mitts!) and brush on another layer of sauce. Return to the oven for another 10-15 minutes. The chicken is done when the internal temperature reaches 165°F (74°C) and the skin is crispy and charred in spots.
Step 5: Rest and Serve (5 minutes)
Remove the skillet from the oven and let the chicken rest for 5 minutes. This allows the juices to redistribute. If you cut into it immediately, the juices will run out, and the meat will be dry. Sprinkle with fresh parsley or green onions. Serve straight from the skillet—it looks rustic and keeps the chicken warm.
Expert Tips & Tricks
Here’s everything I’ve learned from making this Cast Iron Skillet BBQ Chicken dozens of times. These tips will save you from my mistakes.
Pat Dry, Always — I cannot stress this enough. Wet chicken = steamed chicken. Use paper towels to remove every bit of moisture. Your skin will thank you.
Don’t Skip the Sear — Some recipes just toss raw chicken into the sauce and bake. I tried that. It’s fine, but the skin isn’t as crispy. Searing first gives you that restaurant-quality texture. It only adds 5 minutes, but it’s worth it.
Two Layers of Sauce — Brushing the sauce once isn’t enough. The first layer caramelizes, and the second layer adds a fresh, sticky glaze. It creates a complex flavor profile that one layer just can’t match.
Watch for Burning — BBQ sauce has sugar, and sugar burns. If you see the edges charring too quickly, cover the skillet loosely with foil for the last 10 minutes. You want caramelization, not charcoal.
Use a Meat Thermometer — Eyes can be deceiving. A thermometer ensures the chicken is safe to eat without overcooking. Pull it at 165°F. It will continue to cook slightly as it rests.
Variations & Substitutions
Once you’ve nailed the basic version, here’s how you can mix it up. I’ve tried all of these, and they all work.
Spicy Kick — Add 1 tablespoon of hot sauce or 1 teaspoon of cayenne pepper to the sauce. If you love heat, serve with extra red pepper flakes on the side.
Honey Garlic — Swap half the BBQ sauce for honey and add extra minced garlic. It’s sweeter and garlickier, perfect for kids who are picky about tangy flavors.
Teriyaki Twist — Swap the BBQ sauce for teriyaki sauce. Add a tablespoon of ginger. It’s a totally different vibe but uses the same cooking method. Great with steamed rice.
Vegetarian Option — You can use thick-cut tofu steaks or portobello mushroom caps instead of chicken. Press the tofu first, then follow the same searing and glazing steps. It takes less time—about 15-20 minutes in the oven.
Gluten-Free — Most BBQ sauces contain wheat-based soy sauce. Check your label and use a certified gluten-free BBQ sauce. Everything else is naturally gluten-free.
Serving & Storage
How to serve this Cast Iron Skillet BBQ Chicken depends on your mood, but here’s what works best.
Side Dishes — This chicken is rich and savory, so pair it with something light and crisp. A simple green salad with vinaigrette, coleslaw (classic BBQ pairing), or roasted asparagus works well. If you want something hearty, serve it with cornbread or garlic bread to soak up the extra sauce.
Wine Pairing — I’m not a wine expert, but a crisp Pinot Grigio or a light-bodied Pinot Noir cuts through the richness of the chicken. For beer lovers, a lager or amber ale is a perfect match.
Storage — Store leftovers in an airtight container in the fridge for up to 3 days. The chicken stays juicy, but the skin might soften. To crisp it back up, reheat in a 400°F oven for 10 minutes. Don’t microwave it if you can help it—it makes the skin rubbery.
Freezing — This dish doesn’t freeze well. The sauce can separate upon thawing, and the texture of the skin suffers. It’s best eaten fresh or within a few days of making it.
Nutrition Information
I’m not a nutritionist, but here’s the breakdown if you’re tracking. Keep in mind that nutritional values vary based on the specific BBQ sauce and chicken size you use.
Per Serving (based on 4 servings, 2 thighs each):
- Calories: 450
- Protein: 35g
- Carbs: 18g
- Fat: 28g
- Sodium: 650mg
It’s higher in sodium due to the BBQ sauce, so if you’re watching your intake, look for low-sodium sauces. The protein content is great for muscle recovery, and the fats are mostly from the chicken skin, which is fine in moderation. This is comfort food, so enjoy it without guilt!
Final Thoughts
So that’s my go-to Cast Iron Skillet BBQ Chicken! It’s simple, it’s delicious, and it’s perfect for those days when you want something special without the fuss. I’ve made this for casual weeknight dinners, impromptu dinner parties, and even as a make-ahead dish for tailgating. It never fails to impress.
If you make this, drop a comment and let me know how it turned out! I love hearing how recipes work in your kitchen. And if you have questions about the sauce or cooking times, I’m here to help. Happy cooking!
Frequently Asked Questions
Can I use chicken breasts instead of thighs?
You can, but be careful. Chicken breasts cook much faster and can dry out easily. If you use breasts, reduce the oven time to 15-20 minutes and check the temperature frequently. Thighs are more forgiving and stay juicier, which is why I recommend them.
Why is my sauce runny?
BBQ sauce varies in thickness. If your sauce is very watery, it might not caramelize well. To fix this, simmer the sauce on the stovetop for 5 minutes before brushing it on the chicken to reduce it. Or, add a teaspoon of cornstarch mixed with water to thicken it.
Can I make this ahead of time?
You can prep the chicken and mix the sauce ahead of time. Store the seasoned chicken in the fridge and the sauce in a jar. When you’re ready to cook, just sear and roast as directed. I wouldn’t recommend marinating it in the BBQ sauce for more than a few hours, as the acid in the sauce can start to “cook” the meat.
Do I need to flip the chicken in the oven?
No! The sear happens on the stovetop. In the oven, the chicken cooks through evenly without flipping. This is one of the biggest benefits of this method—less hands-on time.
What if I don’t have a cast iron skillet?
You can use a heavy-bottomed baking dish or a roasting pan. However, the skin won’t get as crispy because the pan doesn’t retain heat as well. To compensate, broil the chicken for the last 2-3 minutes of cooking to crisp up the skin.
How do I reheat leftovers?
The best way is in the oven at 350°F for 10-15 minutes. This keeps the chicken moist and restores some crispiness to the skin. Avoid the microwave unless you’re in a huge rush, as it tends to make the skin chewy.
Pin This Recipe!
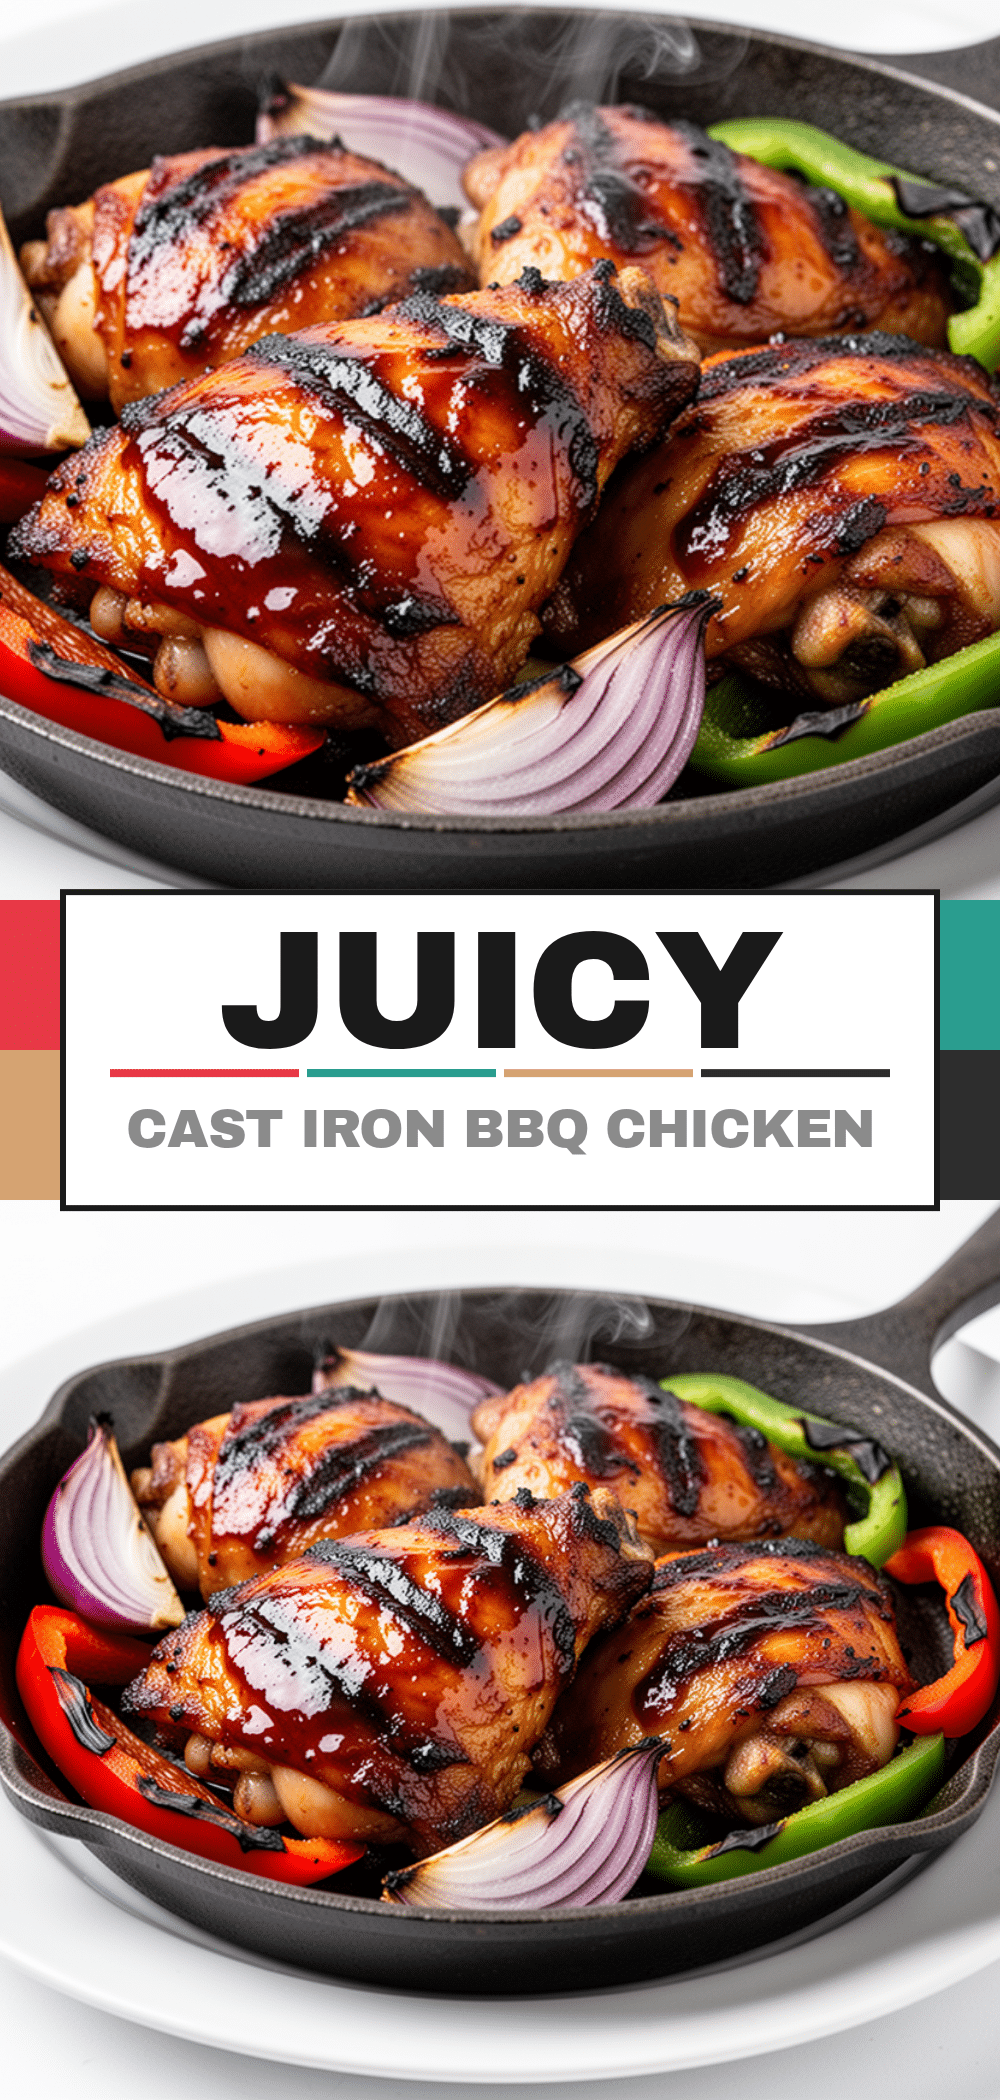
Cast Iron Skillet BBQ Chicken: Easy Labor Day Dinner
- Total Time: 40 minutes
- Yield: 4 servings 1x
Description
Juicy, sticky, and deeply savory chicken thighs roasted in a cast iron skillet with a homemade BBQ glaze. This recipe delivers restaurant-quality crispy skin and rich flavor with minimal effort, making it perfect for weeknights or gatherings.
Ingredients
- 2.5 lbs bone-in, skin-on chicken thighs
- 1 cup BBQ sauce (mix of sweet Kansas City-style and spicy vinegar-based)
- 2 tablespoons brown sugar
- 1 tablespoon apple cider vinegar
- 4 cloves garlic, minced
- 1 teaspoon smoked paprika
- 1 teaspoon garlic powder
- 1 teaspoon onion powder
- 1 teaspoon kosher salt
- Black pepper to taste
- 1 tablespoon oil (avocado or vegetable)
- Optional: ½ teaspoon red pepper flakes
- Optional: Fresh parsley or green onions for garnish
Instructions
- Preheat oven to 450°F (230°C). Pat chicken thighs dry with paper towels and season generously with salt, pepper, garlic powder, onion powder, and smoked paprika.
- Place a 12-inch cast iron skillet on the stovetop over medium-high heat. Add oil and heat until shimmering.
- Sear chicken thighs skin-side down for 3-4 minutes without moving them to create a golden-brown crust. Flip and sear for another 1-2 minutes.
- While chicken sears, whisk together BBQ sauce, brown sugar, apple cider vinegar, minced garlic, and red pepper flakes in a small bowl.
- Remove skillet from heat. Brush chicken thighs generously with the sauce mixture.
- Place skillet in the preheated oven and roast for 20 minutes.
- Remove skillet from oven, brush on a second layer of sauce, and return to oven for another 10-15 minutes until internal temperature reaches 165°F (74°C) and skin is crispy.
- Remove from oven and let chicken rest for 5 minutes before serving. Garnish with fresh parsley or green onions if desired.
Notes
Patting the chicken dry is crucial for crispy skin. Do not skip the searing step on the stovetop. If the sauce starts burning, cover loosely with foil for the last 10 minutes. Leftovers can be stored in the fridge for up to 3 days; reheat in the oven to restore crispiness.
- Prep Time: 10 minutes
- Cook Time: 30 minutes
- Category: Main Course
- Cuisine: American
Nutrition
- Serving Size: 2 thighs per serving
- Calories: 450
- Sugar: 16
- Sodium: 650
- Fat: 28
- Saturated Fat: 7
- Carbohydrates: 18
- Protein: 35
Keywords: BBQ chicken, cast iron skillet, easy dinner, labor day recipe, crispy skin chicken, oven roasted chicken, weeknight dinner


