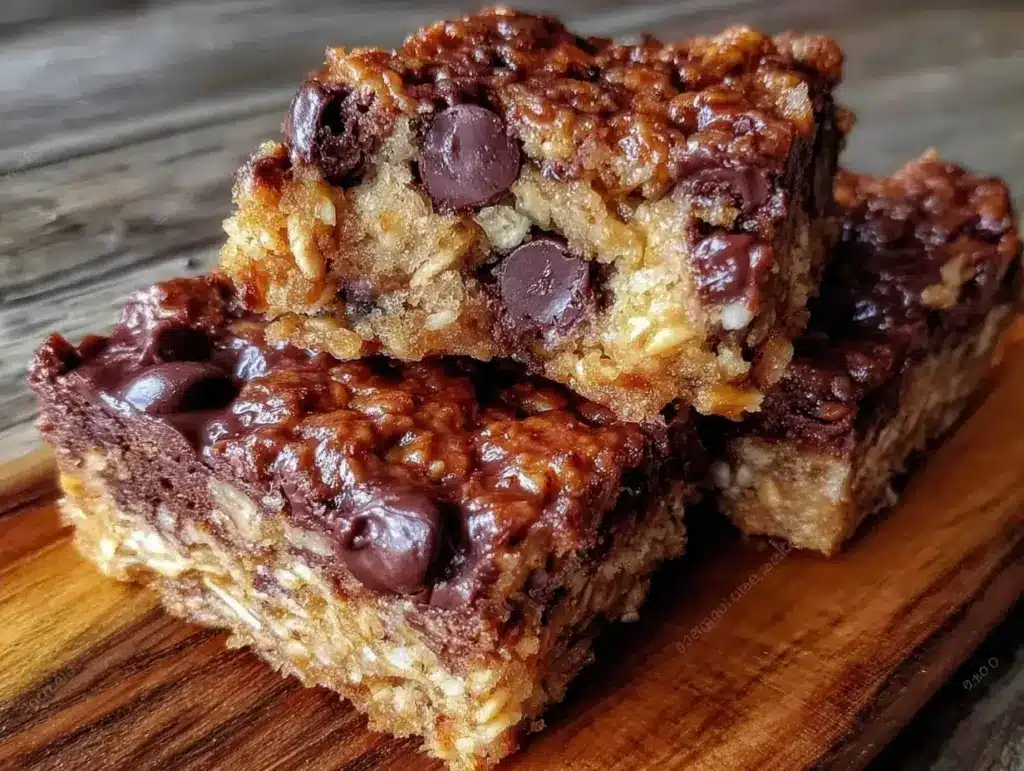
Last Tuesday, I was standing in my kitchen at 6:45 AM, staring at a half-empty jar of oats and a bag of chocolate chips that had somehow survived the summer heat. My son’s school bus was due in fifteen minutes, and my lunchbox packing game was non-existent. I had zero energy for baking. No preheating, no waiting for cooling racks, and definitely no dealing with a sticky counter full of flour. I needed something fast, something sturdy enough to survive a backpack full of textbooks, and something that wouldn’t make him feel guilty for eating sugar before 8 AM.
So, I threw together what I thought would be a mediocre, crumbly disaster. I mixed oats, honey, peanut butter, and a generous handful of chocolate chips, pressed it into a pan, and shoved it in the fridge. Thirty minutes later, I pulled out a bar that held together perfectly. He took one bite on the bus (I caught a glimpse through the window) and gave me a thumbs-up. That was three weeks ago. We have made these no-bake chocolate chip granola bars four times since. They are the hero of our back-to-school routine, and honestly, they might be the only reason I’m not running on caffeine alone right now.
Here’s the thing about back-to-school snacks. They need to be resilient. You can’t send a warm cookie in a lunchbox in September; it’s going to turn into a soggy mess by lunchtime. You need something that travels well, tastes good cold, and requires absolutely zero effort from a tired parent. This recipe is exactly that. It’s not just a snack; it’s a survival tool. I’ve tweaked the ratios a dozen times, testing different nut butters and sweeteners, until I landed on the perfect balance of chewy, crunchy, and sweet. These bars are sturdy enough for a pocket but soft enough to enjoy with a glass of milk. If you’re drowning in lunchbox prep, trust me on this one.
I remember my first attempt at making these was a total flop. I used too much honey, and the bars turned into a solid block of sugar that I could barely cut. I learned quickly that the ratio of wet to dry ingredients is everything. Now, I make this batch every Sunday night while watching a bad reality TV show. It’s my little culinary adventure for the week ahead. It’s easy, it’s forgiving, and it tastes like comfort. Plus, it’s a great way to sneak in some oats and whole grains without making it feel like a health food lecture. Your kids will think they’re getting a treat, and you’ll know they’re getting fuel. Win-win.
Why You’ll Love This Recipe
Look, I don’t have time for complicated recipes. I don’t want to read a three-page intro before I start cooking. I want results. Here is why these bars have earned a permanent spot in my weekly rotation, and why they will probably earn one in yours too.
- Zero Oven Required — This is the biggest selling point. It’s September, and it’s still hot outside. I don’t want to heat up my kitchen. These bars set in the fridge, which means my house stays cool and my electricity bill doesn’t spike. I make these on busy weeknights when the last thing I want to do is turn on the stove.
- Lunchbox Proof — I’ve tested these in hot cars, in backpacks left in sunbeams, and in lunchboxes that sat out for an extra hour. They hold their shape. They don’t melt into a puddle of chocolate goo (unless you use way too much chocolate, which I also tested). They stay chewy and intact, which means less waste and happier kids.
- Five Ingredients, Major Flavor — You don’t need a pantry full of specialty flours or exotic spices. Just oats, nut butter, honey, chocolate chips, and a pinch of salt. That’s it. I love that it uses staples I already have. It’s not about fancy ingredients; it’s about how they work together. The salt cuts through the sweetness, and the nut butter adds that savory depth.
- Customizable for Any Diet — My nephew is allergic to nuts, and my daughter is a picky eater who only likes chocolate. This recipe bends to your will. Swap the peanut butter for sunflower seed butter, or use dark chocolate chips if you want less sugar. It’s flexible. I’ve made versions for school bans and versions for holiday parties, and they all work.
- Meal Prep Friendly — I make one batch on Sunday, and they last all week. I keep them in an airtight container on the counter. They don’t go stale. They don’t dry out. They just sit there, ready to be grabbed. This reduces the daily stress of “what’s for lunch?” because the answer is always right there in the tin.
This is my go-to when dinner needs to just work, or when I need a snack that requires zero thinking. It’s reliable. It’s delicious. And it’s easy.
Key Ingredients
Let’s talk about what goes into these bars. I’m not using fancy ingredients, but I am using specific ones that make a huge difference in texture and taste. Don’t skip the tips—they’re the reason your bars turn out chewy instead of crumbly.
Rolled Oats (Old Fashioned)
3 cups (270g) — Do not use instant oats or quick oats. They will turn into mush. You need old-fashioned rolled oats for that chewy, substantial texture. I buy the store brand; it saves money and works just as well. If you need gluten-free, make sure your oats are certified gluten-free, as oats are often processed in facilities with wheat.
Peanut Butter (or Sunflower Seed Butter)
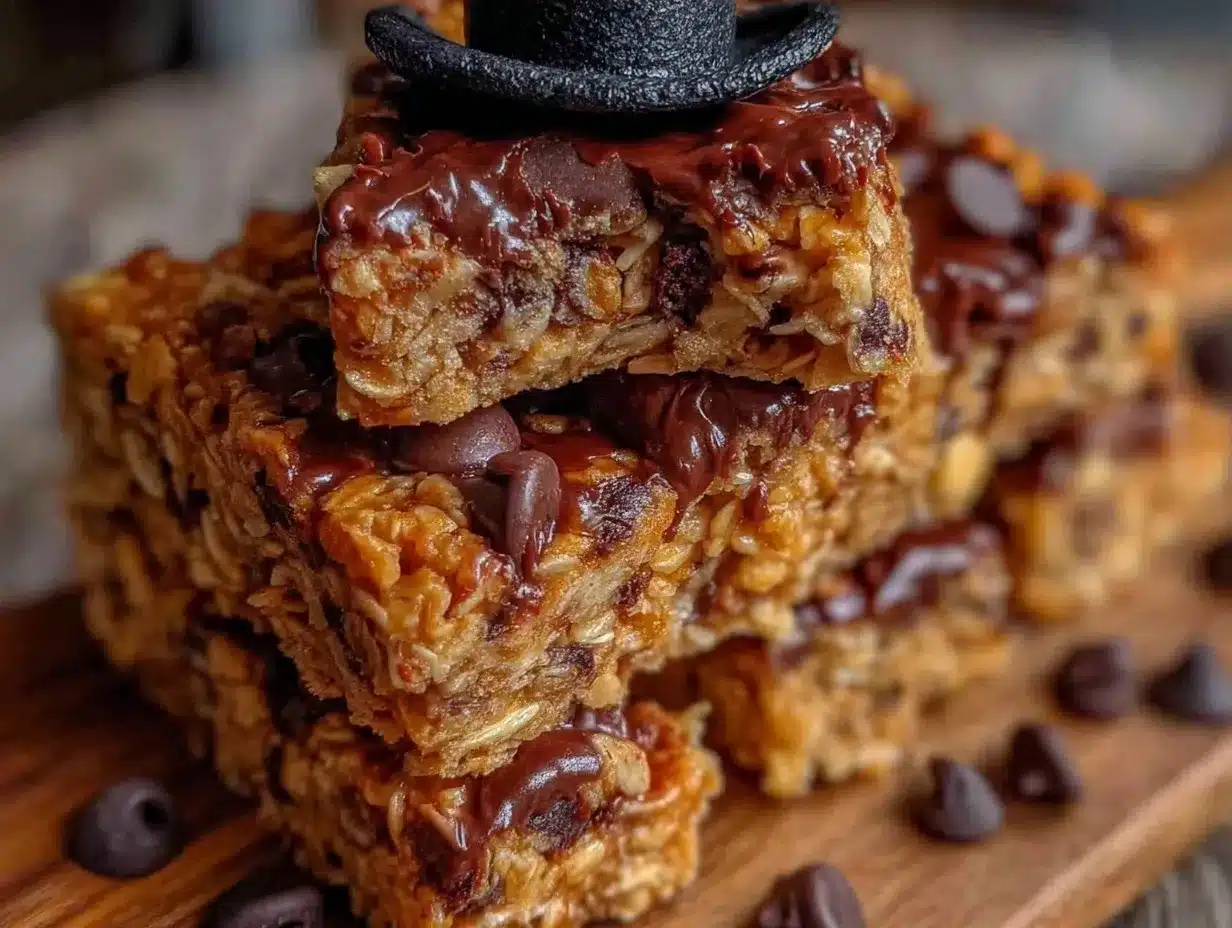
1 cup (250g) — Use natural creamy peanut butter. The kind that separates is fine, but you need to stir it well before measuring. Avoid the kind with added hydrogenated oils, as it can make the bars waxy. If you’re nut-free, sunflower seed butter is a great substitute. I’ve used it, and it works perfectly, though it has a slightly more earthy flavor.
Honey
1/2 cup (170g) — Honey is the binder. It holds everything together and adds that sticky sweetness. Maple syrup works too, but the bars will be slightly softer. If you use maple syrup, you might need to chill them a bit longer. I stick with honey because it’s more stable at room temperature.
Dark Chocolate Chips
1 cup (170g) — I use semi-sweet or dark chocolate chips. They don’t melt as easily as milk chocolate chips, which keeps the bars from getting too messy. If you want it sweeter, use milk chocolate, but be aware that it will be softer. I like the balance of bitter and sweet. You can also chop up a chocolate bar if you don’t have chips; it creates nice uneven chunks.
Salt
1/2 teaspoon — This is non-negotiable. Salt enhances the chocolate and cuts the sweetness. Without it, these bars taste like pure sugar. Use fine sea salt or table salt. Just a pinch makes all the difference.
Vanilla Extract
1 teaspoon — A little goes a long way. It adds depth and makes the bars taste more like a dessert than a snack. Use real vanilla extract, not imitation. The flavor is noticeably better.
Tools Needed
You don’t need fancy equipment. Here’s what I use. If you don’t have these exact items, don’t worry. Improvise.
- Large Mixing Bowl — I use a 4-quart bowl. It needs to be big enough to hold all the oats without spilling when you’re stirring. A glass bowl is nice because you can see the mixture, but plastic works fine.
- 8×8 Inch Baking Pan — This is the standard size. You can use a 9×9, but the bars will be thinner. If you use a smaller pan, they’ll be thicker and chewier. I stick with 8×8 for the perfect thickness.
- Parchment Paper — Line your pan. This is crucial. It makes removal easy and cleanup a breeze. Without it, you’ll be scraping sticky oats out of your pan for days.
- Spatula — A sturdy silicone spatula is best. You need to fold the oats into the wet mixture thoroughly. A wooden spoon works, but it’s harder to get everything mixed evenly.
- Measuring Cups and Spoons — I use standard measuring cups for dry ingredients and liquid measuring cups for honey. It’s faster and more accurate.
That’s it. No mixer, no stand attachment, no fancy gadgets. Just basic kitchen tools you probably already have.
How to Make No-Bake Chocolate Chip Granola Bars
Let’s get into the nitty-gritty. This process takes about 10 minutes of active time, plus 30 minutes in the fridge. It’s simple, but there are a few tricks to get it right.
Step 1: Prep the Pan (2 minutes)
Line your 8×8 inch baking pan with parchment paper. Leave a little overhang on the sides—this is your handle for lifting the bars out later. You don’t need to grease the pan if you use parchment, but a light spray of cooking oil doesn’t hurt. It ensures nothing sticks.
Step 2: Mix the Dry Ingredients (3 minutes)
Grab your large mixing bowl. Add the 3 cups of rolled oats. If you’re adding any extras like seeds or dried fruit, add them now. Toss them with the oats. This ensures they’re evenly distributed. I usually mix in a pinch of cinnamon here if I’m feeling fancy, but the basic version is perfect on its own.
Step 3: Warm the Wet Ingredients (2 minutes)
In a microwave-safe bowl, combine the 1 cup of peanut butter and 1/2 cup of honey. Microwave on high for 30-45 seconds. You want it warm and fluid, not hot. Stir it until it’s smooth and creamy. If it’s too thick, microwave for another 15 seconds. Warm peanut butter mixes much easier with honey than cold peanut butter. This step is key for a smooth texture.
Step 4: Combine Everything (2 minutes)
Pour the warm peanut butter-honey mixture over the oats. Add the 1 teaspoon of vanilla extract and the 1/2 teaspoon of salt. Stir vigorously with your spatula. You want every oat to be coated. It will look messy at first, but keep stirring. Once the oats are glossy and coated, fold in the 1 cup of chocolate chips. Be gentle here so you don’t crush the chips.
Step 5: Press and Chill (30 minutes)
Transfer the mixture to your prepared pan. Use the back of a spoon or your hands (if you don’t mind sticky hands) to press it down firmly. This is the most important step. If you don’t press it down, the bars will crumble. Press until the surface is flat and even. Place the pan in the fridge for at least 30 minutes. If you’re in a hurry, you can freeze it for 15 minutes, but the fridge is more consistent.
Once chilled, lift the bars out using the parchment overhang. Cut them into squares or rectangles. I usually cut them into 12 bars. Enjoy immediately or store in an airtight container.
Expert Tips
Here’s everything I learned from making this too many times. These tips will save you from common mistakes.
Don’t Skip the Press
This is the #1 mistake. People are too gentle. You need to press the mixture down firmly. Think of it like making a pie crust. If there are air pockets, the bars will fall apart. I learned this the hard way when my first batch crumbled into dust. Now, I use the bottom of a measuring cup to press it down evenly. It’s faster and more effective.
Use Warm Peanut Butter
Cold peanut butter is stiff. It doesn’t mix well with honey. Warm it up first. It makes the mixing process so much easier and ensures a smooth, even coating on the oats. I’ve tried skipping this step, and the result is always clumpy. Don’t skip it.
Chocolate Chip Choice Matters
Use chips that hold their shape. I’ve tried using chopped chocolate bars, and they melt too much in the fridge. Chips stay distinct. If you want a gooier texture, use mini chocolate chips. They distribute evenly and melt slightly, creating little pockets of chocolate in every bite.
Storage is Key
These bars are best stored in an airtight container. If you leave them out, they’ll dry out. If you leave them in the fridge, they’ll get too hard. Room temperature is the sweet spot. Keep them in a cool, dry place. They’ll last up to a week.
Recipe Variations
Once you’ve nailed the basic version, here’s how to mix it up. These variations keep things interesting.
Trail Mix Version
Add 1/2 cup of raisins and 1/4 cup of sunflower seeds. It adds chewiness and crunch. I love this version for hiking trips. It’s filling and energizing.
Coconut Lime
Replace the vanilla with lime zest. Add 1/2 cup of shredded coconut. It’s a tropical twist that’s surprisingly good. The lime cuts the sweetness nicely.
Double Chocolate
Use cocoa powder in the wet mixture (2 tablespoons) and add dark chocolate chips. It’s for serious chocolate lovers. It tastes like a brownie bar.
Nut-Free
Use sunflower seed butter and pumpkin seeds. It’s perfect for schools with nut bans. It still tastes great and holds together well.
Serving & Storage
Serving
I serve these cold straight from the fridge. They’re best with a glass of milk or a cup of coffee. I also pack them in lunchboxes with an apple or a banana. They pair well with a simple green salad if you’re using them as a light dinner. They’re versatile.
Storage
Room Temp: Store in an airtight container for up to 1 week. Keep them in a cool, dry place.
Fridge: They last up to 2 weeks in the fridge. They will get firmer, which some people prefer.
Freezer: Yes, they freeze well. Wrap individual bars in plastic wrap and place them in a freezer bag. They last up to 3 months. Thaw at room temperature for 10 minutes before eating.
Meal Prep: Make a double batch on Sunday. It saves time during the week. They’re ready to grab and go.
Nutrition Information
I’m not a nutritionist, but here’s the breakdown per bar (makes 12 bars).
| Nutrient | Amount |
|---|---|
| Calories | 280 |
| Protein | 8g |
| Carbs | 35g |
| Fiber | 3g |
| Fat | 14g |
| Sodium | 120mg |
My Take: This is a snack with sugar and oats. It’s not diet food. But it’s better than store-bought bars that have preservatives. It’s a balanced treat with protein from the nut butter and fiber from the oats. Enjoy it as part of a balanced diet.
Final Thoughts
These no-bake chocolate chip granola bars are more than just a snack. They’re a solution to a real problem. Back-to-school season is chaotic. You need things that are easy, reliable, and tasty. These bars deliver on all three. I hope they become a staple in your kitchen too. If you make them, let me know how they turn out. I love hearing from readers who try my recipes. Happy cooking!
FAQs
Can I use quick oats instead of rolled oats?
I don’t recommend it. Quick oats are thinner and will turn the bars into a mushy texture. Rolled oats provide the chewiness that makes these bars satisfying. If you must use quick oats, add a little less honey, but the texture will still be different.
Why did my bars crumble?
This usually happens if you didn’t press them down firmly enough, or if the peanut butter wasn’t warm enough to bind the oats. Make sure you press the mixture down tightly, and always warm the wet ingredients before mixing.
Can I substitute honey with maple syrup?
Yes, but the bars will be softer. Maple syrup is less sticky than honey. You may need to chill them longer in the fridge to set. Also, the flavor will be slightly different. Honey is sweeter and more neutral.
How long do these bars last?
They last up to a week at room temperature in an airtight container. If you live in a hot climate, store them in the fridge to prevent melting.
Can I make these gluten-free?
Yes, just use certified gluten-free oats. Make sure your chocolate chips and peanut butter are also certified gluten-free if you have a severe allergy. Otherwise, the recipe is naturally gluten-free.
Can I add protein powder?
You can, but it will dry out the bars. If you want to add protein, use a scoop of vanilla protein powder and add an extra tablespoon of honey or milk to compensate for the dryness. It’s not my favorite variation, but it works.
Pin This Recipe!
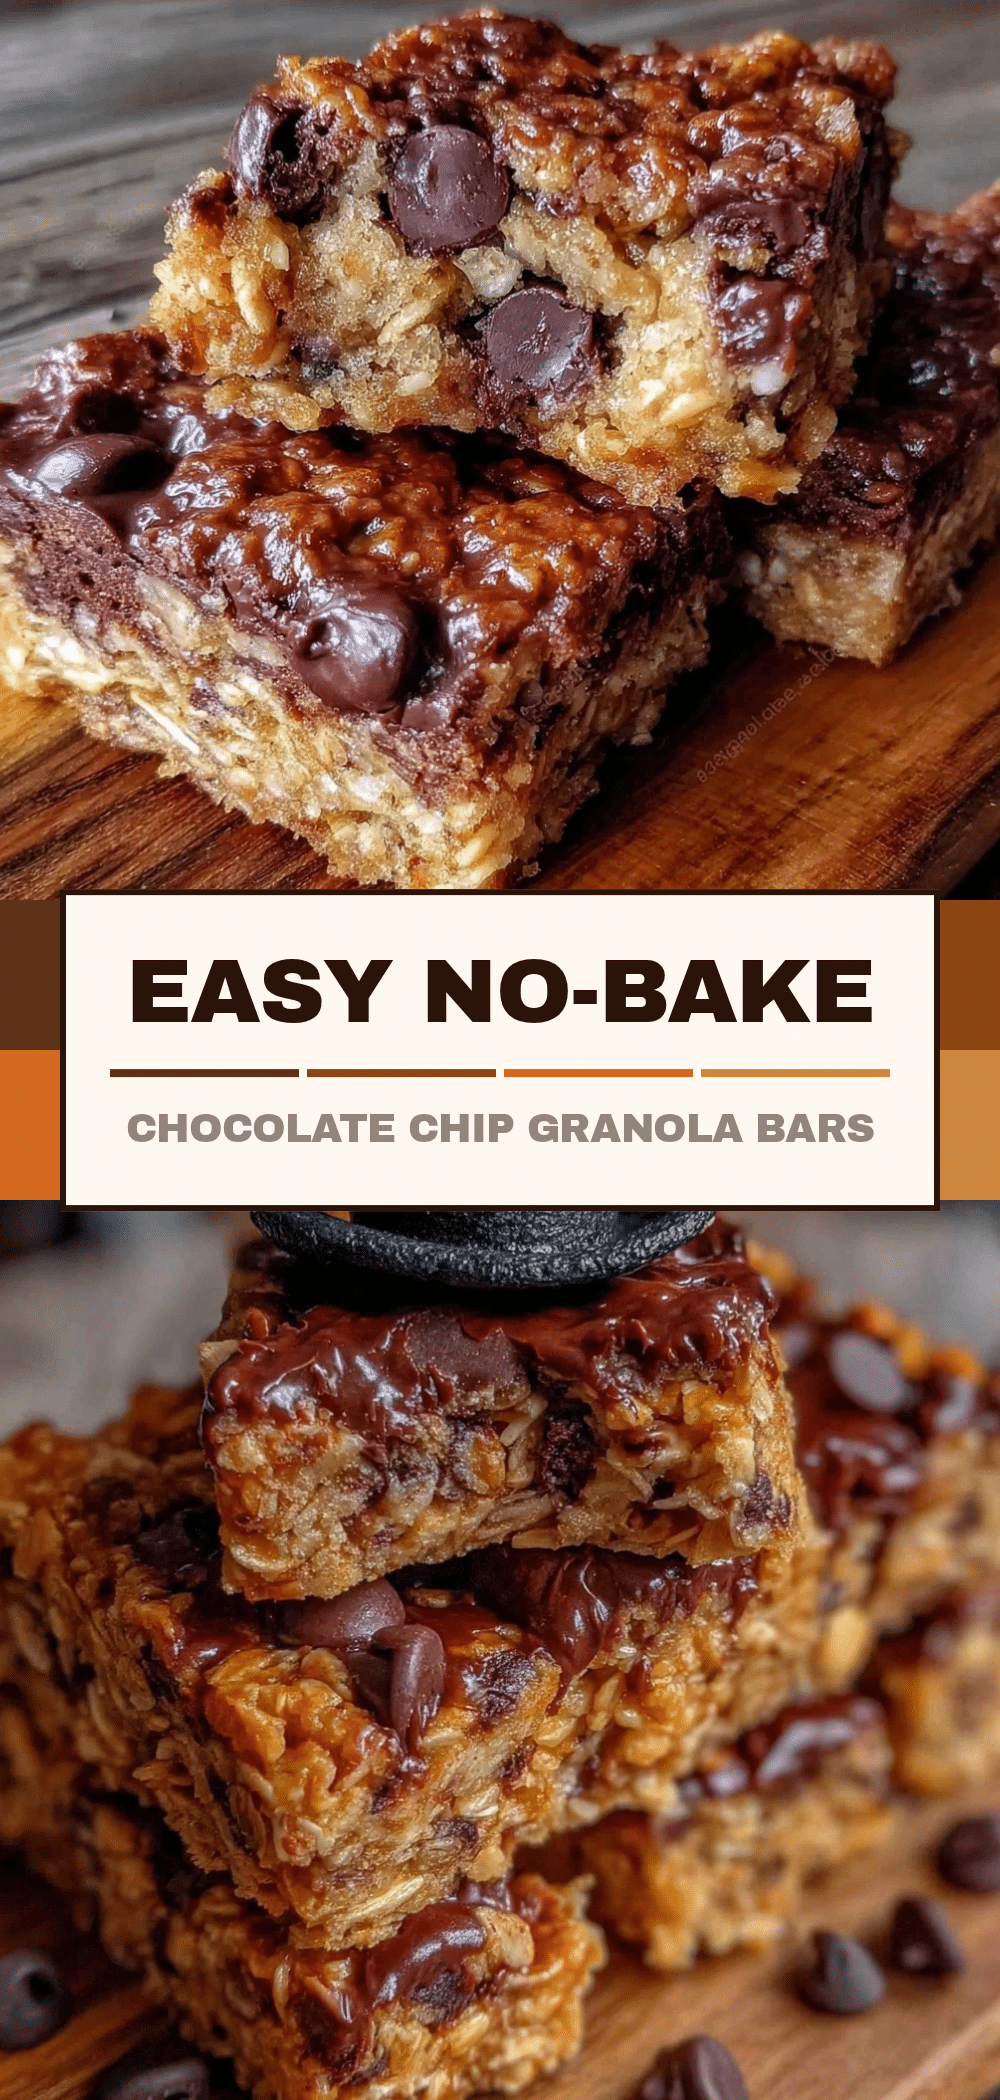
No-Bake Chocolate Chip Granola Bars
- Total Time: 40 minutes
- Yield: 12 servings 1x
Description
These easy no-bake granola bars are the perfect back-to-school snack. They are sturdy enough for lunchboxes, require zero oven time, and come together in minutes with just five simple ingredients.
Ingredients
- 3 cups (270g) old-fashioned rolled oats
- 1 cup (250g) natural creamy peanut butter (or sunflower seed butter)
- 1/2 cup (170g) honey
- 1 cup (170g) dark or semi-sweet chocolate chips
- 1/2 teaspoon fine sea salt
- 1 teaspoon vanilla extract
Instructions
- Line an 8×8 inch baking pan with parchment paper, leaving an overhang on the sides for easy removal.
- In a large mixing bowl, combine the rolled oats and any additional dry mix-ins (like seeds or dried fruit).
- In a microwave-safe bowl, combine the peanut butter and honey. Microwave on high for 30-45 seconds until warm and fluid. Stir until smooth.
- Pour the warm peanut butter and honey mixture over the oats. Add the vanilla extract and salt.
- Stir vigorously with a spatula until every oat is coated. Gently fold in the chocolate chips.
- Transfer the mixture to the prepared pan. Press down firmly and evenly using the back of a spoon or a measuring cup to ensure the bars hold together.
- Refrigerate for at least 30 minutes (or freeze for 15 minutes) until firm.
- Lift the bars out of the pan using the parchment paper overhang and cut into 12 squares or rectangles.
Notes
Do not use instant or quick oats as they will turn mushy. Ensure the peanut butter is warmed before mixing to ensure a smooth binding. Press the mixture firmly into the pan to prevent crumbling. Store in an airtight container at room temperature for up to one week.
- Prep Time: 10 minutes
- Cook Time: 0 minutes
- Category: Snack
- Cuisine: American
Nutrition
- Serving Size: 1 bar
- Calories: 280
- Sugar: 22
- Sodium: 120
- Fat: 14
- Saturated Fat: 5
- Carbohydrates: 35
- Fiber: 3
- Protein: 8
Keywords: no-bake, granola bars, chocolate chip, back-to-school snack, lunchbox ideas, easy snack, peanut butter, oats, meal prep


