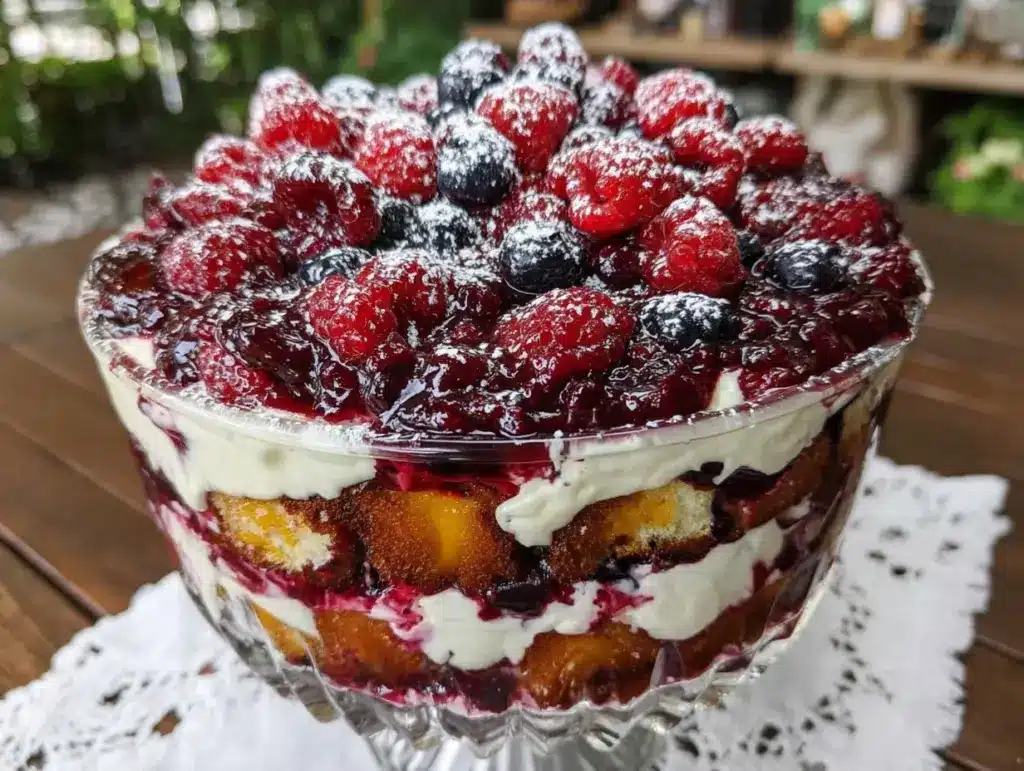
Last year, I stood in my kitchen at 4 PM on Labor Day, staring at a grocery receipt that made my eyes water. I had planned to make a fancy layered cake. You know the type—the one that requires three types of flour, heavy cream whipped to stiff peaks, and enough berries to stain your fingers purple for days. But life got in the way. The kids were arguing over the last slice of pizza, my husband was asking when dinner would be ready, and I realized I had zero time to bake, zero energy to decorate, and definitely zero money left for premium ingredients.
So, I did what any budget-conscious parent does: I scavenged. I raided the fridge and the pantry. I found a box of vanilla wafers, a tub of inexpensive vanilla pudding mix, and a bag of mixed berries that had been marked down because they were slightly bruised. I threw them into a large glass bowl with zero precision and zero shame. What came out was messy, beautiful, and absolutely delicious. My family devoured it. My in-laws asked for the recipe. And I spent the entire time feeling like a culinary genius instead of a stressed-out mom who gave up.
That accidental creation became my go-to for every summer holiday after that. This Easy Labor Day Berry Trifle is the ultimate budget-friendly dessert. It requires just five ingredients, takes less than 20 minutes to assemble, and looks so impressive that no one will ever know you didn’t bake it from scratch. It’s perfect for feeding a crowd without breaking the bank or spending hours in the kitchen. If you’re looking for a dessert that delivers maximum impact for minimum effort, this is it. Trust me, once you make this Easy Labor Day Berry Trifle once, you’ll never buy a $30 layered cake again.
Why You’ll Love This Budget-Friendly Trifle
Let’s be real for a second. Life is busy, and dinner parties are stressful. You want to impress your guests, but you also want to have a life outside the kitchen. This dessert hits that sweet spot perfectly. Here is why this recipe has earned a permanent spot in my weekly rotation:
- Five Ingredients, That’s It — I’m not exaggerating. You need vanilla wafers, instant pudding, milk, whipped topping, and berries. That’s it. No fancy gadgets, no obscure spices, no trip to three different specialty stores. It’s as simple as it gets.
- Ready in 20 Minutes — From opening the box to putting it in the fridge, it takes about 15 minutes. If you need dessert tonight, this is your answer. I’ve made this after guests arrived late, and it was ready before the main course was even cleared.
- Budget-Friendly for Large Groups — Feeding ten people a slice of homemade cake can cost $40 or more in ingredients. This trifle costs about $8 to $10. That’s less than a dollar per serving. For a Labor Day party with 15 people, this saves you money while still being generous.
- Kid-Approved Flavor — My kids are picky. They usually reject anything that looks “too fancy” or has “weird textures.” But vanilla wafers and sweet berries? They love it. It’s familiar flavors in a new presentation. It’s like eating dessert for breakfast, but for dinner.
- Make-Ahead Magic — This is the biggest game-changer. You can assemble this the night before. The flavors meld together, the cookies soften into something cake-like, and you don’t have to stress in the morning. It actually tastes better after sitting in the fridge for a few hours.
- Uses “Ugly” Fruit — Berries that are slightly soft or overripe are perfect here. Since they get mashed into the layers, appearance doesn’t matter. You can buy discounted berries and still get restaurant-quality flavor.
This is my go-to when I need a dessert that just works. It’s reliable, affordable, and always a hit. Whether you’re hosting a Labor Day barbecue or just need a sweet treat for the week, this Easy Labor Day Berry Trifle delivers every single time.
Key Ingredients for Success
You don’t need fancy ingredients for this recipe. In fact, using standard, affordable brands is part of the charm. Here is exactly what you need and why each component matters.
Vanilla Wafers (1 package, approx. 24 cookies) — These are the foundation. Don’t swap these for shortbread or graham crackers unless you want a completely different texture. Vanilla wafers are thin, crisp, and slightly sweet. They soften perfectly in the pudding. I usually buy the store brand because it’s half the price of the name brand, and honestly, you can’t tell the difference in this recipe.
Instant Vanilla Pudding Mix (2 boxes, 3.4 oz each) — We are using the dry mix, not the pre-made cups. This is crucial. The dry mix contains cornstarch and other thickeners that create the perfect creamy layer. Look for the standard “French Vanilla” flavor. Avoid the “sugar-free” versions if you want the best texture, as they can sometimes turn out watery or gelatinous.
Whole Milk (4 cups / 960 ml) — The pudding needs liquid to set. Whole milk gives you the richest, creamiest texture. If you’re watching dairy, you can use a high-fat plant-based milk like oat or soy, but skim milk will make the pudding too thin. Make sure the milk is cold before mixing.
Whipped Topping (1 container, 8 oz) — This is the fluffy layer that makes it feel indulgent. I use the frozen tub that you thaw in the fridge (like Cool Whip). It’s stable, cheap, and holds up well in the fridge. Do not try to whip your own cream unless you have an electric mixer and time; this recipe is about ease. If you want a slightly fresher taste, you can use a lighter whipped cream, but the stability of the tub version is superior for layering.
Mixed Berries (3 cups, fresh or frozen / 450g) — Strawberries, blueberries, raspberries, or blackberries all work. Fresh is nice, but frozen is cheaper and often better because they’re picked at peak ripeness. If you use frozen berries, do not thaw them completely before using. Just toss them in slightly frosty. They will thaw in the fridge and release their juices, creating a beautiful purple swirl.
Tools Needed
You don’t need fancy equipment to make this. Here is what I use, along with some budget-friendly alternatives.
Large Glass Trifle Bowl or Large Salad Bowl — A clear bowl is essential because the layers are the best part. If you don’t have a trifle bowl, a large, clear mixing bowl works perfectly. I use a 3-quart bowl. It’s big enough to serve 8-10 people comfortably.
Whisk or Electric Mixer — You need to whisk the pudding mix with the milk until it’s smooth. A hand whisk works fine, but an electric mixer is faster and ensures there are no lumps. I usually just use a whisk to save time.
Measuring Cups and Spoons — Standard measuring tools. Accuracy matters more here than in some recipes because the pudding needs the right ratio of milk to powder to set properly.
Spatula — A rubber spatula is great for spreading the whipped topping evenly without crushing the cookie layer underneath. A butter knife works in a pinch, but be gentle.
How to Make Easy Labor Day Berry Trifle
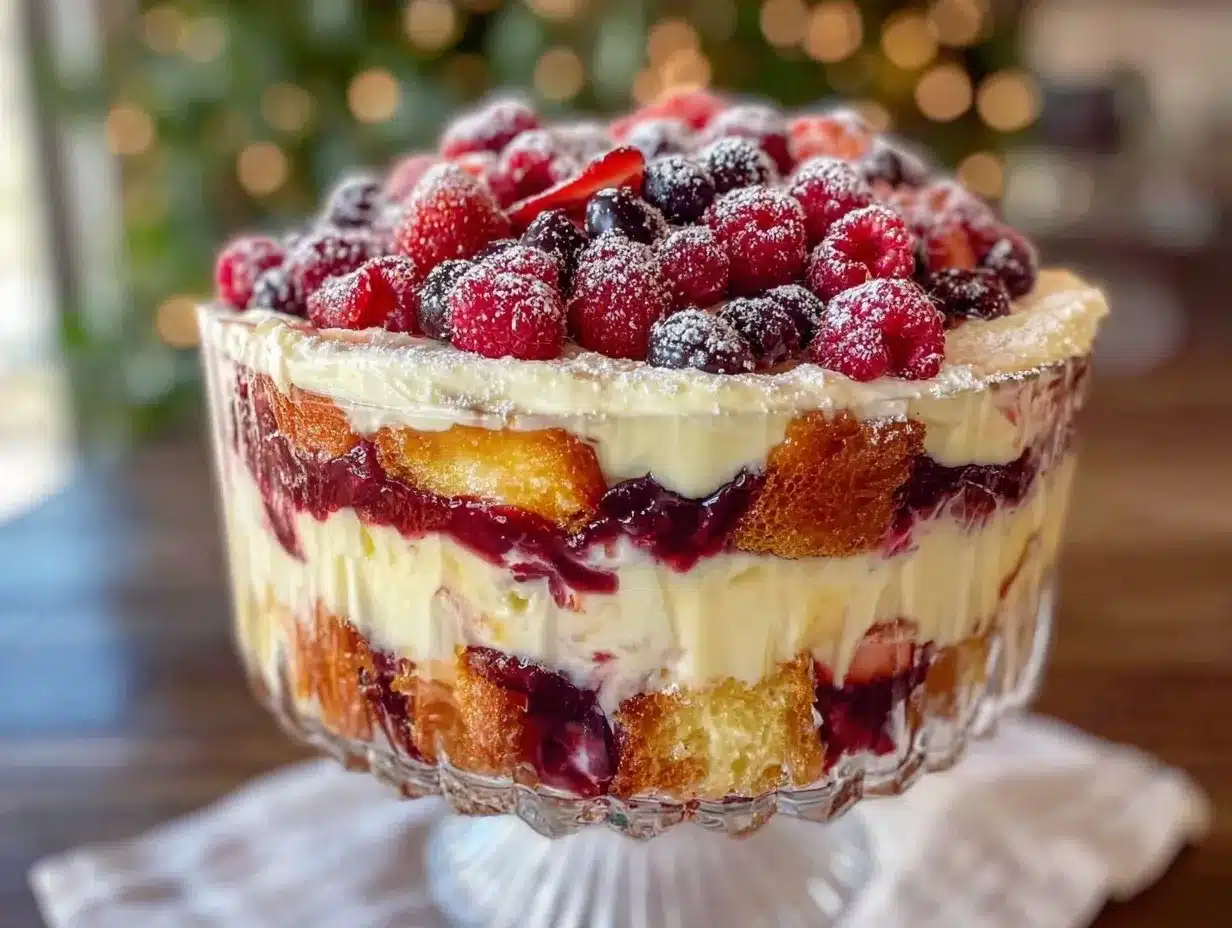
Let’s get into the steps. This is incredibly straightforward, but there are a few tricks to make sure it turns out perfect.
Step 1: Prepare the Pudding (5 minutes)
In a large bowl, combine the two boxes of instant vanilla pudding mix with the 4 cups of cold whole milk. Whisk vigorously for about 2 minutes. You want it to be thick and smooth. If you see lumps, keep whisking. The pudding will thicken further as it sits, so don’t worry if it looks a bit loose at first. Set it aside. It doesn’t need to set completely before you start layering, but it helps if it’s thick.
Step 2: Prepare the Berries (3 minutes)
If you are using fresh berries, wash and hull them (remove the green tops from strawberries). Slice the strawberries in half or quarters, depending on their size. Larger chunks are better for visibility. If you are using frozen berries, give them a quick rinse in cold water to remove ice crystals, but do not let them thaw. Toss them gently in a bowl. If you like a bit of sweetness, you can sprinkle a teaspoon of sugar over them, but the pudding and cookies are sweet enough that this is optional.
Step 3: First Layer – Cookies (2 minutes)
Take your large glass bowl. Place a single layer of vanilla wafers at the bottom. Don’t worry about making it perfectly flat; just cover the bottom. If the cookies are large, you might need to break one or two in half to fill gaps. You want about 8-10 cookies for this first layer. This layer provides the structural base for the trifle.
Step 4: Second Layer – Pudding (2 minutes)
Spread half of the prepared pudding mixture over the cookie layer. Use your spatula to spread it evenly to the edges. Don’t press down hard; just let it sit on top. You want a generous layer of cream here. This is where the flavor starts to build.
Step 5: Third Layer – Berries (2 minutes)
Scatter half of the berries over the pudding layer. Distribute them evenly. You want pockets of fruit in every bite. If you’re using strawberries, try to place the cut sides up for a nice presentation, but it’s not critical.
Step 6: Fourth Layer – Cookies (2 minutes)
Add another layer of vanilla wafers on top of the berries. Again, about 8-10 cookies. You might need to break a few more to fill in the gaps created by the berries. This layer helps absorb some of the berry juices, preventing the bottom from getting too soggy.
Step 7: Fifth Layer – Pudding (2 minutes)
Spread the remaining pudding over the second cookie layer. Make sure to get it into the corners. The pudding should be thick enough to hold its shape but creamy enough to spread easily. If it seems too stiff, you can add a tablespoon of milk, but usually, the initial mix is perfect.
Step 8: Final Layer – Whipped Topping & Berries (3 minutes)
This is the presentation layer. Spread the entire container of whipped topping over the pudding. Smooth the top with your spatula for a clean look. Then, sprinkle the remaining berries on top. You can arrange them artistically or just scatter them for a rustic look. I like to place a few whole strawberries on top for color contrast.
Total Time: 15-20 minutes active time. Chill Time: At least 2 hours, preferably overnight.
Expert Tips for the Best Trifle
Here is everything I learned from making this too many times. These tips will save you from common mistakes.
The Game-Changers
Don’t Skip the Chill Time
This is the most important step. I know it’s tempting to eat it right away. Don’t. The cookies need time to absorb the moisture from the pudding and berries. If you eat it immediately, you’ll have dry cookies and separate layers. After 2 hours, the cookies become soft and cake-like, and the flavors meld. After 4 hours, it’s even better. Overnight is best.
Use Cold Milk
Instant pudding sets faster and thicker with cold milk. If your milk is warm, the pudding might stay too loose, and your layers will slide into each other. Keep the milk in the fridge until the very last second.
Break, Don’t Crush, the Cookies
When you need to fill gaps in the cookie layer, break the cookies in half. Do not crush them into crumbs unless you want a mushy texture. You want distinct pieces that soften but still have some structure.
Common Problems & Solutions
Problem: The pudding is too thin.
Solution: You probably used too much milk or didn’t whisk enough. Next time, measure the milk carefully. If it’s already mixed and too thin, you can refrigerate it for 30 minutes to see if it thickens, but it’s hard to fix once layered.
Problem: The berries are too watery.
Solution: If you use very ripe fresh berries, they might release a lot of juice. To prevent a soggy bottom, add an extra layer of cookies at the very bottom, or sprinkle a few crushed graham crackers there for absorption. Frozen berries are actually safer because they release less juice initially.
Problem: The layers are messy.
Solution: This is normal! Trifle is meant to be rustic. If you want cleaner lines, use a piping bag for the whipped topping and spoon the pudding gently. But honestly, the messy look is part of the charm.
Pro Tricks
Add a Flavor Twist
If you want to get fancy, add a tablespoon of lemon zest to the pudding mix. It cuts through the sweetness and makes the berry flavor pop. Or, add a splash of vanilla extract to the whipped topping for extra aroma.
Double the Batch
If you’re feeding a large crowd, double the recipe. Use two bowls or a very large rectangular baking dish. The layering process is the same, just repeat the steps. It’s great for meal prep.
Recipe Variations
Once you’ve nailed the basic version, here’s how to mix it up. This base recipe is incredibly versatile.
Strawberry Shortcake Trifle
Swap the mixed berries for sliced fresh strawberries and a layer of crushed shortbread cookies. Add a dollop of fresh whipped cream between layers. This tastes like summer in a bowl.
Chocolate Berry Trifle
Use chocolate pudding mix instead of vanilla. The combination of chocolate and strawberries is classic. You can also add a layer of chocolate chips for texture.
Tropical Berry Trifle
Use coconut pudding mix and top with pineapple chunks and toasted coconut flakes. It’s a vacation in a bowl.
Dairy-Free Option
Use almond milk or oat milk for the pudding, and a dairy-free whipped topping. The texture will be slightly different, but still delicious. Check the pudding mix label to ensure it’s dairy-free.
Gluten-Free Option
Use gluten-free vanilla wafers. Many brands make great GF cookies that hold up well in trifle. Just check the ingredients to ensure they aren’t too fragile.
Vegan Option
Use a vegan instant pudding mix and a plant-based whipped topping. The result is surprisingly creamy and satisfying.
Serving & Storage
Serving Suggestions:
Serve this trifle with a spoon. It’s best eaten chilled. For a Labor Day party, pair it with something savory like grilled chicken or burgers. It’s also great alongside a glass of iced tea or a watermelon mint mocktail to keep the summer vibe going. If you want a drink pairing, a cold brew coffee can be a nice contrast, though it’s less traditional.
Storage:
Keep this trifle covered in the refrigerator. It will last for up to 3 days. The cookies will continue to soften, so it might get mushier on day 3. It’s best eaten within 2 days for the best texture.
Freezing:
I don’t recommend freezing this trifle. The whipped topping and cookies don’t freeze well. They become watery and grainy when thawed. Make it fresh for best results.
Meal Prep Tip:
You can assemble this the night before. Cover it tightly with plastic wrap or a lid. It actually tastes better the next day because the flavors have had time to blend. This is perfect for busy weeknights or last-minute guests.
Nutrition Information
I’m not a nutritionist, but here’s the breakdown per serving (assuming 8 servings):
| Nutrient | Amount |
|---|---|
| Calories | 280 |
| Protein | 4g |
| Carbohydrates | 42g |
| Fiber | 2g |
| Fat | 12g |
| Sodium | 250mg |
My Take:
This is a sweet, indulgent dessert. It’s high in sugar and carbs because of the cookies and pudding. It’s not “health food,” but it’s a fun treat. Compared to a slice of layered cake with frosting, it’s actually lighter because of the fruit and airiness of the whipped topping. Enjoy it in moderation!
Final Thoughts
This Easy Labor Day Berry Trifle is more than just a dessert. It’s a reminder that you don’t need to spend a lot of money or time to make something special. It’s about using what you have, keeping things simple, and enjoying the moment with your family. I’ve made this for holidays, birthdays, and random Tuesdays, and it never fails to bring a smile to everyone’s face.
If you make this, I’d love to hear how it turns out! Drop a comment below with your favorite berry combination or any variations you tried. Did you add lemon zest? Did you use frozen berries? Let me know! Happy cooking!
FAQs
Can I make this trifle ahead of time?
Yes! This is one of its best features. You can assemble it up to 24 hours in advance. In fact, it tastes better the next day because the cookies soften and the flavors meld. Just keep it covered in the fridge until you’re ready to serve.
Can I use frozen berries?
Absolutely. Frozen berries are often cheaper and just as tasty. Do not thaw them completely before adding them to the trifle. If they are too wet, they can make the layers soggy. Add them straight from the freezer, and they will thaw in the fridge.
What if I don’t have vanilla wafers?
You can use other cookies like shortbread, graham crackers, or even ladyfingers. However, the texture will be different. Vanilla wafers are thin and crisp, which works best. If you use thicker cookies, you might need to break them into smaller pieces.
How long does this trifle last in the fridge?
It lasts for about 3 days. After that, the cookies will become too soft and the texture will be mushy. It’s best eaten within 2 days for the best experience.
Can I make this in a baking dish instead of a bowl?
Yes. A 9×13 inch baking dish works well if you’re feeding a large crowd. Just double the recipe. The layering process is the same. You can cover it with foil or plastic wrap for storage.
Why is my pudding too thin?
This usually happens if you use too much milk or if the milk wasn’t cold enough. Make sure you follow the package instructions for the amount of milk. Also, whisk the pudding well to ensure it thickens properly.
Is this recipe gluten-free?
The standard recipe is not gluten-free because of the vanilla wafers. However, you can easily make it gluten-free by using gluten-free vanilla wafers and checking the pudding mix label. Most instant pudding mixes are naturally gluten-free, but always double-check.
Pin This Recipe!
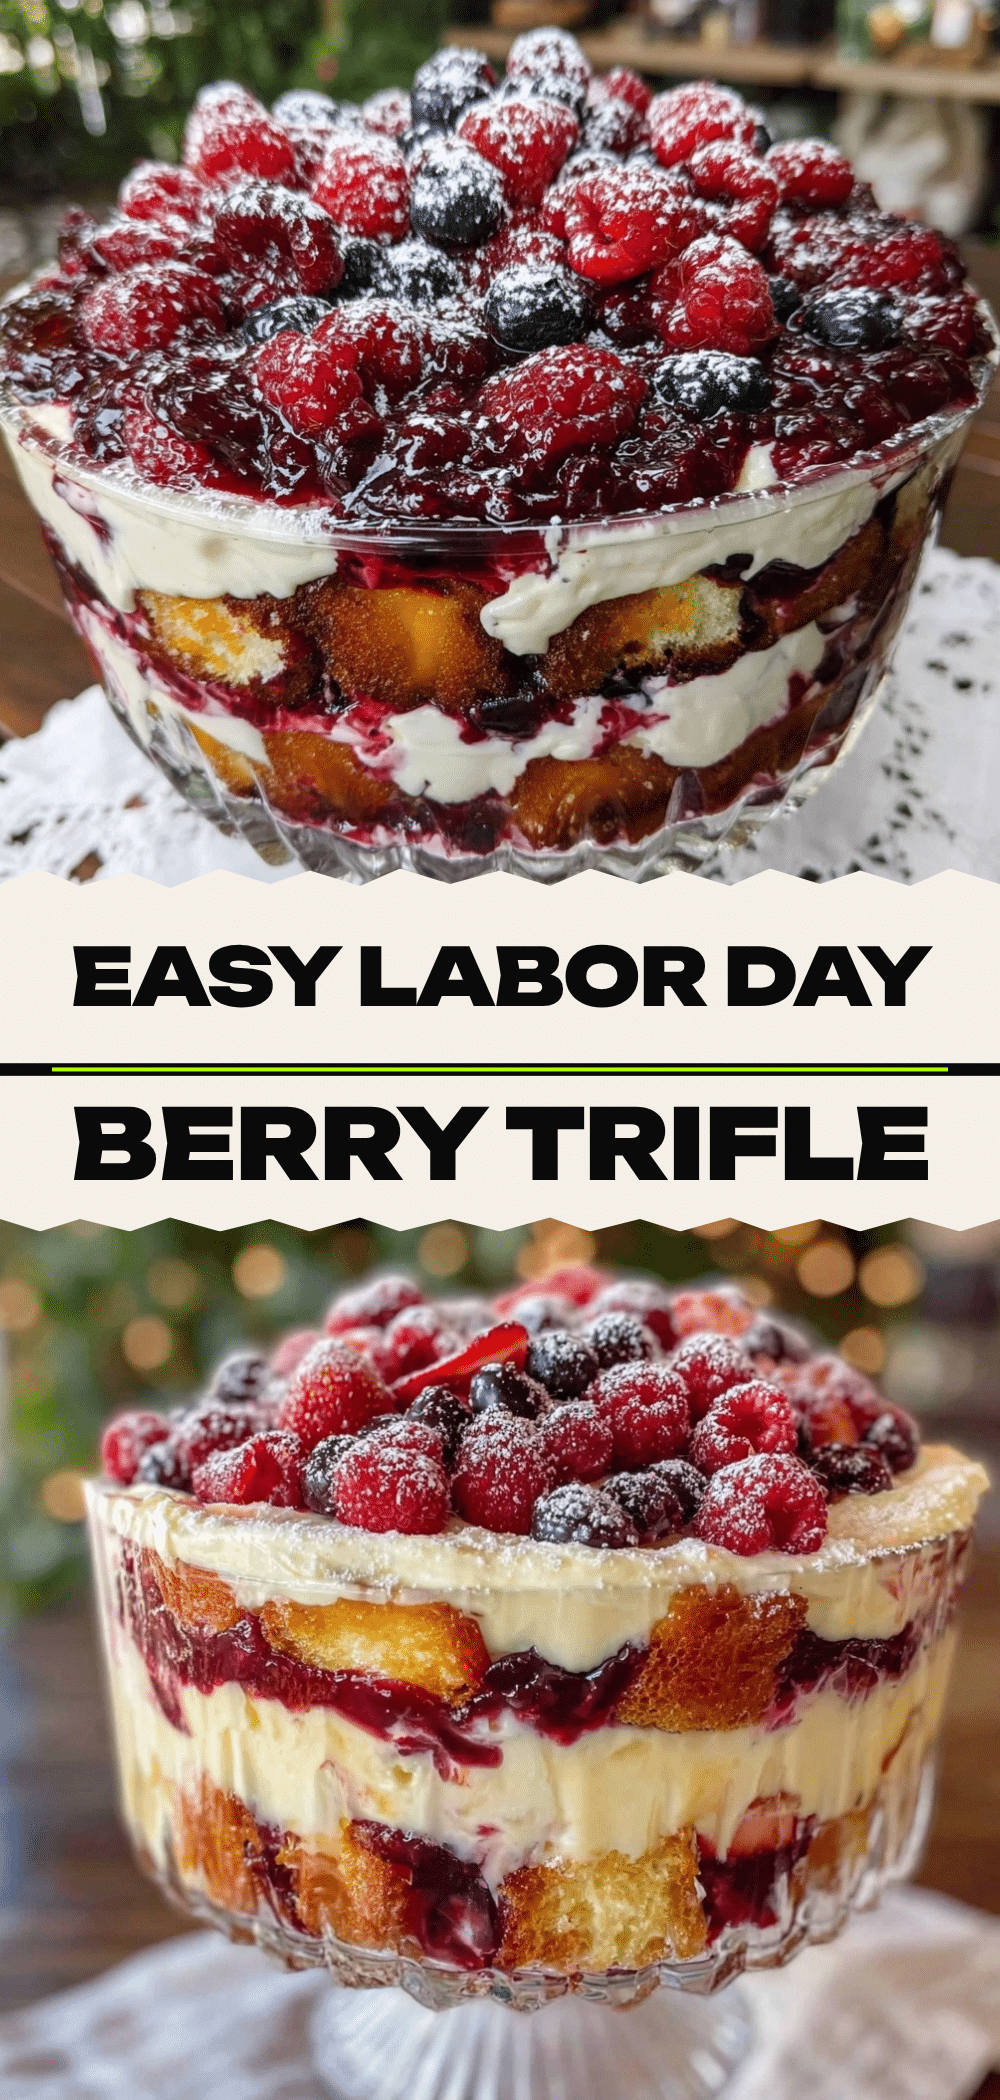

Easy Labor Day Berry Trifle
- Total Time: 20 minutes
- Yield: 8 servings 1x
Description
A budget-friendly, 5-ingredient dessert that requires no baking and takes less than 20 minutes to assemble. This layered trifle uses vanilla wafers, instant pudding, whipped topping, and mixed berries for a make-ahead treat perfect for crowds.
Ingredients
- 1 package (approx. 24 cookies) vanilla wafers
- 2 boxes (3.4 oz each) instant vanilla pudding mix
- 4 cups cold whole milk
- 1 container (8 oz) whipped topping (thawed)
- 3 cups mixed berries (fresh or frozen)
Instructions
- In a large bowl, combine the two boxes of instant vanilla pudding mix with the 4 cups of cold whole milk. Whisk vigorously for about 2 minutes until thick and smooth. Set aside.
- If using fresh berries, wash and hull them, slicing strawberries in half or quarters. If using frozen berries, rinse briefly to remove ice crystals but do not thaw completely.
- Place a single layer of vanilla wafers (about 8-10 cookies) at the bottom of a large glass trifle bowl or salad bowl.
- Spread half of the prepared pudding mixture evenly over the cookie layer.
- Scatter half of the berries over the pudding layer.
- Add a second layer of vanilla wafers (about 8-10 cookies) on top of the berries.
- Spread the remaining pudding over the second cookie layer.
- Spread the entire container of whipped topping over the pudding, smoothing the top.
- Sprinkle the remaining berries on top for presentation.
- Refrigerate for at least 2 hours, preferably overnight, to allow cookies to soften and flavors to meld before serving.
Notes
Use cold milk to ensure the pudding sets properly. Do not skip the chill time; the cookies need at least 2 hours to soften and absorb moisture. Frozen berries can be used directly from the freezer without thawing to prevent sogginess. This dessert is best eaten within 2-3 days.
- Prep Time: 15 minutes
- Cook Time: 0 minutes
- Category: Dessert
- Cuisine: American
Nutrition
- Serving Size: 1 slice
- Calories: 280
- Sodium: 250
- Fat: 12
- Carbohydrates: 42
- Fiber: 2
- Protein: 4
Keywords: berry trifle, budget dessert, easy dessert, labor day dessert, no bake dessert, make ahead dessert, 5 ingredient dessert, family friendly dessert


