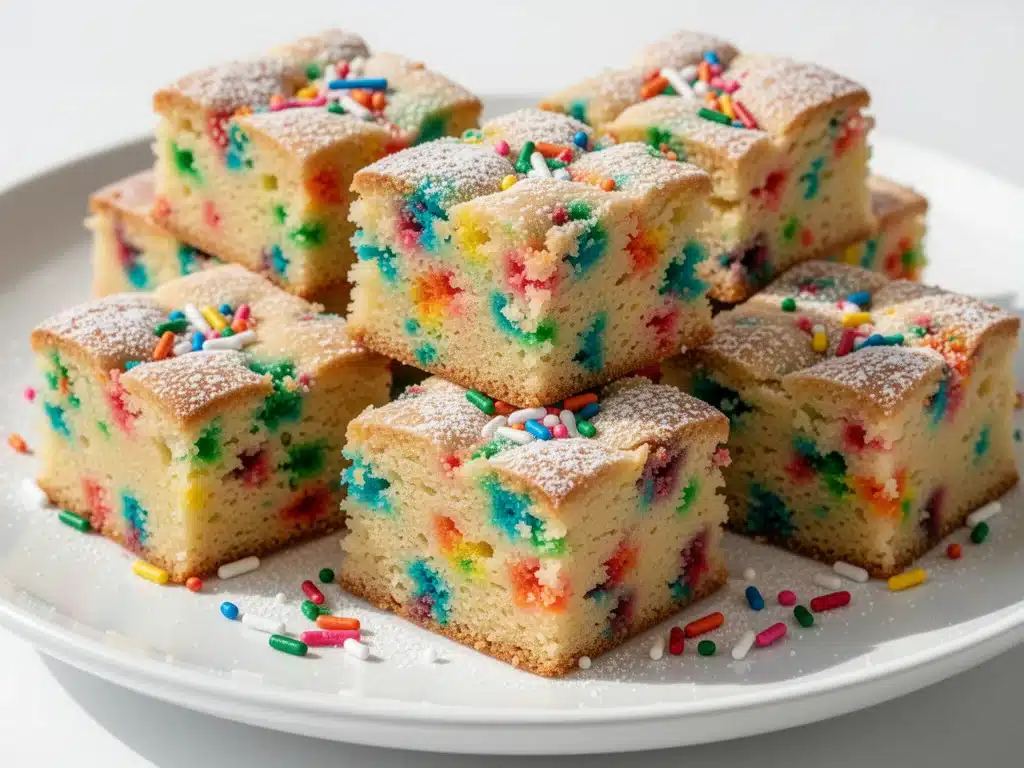
There is a specific kind of magic that happens when you pull a pan of freshly baked funfetti cake bars out of the oven. It’s not just the smell—that intoxicating mix of vanilla sugar and warm butter that hits you before you even open the door to the kitchen. It’s the visual. Those bright, confetti-colored specks scattered across a golden, pillowy surface look like a party that hasn’t happened yet.
I remember the first time I made these. I was trying to recreate the nostalgia of my childhood birthday parties without the hassle of a towering, multi-layered cake that inevitably collapsed in the middle. I wanted something that felt festive but was actually manageable for a Tuesday night. I wanted bars that were soft, chewy in the best way, and packed with enough sprinkles to make my kids’ eyes light up without being dry or crumbly.
What I ended up with wasn’t just a compromise; it was better. These soft funfetti cake bars with sprinkles became the go-to dessert for everything from school bake sales to impromptu snack times. They’re easier than a traditional cake, more portable than cupcakes, and honestly? They taste like pure happiness. I’ve tested this recipe more times than I can count, tweaking the butter ratio, the flour type, and the sprinkle distribution to get that perfect tender crumb. And let me tell you, once you try them, you’ll be making them on repeat. It’s my new favorite easy dessert, right up there with my fall chocolate chip pumpkin bread for sheer comfort factor.
So, if you’re looking for a dessert that looks impressive but is actually stupid simple to throw together, you’re in the right place. These bars are moist, colorful, and incredibly delicious. Let’s get baking.
Why You’ll Love This Recipe
I’ve made my fair share of desserts over the years, and I’m particular about what makes the cut for my regular rotation. This funfetti cake bar recipe has earned its spot, and here’s exactly why.
Stupid Simple One-Bowl Method
Seriously, you don’t need a mixer. You don’t need fancy equipment. You just need one large bowl and a whisk. I mix the dry ingredients, I mix the wet ingredients, and then I combine them. It’s that easy. I’ve made these while holding a toddler on my hip, and they still turned out perfect. No electric mixer required means less cleanup and less stress.
Moist and Chewy, Not Dry
The biggest complaint I hear about homemade cake mixes is that they turn out dry or powdery. These bars are different. By using a combination of butter and oil (yes, both), we get the rich flavor of butter with the moisture-retaining properties of oil. The result is a bar that’s tender and chewy, not dry and crumbly. It stays soft for days, which is crucial for bar cookies.
Colorful and Fun
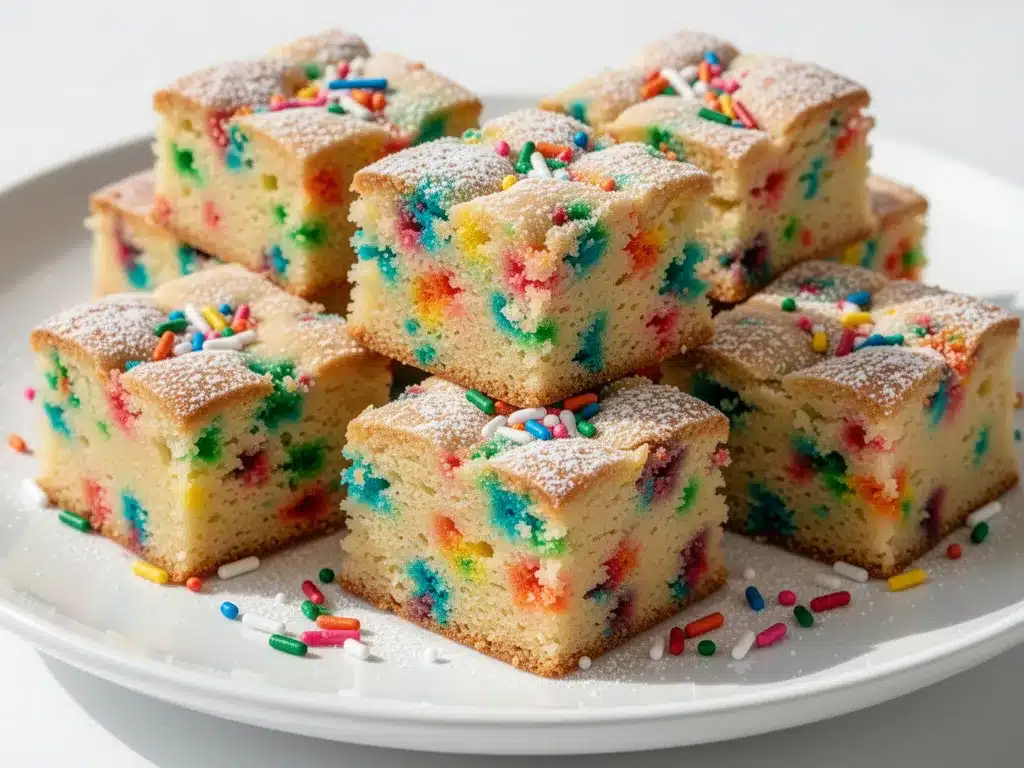
Let’s be real—we eat with our eyes first. The sprinkles aren’t just for decoration; they’re mixed *into* the batter, so every single bite has a little burst of color and sweetness. It’s festive for any occasion: birthdays, holidays, spring celebrations, or just because it’s a Tuesday. They look like a party on a plate.
Budget-Friendly Party Food
Feeding a crowd doesn’t have to break the bank. This recipe makes a 9×13 pan of bars, which easily feeds 12 to 16 people depending on how big you cut them. Compared to buying cupcakes or a custom cake, this costs a fraction of the price. I’ve used this recipe for my kids’ classroom parties, and it’s always the first thing to disappear. It’s a crowd-pleaser that won’t leave your wallet empty.
Make-Ahead Friendly
These bars actually taste better the next day. The flavors meld together, and the texture settles into something even more cohesive. I often make them the night before an event, cover them tightly, and bring them along the next day. They hold up beautifully at room temperature for up to three days, making them the perfect stress-free dessert for hosting.
Whether you’re a baking novice or a seasoned pro, these bars are reliable, delicious, and endlessly customizable. They’re the kind of recipe that makes you feel like a hero in the kitchen without the work.
Ingredients You’ll Need
One of the best things about this funfetti cake bars recipe is how simple the ingredient list is. You probably have most of this already in your pantry. I’m not using any weird, hard-to-find items here. Just good, honest baking staples.
For the Cake Batter
All-purpose flour (2 ½ cups / 315g) — This is your base. Don’t use cake flour unless you want them super delicate, because we want that tender but substantial bar texture. Spoon and level your flour; don’t scoop straight from the bag, or you’ll end up with dry bars.
Baking powder (2 teaspoons) — This gives them their lift. Make sure yours isn’t expired! I keep a fresh box at all times because old baking powder is the silent killer of fluffy cakes.
Baking soda (½ teaspoon) — Works in tandem with the baking powder to ensure even browning and rise.
Salt (½ teaspoon) — Essential for balancing the sweetness. Don’t skip it, even if you like sweet desserts. It makes the vanilla taste more like vanilla.
Unsalted butter (½ cup / 115g, softened) — Softened is key. If it’s melted, your texture will change. If it’s rock hard, you won’t cream it properly. I leave mine on the counter for an hour before baking. You can use salted butter, but reduce the added salt to ¼ teaspoon.
Granulated sugar (1 ½ cups / 300g) — This provides structure and sweetness. Don’t reduce this significantly, or the bars won’t spread or brown correctly.
Vegetable oil (½ cup / 120ml) — This is my secret weapon for moisture. Oil keeps baked goods soft longer than butter alone. I use a neutral oil like canola or vegetable. Olive oil would be too strong here.
Eggs (2 large, room temperature) — Room temperature eggs emulsify better into the batter. Cold eggs can cause the butter to seize up slightly. If I forget, I soak them in warm water for 5 minutes.
Vanilla extract (2 teaspoons) — Use the real stuff. I’m not ashamed to admit it; imitation vanilla tastes chemical and flat. Good vanilla makes all the difference in a simple cake.
Whole milk (½ cup / 120ml) — Adds richness and helps bind the dry ingredients. You can use buttermilk for a tangier, tender crumb, but whole milk is standard and works perfectly.
For the Topping
Funfetti sprinkles (1 cup / 100g) — I use jimmies, not nonpareils. Jimmies hold their shape better and don’t bleed color into the batter as much. I love the rainbow variety for that classic party look. If you can’t find funfetti sprinkles, just mix red, blue, yellow, and white jimmies.
Optional: Additional sprinkles for the top — I like to press a few extra sprinkles onto the top of the batter before baking for that extra festive look. It’s purely aesthetic, but it looks so good on Instagram.
Substitutions
Gluten-Free? Yes! I’ve tested this with 1:1 gluten-free flour blends (like King Arthur or Bob’s Red Mill), and they work great. Just make sure your blend contains xanthan gum; if not, add ½ teaspoon.
Dairy-Free? Swap the butter for vegan butter sticks (not tubs) and the milk for almond or oat milk. The oil stays the same. They’re still moist and delicious.
Egg-Free? You can use flax eggs (2 tablespoons ground flaxseed mixed with 6 tablespoons water, rested for 5 minutes), but the texture will be slightly denser. I haven’t tested this extensively, but it’s worth a try for allergies.
Equipment Needed
You don’t need a lot of fancy gear for this. Here’s what I actually use in my kitchen.
9×13 Inch Baking Pan — This is the standard size for bar cookies. I use a glass Pyrex pan because it heats evenly and I can see the bottom browning. Dark metal pans might brown the edges too quickly, so if you use one, reduce the oven temp by 25°F.
Large Mixing Bowl — Something big enough to hold all the ingredients without splattering. Glass or ceramic works well.
Whisk — For mixing the dry ingredients and combining the wet and dry. A whisk breaks up lumps better than a spoon.
Spatula — A silicone spatula is great for scraping the bowl and folding in the sprinkles without overmixing.
Parchment Paper — This is non-negotiable for me. I line the pan with parchment, leaving an overhang on the sides. This makes lifting the bars out of the pan super easy and keeps cleanup to a minimum. Grease the parchment lightly too.
Cooling Rack — For cooling the bars evenly. I’ve learned the hard way that cooling them in the pan can lead to soggy bottoms.
Knife or Pizza Cutter — For slicing. A sharp knife gives clean cuts, but a pizza cutter is faster and doesn’t squish the bars. I usually use the pizza cutter for these.
Measuring Cups and Spoons — Accuracy matters in baking. I use standard dry and liquid measuring cups. If you don’t have a kitchen scale, measuring cups are fine, just be consistent.
How to Make It: Step-by-Step
Alright, let’s get into the nitty-gritty. I’m walking you through exactly how I make these, including the little tricks that ensure success every single time.
Step 1: Prep Your Pan and Oven (5 minutes)
Preheat your oven to 350°F (175°C). This is crucial—make sure it’s fully heated before you put the bars in. Line your 9×13 inch baking pan with parchment paper. I like to lay it across the pan so it overhangs on two opposite sides, creating “handles” to lift the baked bars out later. Lightly grease the parchment with cooking spray or a thin layer of butter. This prevents sticking.
Step 2: Mix the Dry Ingredients (2 minutes)
In your large mixing bowl, whisk together the flour, baking powder, baking soda, and salt. Whisking ensures that the leavening agents are evenly distributed. If you skip this, you might get pockets of baking soda that taste bitter. Whisk for about 30 seconds until it’s all uniform.
Step 3: Cream the Butter and Sugar (2 minutes)
Add the softened butter and granulated sugar to the dry ingredients. Wait, what? Yes, I cream them together right in the bowl with the flour. This step helps aerate the mixture and distributes the fat evenly. Use your whisk or a hand mixer to combine until it looks like wet sand. It doesn’t need to be light and fluffy like a cake batter—just well combined.
Step 4: Add Wet Ingredients (2 minutes)
Add the eggs, vanilla extract, and vegetable oil. Mix until just combined. Then, pour in the milk. Mix again until the batter is smooth and glossy. Be careful not to overmix at this stage. Overmixing develops gluten, which can make your bars tough. You want tender, not chewy like bread.
Step 5: Fold in the Sprinkles (1 minute)
Here’s the fun part. Add 1 cup of funfetti sprinkles to the batter. Use your spatula to gently fold them in. Fold until they’re just distributed. If you mix too vigorously, the sprinkles will break and bleed color, turning your batter pink or blue. Gentle folds keep them bright and distinct.
Step 6: Bake (25-30 minutes)
Pour the batter into your prepared pan. Spread it out evenly with your spatula. If you want, press a few extra sprinkles onto the top for decoration. Bake in the preheated oven for 25-30 minutes. How do you know they’re done? The edges should be golden brown, and the center should spring back lightly when touched. A toothpick inserted into the center should come out with a few moist crumbs, not wet batter. If it’s clean, they might be overbaked.
Step 7: Cool and Slice (30 minutes)
Let the bars cool in the pan for at least 15-20 minutes. This allows them to set. If you try to cut them while they’re hot, they’ll fall apart. Once they’ve cooled slightly, use the parchment overhang to lift them out of the pan. Place on a cooling rack to cool completely. This step is important for clean slicing. Once cool, cut into squares. I usually cut them into 12 or 16 pieces, depending on how hungry my family is.
Total time is about 45 minutes, with most of that being hands-off baking time. It’s as easy as it gets.
Expert Tips & Tricks
Here’s everything I’ve learned from making these dozens of times. These tips will save you from my mistakes.
Don’t Overbake
This is the #1 mistake people make. Cake bars continue to cook slightly after you take them out of the oven due to residual heat. Pull them when the toothpick has a few moist crumbs. If you wait until it’s completely clean, they’ll be dry. I learned this the hard way with a batch of powder-dry bars that my kids politely pushed around their plates.
Room Temperature Ingredients
I can’t stress this enough. Room temperature butter and eggs emulsify better. If your butter is too cold, it won’t mix evenly. If your eggs are too cold, they can curdle the batter. Plan ahead and let them sit out while you preheat the oven.
Measure Flour Correctly
Flour is the enemy of moisture if you use too much. Never scoop flour directly from the bag with the measuring cup. This packs it down. Instead, spoon flour into your measuring cup and level it off with a knife. This simple habit makes a huge difference in texture.
Use Quality Sprinkles
I’ve tried cheap, generic sprinkles, and they bleed color all over the place. I always buy brand-name jimmies (like Wilton or Sprinkles). They hold their shape and color better. It’s a small extra cost that’s worth it for the visual appeal.
Storage is Key
Once cooled, store these in an airtight container at room temperature for up to 3 days. If it’s very humid, keep them in the fridge. They’ll last up to 5 days refrigerated. Bring them to room temperature before serving for the best texture. Do not freeze unbaked batter; it doesn’t freeze well. Freeze baked bars instead.
Variations & Substitutions
Once you’ve nailed the basic version, here’s how you can mix it up. I’ve tried all of these, and they’re all winners.
Chocolate Chip Funfetti
Add 1 cup of chocolate chips along with the sprinkles. It’s like a cookie version of the cake bar. My kids love this combo. It’s similar in vibe to my pumpkin snickerdoodle cookies but in bar form.
Lemon Funfetti
Swap the vanilla extract for lemon extract and add the zest of one lemon to the batter. Add a simple lemon glaze on top (powdered sugar + lemon juice) after baking. It’s bright and refreshing, perfect for spring.
Strawberry Funfetti
Replace the milk with strawberry milk for a pink tint and extra flavor. Add freeze-dried strawberry powder to the dry ingredients for an intense berry taste. This is a hit at baby showers and gender reveals.
Red Velvet Twist
Add 1 tablespoon of cocoa powder and 1 teaspoon of red food coloring to the batter. Use red and white sprinkles only. It’s a funfetti version of red velvet cake. Very festive for Valentine’s Day.
Gluten-Free
As mentioned earlier, use a 1:1 gluten-free flour blend. Ensure your baking powder is certified GF. The texture will be slightly more delicate, but still delicious.
Dairy-Free
Use vegan butter and plant-based milk. I’ve used Earth Balance sticks and almond milk with great results. The sprinkles are usually dairy-free, but check the label just in case.
Neapolitan Style
Divide the batter into three bowls. Keep one plain, add cocoa to the second, and add strawberry extract to the third. Layer them in the pan for a tri-color effect. This is more advanced but looks stunning. It’s reminiscent of the flavors in my neapolitan ice cream cake.
Serving & Storage
How to serve these bars for maximum impact.
How to Serve
I usually serve these at room temperature. They’re best enjoyed with a cold glass of milk. For parties, I arrange them on a platter with a few fresh berries on the side for a pop of color contrast. They’re also great in lunchboxes for kids—just cut them into smaller squares.
Side Dishes
These bars are a dessert, so they don’t really have side dishes. But if you’re serving them as part of a larger meal, they pair well with simple desserts like vanilla ice cream or whipped cream. I also like to serve them with coffee or tea in the afternoon.
Storage Instructions
Room Temperature: Store in an airtight container for up to 3 days. Line layers with parchment paper to prevent sticking. Keep away from direct sunlight to preserve the sprinkle colors.
Refrigerator: If your kitchen is hot or humid, store in the fridge for up to 5 days. Let them come to room temperature before eating for the best texture. Cold cake bars can be dense.
Freezer: Yes, you can freeze baked bars. Wrap them tightly in plastic wrap, then in foil or place in a freezer bag. They’ll last for up to 2 months. Thaw overnight in the fridge or at room temperature. Do not freeze unbaked batter.
Reheating: You don’t need to reheat these, but if you prefer them warm, microwave a square for 10-15 seconds. It’ll make the center soft and gooey. Don’t overdo it, or they’ll become tough.
Nutrition Information
I’m not a nutritionist, but here’s the breakdown if you’re tracking. Please note that this is an estimate based on standard ingredients and serving sizes.
Per Serving (based on 12 bars):
- Calories: 280
- Protein: 3g
- Carbs: 42g
- Fiber: 1g
- Sugar: 28g
- Fat: 12g
- Saturated Fat: 6g
- Cholesterol: 35mg
- Sodium: 180mg
What’s Good:
It’s a treat, so don’t expect it to be health food. But it does have some protein from the eggs and dairy. It’s also relatively low in sodium compared to store-bought desserts.
What to Know:
High in sugar and carbs, obviously. It’s a cake bar, after all. If you’re watching your sugar intake, consider cutting them into smaller pieces. The oil content is moderate, but it’s neutral oil, so it’s not loaded with saturated fat.
My Take:
Look, this is a fun, festive dessert. It’s not a diet recipe. But it’s way better than store-bought box mix bars, and you control the ingredients. When I make them, I sometimes reduce the sugar by ¼ cup, and they’re still sweet enough. Enjoy them in moderation and share with friends!
Final Thoughts
So, that’s my go-to soft funfetti cake bars recipe! I’ve probably talked your ear off at this point, but when you make a recipe this often, you have a lot to say about it.
This has saved me more times than I can count. It’s my answer to “what’s for dessert?” when I want something special but don’t have hours to bake. My kids are happy, my husband’s happy, and I’m happy because I’m not stressed about making something complicated.
Make it yours! Try different sprinkle colors, add chocolate chips, or swap in lemon flavor. The best recipes are the ones you adapt to your family’s tastes. I love seeing how other people make these their own.
If you make this, drop a comment and let me know what you think! I love hearing how recipes turn out in your kitchen. And if something doesn’t work, tell me that too—I’m here to help troubleshoot. Happy baking!
Frequently Asked Questions
Can I use a box cake mix instead?
Yes, you can! Use a 15.25 oz box of yellow or white cake mix. Add 2 eggs, ½ cup oil, and ½ cup water (or milk) as directed on the box. Fold in 1 cup of sprinkles. Bake as directed. It’s a great shortcut if you’re in a pinch, though homemade batter tastes richer.
Why did my cake bars turn out dry?
Usually, this means they were overbaked. Cake bars continue to cook after removal from the oven. Pull them when the toothpick has moist crumbs. Also, check your flour measurement. If you scooped it directly from the bag, you may have used too much flour, which absorbs moisture.
Can I freeze the batter?
No, I don’t recommend freezing the batter. The leavening agents may lose effectiveness, and the texture can become grainy. It’s best to bake them fresh. However, you can freeze the baked bars for up to 2 months.
Why did my sprinkles bleed color?
This happens if you use low-quality sprinkles or overmix the batter. Nonpareils (tiny round sprinkles) are more prone to bleeding. Use jimmies and fold the sprinkles in gently and quickly. Also, avoid leaving the batter sitting too long before baking.
Can I make these in a different pan size?
Yes, but adjust the baking time. For an 8×8 pan, the bars will be thicker and may need 35-40 minutes. For a 9×13 pan, 25-30 minutes. Keep an eye on the edges—they should be golden brown.
Are these bars suitable for kids to help make?
Absolutely! This recipe is perfect for kids. They can help mix the dry ingredients, pour in the wet ingredients, and fold in the sprinkles. Just supervise the oven part. It’s a great way to get them involved in baking.
Can I add cream cheese frosting?
Yes, a cream cheese frosting pairs beautifully with funfetti. Spread it on top after the bars have completely cooled. It adds a tangy contrast to the sweet cake. I also love a simple vanilla glaze if I want something lighter.
Pin This Recipe!
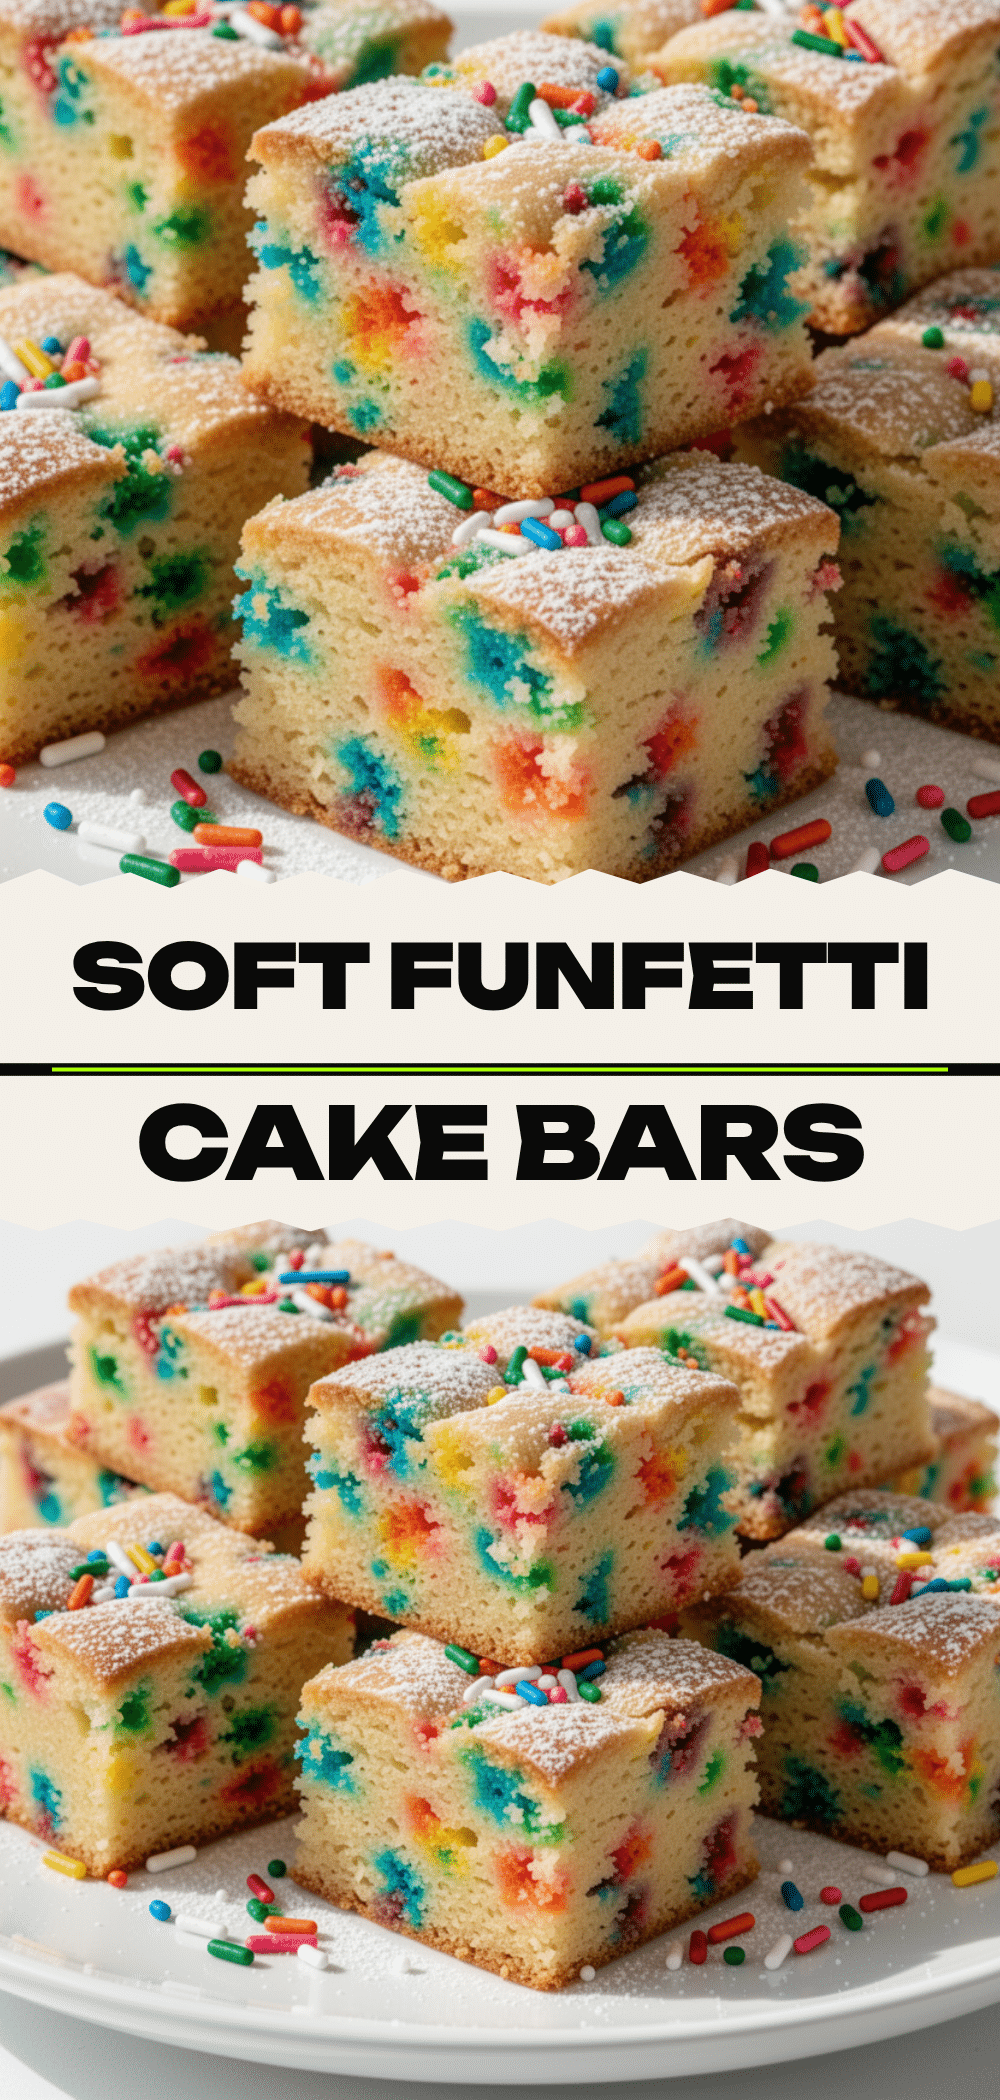
Funfetti Cake Bars: Best Easy Dessert with Sprinkles
- Total Time: 45 minutes
- Yield: 12 to 16 servings 1x
Description
Soft, chewy, and moist funfetti cake bars made with a simple one-bowl method. These festive bars are packed with sprinkles, easy to make, and perfect for parties or everyday treats.
Ingredients
- 2 ½ cups all-purpose flour
- 2 teaspoons baking powder
- ½ teaspoon baking soda
- ½ teaspoon salt
- ½ cup unsalted butter, softened
- 1 ½ cups granulated sugar
- ½ cup vegetable oil
- 2 large eggs, room temperature
- 2 teaspoons vanilla extract
- ½ cup whole milk
- 1 cup funfetti sprinkles (jimmies)
- Optional: Additional sprinkles for topping
Instructions
- Preheat oven to 350°F (175°C). Line a 9×13 inch baking pan with parchment paper, leaving an overhang on two sides, and lightly grease the parchment.
- In a large mixing bowl, whisk together the flour, baking powder, baking soda, and salt until uniform.
- Add the softened butter and granulated sugar to the dry ingredients. Mix until the mixture resembles wet sand and is well combined.
- Add the eggs, vanilla extract, and vegetable oil. Mix until just combined, then pour in the milk and mix again until the batter is smooth and glossy. Avoid overmixing.
- Gently fold in 1 cup of funfetti sprinkles using a spatula until distributed. Press additional sprinkles onto the top of the batter if desired.
- Pour the batter into the prepared pan and spread evenly. Bake for 25-30 minutes, or until the edges are golden brown and the center springs back lightly. A toothpick inserted should come out with moist crumbs.
- Let the bars cool in the pan for 15-20 minutes to set. Lift out using the parchment overhang and place on a cooling rack to cool completely before slicing into squares.
Notes
For best results, use room temperature ingredients. Measure flour by spooning it into the cup and leveling it off, rather than scooping directly from the bag, to avoid dry bars. Do not overbake; the bars continue to cook slightly after removal from the oven. Store in an airtight container at room temperature for up to 3 days.
- Prep Time: 10 minutes
- Cook Time: 30 minutes
- Category: Dessert
- Cuisine: American
Nutrition
- Serving Size: 1 bar
- Calories: 280
- Sugar: 28
- Sodium: 180
- Fat: 12
- Saturated Fat: 6
- Carbohydrates: 42
- Fiber: 1
- Protein: 3
Keywords: funfetti cake bars, easy dessert, one bowl recipe, sprinkle cake, party dessert, soft cake bars, baking for kids


