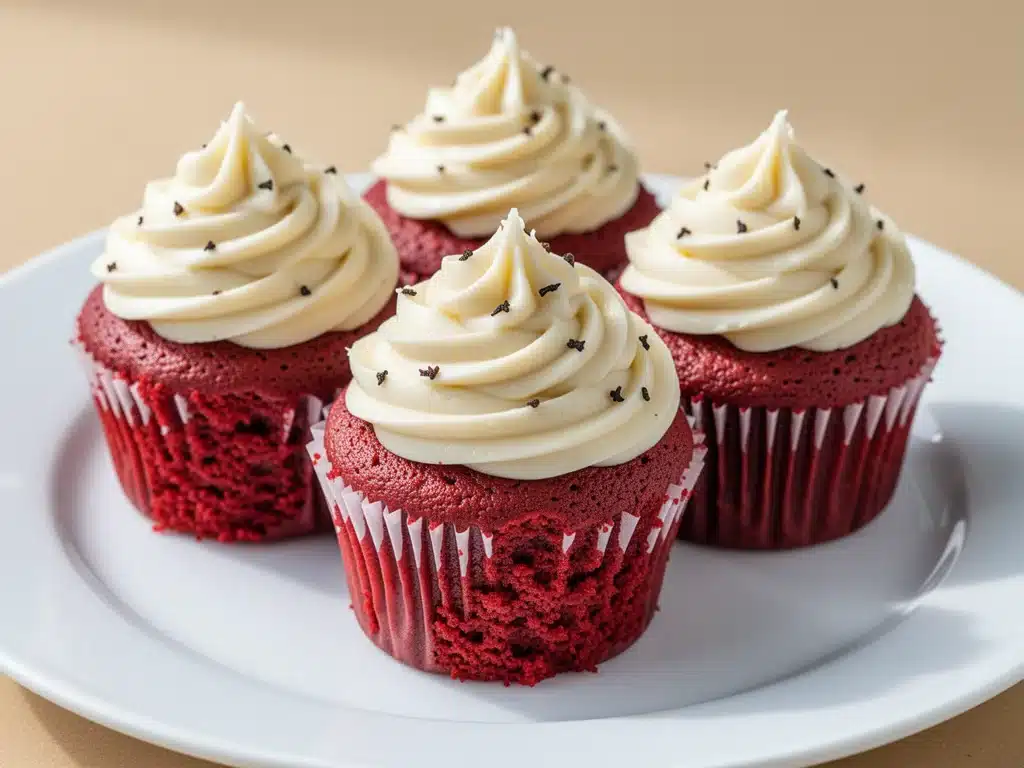
I have a confession to make: I used to think red velvet was just red cake with extra dye. That changed last Valentine’s Day, when my husband brought home a box of store-bought cupcakes that were dry, overly sweet, and tasted like artificial strawberry syrup. I ate one out of politeness, looked at him, and said, “We are making our own from now on.” He didn’t argue. He just went to the store for cream cheese and cocoa powder.
That was five years ago. Since then, I’ve tested this homemade red velvet cupcake recipe dozens of times. I’ve tweaked the ratio of buttermilk, adjusted the cocoa amount so it’s subtle (because red velvet shouldn’t taste like chocolate cake), and finally nailed the perfect tangy cream cheese frosting that balances the sweetness. These cupcakes are moist, tender, and have that distinctive, slightly tangy flavor profile that makes them so special. They’re not just for Valentine’s Day, though. I make them for birthdays, holidays, and random Tuesday cravings.
What makes this recipe work is simplicity. You don’t need fancy equipment or hard-to-find ingredients. You probably already have most of them in your pantry. The key is understanding why we use vinegar and baking soda together, and why the frosting needs to be cold. Once you get the hang of it, you’ll wonder why you ever bought boxed mix. This is the real deal—soft, velvety, and absolutely delicious.
Why You’ll Love This Recipe
There are a million cupcake recipes out there, so why this one? Here’s why this homemade red velvet cupcake has earned a permanent spot in my baking rotation:
- Moisture That Lasts — Most homemade cupcakes dry out by day two. Not these. Thanks to the buttermilk and oil (yes, oil, not butter, for that tender crumb), they stay soft for up to four days. I’ve kept them in the fridge and they were still pillowy soft on day three.
- Not Too Chocolatey — If you hate chocolate, you’ll love this. The cocoa powder is there for color and a hint of depth, not to make it taste like chocolate. It’s subtle. Just enough to balance the tang.
- Frosting That Actually Sticks — Cream cheese frosting can be tricky. If it’s too warm, it slides off. If it’s too cold, it’s hard to spread. This recipe uses a specific method to keep it stable and tangy, cutting through the sweetness perfectly.
- Easy to Customize — Want to add cream cheese swirls? Go for it. Want to use white food coloring instead of red for Easter? Done. This base recipe is incredibly forgiving.
- Perfect for Beginners — No electric mixer required if you’re willing to arm workout, but a hand mixer makes it foolproof. The batter comes together in 10 minutes flat.
This is the kind of baking that makes people ask, “Did you buy these?” when you bring them to a potluck. Spoiler: you didn’t. You made them from scratch, and they taste infinitely better.
Ingredients You’ll Need
Here’s the best part: you probably have most of these ingredients already. This isn’t a complicated recipe. I’m particular about a few things, but mostly, it’s about quality and temperature.
For the Cupcakes
All-purpose flour (2 cups / 250g) — Don’t use cake flour unless you want a different texture. All-purpose gives that classic tender crumb. Sift it if it’s clumpy.
Cocoa powder (1 tablespoon / 5g) — Use unsweetened natural cocoa. Dutch-processed works too, but you might need to adjust the leavening slightly. I stick to natural for consistency.
Baking soda (1 teaspoon / 5g) — This is crucial. It reacts with the vinegar to create that lift and the slightly tangy flavor.
Salt (½ teaspoon) — Enhances all the flavors. Don’t skip it.
Granulated sugar (1 ½ cups / 300g) — Standard white sugar. It keeps the crumb tender.
Vegetable oil (½ cup / 120ml) — I know some people use butter, but oil keeps red velvet moist for days. Butter makes it dense. Trust me on this.
Eggs (2 large, room temperature) — Room temp eggs emulsify better into the batter. Cold eggs can cause the batter to curdle.
Vanilla extract (1 teaspoon) — Pure vanilla, not imitation. It adds warmth.
Buttermilk (1 cup / 240ml) — This is the secret weapon. It tenderizes the gluten and adds tang. If you don’t have buttermilk, mix 1 cup milk with 1 tablespoon lemon juice or vinegar. Let it sit for 5 minutes.
White vinegar (1 teaspoon) — Yes, just a teaspoon. It reacts with the baking soda. You won’t taste it, but it’s essential for the rise.
Red food coloring (1-2 tablespoons) — Gel coloring gives the most vibrant red without watering down the batter. Liquid coloring works but you might need more. I use red for Valentine’s, white for Easter, and green for St. Patrick’s Day.
For the Cream Cheese Frosting
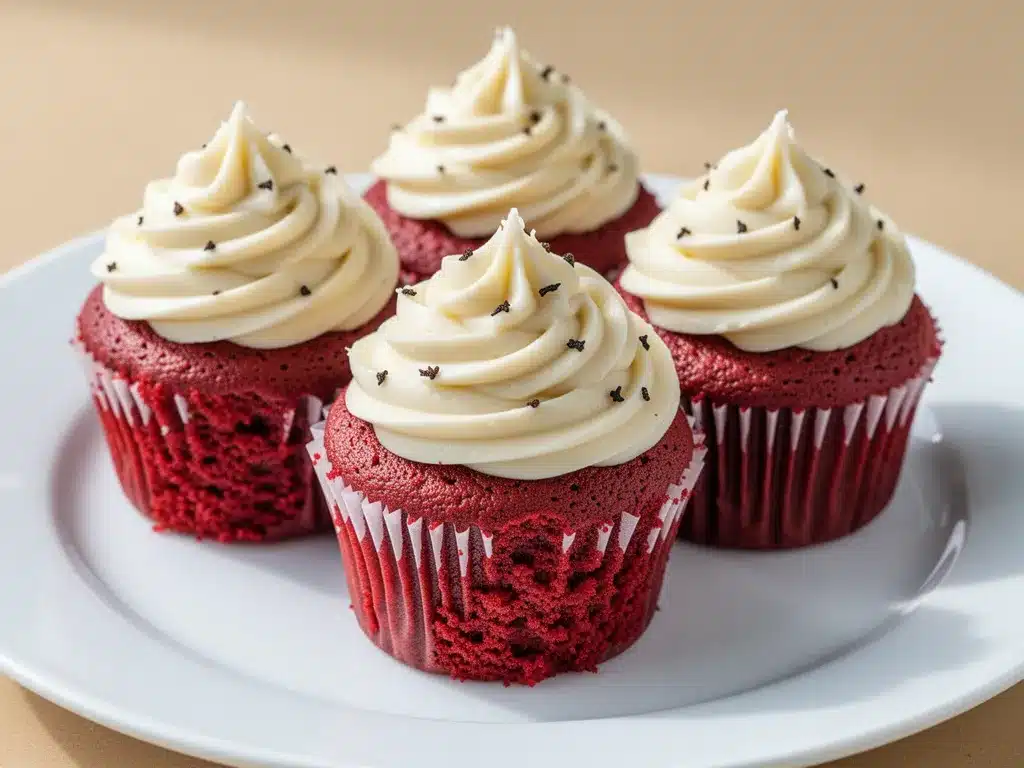
Block cream cheese (8 oz / 225g, softened) — Never use the tub spreadable kind. It has too much water and air. Block cream cheese gives you a thick, stable frosting.
Butter (½ cup / 115g, softened) — Unsalted is best so you can control the salt.
Confectioners’ sugar (3-4 cups / 360-480g) — Sift this! Lumps in powdered sugar are the enemy of smooth frosting.
Vanilla extract (1 teaspoon)
Salt (a pinch)
Equipment Needed
You don’t need fancy gadgets. Here’s what I actually use:
- Stand mixer or hand mixer — Mixing by hand is possible but tiring. A mixer ensures everything is well combined without overmixing.
- 12-cup muffin tin — Standard size. Make sure it’s clean and dry.
- Cupcake liners — Red liners for Valentine’s, white for everyday. Paper liners work best.
- Cooling rack — Essential. Don’t frost warm cupcakes; the frosting will melt.
- Bowl scraper — Not strictly necessary, but helpful for scraping down the sides of the bowl to get all the batter.
- Piping bags and tips — Optional. You can spread it with a knife, but a piping tip (like a Wilton 1M) makes them look professional.
How to Make It: Step-by-Step
Alright, let’s make this! I’m walking you through exactly how I do it, including the little tricks I’ve picked up over the years.
Step 1: Prep Your Oven and Pan (5 minutes)
Preheat your oven to 350°F (175°C). Line your muffin tin with cupcake liners. I usually spray the liners with a little cooking spray just to be safe, though it’s rarely needed. This ensures they don’t stick.
Step 2: Mix Dry Ingredients (2 minutes)
In a medium bowl, whisk together the flour, cocoa powder, baking soda, and salt. Sifting is optional but recommended if your flour is clumpy. This ensures there are no pockets of baking soda in your final cupcake.
Step 3: Whisk Wet Ingredients (3 minutes)
In a large bowl, beat the sugar and oil together until smooth. Add the eggs one at a time, beating well after each addition. This emulsification is key for a tender crumb. Add the vanilla extract and mix until combined.
Step 4: Combine Wet and Dry (2 minutes)
With the mixer on low speed, gradually add the dry ingredients to the wet ingredients. Mix until just combined. Do not overmix! Overmixing develops gluten, which leads to tough cupcakes. Stop as soon as you see no more dry flour.
Step 5: Add Buttermilk and Vinegar (2 minutes)
Pour in the buttermilk and the vinegar. Mix on low until just incorporated. The batter will look slightly curdled—that’s normal. The acid in the buttermilk and vinegar reacts with the baking soda. Add your red food coloring now. Mix until you get your desired shade of red. Gel coloring is vibrant; liquid coloring might make the batter thinner.
Step 6: Fill Liners and Bake (18-20 minutes)
Divide the batter evenly among the cupcake liners, filling each about 2/3 full. This leaves room for them to rise. Bake for 18-20 minutes. Test for doneness by inserting a toothpick into the center of a cupcake. It should come out clean or with a few moist crumbs, but no wet batter. Don’t overbake, or they’ll be dry.
Step 7: Cool Completely (30 minutes)
Let the cupcakes cool in the pan for 5 minutes, then transfer them to a wire rack to cool completely. This is crucial. If you frost them while they’re warm, the frosting will slide right off. Patience pays off.
Step 8: Make the Frosting (10 minutes)
In a large bowl, beat the softened cream cheese and butter together until smooth and creamy. Add the vanilla and salt. Gradually add the sifted confectioners’ sugar, one cup at a time, beating on low speed until incorporated, then increasing to medium speed. Beat for 2-3 minutes until fluffy. If the frosting is too thin, add more sugar. If it’s too thick, add a teaspoon of milk.
Step 9: Frost and Serve
Once the cupcakes are completely cool, frost them. Use a piping bag for a professional look, or a butter knife for a rustic, homemade vibe. Sprinkle with red sugar crystals or white chocolate shreds if you want extra flair.
Expert Tips & Tricks
Here’s everything I’ve learned from making these dozens of times. These tips will save you from my mistakes.
Room Temperature Ingredients Matter — Cold eggs and cream cheese won’t blend smoothly. Take them out of the fridge 30 minutes before you start. If you forget, you can warm the eggs in a bowl of warm water for 5 minutes.
Don’t Skimp on the Vinegar — It’s not just for leavening. It reacts with the cocoa to deepen the flavor and gives red velvet its signature slight tang. You won’t taste vinegar, but you’ll miss the flavor if you leave it out.
Sift Your Powdered Sugar — I know it’s annoying, but lumps in frosting are a nightmare. Sift the sugar before adding it to the cream cheese. It makes the frosting silky smooth.
Keep the Frosting Cold — Cream cheese frosting melts quickly. If your kitchen is warm, chill your frosting in the fridge for 15 minutes before piping. If it gets too soft, put the whole bowl in the fridge for a few minutes.
Use Gel Food Coloring — Liquid food coloring adds water to the batter, which can affect the texture. Gel coloring is more concentrated and doesn’t change the batter consistency. It also gives a much more vibrant red.
Variations & Substitutions
Once you’ve nailed the basic version, here’s how you can mix it up. I’ve tried all of these.
White Chocolate Red Velvet — Add ½ cup of white chocolate chips to the batter before baking. It adds a sweet, creamy contrast to the tangy cake.
Strawberry Red Velvet — Replace ¼ cup of buttermilk with strawberry puree. It adds a natural pink hue and a subtle fruit flavor. Great for spring.
Gluten-Free — Use a 1:1 gluten-free flour blend. The texture might be slightly different, but it still works. I’ve used Bob’s Red Mill and it’s good.
Dairy-Free — Use dairy-free butter and dairy-free cream cheese. There are brands like Miyoko’s that work well. Use almond milk with vinegar for the buttermilk substitute.
Vegan — Replace eggs with flax eggs (1 tbsp ground flax + 3 tbsp water per egg). Use vegan butter and cream cheese. The texture will be slightly denser, but still tasty.
Chocolate Swirl — Mix 2 tablespoons cocoa powder with 1 tablespoon sugar and swirl it into the batter before baking for a marbled effect.
Serving & Storage
How to Serve: These cupcakes are best at room temperature. The frosting softens and the flavors meld together. Serve with a cup of coffee or tea. They pair well with classic apple crisp if you’re doing a fall dessert spread, or with red, white, and blue berry trifle for a patriotic party.
Storage: Store unfrosted cupcakes in an airtight container at room temperature for up to 2 days. Frosted cupcakes should be stored in the fridge in an airtight container for up to 5 days. Bring them to room temperature before serving for the best texture.
Freezing: You can freeze unfrosted cupcakes for up to 3 months. Wrap them tightly in plastic wrap and then foil. Thaw overnight in the fridge. Do not freeze frosted cupcakes; the frosting will separate and become grainy when thawed.
Make-Ahead: Bake the cupcakes a day ahead. Cool completely, wrap tightly, and refrigerate. Make the frosting the day of. This saves time on the day of the event.
Nutrition Information
I’m not a nutritionist, but here’s the breakdown if you’re tracking. This is per cupcake with frosting, based on 12 servings.
- Calories: 450
- Protein: 5g
- Carbs: 65g
- Fat: 20g
- Sugar: 48g
- Sodium: 350mg
Look, this is a dessert. It’s not a health food. But it’s made from scratch, so you know exactly what’s in it. If you want to lighten it up, use less sugar in the frosting or skip the frosting entirely. But honestly? That’s not red velvet. Enjoy it in moderation.
Final Thoughts
So that’s my go-to homemade red velvet cupcake recipe! I’ve probably talked your ear off at this point, but when you make a recipe this often, you have a lot to say about it. These cupcakes have saved me from boring store-bought desserts countless times. They’re my answer to “I need to impress someone” or “I need a treat.” My kids love them, my husband demands them, and my friends always ask for the recipe.
Make it yours! Try different food coloring for different holidays. Add cream cheese swirls. Top with white chocolate. The best recipes are the ones you adapt to your tastes. If you make this, drop a comment and let me know what you think! I love hearing how recipes turn out in your kitchen. And if something doesn’t work, tell me that too—I’m here to help troubleshoot.
Happy baking! And I hope your kitchen smells half as good as mine does right now.
Frequently Asked Questions
Q: Why is my red velvet cake brown instead of red?
A: This usually happens if you use too much cocoa powder or if you don’t use enough food coloring. Cocoa powder is naturally dark. Start with 1 tablespoon of cocoa and add red food coloring until you get the desired shade. Gel coloring is more vibrant and won’t lighten the batter as much as liquid coloring.
Q: Can I use butter instead of oil?
A: You can, but the cupcakes will be denser and dry out faster. Oil keeps the crumb tender and moist. If you prefer the flavor of butter, you can use half oil and half melted butter. But for the classic moist texture, stick with oil.
Q: Why did my cupcakes sink in the middle?
A: This usually means they were underbaked or you opened the oven door too early. Check them at 18 minutes. If the toothpick comes out clean, they’re done. Also, make sure you’re not overmixing the batter, which can create too much air that collapses.
Q: Can I make these cupcakes ahead of time?
A: Yes! Bake the cupcakes 1-2 days ahead. Cool completely, wrap tightly in plastic wrap, and store at room temperature. Make the frosting the day you plan to serve them. This actually helps the cupcakes stay moist.
Q: Why is my cream cheese frosting runny?
A: The cream cheese or butter was probably too warm. Make sure they are softened, not melted. If the frosting is too thin, refrigerate it for 15-20 minutes, then beat it again. If it’s still runny, add more powdered sugar.
Q: Can I freeze red velvet cupcakes?
A: Unfrosted cupcakes freeze well for up to 3 months. Wrap them tightly in plastic wrap and then foil. Thaw overnight in the fridge. Frosted cupcakes do not freeze well; the frosting will separate and become grainy.
Q: What food coloring should I use?
A: Gel food coloring is best because it’s concentrated and doesn’t add extra liquid to the batter. Liquid food coloring works but you may need to use more, which can thin out the batter. I love using gel coloring for vibrant, true red.
Pin This Recipe!
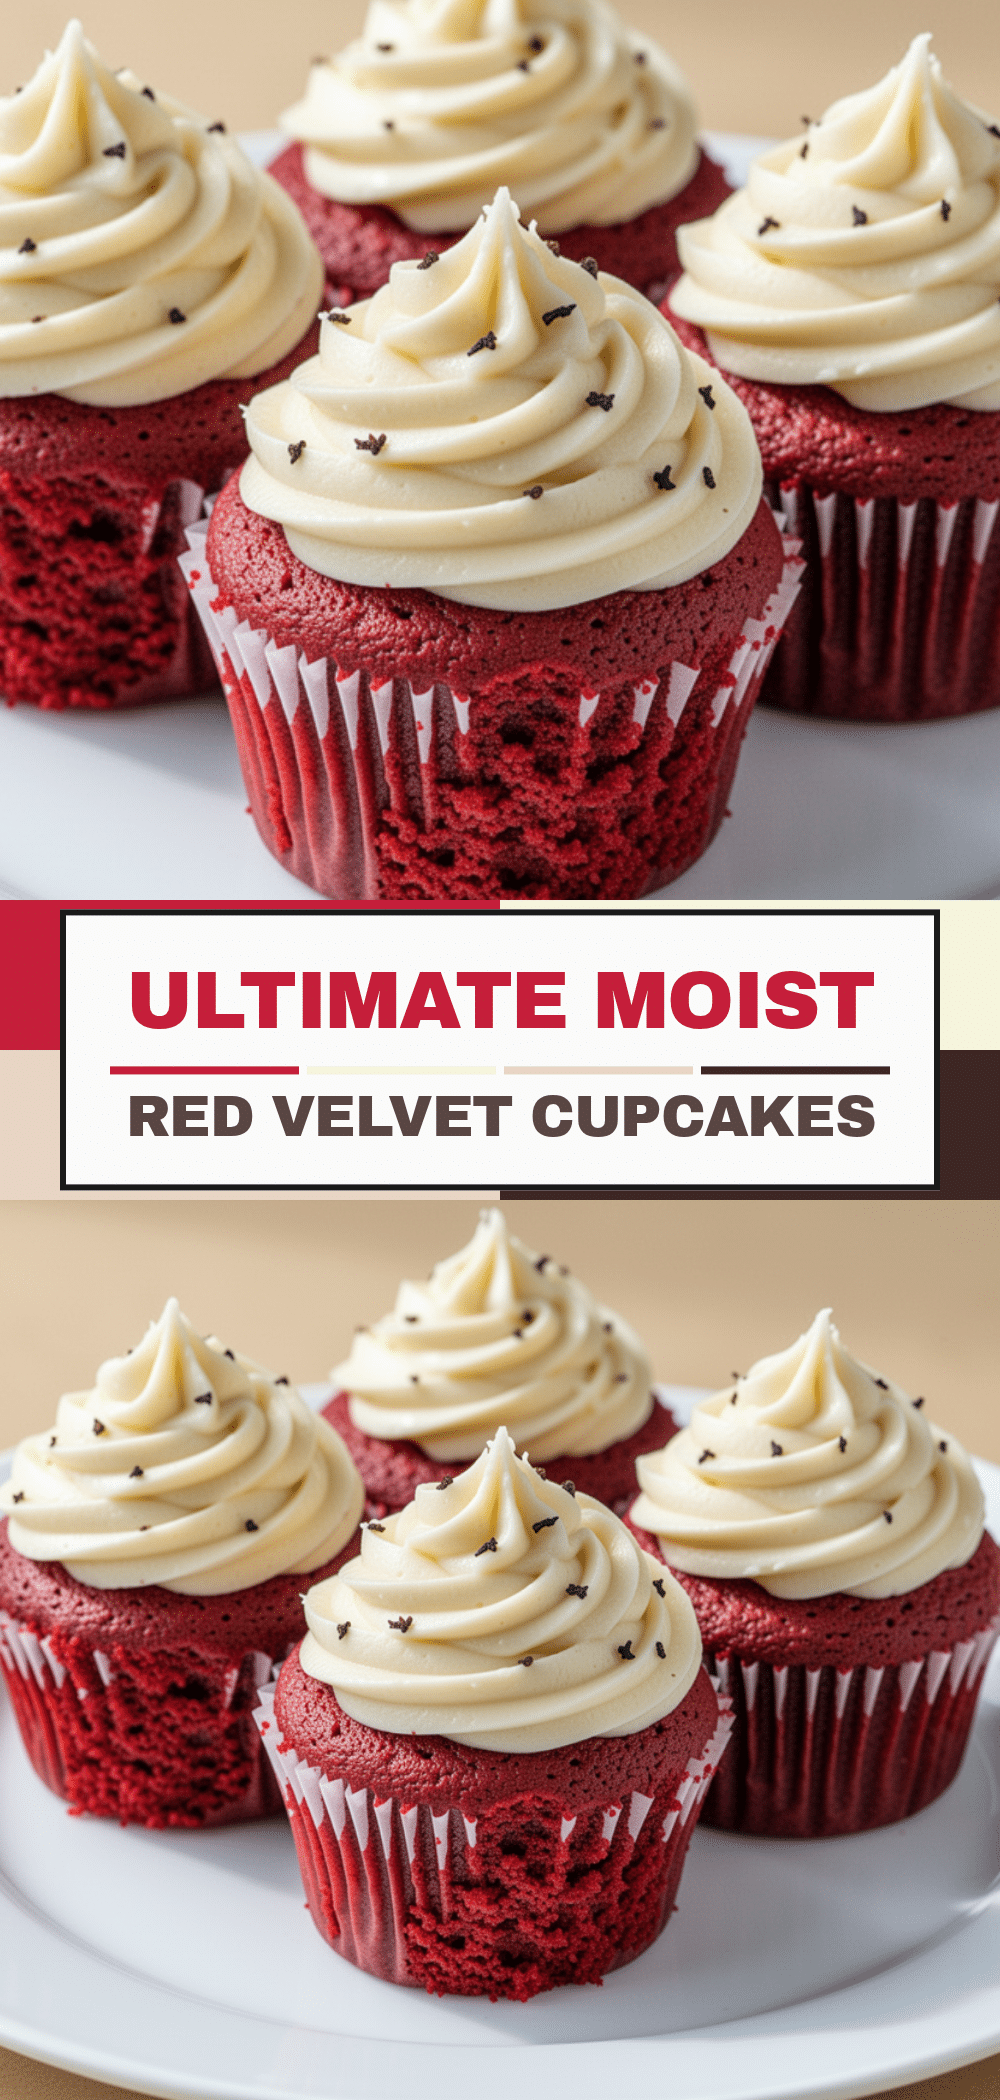
Homemade Red Velvet Cupcakes: Easy 12-Step Recipe
- Total Time: 35 minutes
- Yield: 12 servings 1x
Description
Moist, tender, and tangy homemade red velvet cupcakes with a stable cream cheese frosting. This easy recipe uses oil for lasting moisture and requires no fancy equipment.
Ingredients
- 2 cups (250g) all-purpose flour
- 1 tablespoon (5g) unsweetened natural cocoa powder
- 1 teaspoon (5g) baking soda
- 1/2 teaspoon salt
- 1 1/2 cups (300g) granulated sugar
- 1/2 cup (120ml) vegetable oil
- 2 large eggs, room temperature
- 1 teaspoon vanilla extract
- 1 cup (240ml) buttermilk
- 1 teaspoon white vinegar
- 1–2 tablespoons red food coloring (gel preferred)
- 8 oz (225g) block cream cheese, softened
- 1/2 cup (115g) unsalted butter, softened
- 3–4 cups (360-480g) confectioners’ sugar, sifted
- 1 teaspoon vanilla extract (for frosting)
- Pinch of salt (for frosting)
Instructions
- Preheat oven to 350°F (175°C). Line a 12-cup muffin tin with cupcake liners.
- In a medium bowl, whisk together flour, cocoa powder, baking soda, and salt.
- In a large bowl, beat sugar and oil until smooth. Add eggs one at a time, beating well after each addition. Mix in vanilla extract.
- With mixer on low, gradually add dry ingredients to wet ingredients. Mix until just combined; do not overmix.
- Pour in buttermilk and vinegar. Mix on low until incorporated. Add red food coloring and mix until desired shade is reached.
- Divide batter evenly among liners, filling each about 2/3 full. Bake for 18-20 minutes or until a toothpick inserted in the center comes out clean.
- Let cupcakes cool in the pan for 5 minutes, then transfer to a wire rack to cool completely.
- In a large bowl, beat cream cheese and butter until smooth. Add vanilla and salt. Gradually add sifted confectioners’ sugar, beating on low then medium speed until fluffy (2-3 minutes).
- Frost completely cooled cupcakes using a piping bag or butter knife. Serve immediately or store.
Notes
Use room temperature ingredients for best emulsification. Do not overmix the batter to avoid tough cupcakes. Ensure cupcakes are completely cool before frosting to prevent melting. Gel food coloring provides more vibrant color without thinning the batter.
- Prep Time: 15 minutes
- Cook Time: 20 minutes
- Category: Dessert
- Cuisine: American
Nutrition
- Serving Size: 1 cupcake
- Calories: 450
- Sugar: 48
- Sodium: 350
- Fat: 20
- Saturated Fat: 10
- Carbohydrates: 65
- Fiber: 1
- Protein: 5
Keywords: red velvet cupcakes, homemade cupcakes, cream cheese frosting, easy baking, dessert recipe, valentine's day treats


