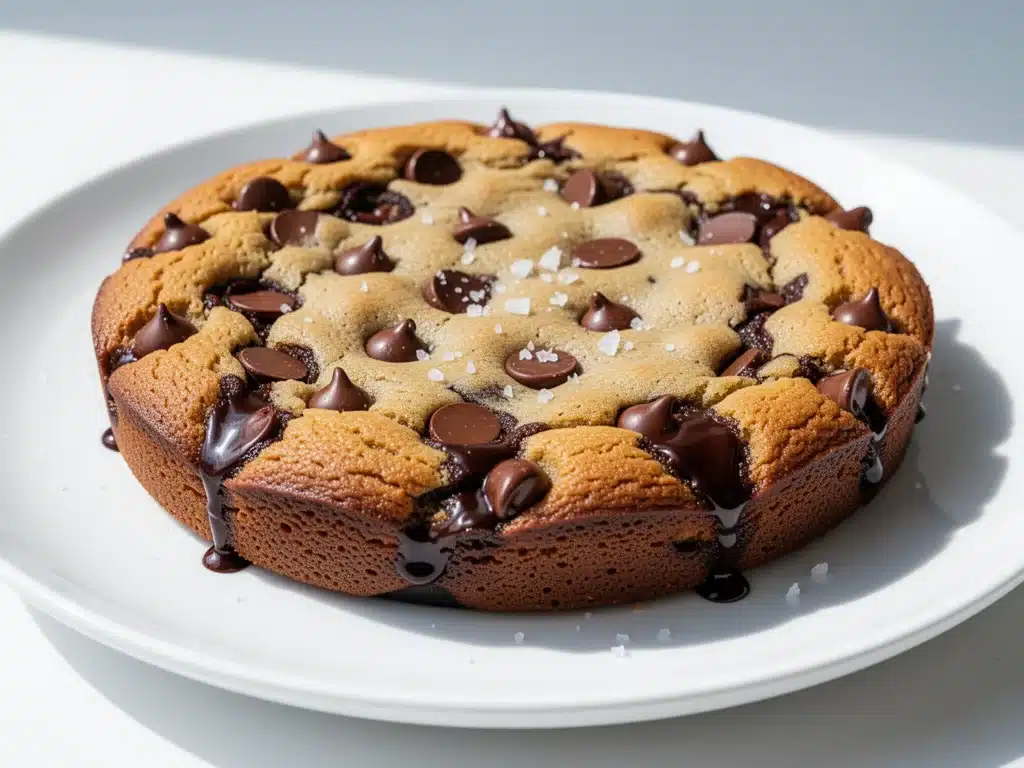
Last Saturday night, my kitchen looked like a flour bomb had gone off. I was trying to decide between ordering pizza or actually cooking, and my kids were doing that thing where they whine until something sweet is produced. I didn’t want to bake twelve individual cookies (too much cleanup), and I definitely didn’t want to buy those sad, store-bought cake slices that taste like cardboard. So I looked at our cast-iron skillet, looked at the bowl of cookie dough, and thought, “Why not just bake it all in one giant pan?”
That was the night I discovered the Classic Chocolate Chip Cookie Skillet. It’s not just a cookie. It’s a warm, gooey, molten dessert that serves a crowd, requires zero fancy equipment, and tastes like a hug from your grandma. Seriously. The first time I pulled this out of the oven, the entire family stopped arguing and just stared at it. Then we dug in with spoons. No plates. Just spoons. That’s how you know it’s good.
I’ve made this Classic Chocolate Chip Cookie Skillet at least a dozen times since then. Sometimes for date night with my husband, sometimes for last-minute dinner guests, and sometimes just because I wanted warm chocolate chips at 9 PM on a Tuesday. It’s become my secret weapon for “I need dessert now” moments. And the best part? You can have it from oven to table in under 10 minutes of active work. Let’s talk about why this is going to become your new favorite thing.
Why You’ll Love This Recipe
There are a hundred reasons to make this, but here are the ones that actually matter when you’re tired and hungry:
- Zero Cleanup Stress — Seriously. You mix the dough in a bowl, press it into the skillet, bake it, and eat straight from the pan. One skillet. One bowl. That’s it. I’ve walked my teenage daughter through making this over FaceTime while she was at college. It’s that foolproof.
- Lightning Fast — From start to finish, it takes about 30 minutes. But only 10 of those minutes are active work. The rest is just waiting for the oven to do its magic. I make this on weeknights when I get home at 7 PM and still want something better than cereal.
- Texture Perfection — This isn’t a crisp, flat cookie. It’s thick, chewy in the middle, slightly crispy on the edges, and molten hot. It’s the best of both worlds. I’ve served this to picky eaters who usually hate “soft” cookies, and they went back for thirds.
- Customizable for Everyone — I’ve made this with just chocolate chips, with white chocolate and macadamia nuts, with crushed pretzels on top, and even with a layer of peanut butter in the middle. Everyone loves it. My gluten-free friend loves it too (just swap the flour).
- Impressive but Easy — When I serve this at dinner parties, people ask what I bought at the fancy bakery. I tell them it took 10 minutes to make. They never believe me. It looks like a gourmet dessert but tastes like homemade comfort.
This is my go-to when I need dessert to just work. No complicated techniques, no weird ingredients, just reliable, delicious food that makes everyone happy. If you’ve ever wanted a classic apple crisp with oat crumble vibe but with chocolate instead of fruit, this is your answer.
Ingredients You’ll Need
Here’s the best part: you probably have most of this already. This isn’t a recipe that requires a special trip to the store. It’s pantry-friendly, fridge-staple stuff. I’m particular about two things here—butter and chocolate—but everything else is pretty flexible.
For the Dough:
Unsalted butter (1 cup / 226g) — Softened to room temperature. This is crucial. If your butter is cold, you’ll struggle to cream it with the sugar. I take it out 30 minutes before I start. If I forget, I microwave it in 5-second bursts until it’s just soft. Don’t melt it!
Granulated sugar (½ cup / 100g) — This helps create those crispy edges. I don’t substitute this because it affects the texture. You want those crunchy bits around the rim of the skillet.
Brown sugar (1 cup / 200g, packed) — This is the star. It makes the center chewy and gooey. I use light brown sugar, but dark brown works if you like a deeper molasses flavor. Pack it tight into the measuring cup!
Vanilla extract (2 teaspoons) — Use the real stuff. Vanilla bean paste is even better if you have it, but regular vanilla works fine. Skip the imitation stuff—it tastes chemical and ruins the whole thing.
Large eggs (2) — Room temperature is best. They blend into the dough more evenly. If your eggs are cold, just run them under warm water for a minute.
All-purpose flour (2¼ cups / 280g) — Spoon it into the cup and level it off. Don’t scoop directly from the bag, or you’ll pack too much flour in and get dry cookies. I use King Arthur Flour because it’s consistent, but any brand works.
Baking soda (1 teaspoon) — Helps the cookies spread and brown. Make sure it’s fresh! If your baking soda is old, your cookies won’t rise properly.
Salt (1 teaspoon) — Balances the sweetness. Don’t skip it, even if you like sweet cookies. Salt makes the chocolate taste more chocolatey.
The Mix-Ins & Toppings:
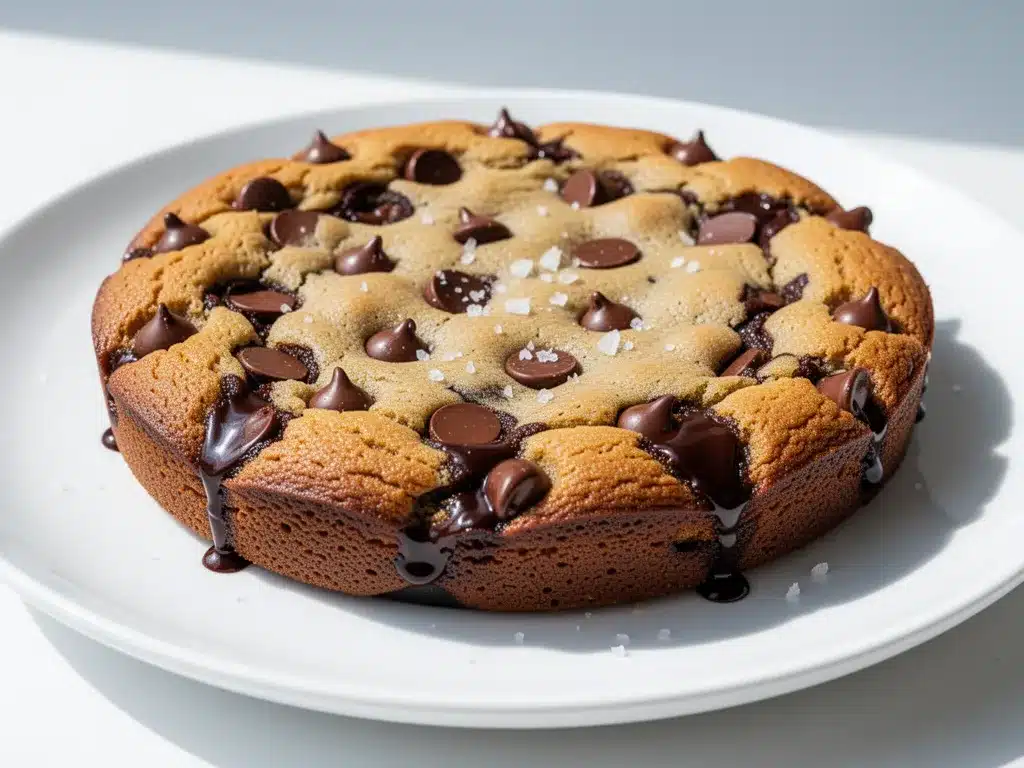
Chocolate chips (2 cups / 340g) — I use semi-sweet chocolate chips. Sometimes I mix in milk chocolate chips for extra sweetness. You can use chunks instead of chips for bigger gooey pockets. I’ve even used chopped-up fall chocolate chip pumpkin bread pieces for a fun twist.
Sea salt flakes (for sprinkling on top) — This is the game-changer. Sprinkling flaky sea salt on top right after baking makes the flavor pop. I buy Maldon sea salt for this.
Vanilla ice cream (for serving) — Optional but highly recommended. Warm cookie + cold ice cream = perfection. I usually keep a pint of vanilla in the freezer just for this.
Optional Add-ins: White chocolate chips, crushed pretzels, peanut butter chips, chopped nuts, or even a layer of Nutella in the middle. I’ve tried them all. They’re all good.
Common Questions:
- Can I use margarine? You can, but it changes the flavor and texture. Butter is worth it.
- Where do I find sea salt flakes? Most grocery stores have them in the spice aisle. If not, regular kosher salt works in a pinch.
- Can I make this gluten-free? Yes! Use a 1:1 gluten-free flour blend. I’ve tested it with Bob’s Red Mill and it works great.
Equipment Needed
You don’t need fancy equipment for this. Here’s what I actually use:
10-inch cast-iron skillet — This is the classic choice. It gives you those perfect crispy edges. I use a Lodge skillet that’s been seasoned for years. If you don’t have cast iron, use an oven-safe skillet (stainless steel or ceramic). Avoid non-stick if you can help it—it doesn’t brown as well.
Mixing bowl — Large enough to hold all the dough. I use a glass bowl because I can see how mixed it is.
Electric mixer or wooden spoon — An electric mixer makes creaming the butter and sugar easier (2-3 minutes). But a wooden spoon and some elbow grease works fine too. I’ve done it by hand when I was too lazy to plug in the mixer.
Measuring cups and spoons — Standard stuff. Dollar store versions work fine.
Spatula — For pressing the dough into the skillet and scraping the bowl clean.
Oven mitts — Because the skillet gets HOT. Don’t skip these. I’ve burned myself enough times to know.
Serving spoons — Large metal spoons or ice cream scoops work best for digging into the warm dough.
Optional but nice: A wire rack to cool the skillet slightly before serving. I usually just let it sit on the stovetop for 5 minutes.
How to Make It: Step-by-Step
Alright, let’s make this! I’m walking you through exactly how I do it, including the little tricks I’ve picked up.
Step 1: Prep Your Oven and Skillet (2 minutes)
Preheat your oven to 350°F (175°C). If your skillet isn’t seasoned or you’re worried about sticking, lightly grease it with butter or cooking spray. I usually don’t bother if my cast iron is well-seasoned, but a little grease never hurts.
Step 2: Cream the Butter and Sugars (3 minutes)
In your mixing bowl, combine the softened butter, granulated sugar, and brown sugar. Beat with an electric mixer on medium-high speed for 2-3 minutes until it’s light, fluffy, and pale in color. This step is crucial for texture. If you rush it, your cookies will be dense. I usually do this while the oven preheats.
Step 3: Add Eggs and Vanilla (1 minute)
Add the eggs one at a time, beating well after each addition. Then add the vanilla extract. Mix until just combined. Don’t overmix here. You want it smooth, not aerated.
Step 4: Mix in Dry Ingredients (2 minutes)
In a separate bowl (or just sprinkle it in), combine the flour, baking soda, and salt. Add this to the wet mixture. Mix on low speed until just combined. It will look shaggy at first. Stop mixing as soon as you don’t see streaks of flour. Overmixing develops gluten and makes the cookies tough.
Step 5: Fold in Chocolate Chips (1 minute)
Stir in the chocolate chips with a spatula or wooden spoon. You can also add any other mix-ins here—nuts, white chocolate chips, pretzels, etc. I usually save a handful of chips to sprinkle on top later.
Step 6: Press Dough into Skillet (2 minutes)
Transfer the dough to your skillet. Press it down evenly with your hands or a spatula. It should reach the edges. If you want layers, press half the dough in, add a layer of mix-ins or Nutella, then press the rest on top. I like to sprinkle extra chocolate chips on top for that bakery look.
Step 7: Bake (12-15 minutes)
Place the skillet in the preheated oven. Bake for 12-15 minutes. You want the edges to be golden brown and slightly crispy, but the center should still look soft and slightly underbaked. It will continue to cook as it cools. If you bake it until the center is firm, it’ll be dry. Trust me, pull it when it looks a bit too soft.
Step 8: Cool and Serve (5 minutes)
Remove from the oven and let it cool in the skillet for 5 minutes. Sprinkle with flaky sea salt if using. Serve warm with vanilla ice cream, whipped cream, or just eat it straight from the pan with a spoon. I usually let it cool for 5 minutes because it’s molten hot and burns your mouth if you’re not careful.
Total Time: About 30 minutes (10 minutes active, 20 minutes mostly hands-off)
Built-in Troubleshooting:
- Center is too raw? You underbaked it. Next time, add 2-3 minutes.
- Edges are burnt? Your oven runs hot. Check it at 10 minutes instead of 12.
- Dough spread too thin? Your butter was too soft. Next time, chill the dough for 10 minutes before baking.
- Not sweet enough? Add more chocolate chips or sprinkle powdered sugar on top.
Expert Tips & Tricks
Here’s everything I’ve learned from making this dozens of times. These tips will save you from my mistakes.
Room Temperature Butter is Non-Negotiable
I can’t stress this enough. Cold butter doesn’t cream properly with sugar. You want it soft enough that your finger leaves an indent but not melted. If it’s melted, your cookies will spread too much and be greasy. I learned this the hard way with a flat, oily mess that looked nothing like a cookie.
Don’t Overmix the Dough
Once you add the flour, mix until just combined. Overmixing makes the cookies tough and chewy in a bad way (like rubber), not the good way (like a bakery cookie). Stop as soon as the flour disappears.
The Center Should Look Underbaked
This is the biggest mistake people make. They bake it until the center looks done. But remember, it keeps cooking on the hot skillet after you take it out. Pull it when the edges are golden and the center still looks slightly soft. It will firm up as it cools.
Sprinkle Extra Chips on Top
Before baking, press a few extra chocolate chips into the top of the dough. They melt and create those beautiful, gooey pockets that make people beg for the recipe. I do this every time.
Use Flaky Sea Salt on Top
This sounds fancy, but it’s just a sprinkle of salt after baking. It contrasts with the sweetness and makes the chocolate taste richer. I keep a jar of Maldon salt specifically for desserts.
Common Mistakes (and how to avoid them):
- Mistake: Cookies are dry — Fix: Don’t overbake. Pull them when they look slightly underdone in the center.
- Mistake: Dough sticks to the skillet — Fix: Grease the skillet lightly, even if it’s seasoned cast iron.
- Mistake: Edges are burnt — Fix: Check at 10 minutes. Ovens vary. Use an oven thermometer to check your actual temperature.
Pro Tricks I’ve Learned:
- For Extra Gooeyness: Add a tablespoon of cornstarch to the flour. It makes the center extra soft and fudgy.
- For Better Texture: Chill the dough for 30 minutes before baking. It prevents spreading and concentrates flavor.
- For Restaurant-Quality Finish: Serve with a scoop of vanilla ice cream and a drizzle of warm caramel sauce.
Variations & Substitutions
Once you’ve nailed the basic version, here’s how you can mix it up. I’ve tried all of these.
White Chocolate Macadamia
Swap semi-sweet chips for white chocolate chips and add 1 cup chopped macadamia nuts. This is my husband’s favorite version. It’s sweet, nutty, and luxurious.
Peanut Butter Swirl
After pressing half the dough into the skillet, dollop ½ cup peanut butter on top and swirl it in with a knife. Then add the rest of the dough. It’s rich, salty, and sweet. Perfect for peanut butter lovers.
Pretzel Crunch
Press crushed pretzels into the top of the dough before baking. The salty crunch contrasts with the sweet chocolate. I use this version for game day snacks.
Mint Chocolate Chip
Add 1 teaspoon peppermint extract to the dough and use mint chocolate chips. It tastes like an Andes mint. Great for holidays.
Double Chocolate
Add ¼ cup cocoa powder to the dry ingredients and use dark chocolate chips. It’s intense, fudgy, and chocolatey. For serious chocolate lovers.
Dietary Modifications:
- Gluten-Free: Use a 1:1 gluten-free flour blend. Everything else is naturally gluten-free.
- Dairy-Free: Use dairy-free butter and dairy-free chocolate chips. It works, though the texture is slightly different.
- Egg-Free: Use a flax egg (1 tbsp ground flax + 3 tbsp water per egg) for each egg. It holds together okay.
Serving & Storage
How to Serve:
I usually serve this straight from the skillet at the dinner table—it looks rustic and stays warm. But here are other ways I’ve enjoyed it:
- With Vanilla Ice Cream — The classic combo. Warm cookie, cold ice cream. Perfection.
- With Whipped Cream — If you’re feeling fancy, add a big dollop of whipped cream.
- With Caramel Sauce — Drizzle warm caramel over the top for extra indulgence.
- With Coffee or Milk — Perfect with a hot cup of coffee or a cold glass of milk.
Storage Instructions:
Refrigerator: Store leftovers in an airtight container for up to 3 days. The dough will firm up in the fridge. Reheat in the microwave for 30 seconds to soften it up.
Freezing: You can freeze the unbaked dough! Press it into the skillet, wrap tightly in plastic wrap and foil, and freeze for up to 3 months. Thaw in the fridge overnight before baking. Add 2-3 minutes to the baking time if baking from frozen.
Reheating: Microwave for 30-60 seconds to warm it up. The center will be gooey again. Don’t microwave too long or it’ll get tough.
Pro tip: If you’re meal-prepping, make the dough ahead and store it in the fridge for up to 3 days. When you want to bake, just press it into the skillet and go. Saves time on busy nights.
Nutrition Information
I’m not a nutritionist, but here’s the breakdown if you’re tracking. This is a rich, indulgent dessert, so portion control is key.
Per Serving (based on 8 servings from a 10-inch skillet):
- Calories: 450
- Protein: 6g
- Carbs: 58g
- Fiber: 2g
- Sugar: 38g
- Fat: 22g
- Saturated Fat: 12g
- Cholesterol: 55mg
- Sodium: 280mg
What’s Good: Decent protein from butter and eggs. Calcium from dairy. Can add nuts for healthy fats.
What to Know: Higher in calories and sugar from butter, sugar, and chocolate chips. Contains dairy and gluten. Moderate sodium.
My Take: Look, this is a dessert. It’s not a health food. It’s meant to be enjoyed in moderation. But it’s way better than store-bought cake, costs less, and I know exactly what’s in it. When I want to make it lighter, I reduce the sugar by ¼ cup and add more nuts. But usually? I just eat two squares and enjoy it.
Final Thoughts
So that’s my Classic Chocolate Chip Cookie Skillet! I’ve probably talked your ear off at this point, but when you make a recipe this often, you have a lot to say about it.
This has saved dessert nights more times than I can count. It’s my answer to “what’s for dessert” when I’m tired, don’t want to bake twelve individual cookies, and still want something that tastes really good. My kids are happy, my husband’s happy, and I’m happy because I’m not stressed about cooking.
Make it yours! Try different mix-ins, swap in your favorite chocolate, adjust the sweetness (though more chocolate is always better in my opinion). The best recipes are the ones you adapt to your family’s tastes.
If you make this, drop a comment and let me know what you think! I love hearing how recipes turn out in your kitchen. And if something doesn’t work, tell me that too—I’m here to help troubleshoot.
Happy cooking! And I hope your kitchen smells half as good as mine does right now.
Frequently Asked Questions
Can I use a different size skillet?
Yes, but the baking time will change. For an 8-inch skillet, the cookies will be thicker and may need 2-3 more minutes. For a 12-inch skillet, they’ll be thinner and may need 2-3 fewer minutes. Keep an eye on them. The visual cues (golden edges, soft center) are more important than the exact time.
Why did my cookie spread too thin?
Usually means your butter was too soft or melted. Next time, make sure your butter is room temperature but firm. You can also chill the dough for 15-30 minutes before baking to prevent spreading. Also, make sure you’re not packing the flour too tightly.
Can I make this ahead for a dinner party?
Absolutely! Make the dough up to 3 days ahead and store it in the fridge in an airtight container. When you’re ready to serve, press it into the skillet and bake as directed. It saves you stress during the party. I do this all the time.
Why did my cookie turn out dry?
You probably overbaked it. Remember, it keeps cooking on the hot skillet after you take it out. Pull it when the center still looks slightly soft. Also, make sure you’re not using too much flour. Spoon and level your flour, don’t scoop it.
Can I use mini chocolate chips?
Yes! Mini chips distribute more evenly throughout the dough. You might need slightly more because they’re smaller. I’ve used them and they work great. Just keep an eye on the baking time—they might melt faster.
How do I reheat leftovers without it getting dry?
Microwave for 30-60 seconds. The moisture from the dough will steam it back to gooeyness. Don’t microwave too long or it’ll get tough. If you have an oven, you can reheat it at 300°F for 5 minutes, but the microwave is faster and easier.
Can I double this recipe?
Yes, but you’ll need a larger skillet (12-inch or two 8-inch skillets). The baking time will be similar, but keep an eye on it. I usually don’t double it because one skillet is plenty for my family, but it works fine for larger groups.
Pin This Recipe!
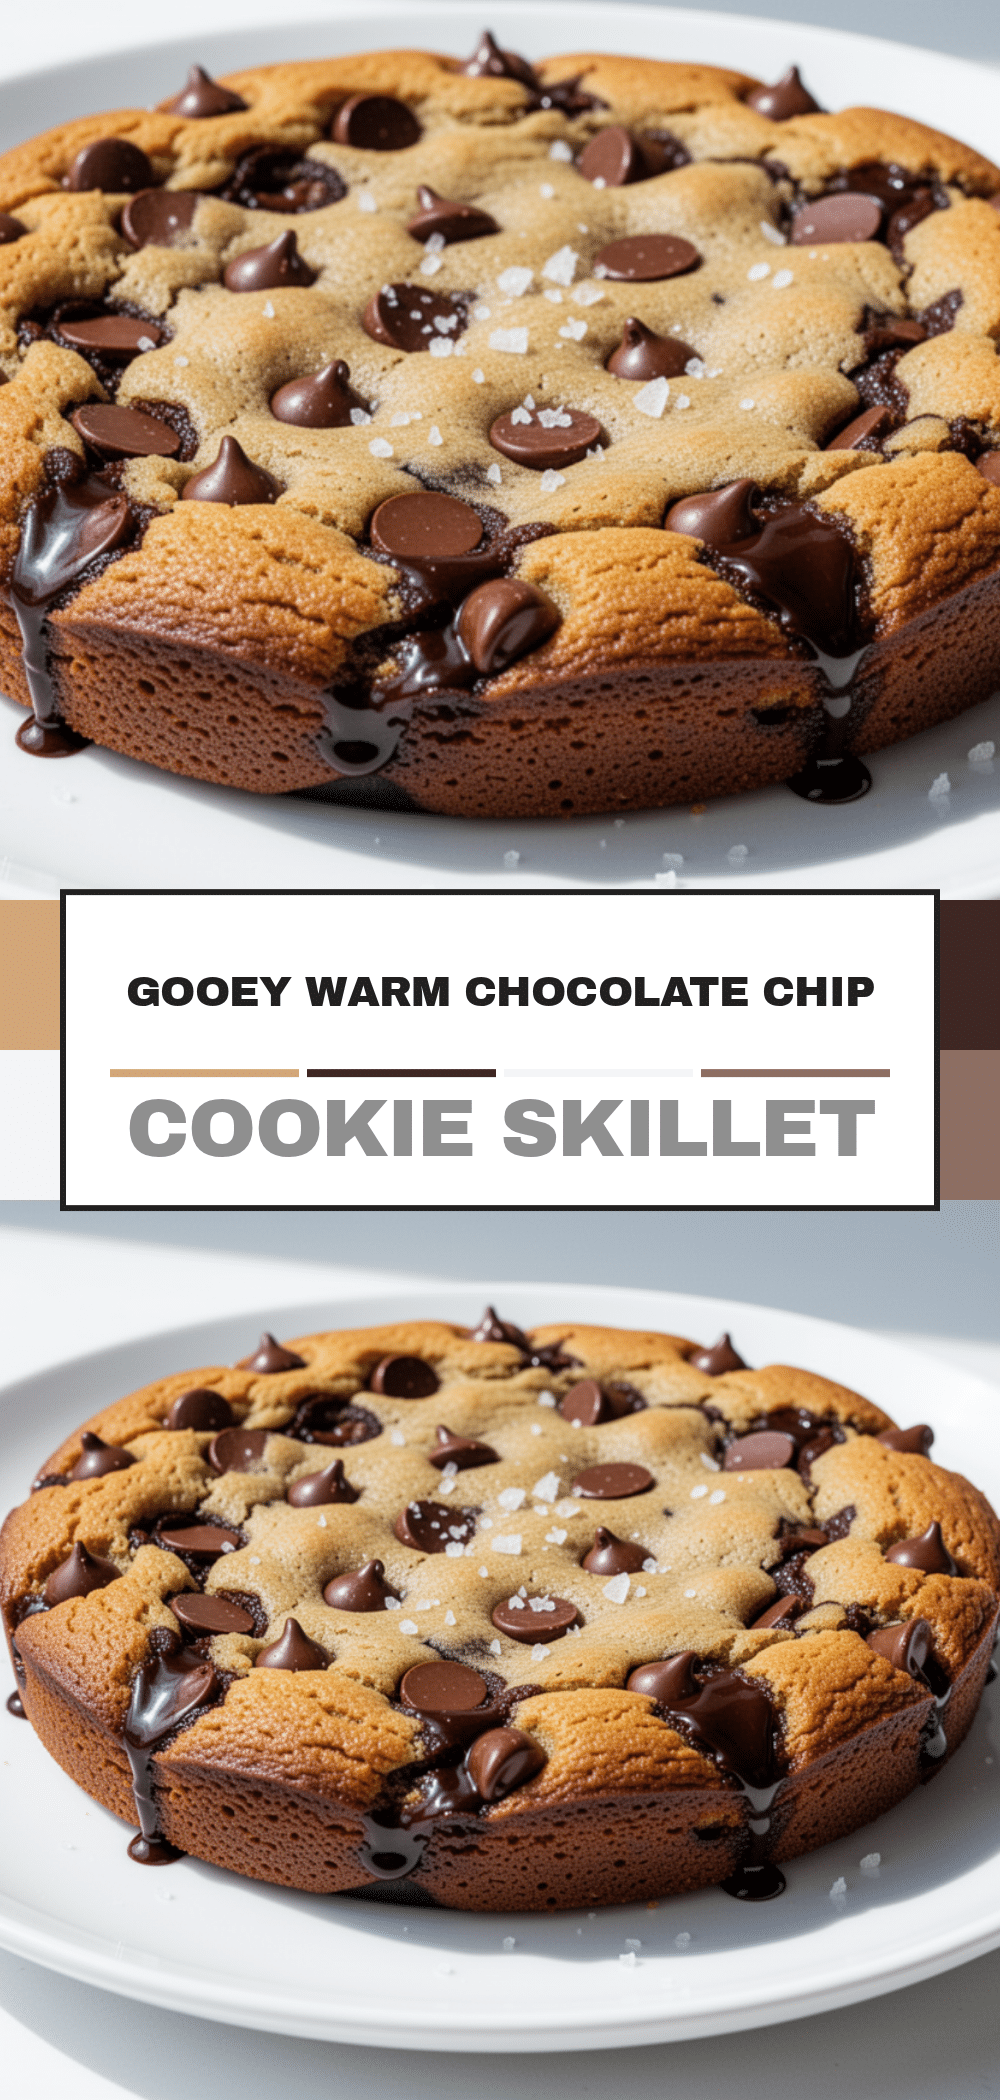
Classic Chocolate Chip Cookie Skillet: 10-Min Gooey Dessert
- Total Time: 30 minutes
- Yield: 8 servings 1x
Description
A warm, gooey, molten chocolate chip cookie baked in a single skillet. This easy dessert requires zero fancy equipment, takes only 10 minutes of active prep time, and serves a crowd with customizable mix-ins.
Ingredients
- 1 cup (226g) unsalted butter, softened to room temperature
- ½ cup (100g) granulated sugar
- 1 cup (200g) packed light brown sugar
- 2 teaspoons vanilla extract
- 2 large eggs, room temperature
- 2¼ cups (280g) all-purpose flour
- 1 teaspoon baking soda
- 1 teaspoon salt
- 2 cups (340g) semi-sweet chocolate chips
- Sea salt flakes, for sprinkling on top
- Vanilla ice cream, for serving (optional)
Instructions
- Preheat oven to 350°F (175°C). Lightly grease a 10-inch cast-iron skillet with butter or cooking spray if not well-seasoned.
- In a large mixing bowl, combine softened butter, granulated sugar, and brown sugar. Beat with an electric mixer on medium-high speed for 2-3 minutes until light, fluffy, and pale in color.
- Add eggs one at a time, beating well after each addition. Mix in vanilla extract until just combined.
- In a separate bowl, combine flour, baking soda, and salt. Add dry ingredients to the wet mixture and mix on low speed until just combined. Do not overmix.
- Fold in chocolate chips with a spatula. Optionally, save a handful of chips to sprinkle on top later.
- Transfer dough to the prepared skillet. Press down evenly to reach the edges. Sprinkle extra chocolate chips on top if desired.
- Bake for 12-15 minutes. The edges should be golden brown and slightly crispy, while the center remains soft and slightly underbaked.
- Remove from oven and let cool in the skillet for 5 minutes. Sprinkle with flaky sea salt.
- Serve warm with vanilla ice cream, whipped cream, or eat straight from the pan.
Notes
Ensure butter is softened but not melted. Do not overmix the dough to avoid tough cookies. The center should look slightly underbaked as it continues to cook on the hot skillet after removal. For gluten-free, use a 1:1 gluten-free flour blend. For dairy-free, use dairy-free butter and chocolate chips.
- Prep Time: 10 minutes
- Cook Time: 20 minutes
- Category: Dessert
- Cuisine: American
Nutrition
- Serving Size: 1 slice (approx. 1/8
- Calories: 450
- Sugar: 38
- Sodium: 280
- Fat: 22
- Saturated Fat: 12
- Carbohydrates: 58
- Fiber: 2
- Protein: 6
Keywords: chocolate chip cookie skillet, gooey dessert, easy cookie recipe, cast iron dessert, family dessert, 10 minute dessert


