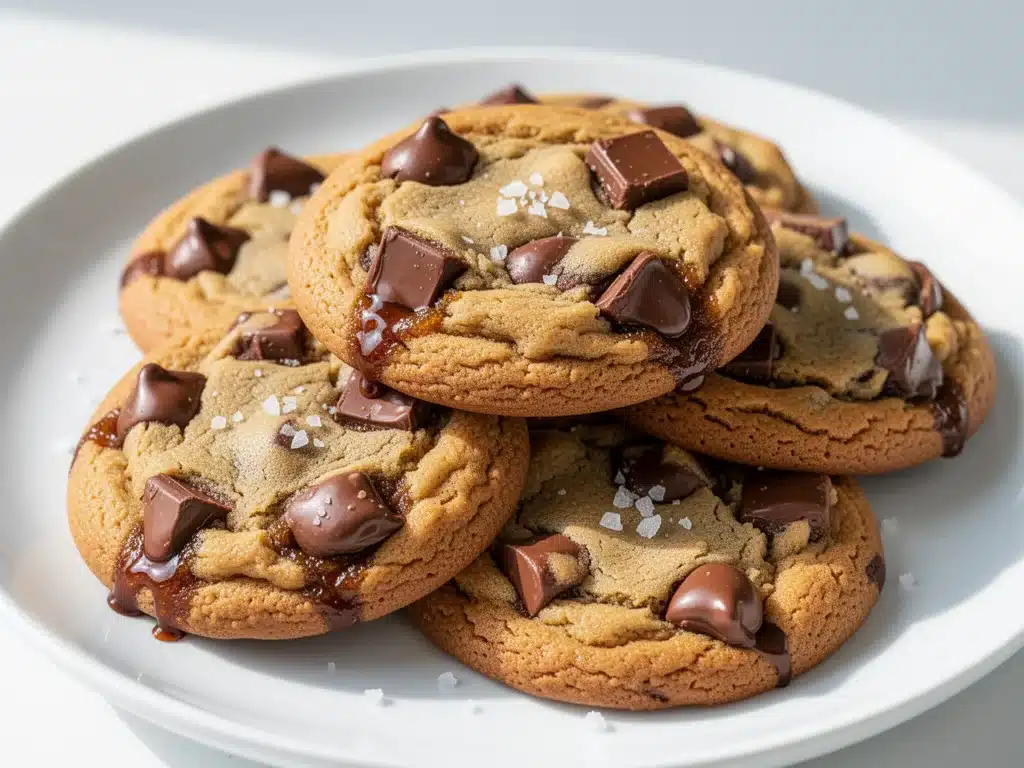
Let’s be real for a second. I have a love-hate relationship with chocolate chip cookies. Don’t get me wrong, I love the smell of baking cookies. I love the comfort of them. But I’ve spent years fighting a losing battle against the crispy, crumbly, “I-baked-them-for-15-minutes-and-now-they-are-hard-as-rocks” cookie disaster. You know the type. The ones where you take one bite and suddenly you’re drinking a full glass of milk just to get it down your throat.
Then, last Saturday, I decided to stop overthinking it. I was staring at my pantry, thinking about how much I wanted something rich and decadent, not just a basic sugar cookie. I remembered a technique I’d seen a few times—browning the butter. I’d heard it added a nutty, caramel-like depth that regular melted butter just can’t touch. So I decided to try it. I made a batch. And then I made another batch two days later because my husband kept eating the first one before they cooled.
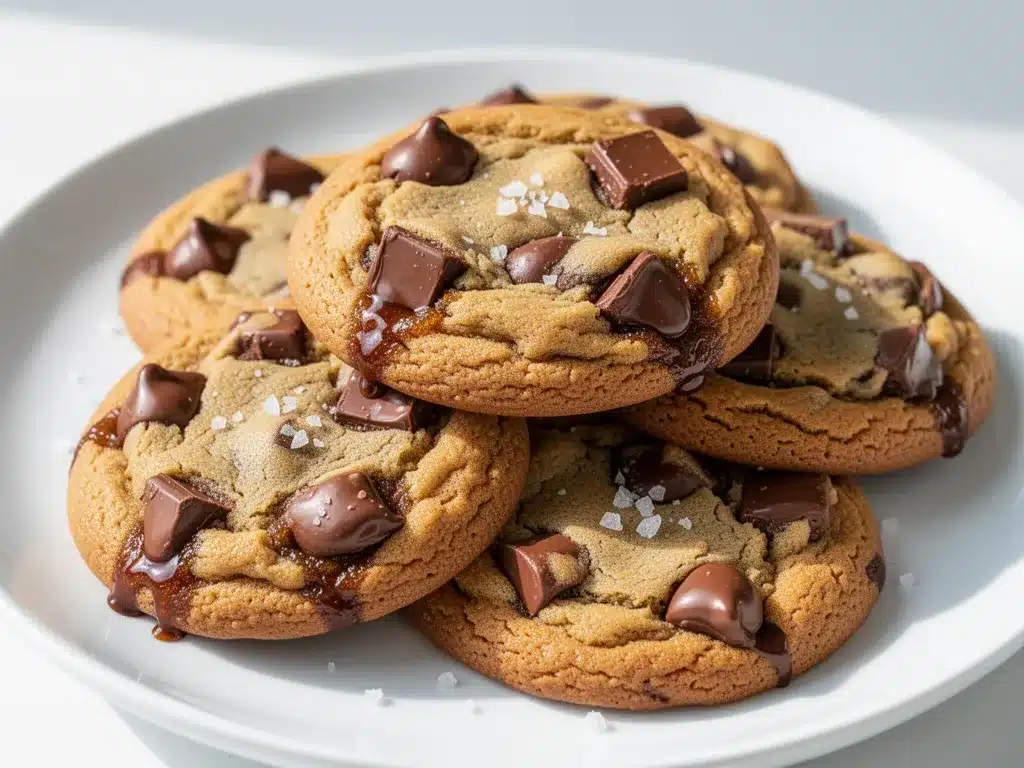
These chewy brown butter chocolate chip cookies are different. They’re not just soft; they’re substantial. They have this incredible chewiness that comes from the way the browned butter changes the fat structure in the dough. They’re rich, buttery, and packed with chocolate. If you’re tired of flat, dry cookies and want something that looks professional but is actually stupid simple, you need to try this recipe. It’s become my new obsession, right up there with my pumpkin spice snickerdoodle cookies for fall baking, but with a totally different vibe.
I’ve tested this recipe about a dozen times now. I’ve played with the flour ratios, the chocolate types, and the chilling times. And I’ve finally nailed it down to a method that guarantees those thick, gooey centers and crisp, lacy edges every single time. This isn’t just a cookie recipe; it’s a solution to your “I want a treat that feels fancy but I don’t want to spend all weekend in the kitchen” problem.
Why You’ll Love This Recipe
There are a million chocolate chip cookie recipes out there. So why this one? Why brown butter? Here’s the thing—once you taste brown butter, you can’t go back. It transforms a basic cookie into something sophisticated. But it’s not just about the flavor. It’s about the texture. And the convenience.
- Insanely Chewy Texture — This is the big one. These cookies stay soft for days. I’ve eaten one three days later, and it still had that perfect, pliable chew. No rock-hard edges here. The brown butter helps retain moisture in the crumb.
- Rich, Nutty Flavor — Regular butter tastes like… butter. Brown butter tastes like toasted nuts and caramel. It adds this complex, savory-sweet depth that makes you stop and think, “Wait, what’s in these?” It’s not just sugar and flour anymore.
- Minimal Effort, Maximum Reward — You might think browning butter is hard. It’s not. It takes about 5 minutes of watching a pot. The rest is mixing. It’s basically as easy as a boxed mix but tastes 100 times better. I make these on weeknights after dinner when I’m tired but craving sweets.
- Perfect for Gifting or Hosting — These look incredible. The edges are golden and crisp, the centers are slightly underbaked-looking (in the best way). I’ve brought these to potlucks and office parties, and they disappear within minutes. People always ask for the recipe. It’s my go-to “I look like a pro baker” move.
- Freezer Friendly — I make a double batch and freeze the dough balls. When I suddenly want cookies on a Tuesday night, I just throw a few in the oven. They bake up fresh and perfect. It’s like having homemade cookies on demand.
So basically, if you want cookies that taste like they came from a high-end bakery but are easy enough to make in your pajamas, this is it. It’s reliable, delicious, and honestly, a little addictive.
Ingredients You’ll Need
Here’s the best part: you probably have most of this already. The ingredients list is short because brown butter does all the heavy lifting for flavor. You don’t need fancy extracts or rare spices. Just good quality basics.
For the Dough Base
Unsalted Butter (1 cup / 226g) — This is the star. You’re going to brown it. Use high-quality butter if you can afford it, like Plugrá or Land O’Lakes. The flavor of the butter really shines through here, so cheap butter will taste cheap.
Granulated Sugar (½ cup / 100g) — This helps create those crispy, lacy edges. Don’t skip it. It also helps spread the cookies slightly.
Brown Sugar (1 cup / 220g, packed) — This is what makes them chewy. The molasses in the brown sugar retains moisture. Make sure you pack it tightly into the measuring cup for accuracy.
Eggs (2 large, room temperature) — Room temperature eggs incorporate into the dough better. If you’re in a rush, just crack them into a bowl and microwave for 10 seconds. Don’t cook them, just warm them up.
Egg Yolk (1 large, room temperature) — This is a secret weapon. Adding an extra yolk boosts the fat content and adds richness, contributing to that soft, cake-like interior. It’s what separates these from ordinary cookies.
Vanilla Extract (2 teaspoons) — Use real vanilla. I’m serious. The cheap imitation stuff tastes chemical and clashes with the nutty butter. Good vanilla enhances the brown butter flavor.
For the Dry Ingredients
All-Purpose Flour (2 ¼ cups / 280g) — Don’t use cake flour or bread flour. All-purpose is the sweet spot. Measure it correctly! Spoon the flour into the cup and level it off. Scooping directly from the bag packs it down and leads to dry cookies.
Baking Soda (1 teaspoon) — Helps the cookies rise and brown. Make sure it’s fresh. If it’s been in your cabinet for years, toss it and buy new. It loses potency over time.
Salt (1 teaspoon) — Essential for balancing the sweetness. Use kosher salt if you have it. If you use table salt, use slightly less.
For the Mix-Ins
Semi-Sweet Chocolate Chips (2 cups / 340g) — I use Ghirardelli or Nestlé Toll House. But honestly? Chop up a chocolate bar. It gives you those beautiful, irregular chocolate pools. Chips hold their shape better; chunks melt more.
Flaky Sea Salt (for topping) — Optional, but highly recommended. Sprinkling Maldon sea salt on top right after they come out of the oven elevates the flavor profile instantly. It’s the sweet-salty combo everyone loves.
Equipment Needed
You don’t need fancy gadgets. Here’s what I actually use.
Large Saucepan — A light-colored stainless steel or aluminum pan is best so you can see the color changes of the butter. Dark non-stick pans hide the browning, so you might overdo it.
Heatproof Spatula — For stirring the butter. Silicone works great.
Mixing Bowls — One large bowl for wet ingredients, one medium for dry.
Cookie Scoop — A #40 or #50 scoop is perfect. It ensures uniform size so they bake evenly. I love my cookie scoop because it means I don’t have to roll perfect balls by hand.
Baking Sheets — Heavy-gauge aluminum sheets are best. They conduct heat evenly. If you use thin, flimsy sheets, your cookies might burn on the bottom. I line them with parchment paper for easy cleanup.
Cooling Rack — Essential. Don’t let them sit on the hot pan or they’ll keep cooking and get dry.
How to Make It: Step-by-Step
Alright, let’s get baking. This process is straightforward, but there are a few key moments to watch for.
Step 1: Brown the Butter (10 minutes)
Start by melting your butter in the saucepan over medium heat. Stir it constantly. At first, it will just be melting. Then, it will start to foam and crackle. This is the water evaporating. Keep stirring. You’ll start to see little brown bits forming at the bottom and smell a nutty aroma—like toasted hazelnuts or peanut butter. This is the good stuff. As soon as you smell that nutty scent and see the brown bits, remove the pan from the heat immediately. Pour the butter into a heatproof bowl to stop the cooking. Let it cool for about 15 minutes until it’s warm but not hot. You don’t want to cook the eggs if you add it now.
Step 2: Mix the Wet Ingredients (3 minutes)
Once the butter is slightly cooled, whisk it into the granulated and brown sugars. You want to mix it until it’s smooth and glossy. Then, add the eggs and the extra egg yolk, one at a time, whisking well after each addition. Stir in the vanilla extract. The mixture should look creamy and uniform.
Step 3: Combine Dry Ingredients (2 minutes)
In a separate bowl, whisk together the flour, baking soda, and salt. This ensures the baking soda is evenly distributed so you don’t get bitter spots.
Step 4: Make the Dough (2 minutes)
Gradually add the dry ingredients to the wet mixture. Mix on low speed or use a wooden spoon just until the flour disappears. Do not overmix! Once you see no more streaks of flour, stop. Overmixing develops gluten, which leads to tough cookies. Fold in the chocolate chips by hand.
Step 5: Chill the Dough (Crucial Step – 30 mins to 24 hours)
I know you want to bake them now. I know the temptation. But please, chill the dough. Chilling allows the flour to hydrate fully and the flavors to meld. It also prevents the cookies from spreading too thin. If you bake warm dough, you get flat, greasy cookies. If you bake chilled dough, you get thick, chewy cookies. I usually chill mine for at least 30 minutes, but overnight is best for maximum flavor.
Step 6: Scoop and Bake (12-14 minutes)
Preheat your oven to 350°F (175°C). Line two baking sheets with parchment paper. Scoop dough balls onto the sheets, spacing them about 2 inches apart. They will spread. Bake for 12-14 minutes. Here’s the trick: pull them out when the edges are golden brown but the centers still look slightly soft and underbaked. They will finish cooking on the hot pan as they cool. If you wait until the centers look done in the oven, they’ll be dry.
Step 7: Cool and Serve
Let the cookies sit on the baking sheet for 5 minutes. This sets the structure. Then, transfer them to a wire rack to cool completely. Sprinkle with flaky sea salt if you’re using it. Enjoy warm with a cold glass of milk.
Expert Tips & Tricks
Here’s everything I’ve learned from making these dozens of times. These tips will save you from my mistakes.
Don’t Skip the Chill
I cannot stress this enough. If you bake the dough warm, these will spread into crispy discs. If you chill them, they stay thick and chewy. I usually scoop the dough onto a tray and freeze it for 15 minutes before baking. It speeds up the process and guarantees thickness.
Watch the Butter Color
Brown butter can go from “perfectly nutty” to “burnt and bitter” in seconds. If you smell smoke, you’ve gone too far. Start with a light-colored pan. Look for amber-colored milk solids at the bottom. The aroma should be intoxicatingly nutty, not acrid.
Use a Scale
Measuring flour by volume is inaccurate. One cup of flour can weigh anywhere from 120g to 150g depending on how packed it is. Using a kitchen scale ensures your ratios are perfect every time. If you don’t have a scale, use the spoon-and-level method.
Underbake on Purpose
The cookies look done when they look slightly underdone. The edges should be set and golden, but the centers should still look soft. They will firm up as they cool. If you bake them until the centers look firm, they will be dry.
Chop Your Chocolate
While chips are convenient, chopping a bar of chocolate gives you better distribution. You get little pools of chocolate in every bite. It also looks more rustic and homemade.
Variations & Substitutions
Once you’ve nailed the basic version, here’s how you can mix it up. I’ve tried all of these.
White Chocolate Macadamia
Swap the semi-sweet chips for white chocolate chips and add 1 cup of toasted macadamia nuts. It’s like a tropical vacation in cookie form. The brown butter pairs beautifully with white chocolate.
Peanut Butter Swirl
Add ½ cup of creamy peanut butter to the dough before chilling. Or, swirl a tablespoon of peanut butter into the top of each dough ball before baking. It adds a salty, protein-packed kick.
Oatmeal Brown Butter
Swap ½ cup of flour for ½ cup of old-fashioned rolled oats. It adds chewiness and heartiness. This is great if you want something slightly more substantial, like a chocolate chip pumpkin bread but in cookie form.
Double Chocolate
Add ¼ cup of unsweetened cocoa powder to the dry ingredients and use dark chocolate chunks instead of semi-sweet. It’s intense and fudgy.
Dietary Modifications
Gluten-Free — Use a 1:1 gluten-free flour blend. The texture might be slightly more crumbly, but it still works. Dairy-Free — Use a high-quality vegan butter stick. Note that vegan butter has a higher water content, so you might need to adjust the flour slightly. Vegan — Use flax eggs (2 tbsp ground flax + 5 tbsp water) and vegan butter/chocolate chips.
Serving & Storage
How to Serve:
I love these warm. If you make a batch, bake 2-3 cookies at a time and eat them fresh off the sheet. They are best enjoyed with a cold glass of milk or a cup of coffee. The contrast of the warm, chewy cookie and the cold milk is perfection.
Storage Instructions:
Room Temperature: Store in an airtight container at room temperature for up to 5 days. Place a slice of bread in the container with the cookies. The cookies will absorb the moisture from the bread and stay soft. Genius, right?
Freezing Dough: Scoop the dough balls onto a baking sheet and freeze until solid (about 1 hour). Then transfer to a freezer bag. They will keep for up to 3 months. Bake straight from frozen, adding 1-2 minutes to the bake time.
Freezing Baked Cookies: Yes, you can freeze baked cookies! Let them cool completely, then store in an airtight container with parchment paper between layers. They’ll last for 2 months. Thaw at room temperature.
Reheating: If you have leftovers, microwave a cookie for 10-15 seconds. It becomes gooey and warm again. Don’t overdo it, or it’ll get tough.
Nutrition Information
I’m not a nutritionist, but here’s the breakdown if you’re tracking. Keep in mind, these are rich cookies, so a little goes a long way.
Per Cookie (makes approx. 24 cookies):
- Calories: 180
- Protein: 2g
- Carbs: 24g
- Fiber: 1g
- Sugar: 16g
- Fat: 10g
- Saturated Fat: 6g
My Take:
Look, these are cookies. They’re supposed to be a treat. They have butter, sugar, and chocolate. They’re not a health food. But they’re better than store-bought cookies because you know exactly what’s in them. When I make these, I enjoy one or two with my coffee and call it a day. Moderation is key, but honestly, these are so good you’ll naturally eat fewer because you’re savoring every bite.
Final Thoughts
So that’s my go-to chewy brown butter chocolate chip cookie! I’ve probably talked your ear off at this point, but when you make a recipe this often, you have a lot to say about it. These cookies have saved my dessert game more times than I can count. They’re my answer to “I need to impress someone” or “I need comfort food.” My family is obsessed, and I hope you become obsessed too.
Make it yours! Try different chocolates, add nuts, or skip the salt if you prefer. The best recipes are the ones you adapt to your tastes. If you make this, drop a comment and let me know how they turned out! I love hearing how recipes turn out in your kitchen. And if something doesn’t work, tell me that too—I’m here to help troubleshoot.
Happy baking! And I hope your kitchen smells half as good as mine does right now.
Frequently Asked Questions
Can I use salted butter instead of unsalted?
You can, but it’s not ideal. Unsalted butter lets you control the salt level. If you use salted butter, reduce the added salt in the recipe to ½ teaspoon. Also, salted butter often has a higher water content, which can affect the texture. Stick to unsalted if you can.
Why did my cookies spread too much?
This usually happens for three reasons: 1) The butter was too warm when mixed with the sugar. 2) You didn’t chill the dough. 3) Your baking sheets were warm. Always chill the dough and let your baking sheets cool between batches. If you don’t have time to chill, freeze the dough balls for 15 minutes before baking.
Can I freeze the brown butter before making the dough?
Yes! You can brown the butter, let it cool, and freeze it in an ice cube tray. When you’re ready to bake, thaw it and use it as directed. Just make sure it’s cooled to room temperature before mixing with the eggs.
Why are my cookies dry?
Overbaking is the #1 culprit. Pull them out when they look slightly underdone. Also, check your flour measurement. If you packed the flour down, you used too much flour, leading to dry cookies. Use the spoon-and-level method or a scale.
Can I use dark chocolate instead of semi-sweet?
Absolutely. Dark chocolate (60-70% cocoa) will make the cookies less sweet and more intense. It pairs beautifully with the nutty brown butter. Just chop it up for better distribution.
How long do I brown the butter?
It takes about 5-7 minutes over medium heat. It depends on your stove and pan. The key is to watch for the color change and smell the nuttiness. Don’t walk away!
Can I make these cookies ahead for a party?
Yes! Bake them 2-3 days ahead and store in an airtight container. They actually taste better after a day or two as the flavors meld. You can also freeze the baked cookies for up to 2 months.
Pin This Recipe!
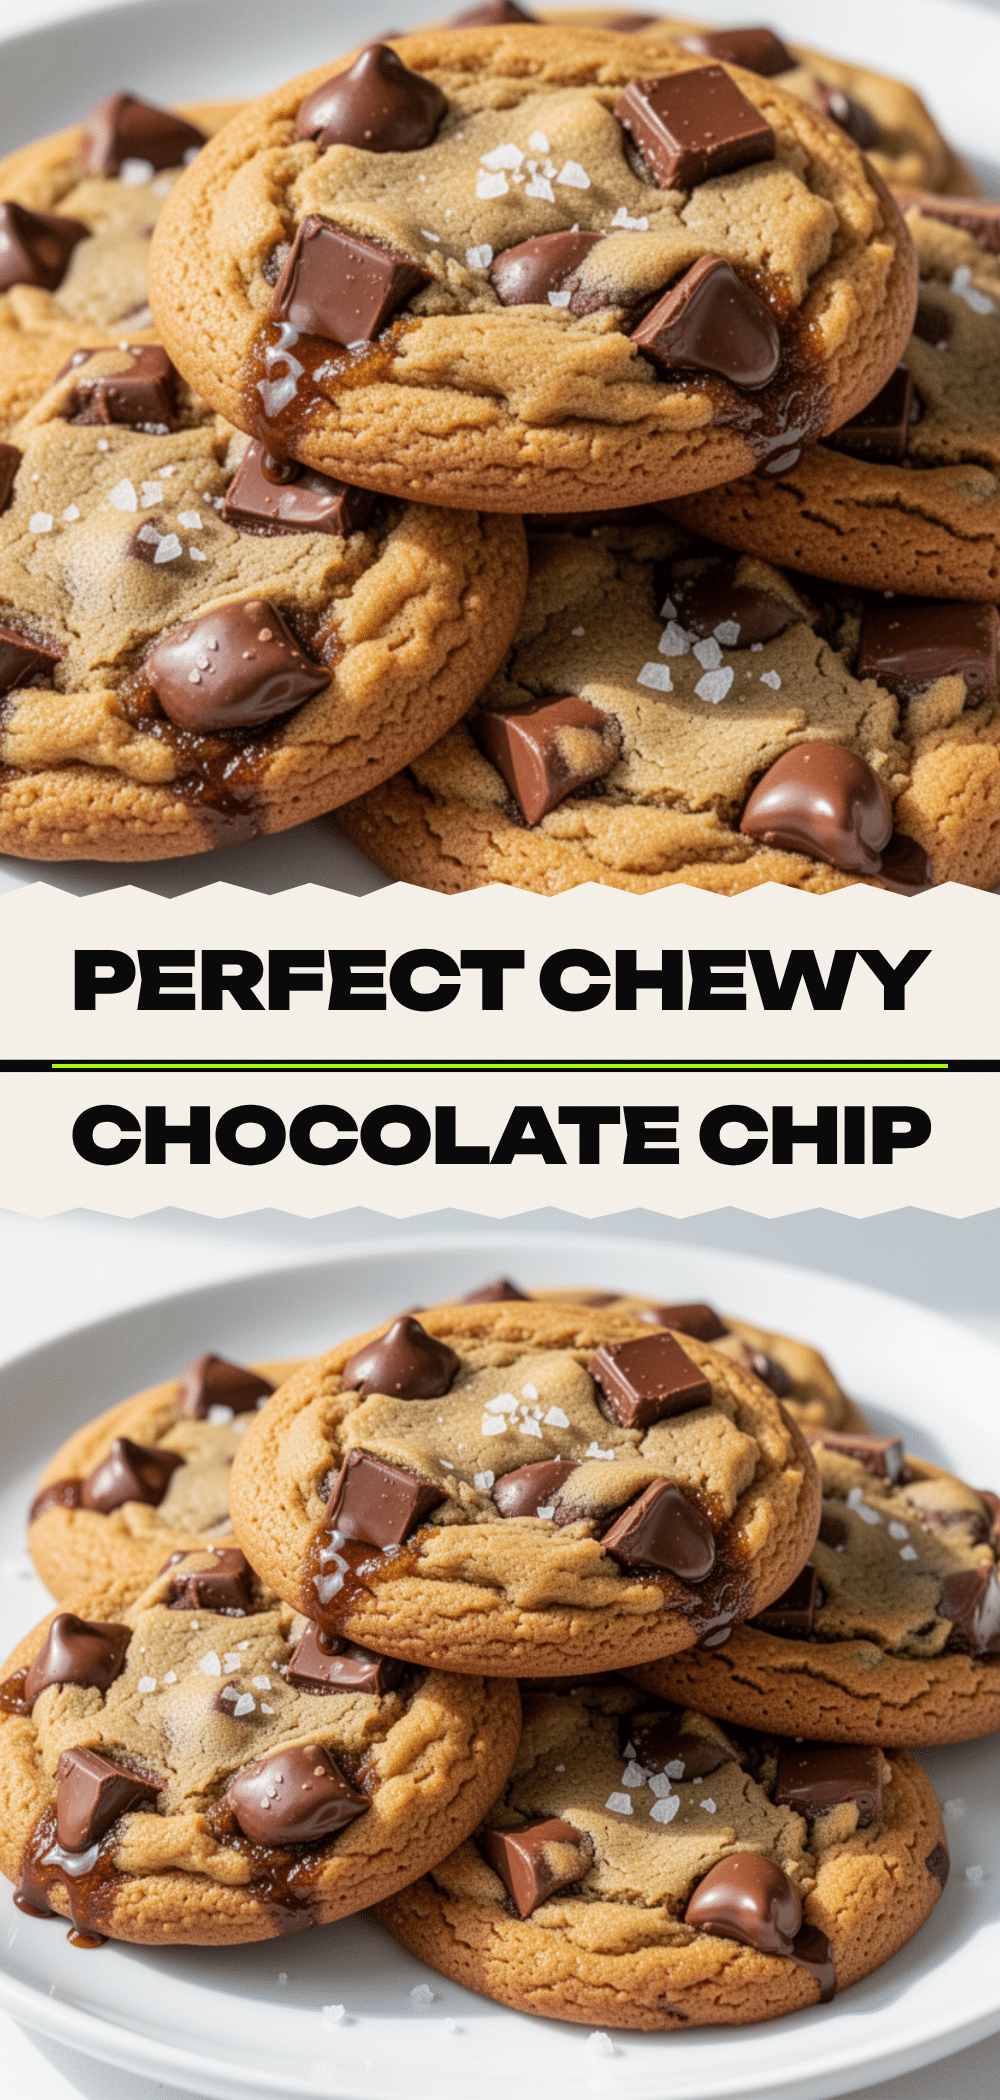
Chewy Brown Butter Chocolate Chip Cookies
- Total Time: 34 minutes
- Yield: 24 cookies 1x
Description
Rich, nutty, and incredibly chewy chocolate chip cookies made with browned butter for a sophisticated flavor and soft, gooey centers with crisp edges.
Ingredients
- 1 cup (226g) unsalted butter
- ½ cup (100g) granulated sugar
- 1 cup (220g) packed brown sugar
- 2 large eggs, room temperature
- 1 large egg yolk, room temperature
- 2 teaspoons vanilla extract
- 2 ¼ cups (280g) all-purpose flour
- 1 teaspoon baking soda
- 1 teaspoon salt
- 2 cups (340g) semi-sweet chocolate chips
- Flaky sea salt, for topping (optional)
Instructions
- Brown the butter: Melt butter in a light-colored saucepan over medium heat. Stir constantly until it foams, crackles, and develops a nutty aroma with brown bits at the bottom (about 5-7 minutes). Immediately remove from heat and pour into a heatproof bowl. Cool for 15 minutes until warm but not hot.
- Mix wet ingredients: Whisk the cooled brown butter into granulated and brown sugars until smooth and glossy. Add eggs and egg yolk one at a time, whisking well after each addition. Stir in vanilla extract.
- Combine dry ingredients: In a separate bowl, whisk together flour, baking soda, and salt.
- Make the dough: Gradually add dry ingredients to the wet mixture. Mix on low speed or with a wooden spoon just until flour disappears. Do not overmix. Fold in chocolate chips by hand.
- Chill the dough: Refrigerate dough for at least 30 minutes (or up to 24 hours) to prevent spreading and enhance flavor.
- Preheat oven to 350°F (175°C). Line baking sheets with parchment paper.
- Scoop dough balls onto sheets, spacing them 2 inches apart.
- Bake for 12-14 minutes. Pull cookies out when edges are golden brown but centers still look slightly soft and underbaked.
- Let cookies sit on the baking sheet for 5 minutes to set, then transfer to a wire rack to cool completely.
- Sprinkle with flaky sea salt if desired and serve warm.
Notes
Chilling the dough is crucial for thick, chewy cookies. Do not overmix the dough to avoid tough cookies. Underbake slightly for a gooey center. Store in an airtight container with a slice of bread to maintain softness.
- Prep Time: 20 minutes
- Cook Time: 14 minutes
- Category: Dessert
- Cuisine: American
Nutrition
- Serving Size: 1 cookie
- Calories: 180
- Sugar: 16
- Sodium: 180
- Fat: 10
- Saturated Fat: 6
- Carbohydrates: 24
- Fiber: 1
- Protein: 2
Keywords: brown butter cookies, chewy chocolate chip cookies, soft cookies, homemade cookies, baking recipe, fall baking


