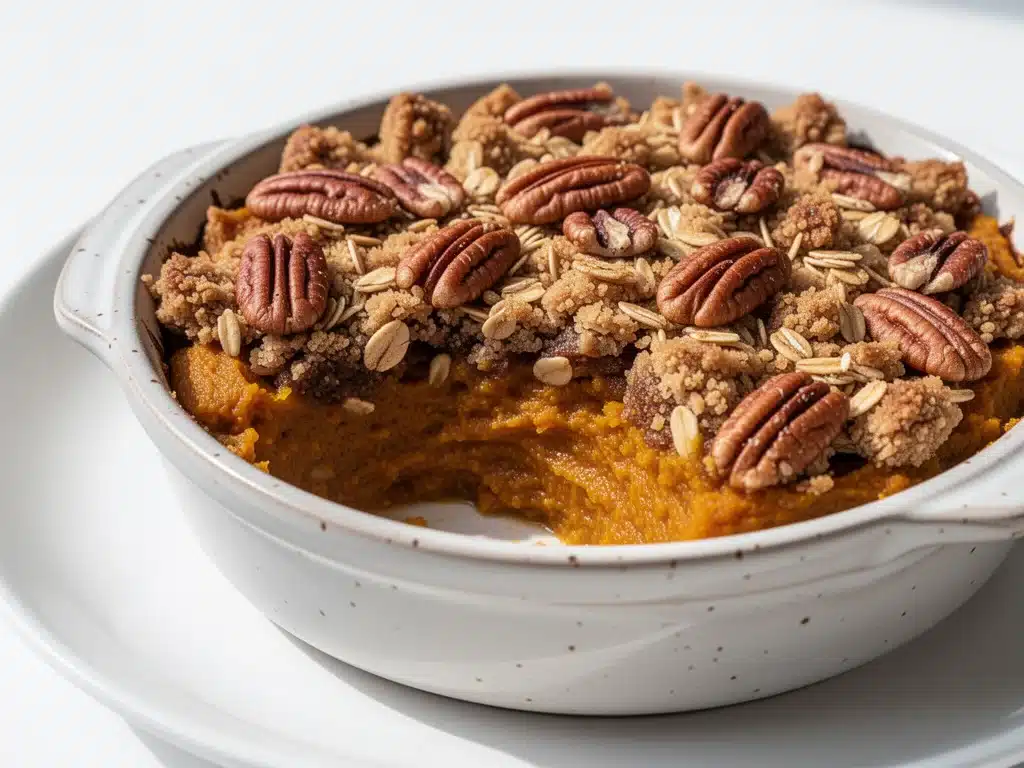
There is a specific kind of magic that happens when the leaves start turning and the air gets crisp, and I’ve been chasing that feeling in my kitchen ever since I was a kid. For me, that feeling is captured in a single bowl: warm, spiced pumpkin crisp with a crunchy oat topping that crackles as you dig in. I remember the first time I made this recipe, it was a rainy Saturday in October about ten years ago. I was trying to use up a giant pumpkin from the farmers market that was taking up too much space in my fridge, and I didn’t have a clue what to do with it. I threw together some pumpkin puree, a few spices, and a handful of oats, expecting a mushy mess. What came out of the oven was a golden, bubbling dessert that smelled like autumn itself.
That accidental discovery turned into a weekly ritual. Now, every time October hits, I’m making this Fall Spiced Pumpkin Crisp. It’s become my go-to autumn dessert because it’s effortless, comforting, and tastes like a hug. I’ve made this pumpkin crisp at least fifty times over the years, tweaking it just enough to get it perfect without losing that simple, homey charm. It’s the kind of dessert that doesn’t require fancy techniques or expensive ingredients. It just needs a little patience in the oven and a willingness to let the kitchen fill with the scent of cinnamon and nutmeg.
What I love most about this recipe is how forgiving it is. You don’t need to be a baker to pull this off. In fact, I’ve walked my teenage nephew through making it over Zoom, and he nailed it on the first try. That’s the beauty of a pumpkin crisp—it’s rustic and unpretentious. It’s not a delicate soufflé that collapses if you look at it wrong. It’s sturdy, reliable, and absolutely delicious. Whether you’re hosting a Thanksgiving dinner or just want a cozy treat with your morning coffee, this easy autumn dessert fits the bill perfectly. Let me walk you through exactly how to make it, including the little tricks that keep the topping crunchy and the filling velvety smooth.
Why You’ll Love This Recipe
I’m not exaggerating when I say this pumpkin crisp has completely changed my fall baking routine. Before this, I was stressed about making complicated pies or buying overpriced desserts from the grocery store. Now? I pull this together in under fifteen minutes, and the rest is just waiting. Here’s why this recipe has earned a permanent spot in my autumn rotation:
- Stupid Simple Ingredients — Seriously, you only need five main ingredients. I’m talking pumpkin puree, oats, brown sugar, spices, and butter. That’s it. I keep these stocked every fall, so I can throw this together on a whim when I need a sweet fix.
- Lightning Fast Prep — The active time is about 10 minutes. I chop nothing (well, maybe a few pecans if I’m feeling fancy), mix everything in one bowl, and dump it in the baking dish. If you can mix batter, you can make this.
- Crunchy vs. Creamy Texture — This is the holy grail of desserts. The bottom is a soft, spiced pumpkin custard, and the top is a buttery, crunchy oat crumble. I’ve tried other recipes where the topping gets soggy, but mine stays crisp because I bake it uncovered at the right temperature. Trust me, that contrast is everything.
- Perfect for Any Occasion — I’ve served this to my picky-eater cousin, my health-conscious sister (with some tweaks), and a room full of strangers at a potluck. Everyone asks for the recipe. It’s universally loved because it tastes like home.
- Makes Amazing Leftovers — Okay, real talk: leftovers don’t last long. But if they do, this tastes even better the next day. The flavors meld together, and the oats get slightly chewier in a good way. I deliberately make extra for breakfast with a dollop of Greek yogurt.
- Gluten-Free Friendly — By using certified gluten-free oats, this entire dessert becomes safe for my gluten-free friends. It’s naturally dairy-free if you swap the butter for coconut oil, which I do sometimes when I want a lighter version.
This is my answer to “what’s for dessert” when I want something special but don’t have the energy for a three-tier cake. It’s reliable, delicious, and makes your house smell like a bakery. That’s worth something in my book.
Ingredients You’ll Need
Here’s the best part: you probably have most of this already in your pantry. This recipe relies on simple, wholesome ingredients that you can find at any grocery store. I’m particular about three things here, and I’ll tell you exactly why they matter.
For the Pumpkin Filling
Pumpkin Puree (15 oz / 425g can) — Not pumpkin pie filling! Make sure it’s 100% pure pumpkin. I use Libby’s because it’s consistently smooth and sweet. If you make your own puree, make sure it’s cooked down until thick, otherwise your crisp will be watery.
Brown Sugar (½ cup / 100g) — I use light brown sugar. It adds that molasses-rich depth that pairs perfectly with pumpkin. Dark brown sugar works too if you like a deeper, more caramel-like flavor.
Heavy Cream (½ cup / 120ml) — This gives the filling that creamy, custard-like texture. Half-and-half works if you want to lighten it up, but heavy cream is the gold standard for richness. I take it out of the fridge 15 minutes before I start so it’s not ice cold.
Egg (1 large) — Just one egg to bind everything together. Room temperature eggs mix better, but I’ve used cold ones and it still worked fine. Don’t overmix once the egg is in, or you’ll get a dense texture.
For the Spiced Oat Topping
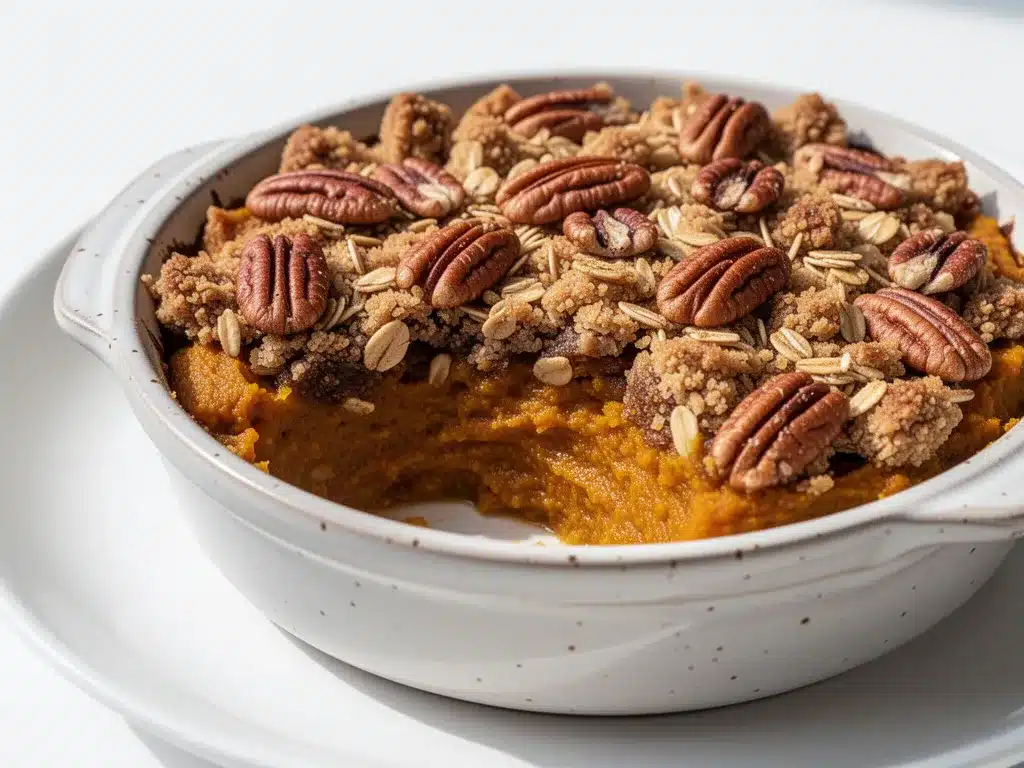
Old-Fashioned Oats (1 cup / 90g) — Do not use quick oats! They’ll turn into mush. Old-fashioned rolled oats give you that chunky, crunchy texture. If you’re making this gluten-free, ensure your oats are certified GF.
All-Purpose Flour (½ cup / 60g) — This helps the topping hold its structure. I use bleached flour because it’s tender, but unbleached works just as well. It’s not a lot of flour, so the topping stays light, not bready.
Butter (¼ cup / 55g, melted) — Unsalted butter is best so you can control the salt. I melt it in the microwave for 30 seconds. It needs to be warm enough to coat the oats but not boiling hot.
Pumpkin Pie Spice (1 teaspoon) — Or make your own blend: ½ tsp cinnamon, ¼ tsp ginger, ¼ tsp nutmeg, and a pinch of cloves. I buy a jar because I use it all fall, but homemade is fresher and smells amazing.
Salt (¼ teaspoon) — A pinch of salt is crucial to balance the sweetness. Don’t skip it. I use fine sea salt.
Optional Add-ins
Chopped Pecans (½ cup) — I add these for extra crunch and nuttiness. Toast them in a dry pan for 2 minutes before adding for maximum flavor.
White Chocolate Chips (¼ cup) — If you’re feeling indulgent, fold these into the topping. They melt into little gooey pockets.
Shopping Tips
- Check your spices — If your pumpkin pie spice has been sitting in the cabinet for two years, toss it. Fresh spices make a huge difference in flavor.
- Buy block butter — Pre-melted butter in cartons often has stabilizers. Stick to a butter stick for the best flavor and texture.
- Puree vs. Pie Filling — Again, double-check the label. Pie filling already has sugar and spices in it, which will throw off the balance of this recipe.
Equipment Needed
You don’t need fancy equipment for this. Here’s what I actually use in my kitchen:
8×8 Inch Baking Dish — I use a ceramic dish because it heats evenly. Glass works too, but keep an eye on it as it can brown faster. A metal pan is fine, but I prefer ceramic for the rustic look.
Mixing Bowl — A medium-sized bowl is perfect for mixing the filling. I use a ceramic one I’ve had for years, but any bowl works.
Small Mixing Bowl — For the topping. I like keeping the two mixtures separate until I’m ready to bake.
Fork — For mixing the topping. I use a fork to break up the butter and oats, which gives me better control over the crumble texture than a spoon.
Measuring Cups and Spoons — Standard stuff. Dollar store versions work fine for this recipe. Precision isn’t super critical here, but it helps.
Pastry Brush — Optional, but I use it to brush any excess butter on the topping for a glossy finish. Not necessary, but pretty.
Cooling Rack — Essential for letting the crisp cool slightly before serving. This helps the filling set so it doesn’t slide off the spoon.
Whisk — For the filling. I prefer a whisk over a spoon because it incorporates the egg and cream more smoothly without lumps.
How to Make It: Step-by-Step
Alright, let’s make this! I’m walking you through exactly how I do it, including the little tricks I’ve picked up over the years.
Step 1: Prep Your Oven and Dish (5 minutes)
Preheat your oven to 350°F (175°C). Grease your 8×8 inch baking dish with a little butter or cooking spray. I use a butter stick because it adds flavor, but oil works too. This step ensures the crisp doesn’t stick and gets a nice golden edge.
Step 2: Make the Pumpkin Filling (5 minutes)
In a medium bowl, combine the pumpkin puree, brown sugar, heavy cream, egg, and half of your pumpkin pie spice. Whisk until smooth and well combined. The mixture should be a vibrant orange color and look like a thick batter. If you see lumps of brown sugar, keep whisking—they’ll dissolve. Pour this mixture into your prepared baking dish and spread it out evenly with a spatula.
Step 3: Prepare the Oat Topping (3 minutes)
In a small bowl, mix the oats, flour, remaining pumpkin pie spice, and salt. Pour in the melted butter and use a fork to stir until the mixture looks like coarse sand. You want the oats to be evenly coated in butter. If it looks too dry, add a teaspoon more melted butter. If it’s too wet, add a tablespoon more oats. The texture should be crumbly, not a paste.
Step 4: Assemble and Bake (40-45 minutes)
Sprinkle the oat topping evenly over the pumpkin filling. Don’t press it down—let it sit loosely on top. This allows the crumbs to crisp up in the oven. Place the dish in the preheated oven and bake for 40-45 minutes. You’ll know it’s done when the topping is golden brown and the filling is set (it should jiggle slightly in the center but not be liquid). The kitchen will smell incredible by now.
Step 5: Cool and Serve (15 minutes)
Remove the crisp from the oven and let it cool for at least 15 minutes. This is the hardest part, I know. Cooling allows the filling to set so it holds together when you scoop it. Serve warm, topped with a dollop of whipped cream or a scoop of vanilla ice cream. The contrast of hot crisp and cold ice cream is pure heaven.
Total Time: About 1 hour (10 minutes active, 50 minutes baking/cooling)
Built-in Troubleshooting
- Topping is soggy? — You might have used quick oats or pressed the topping down too hard. Next time, use old-fashioned oats and keep it loose.
- Filling is runny? — Underbaking. Let it bake for another 5-10 minutes. The center should just barely jiggle, not wave like a pond.
- Top is burning? — Your oven might run hot. Cover the top loosely with foil for the last 10 minutes of baking.
Expert Tips & Tricks
Here’s everything I’ve learned from making this dozens of times. These tips will save you from my mistakes.
Use Real Pumpkin Puree
I can’t stress this enough. Canned pumpkin puree is consistent and reliable. Fresh pumpkin can be watery and fibrous, leading to a soggy crisp. If you do use fresh, cook it down until it’s thick and strain out any excess liquid.
Don’t Skip the Salt
Salt is a flavor enhancer, not just a seasoning. In a sweet dessert like this, a pinch of salt balances the sugar and spices, making the pumpkin flavor pop. I always add it to both the filling and the topping.
Toast Your Nuts
If you’re adding pecans or walnuts, toast them in a dry skillet for 2-3 minutes before adding to the topping. This releases their oils and adds a deep, nutty flavor that elevates the whole dish.
Cool Completely for Best Texture
I know it’s tempting to dig in hot, but the filling needs time to set. If you cut it immediately, it will be mushy. Let it cool for at least 15 minutes, or even better, refrigerate it for an hour. The texture becomes firmer and more sliceable.
Make-Ahead Strategy
You can assemble this crisp the night before and bake it in the morning. Just cover it tightly with plastic wrap and refrigerate. Let it sit at room temperature for 15 minutes before baking. This is perfect for holiday mornings when you’re short on time.
Pro Trick: The Egg Wash
For a shiny, golden topping, brush the oat layer with a little beaten egg before baking. It’s optional, but it makes the crisp look restaurant-quality.
Variations & Substitutions
Once you’ve nailed the basic version, here’s how you can mix it up. I’ve tried all of these.
Dairy-Free Version
Replace the heavy cream with coconut cream and the butter with coconut oil. The flavor will be slightly coconutty, but it’s delicious and still creamy. I use full-fat coconut milk for the cream.
Gluten-Free Version
Simply use certified gluten-free oats and gluten-free flour. The texture remains the same. I’ve used Bob’s Red Mill GF flour with great results.
Lower Sugar
Reduce the brown sugar to ¼ cup and add a teaspoon of maple syrup if needed. It’s less sweet but still flavorful. I make this version when I’m watching my sugar intake.
Apple Cinnamon Twist
Swap the pumpkin for diced apples and use apple pie spice. It’s a classic fall crisp variation. I love this with a drizzle of caramel sauce.
Spiced Latte Version
Add a tablespoon of instant espresso powder to the filling. It enhances the pumpkin flavor without making it taste like coffee. My husband loves this twist.
Dietary Modifications
- Vegan: Use coconut cream, maple syrup instead of brown sugar, and coconut oil. Add a tablespoon of cornstarch to help it set.
- Keto: Use almond flour instead of oats and flour, and erythritol instead of brown sugar. The texture will be different but still tasty.
Serving & Storage
How to Serve:
I usually serve this straight from the baking dish at the dinner table—it looks rustic and stays warm. But here are other ways I’ve enjoyed it:
- With Ice Cream: Vanilla bean ice cream is the classic pairing. The cold creaminess cuts through the warm spices.
- With Whipped Cream: Homemade whipped cream with a drop of vanilla extract is lighter and less sweet.
- With Yogurt: For breakfast, top with Greek yogurt and a drizzle of honey. It’s surprisingly satisfying.
Side Dishes:
This pairs well with a simple green salad or roasted Brussels sprouts if you’re serving it as part of a larger meal. It also goes great with a cup of hot tea or coffee.
Storage Instructions:
Refrigerator:
Store leftovers in an airtight container for up to 4 days. The topping will soften slightly, but the flavor remains great. I actually prefer it the next day.
Reheating:
Best method: Reheat in the oven at 350°F for 10-15 minutes to crisp up the topping. Microwave works in a pinch (30 seconds), but the topping will get chewy. Don’t try to reheat it in the microwave for too long, or it’ll turn rubbery.
Freezing:
This doesn’t freeze well because the dairy separates. Make it fresh or store in the fridge. If you must freeze, freeze the unbaked crisp. Wrap tightly and thaw in the fridge before baking.
Pro Tip:
If the topping loses its crunch, pop it back in the oven for 5 minutes. It’ll crisp right back up.
Nutrition Information
I’m not a nutritionist, but here’s the breakdown if you’re tracking.
Per Serving (based on 9 servings):
- Calories: 220
- Protein: 4g
- Carbs: 32g
- Fiber: 2g
- Sugar: 18g
- Fat: 10g
- Saturated Fat: 6g
- Cholesterol: 45mg
- Sodium: 120mg
- Calcium: 60mg
What’s Good:
– Decent fiber from the oats
– Vitamin A from the pumpkin
– Can be made gluten-free and dairy-free
– More filling than it looks
What to Know:
– Higher in sugar from the brown sugar
– Contains dairy and gluten (unless modified)
– Moderate calories, but a small serving is enough
My Take:
Look, this is a dessert. It’s meant to be indulgent. But it’s way better than store-bought cakes, and I know exactly what’s in it. When I want to make it lighter, I reduce the sugar and use less butter. But usually? I just enjoy a small square and savor it.
Final Thoughts
So that’s my go-to Fall Spiced Pumpkin Crisp! I’ve probably talked your ear off at this point, but when you make a recipe this often, you have a lot to say about it. This has saved dessert time more times than I can count. It’s my answer to “what’s for dessert” when I’m tired, don’t want takeout, and still want something that tastes really good. My family is happy, and I’m happy because I’m not stressed about baking.
Make it yours! Try different add-ins, swap in your favorite nuts, or adjust the spices. The best recipes are the ones you adapt to your family’s tastes. If you make this, drop a comment and let me know what you think! I love hearing how recipes turn out in your kitchen. And if something doesn’t work, tell me that too—I’m here to help troubleshoot.
Happy cooking! And I hope your kitchen smells half as good as mine does right now.
Frequently Asked Questions
Can I use fresh pumpkin instead of canned?
You can, but it requires more work. Roast a sugar pumpkin (not a carving pumpkin), scoop out the flesh, and blend it until smooth. You’ll need about 1 cup of puree. Make sure it’s thick—if it’s watery, strain it through a cheesecloth. Canned is just easier and more consistent.
Why did my topping get soggy?
This usually happens if you used quick oats instead of old-fashioned oats, or if you pressed the topping down too hard. The topping needs to be loose and airy to crisp up. Also, make sure your oven is fully preheated before putting the crisp in.
Can I make this ahead for a dinner party?
Yes! Assemble the crisp the night before and refrigerate it. Let it sit at room temperature for 15 minutes before baking. You may need to add 5-10 minutes to the baking time since it’s starting cold. This is perfect for stress-free entertaining.
Can I freeze this pumpkin crisp?
I don’t recommend freezing the baked crisp because the texture of the filling changes. However, you can freeze the unbaked crisp. Wrap it tightly in plastic wrap and foil, then thaw in the fridge overnight before baking. The topping might lose some crunch, but it’ll still be good.
Can I use coconut oil instead of butter?
Absolutely. Melted coconut oil works perfectly in the topping. It will add a slight coconut flavor, which pairs well with pumpkin. For the filling, you can use coconut cream instead of heavy cream for a dairy-free version.
How do I store leftovers?
Store in an airtight container in the fridge for up to 4 days. The topping will soften, but the flavor remains great. Reheat in the oven to crisp it back up.
Can I double this recipe?
Yes, double everything and use a 9×13 inch baking dish. The baking time will increase by about 10-15 minutes. Keep an eye on it to make sure the topping doesn’t burn.
Pin This Recipe!
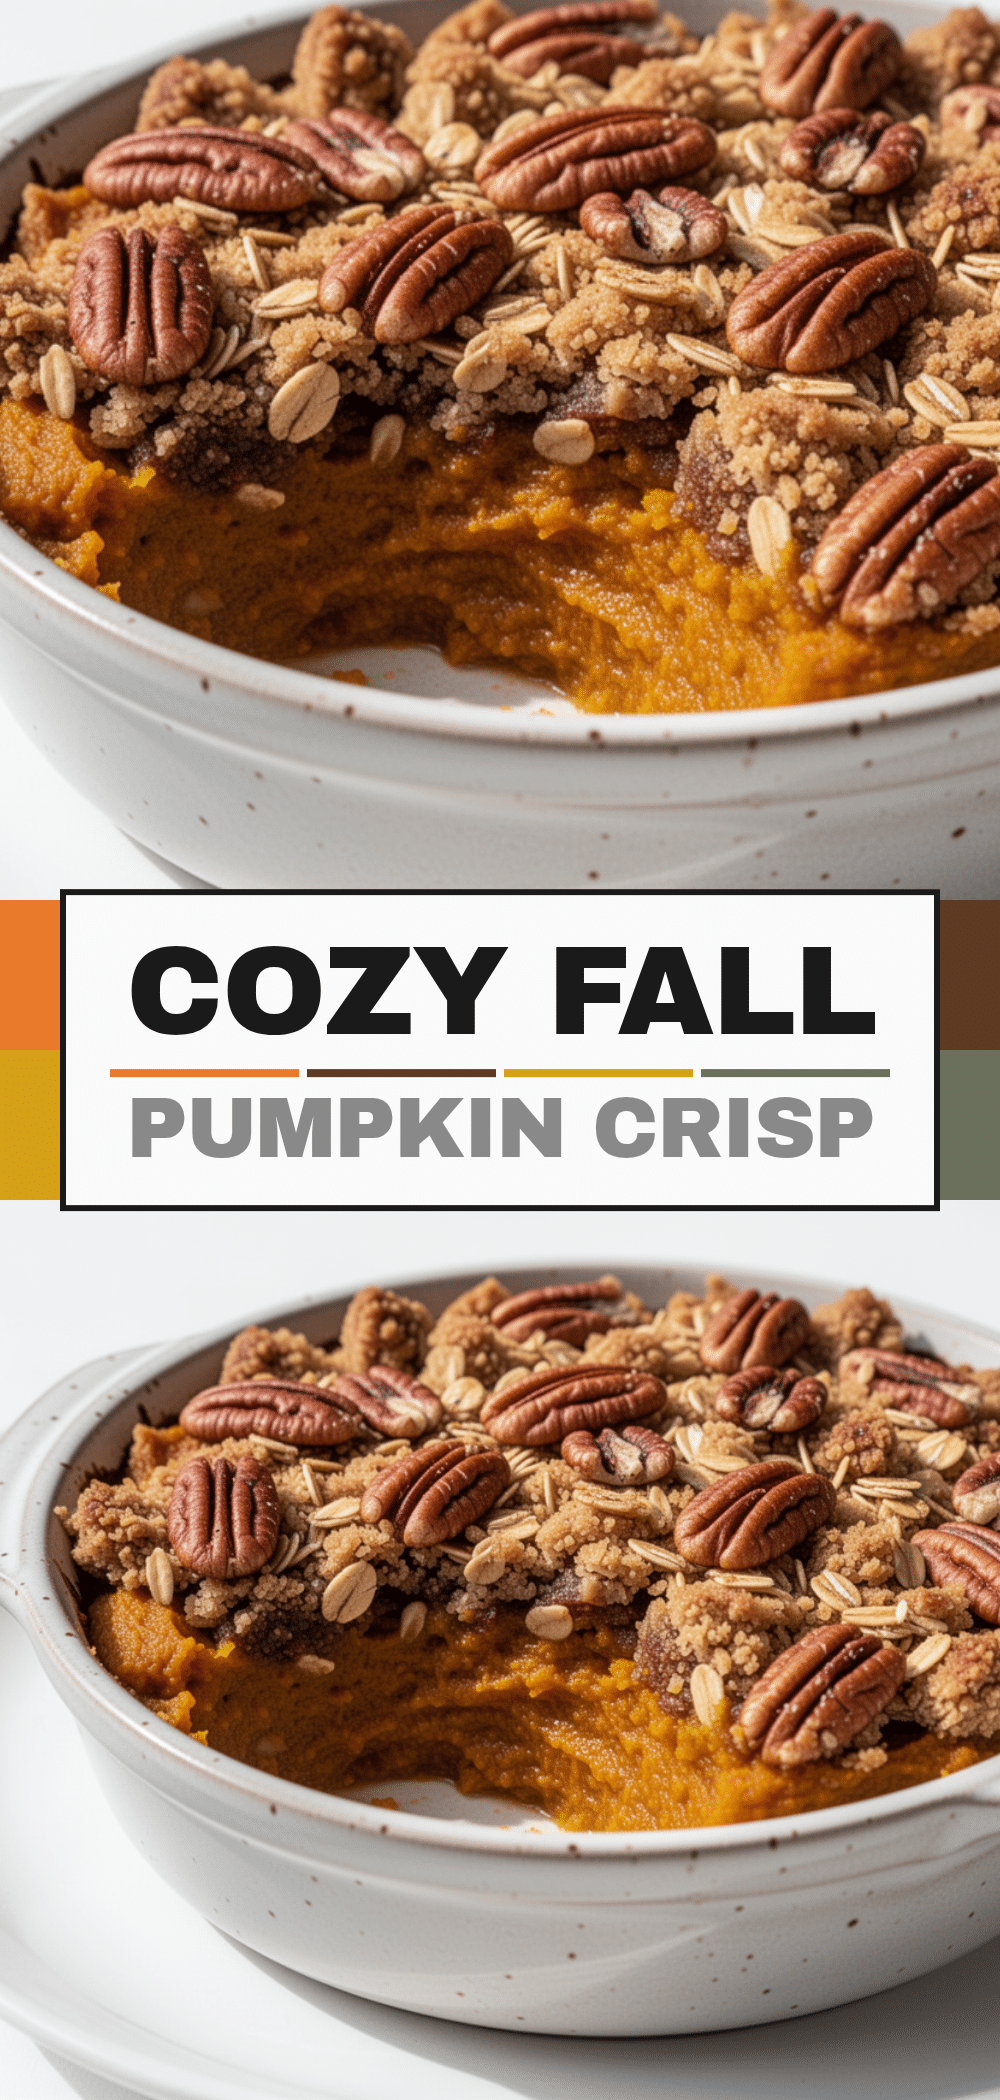
Fall Spiced Pumpkin Crisp: 5-Ingredient Easy Autumn Dessert
- Total Time: 1 hour
- Yield: 9 servings 1x
Description
A rustic, comforting autumn dessert featuring a velvety spiced pumpkin custard base topped with a crunchy, buttery oat crumble. This easy-to-make crisp requires only simple ingredients and minimal prep time.
Ingredients
- 15 oz (425g) can pumpkin puree (100% pure, not pie filling)
- 1/2 cup (100g) light brown sugar
- 1/2 cup (120ml) heavy cream
- 1 large egg, room temperature
- 1 cup (90g) old-fashioned rolled oats
- 1/2 cup (60g) all-purpose flour
- 1/4 cup (55g) unsalted butter, melted
- 1 teaspoon pumpkin pie spice (divided)
- 1/4 teaspoon fine sea salt
- Optional: 1/2 cup chopped pecans, 1/4 cup white chocolate chips
Instructions
- Preheat oven to 350°F (175°C). Grease an 8×8 inch baking dish with butter or cooking spray.
- In a medium bowl, whisk together pumpkin puree, brown sugar, heavy cream, egg, and half of the pumpkin pie spice until smooth and well combined.
- Pour the pumpkin mixture into the prepared baking dish and spread evenly with a spatula.
- In a small bowl, mix oats, flour, remaining pumpkin pie spice, and salt.
- Pour melted butter over the oat mixture and stir with a fork until it resembles coarse sand and oats are evenly coated.
- Sprinkle the oat topping loosely and evenly over the pumpkin filling. Do not press down.
- Bake for 40-45 minutes, or until the topping is golden brown and the filling is set (jiggles slightly in the center but is not liquid).
- Remove from oven and let cool for at least 15 minutes to allow the filling to set.
- Serve warm with whipped cream or vanilla ice cream.
Notes
Use old-fashioned rolled oats, not quick oats, to ensure a crunchy texture. Ensure pumpkin puree is 100% pure pumpkin, not pie filling. For a gluten-free version, use certified gluten-free oats and flour. For a dairy-free version, substitute heavy cream with coconut cream and butter with coconut oil. Let the crisp cool completely for the best texture; cutting it while hot may result in a mushy filling.
- Prep Time: 10 minutes
- Cook Time: 40-45 minutes
- Category: Dessert
- Cuisine: American
Nutrition
- Serving Size: 1 square (approx. 1/
- Calories: 220
- Sugar: 18
- Sodium: 120
- Fat: 10
- Saturated Fat: 6
- Carbohydrates: 32
- Fiber: 2
- Protein: 4
Keywords: pumpkin crisp, autumn dessert, fall baking, easy dessert, gluten-free dessert, pumpkin pie, oat crumble, seasonal recipes


