Last Tuesday, I stood in my kitchen at 6:30 PM, staring at a pile of unpacked grocery bags and a calendar that looked like a game of Tetris I was actively losing. I had three dinners planned, two meetings to prep for, and a snack drawer that was dangerously empty. I didn’t want to cook. I didn’t want to order out. I wanted something sweet, something with protein, and something I could grab on my way out the door without thinking.
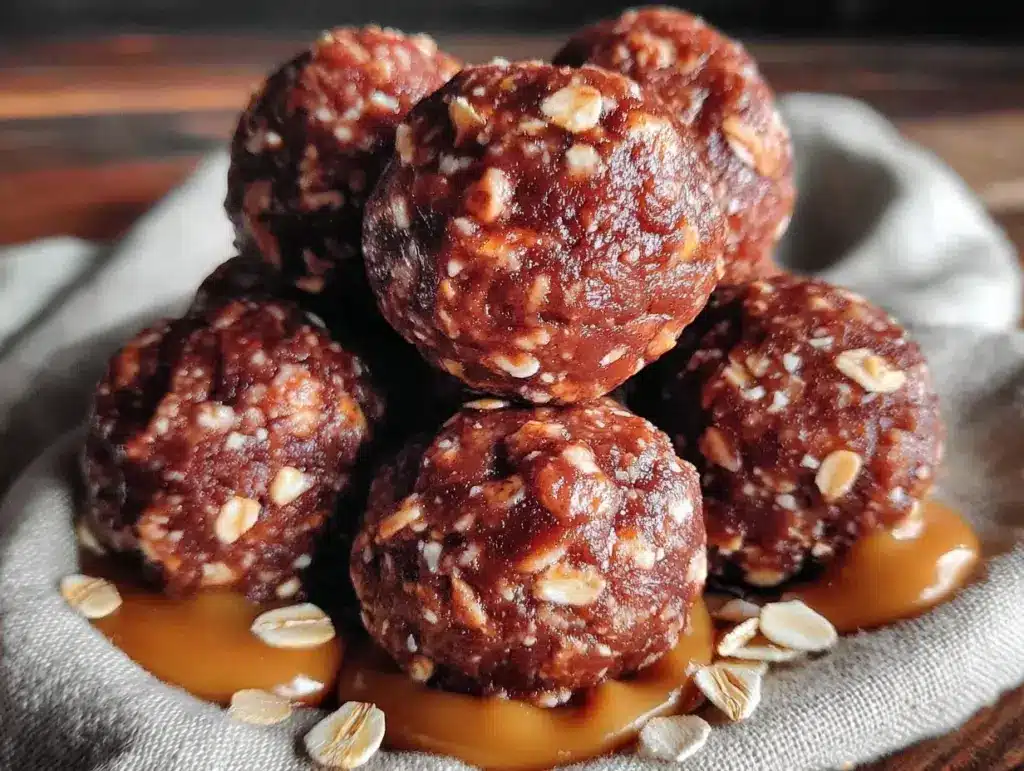
So, I made no-bake chocolate peanut butter energy balls. I threw them together in twelve minutes while the kettle boiled for tea. I rolled them into little neat balls, stuck them in the fridge, and then—here’s the secret—I made a double batch. Why? Because I knew by Thursday afternoon, when my energy would hit rock bottom before pickup time, I’d need them again. And by Friday, when I was too tired to cook dinner, I’d need them for dessert.
That’s how I use this recipe. I don’t make no-bake chocolate peanut butter energy balls because I’m hungry right this second. I make them because I’m smart enough to know that hunger is coming, and I want to be ready. This isn’t a frantic 5 PM scramble. This is strategic snacking. This is meal prep for your sweet tooth. I’ve made these so many times that I can probably do it with one hand tied behind my back, but I still love the rhythm of it. The smell of melted chocolate, the sticky texture of the peanut butter, the satisfying roll between my palms.
When I finally taste one on Wednesday morning, I don’t just get a snack. I get a win. I get to look at my organized fridge and think, “I handled that.” If you’re someone who plans their week, who likes to have things ready to go, this recipe is going to change your life. It’s simple, it’s cheap, and it keeps you from eating that sad office vending machine granola bar. Let’s get organized.
Why You’ll Love This Make-Once, Eat-Many-Strategy
There is a specific kind of peace that comes from opening your fridge and seeing exactly what you need, right where you put it. No guessing. No last-minute panic. Here is why I build my weekly snack rotation around this specific recipe:
- Zero Cooking Required — I don’t even turn on the oven. If you can stir a bowl, you can make these. No baking skills, no cleanup of pans, no waiting for things to cool. It’s just mixing and rolling.
- Freezer-Friendly Portioning — This is the big one. I make one big batch, freeze them in labeled bags, and I have snacks for three weeks. I pull out what I need for the week, and the rest stays perfect in the freezer. No more buying overpriced protein balls that taste like cardboard.
- Cost-Effective Bulk Making — Buying pre-made energy balls costs about $0.75 each. Making these? About $0.15 each. When you’re making a batch for four people to share over a week, that savings adds up fast. It’s cheap fuel for your brain.
- Macro-Balanced Snacking — I’m not a nutritionist, but I know what keeps me full. The oats provide slow-burning carbs, the peanut butter gives me healthy fats and protein, and the chocolate hits the sugar spot. I don’t crash an hour later. I actually have energy for my afternoon tasks.
- Customizable for Any Diet — Need gluten-free? Swap the oats. Vegan? Use maple syrup instead of honey. These no-bake chocolate peanut butter energy balls adapt to whatever your body needs that week. I’ve made them for my gluten-free sister, my sugar-conscious husband, and my picky toddler. They all love them.
- Grab-and-Go Convenience — I wrap them in small parchment squares or keep them in airtight containers. They don’t melt in my bag. They don’t make a mess. They are the ultimate portable snack for busy days.
When I plan my week, I look for recipes that give me the most return on investment for my time. This recipe gives me four days of stress-free snacking for fifteen minutes of work. That’s a good trade. This is my go-to when I need to get ahead of the week.
Key Ingredients for Your Batch
Let’s talk about what goes into the bowl. I keep these staples on hand because they’re versatile. You don’t need fancy grocery stores for this. You just need quality basics.
Old-Fashioned Rolled Oats (2 cups / 180g) — These are the base. Do not use instant oats; they turn to mush. Do not use steel-cut oats; they are too hard. You need the flat, chewy kind. I buy the store brand because the quality is the same. If you need gluten-free, make sure your oats are certified gluten-free, as cross-contamination is common.
Creamy Peanut Butter (1 cup / 250g) — This is the glue. I use natural peanut butter, but you have to stir it well because the oil separates. If you use a brand with stabilizers (like Jif or Skippy), it’s easier but has more sugar. I prefer natural for the clean ingredients, but either works. Make sure it’s at room temperature so it mixes smoothly.
Honey or Maple Syrup (½ cup / 150ml) — This adds sweetness and stickiness. I use honey for the classic taste, but maple syrup works perfectly if you’re going vegan. Warm it up slightly if it’s cold; it mixes into the peanut butter much better. Don’t skimp on this, or the balls won’t hold together.
Dark Chocolate Chips (1 cup / 170g) — I use semi-sweet or dark chocolate chips. They hold their shape better than milk chocolate in the fridge. If you don’t have chips, chop up a chocolate bar. I’ve also used mini chocolate chips, which distribute the flavor more evenly. Avoid chocolate chunks; they are too big and uneven.
Vanilla Extract (1 tsp / 5ml) — Just a teaspoon. It brings out the chocolate flavor. Don’t skip it. It makes the taste feel more “bakery” and less like “raw ingredients.”
Flaxseed Meal (2 tbsp / 15g) — This is my secret weapon. It adds fiber and omega-3s without changing the taste. You can buy it pre-ground or grind your own flax seeds in a blender. It also helps bind the mixture slightly better than oats alone.
Salt (¼ tsp / 1g) — A pinch of salt is crucial. It cuts the sweetness and makes the peanut butter taste nuttier. I use fine sea salt. If you only have kosher salt, use a little less because it’s less dense.
Mini Chocolate Chips (½ cup / 85g) — I add these on top or mix them in for extra chocolatey bites. They melt into the surface, making the balls look professional and taste richer.
Tools Needed for Efficiency
You don’t need a fancy kitchen for this. I keep it simple so I can clean up in two minutes. Here’s what I use:
- Large Mixing Bowl — I use a 5-quart stainless steel bowl. It’s big enough to mix everything without spilling. Glass works too, but I like the weight of steel.
- Measuring Cups and Spoons — Accuracy matters here. If you add too much oat, they’re dry. Too little, they’re sticky. I use standard nested measuring cups for dry ingredients and metal spoons for small amounts.
- Cookie Scoop — This is optional but highly recommended. I use a 1.5-tablespoon scoop. It ensures every ball is the same size, which means they freeze and thaw evenly. If you don’t have one, a tablespoon works, but it takes longer.
- Parchment Paper Lined Tray — I line a baking sheet with parchment so the balls don’t stick while they chill. Wax paper works in a pinch, but parchment is better for cold temps.
- Airtight Containers or Freezer Bags — I use gallon-sized Ziploc bags for freezing and small plastic containers for the fridge. Label them with the date. I’m organized, not mysterious.
Step-by-Step Instructions for Your Batch
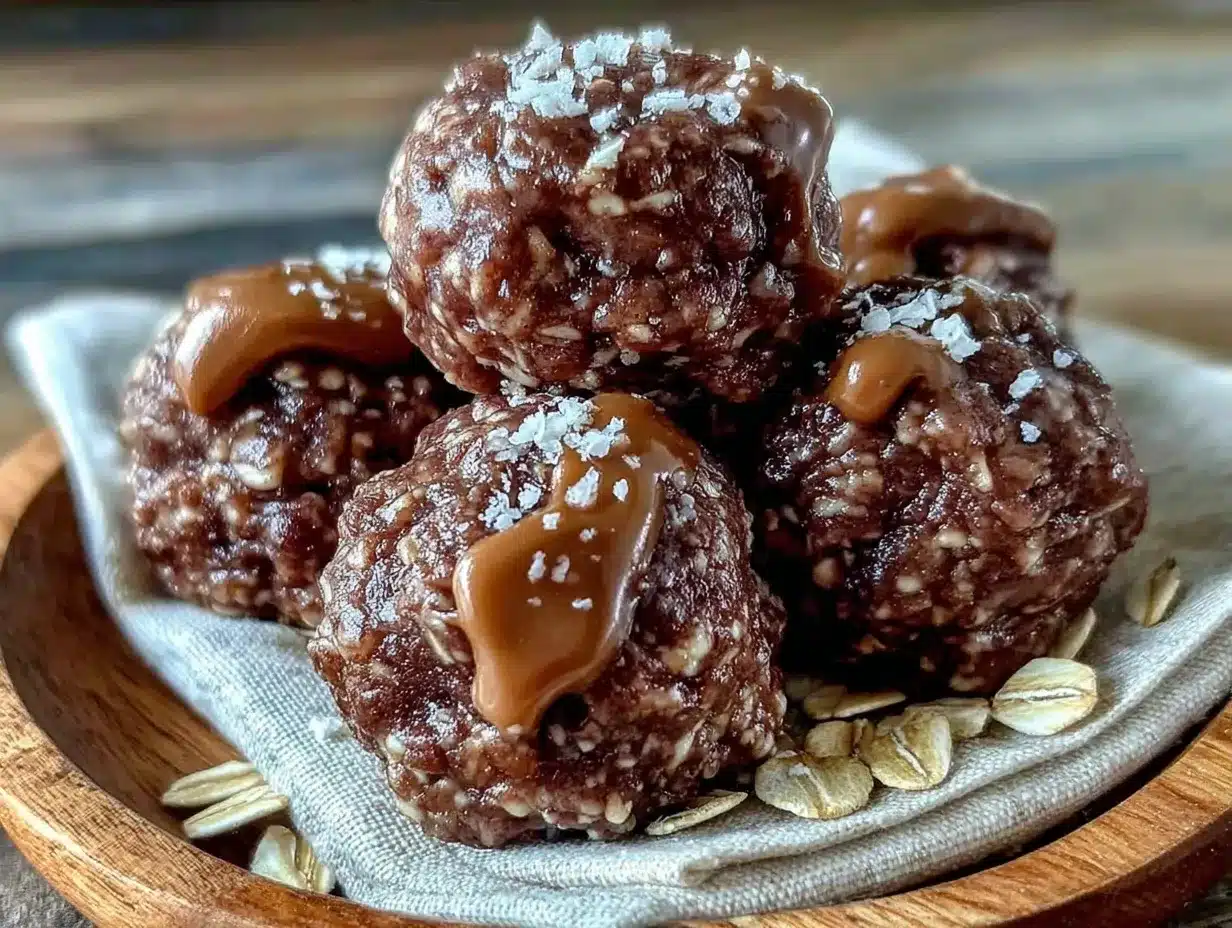
Let’s get this done. I aim for about 12 minutes of active time, plus chilling. Here is exactly how I do it to ensure consistency.
Step 1: Mix the Wet Ingredients (2 minutes)
In your large bowl, combine the peanut butter, honey (or maple syrup), and vanilla extract. If the peanut butter is cold or stiff, microwave it for 15-20 seconds to soften it. Stir vigorously with a silicone spatula until it’s smooth and glossy. This is crucial. If there are lumps of peanut butter, your balls will have uneven textures. It should look like a thick, shiny paste.
Step 2: Add Dry Ingredients (2 minutes)
Add the rolled oats, flaxseed meal, and salt to the bowl. Stir until the oats are fully coated in the peanut butter mixture. It will look dry and crumbly at first. Don’t worry. Keep mixing. The goal is to eliminate any dry pockets of oat. You want every single oat to be covered in fat and sugar.
Step 3: Fold in the Chocolate (2 minutes)
Now, add the dark chocolate chips. Fold them in gently. You don’t want to crush them. Just distribute them evenly. At this stage, the mixture should be sticky and hold together when you squeeze a handful. If it’s too dry and crumbles apart, add another tablespoon of honey. If it’s too sticky to touch, add another tablespoon of oats. Adjust as needed.
Step 4: Roll the Balls (4 minutes)
Use your cookie scoop or a tablespoon to portion the mixture. Roll each portion between your palms to form a smooth ball. If the mixture sticks to your hands, wet them slightly with water. This helps them roll smoothly. Place them on the parchment-lined tray. Aim for uniform sizes so they look nice and freeze evenly. I usually get about 24-30 balls from this batch.
Step 5: Chill or Freeze (15 minutes to set)
Put the tray in the freezer for 15 minutes. This firms up the peanut butter and chocolate, making the balls solid. You can eat them soft, but chilled, they have a better texture and don’t stick to your fingers. Once firm, transfer them to your storage containers or freezer bags. Label with the date. They last 2 weeks in the fridge or 3 months in the freezer.
Total Time: 12 minutes active, 15 minutes chilling. Yield: 24-30 energy balls.
Expert Tips from My Meal Prep Experience
I’ve made these dozens of times. Here’s everything I’ve learned to make the process smoother and the results better.
The Game-Changers
Warm the Honey
Cold honey is thick and hard to mix. I always microwave the honey for 10 seconds before adding it to the peanut butter. It blends instantly. This small step saves you from having to mix for five extra minutes.
Don’t Skip the Chill Time
I know you want to eat them now. But if you skip the 15-minute chill, they will be messy. The cold firms up the fats. If you’re in a rush, put them in the freezer for 10 minutes. The fridge takes too long if you want them firm quickly.
Portion Control is Key
I use a cookie scoop. It sounds like a gimmick, but it ensures every ball is the same size. This matters for meal prep because you can count them easily. “I’ll have four balls for my morning snack.” It’s precise. It’s organized.
Common Problems & Solutions
Mixture is too dry
This happens if your peanut butter is very stiff or your oats are old. Add more honey or a splash of milk. Mix well.
Mixture is too sticky
This happens if you add too much wet ingredient. Add more oats, one tablespoon at a time, until it’s manageable.
Balls fall apart
You didn’t mix enough. Or the peanut butter wasn’t at room temperature. Ensure the peanut butter is soft and mix until fully coated.
Recipe Variations for Your Weekly Rotation
Once you’ve mastered the basic version, here’s how I mix it up to keep things interesting for my family.
Coconut Chocolate
Add ½ cup of shredded coconut. It adds a nice chew and tropical flavor. I love this version in the summer.
Pumpkin Spice
Add 1 tbsp pumpkin puree and 1 tsp pumpkin pie spice. It tastes like fall. This pairs well with my fall spiced pumpkin white hot chocolate for a cozy afternoon.
Red Velvet
Add 1 tbsp cocoa powder and 1 tsp red food coloring. It looks festive and tastes like cake. Great for holidays.
Protein Boost
Add 1 scoop of vanilla protein powder. It makes them more filling. Add a splash of milk if it gets too dry.
Gluten-Free
Use certified gluten-free oats. Everything else is naturally gluten-free. Check your chocolate chips for hidden wheat.
Vegan
Use maple syrup instead of honey and dairy-free chocolate chips. Simple swap. Same taste.
Serving & Storage for the Week
Serving:
I keep these in the fridge for immediate access. I take four balls with me to work, to the gym, or on a hike. They pair well with black coffee or my old fashioned sweet tea lemonade for a refreshing break. They also work as a quick dessert after dinner if you’re craving something sweet but want to avoid baking.
Storage:
In the fridge: Store in an airtight container for up to 2 weeks. They stay soft and chewy.
In the freezer: Store in a freezer bag for up to 3 months. They don’t freeze hard like ice cream. They stay soft. Just pull them out 10 minutes before eating.
Meal Prep Tip: I freeze them in bags of 10. So I grab one bag for the week. No guessing. No waste.
Nutrition Information
I’m not a nutritionist, but here’s the breakdown per ball (makes approx. 24 balls):
| Calories | Protein | Carbs | Fiber | Fat | Sodium |
|---|---|---|---|---|---|
| 120 | 4g | 14g | 2g | 7g | 60mg |
My Take:
This is a calorie-dense snack because of the nuts and chocolate. It’s not a “diet” food, but it’s nutrient-dense. It has protein, fiber, and healthy fats. It’s better than a candy bar. It fuels you. Just be mindful of portion size if you’re watching calories.
Final Thoughts
These no-bake chocolate peanut butter energy balls are more than a snack. They are a system. They are a way to take control of your hunger and your schedule. I make them once, and I eat them four times this week. That’s the goal. That’s the win. If you make these, drop a comment and tell me how you use them. Do you add protein powder? Do you use almond butter? I love hearing how you customize your meal prep.
Happy cooking!
FAQs
Q: Can I use crunchy peanut butter instead of creamy?
A: Yes, absolutely. It adds a nice texture. Just make sure it’s well-mixed. The chunks might make rolling slightly harder, but it’s delicious.
Q: Why are my energy balls too dry?
A: This usually means you didn’t add enough honey or your peanut butter was too stiff. Add another tablespoon of honey and mix well. If they are still dry, add a splash of milk.
Q: Can I freeze these without them sticking together?
A: Yes. Flash freeze them on the tray for 30 minutes until solid, then transfer to a bag. This prevents them from clumping into one big ball in the freezer.
Q: How do I make these vegan?
A: Swap the honey for maple syrup and use dairy-free chocolate chips. That’s it. The rest of the ingredients are already plant-based.
Q: Can I make these gluten-free?
A: Yes, just use certified gluten-free oats. Most oats are processed in facilities with wheat, so look for the label.
Q: How long do these last in the fridge?
A: Up to 2 weeks in an airtight container. After that, they start to dry out. If you want them longer, freeze them.
Pin This Recipe!
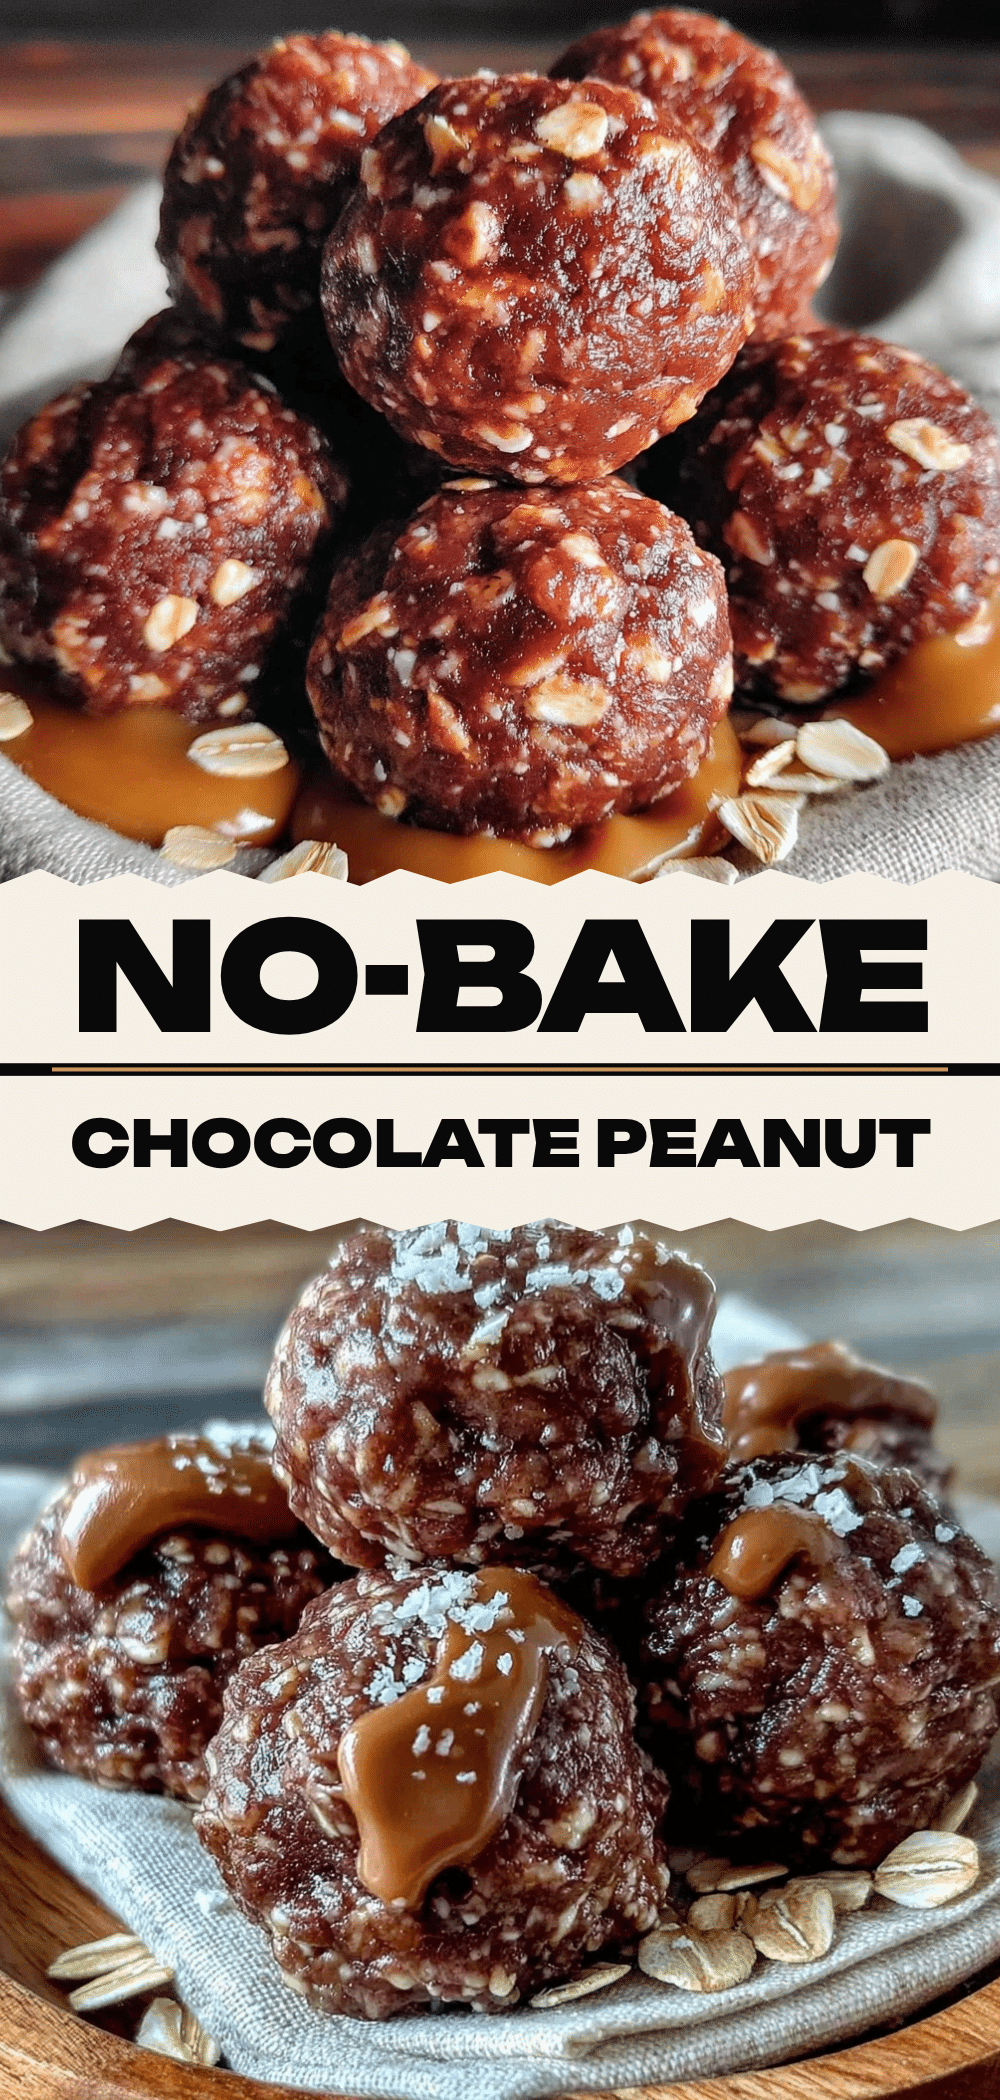
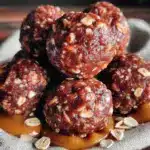
No-Bake Chocolate Peanut Butter Energy Balls
- Total Time: 27 minutes
- Yield: 24-30 servings 1x
Description
Strategic, make-ahead snack balls that require zero cooking. These energy balls are packed with protein, healthy fats, and chocolate, perfect for busy weeks and customizable for various dietary needs.
Ingredients
- 2 cups (180g) Old-Fashioned Rolled Oats
- 1 cup (250g) Creamy Peanut Butter
- ½ cup (150ml) Honey or Maple Syrup
- 1 cup (170g) Dark Chocolate Chips
- 1 tsp Vanilla Extract
- 2 tbsp (15g) Flaxseed Meal
- ¼ tsp Salt
- ½ cup (85g) Mini Chocolate Chips
Instructions
- In a large bowl, combine the peanut butter, honey (or maple syrup), and vanilla extract. Microwave the peanut butter for 15-20 seconds if stiff to soften it. Stir vigorously until smooth and glossy.
- Add the rolled oats, flaxseed meal, and salt to the wet mixture. Stir until the oats are fully coated and no dry pockets remain.
- Fold in the dark chocolate chips gently to distribute them evenly without crushing them. The mixture should be sticky and hold together when squeezed.
- Use a cookie scoop or tablespoon to portion the mixture. Roll each portion between your palms to form smooth balls. If the mixture sticks, wet your hands slightly with water.
- Place the balls on a parchment paper-lined tray and freeze for 15 minutes to firm up.
- Transfer the chilled balls to airtight containers or freezer bags. Store in the fridge for up to 2 weeks or in the freezer for up to 3 months.
Notes
Ensure peanut butter is at room temperature for smooth mixing. Warm honey slightly if it is cold to help it blend. If the mixture is too dry, add more honey; if too sticky, add more oats. For vegan version, use maple syrup and dairy-free chocolate chips. For gluten-free version, use certified gluten-free oats.
- Prep Time: 12 minutes
- Cook Time: 0 minutes
- Category: Snack
- Cuisine: American
Nutrition
- Serving Size: 1 energy ball
- Calories: 120
- Sugar: 9
- Sodium: 60
- Fat: 7
- Saturated Fat: 3
- Carbohydrates: 14
- Fiber: 2
- Protein: 4
Keywords: no-bake, energy balls, peanut butter, chocolate, meal prep, healthy snack, gluten-free, vegan, protein snack, quick recipe