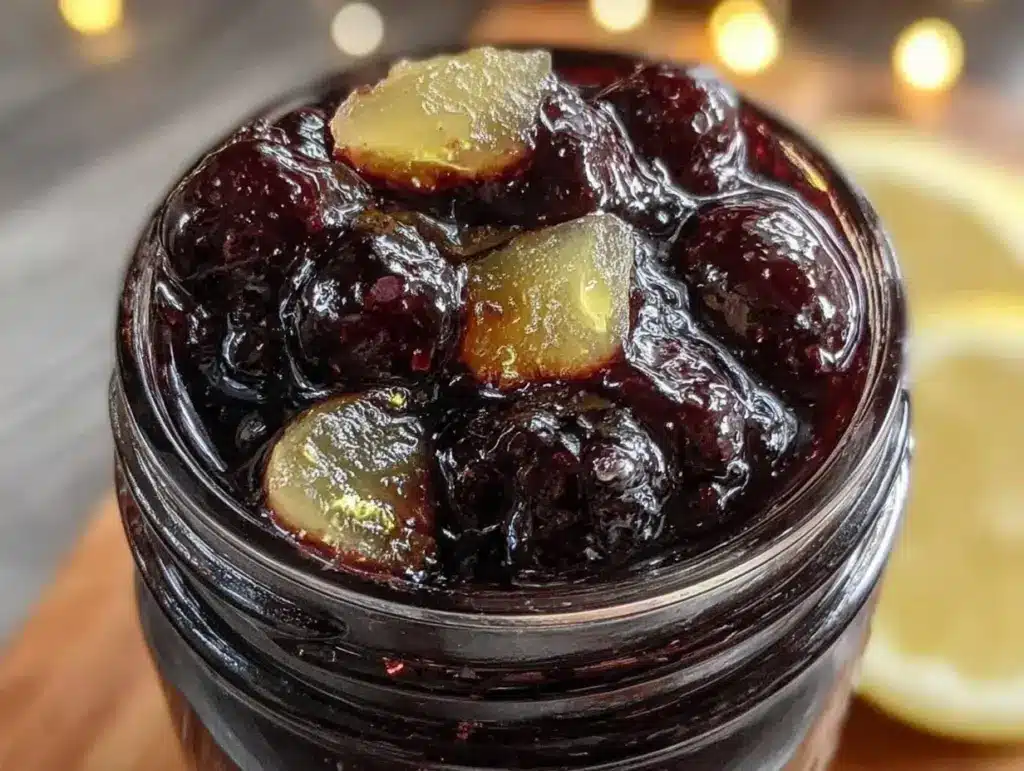
Last December, I woke up with that familiar, heavy chest tightness. You know the one. It’s that specific kind of “I definitely caught something from the office” exhaustion that makes your bones ache. My husband, bless his heart, looked at me and said, “Do you want the pharmacy run or the kitchen run?” I was too stubborn for the pharmacy, but too tired to cook a full meal. So, I rummaged through my spice cabinet and pantry, grabbed whatever dried berries and roots I had lying around, and threw them into a pot. I didn’t have a recipe. I just had a desperate need to feel better and a refusal to leave the house.
That haphazard attempt turned into the best Immune-Boosting Elderberry Syrup with Ginger I’ve ever made. It wasn’t perfect at first. I burned the sugar, and it tasted more like cough syrup than a treat. But after tweaking the ratio three times, I found the sweet spot—literally and figuratively. Now, when the first chill hits the air or someone in my house sneezes for the third time this week, I don’t panic. I just make a batch of this syrup. It’s become my secret weapon, my cozy winter ritual, and honestly, one of the easiest things I make all season.
There’s something deeply comforting about boiling down dark purple berries and spicy root into a thick, glossy syrup. It smells like health and home. It’s not just about fighting off a cold; it’s about taking a moment to care for yourself when life gets overwhelming. This Immune-Boosting Elderberry Syrup with Ginger is my answer to those days when you need a little extra protection and a lot of comfort. It’s simple, it’s potent, and it tastes surprisingly good on its own.
I’ve made this batch after batch, season after season. It’s the liquid gold that gets me through January. If you’re looking for a natural way to support your immune system, or just want a syrup that’s better than anything you’ll buy at the store, you need to try this. It’s the kind of thing that makes you feel like you’re in control, even when you’re feeling under the weather. Let’s get into exactly how I make it, because trust me, you’ll want to have this ready before flu season hits.
Why You’ll Love This Immune-Boosting Elderberry Syrup with Ginger
Okay, real talk. There are a million “healthy” remedies out there, but most of them taste like dirt or require a PhD in herbalism to make. This Immune-Boosting Elderberry Syrup with Ginger is different. It’s actually delicious. Here’s why it’s earned a permanent spot in my fridge:
It’s a One-Pot Wonder — Seriously. One pot. One spoon. One cleanup. I make this while watching TV or helping my kid with homework. There’s no chopping frenzy, no complex techniques, just dump, simmer, strain, and store. It takes about 20 minutes of active time, and the rest is just waiting.
It Tastes Like Winter Candy — I know, I know, “healthy” and “candy” don’t usually go together. But the combination of sweet elderberries, tangy lemon, and spicy ginger creates this amazing flavor profile. It’s tart, sweet, and warming all at once. My kids actually ask for it. I don’t even have to hide it in their juice.
It’s Faster Than Takeout — Think about it. You can have a batch of this ready in under 30 minutes. That’s faster than ordering delivery, faster than going to the store, and faster than trying to figure out what to make for dinner. It’s the ultimate 5pm win for health.
It’s Shelf-Stable Magic — Because of the sugar and the boiling process, this syrup lasts for months. I make a batch in November and it’s still good in March. It’s meal prep for your immune system. You make it once, and you’re set for weeks.
It Uses Simple Ingredients — You probably already have half of this in your pantry. Dried elderberries, ginger root, honey, lemon. No weird powders or hard-to-find supplements. Just real food that works. It’s accessible, affordable, and effective.
This is my go-to when I feel a tickle in my throat or just want to boost my defenses. It’s simple, it’s powerful, and it makes my kitchen smell amazing. Once you try this Immune-Boosting Elderberry Syrup with Ginger, you’ll wonder how you survived winter without it.
Key Ingredients for the Best Immune-Boosting Elderberry Syrup with Ginger
Let’s talk about what goes into this pot. You don’t need fancy, expensive stuff. You just need the right balance. Here’s exactly what I use and why it matters.
Dried Elderberries (1/2 cup / 60g) — This is the star. Do not use fresh elderberries; they are toxic unless cooked thoroughly, and dried is much easier to find and store. Look for organic, unsulfured if you can find it. I buy mine in bulk from a local health food store because it’s cheaper. These berries are packed with antioxidants and vitamin C. They give the syrup its deep purple color and its immune-boosting punch.
Fresh Ginger Root (2 inches / 30g) — Fresh ginger is non-negotiable here. Powdered ginger doesn’t have the same zing or anti-inflammatory power. Get a knobby, firm piece. Peel it, then chop it finely or slice it into coins. The spicy heat from the ginger warms you up from the inside out. It’s what makes this syrup feel like a hug.
Raw Honey (1 cup / 340g) — Honey is a natural preservative and a soothing agent for sore throats. Use raw, unfiltered honey for the best benefits. Local honey is even better if you have it, as it’s said to help with seasonal allergies. I use about a cup, but you can adjust. If you’re vegan, swap this for agave nectar or maple syrup, though the preservation properties are slightly different.
Fresh Lemon Juice (2 lemons / approx. 1/4 cup / 60ml) — The acid balances the sweetness and adds a bright note. It also helps preserve the syrup. Squeeze two medium lemons. Don’t skip the zest if you’re feeling fancy, but the juice is the important part. It cuts through the heaviness of the berries.
Water (4 cups / 960ml) — Just good old-fashioned tap or filtered water. You’re boiling it down anyway, so it doesn’t need to be fancy. This creates the base for your syrup.
Cinnamon Stick (1 stick / optional) — I like to add a cinnamon stick for warmth, but it’s optional. If you’re sensitive to spices, skip it. It adds a subtle sweetness that pairs well with the ginger.
Star Anise (1 pod / optional) — For a licorice-like depth, I sometimes add one star anise pod. It sounds fancy, but it’s just floating in the pot and gets strained out later. It adds a nice complexity.
Tools Needed for This Easy Syrup
You don’t need a fancy kitchen setup for this. Here’s what I use, and what you can swap.
Medium Saucepan (2-3 quart) — I use a heavy-bottomed saucepan. It prevents burning. A thin pan might scorch the sugar at the bottom, which ruins the flavor. My old stainless steel pot works perfectly.
Wooden Spoon or Silicone Spatula — For stirring. Metal can scratch non-stick, but I don’t mind if I scratch my stainless steel. Just make sure it’s clean.
Mesh Strainer or Cheesecloth — This is the only “special” tool. You need something to separate the berries and ginger from the liquid. A fine-mesh strainer works, but cheesecloth gives you a clearer syrup. I use a reusable nut milk bag if I have it, which is even easier.
Funnel and Glass Jar — For bottling. I use a small mason jar with a tight lid. A funnel keeps the syrup out of the jar’s rim, which prevents stickiness and mold. Any glass jar with a lid will do.
How to Make Immune-Boosting Elderberry Syrup with Ginger
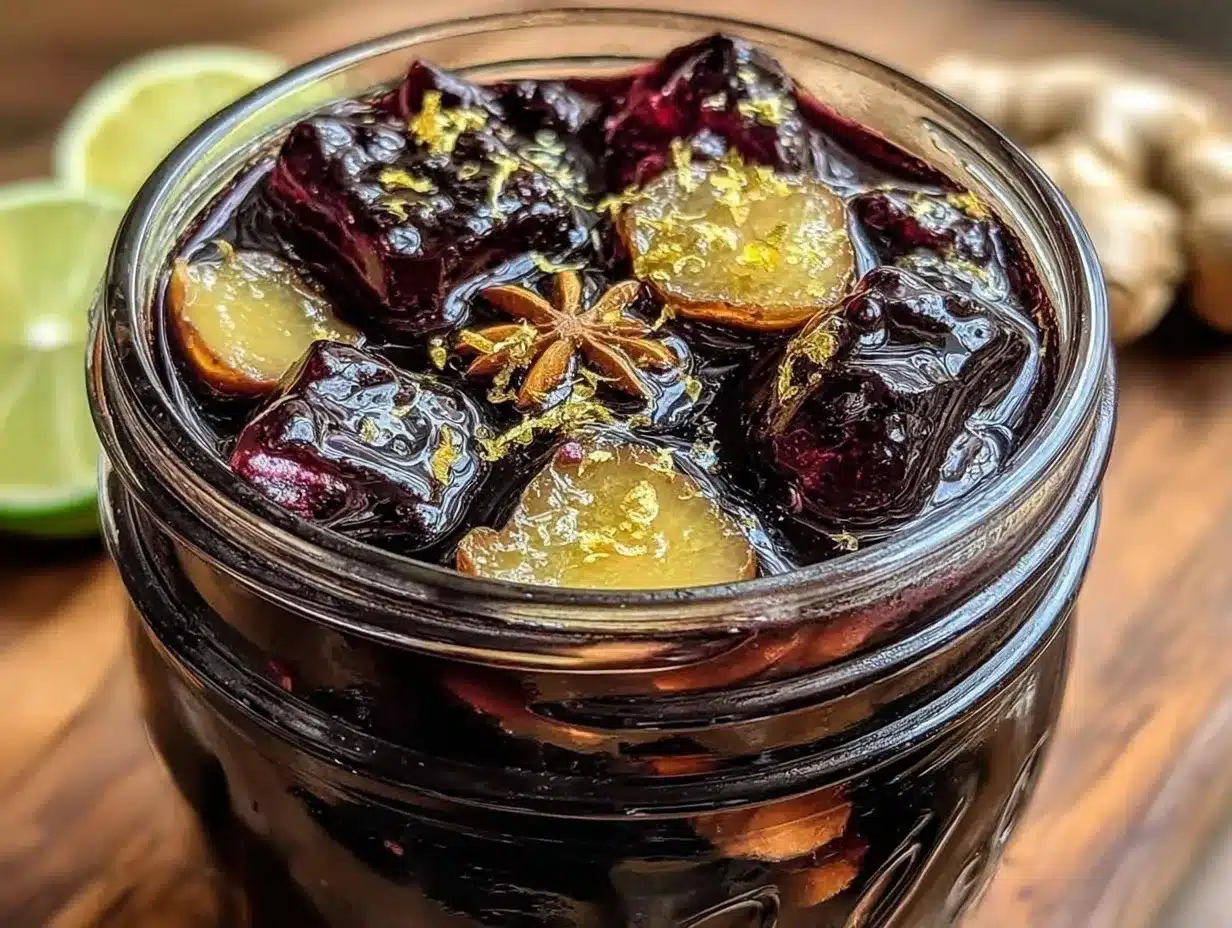
Here’s the step-by-step. It’s simple, but pay attention to the details.
Step 1: Combine and Boil (5 minutes)
Add the dried elderberries, chopped ginger, cinnamon stick, and star anise (if using) to your saucepan. Pour in the 4 cups of water. Turn the heat to high and bring it to a boil. You’ll see the water start to bubble vigorously. This is where the magic begins. Let it boil for 10 minutes. The water will turn a deep, dark purple. This is extracting the nutrients. Don’t skip this step.
Step 2: Simmer Down (20 minutes)
Once it boils, reduce the heat to low. Cover the pot with a lid, but leave it slightly cracked to let steam escape. Let it simmer for 20 minutes. You’ll notice the liquid reduces by about half. It should look like a thin tea. The berries will soften and split open. This is the long part of the process, but you don’t need to watch it constantly. Just check occasionally to make sure it’s not boiling too hard and burning.
Step 3: Cool and Strain (10 minutes)
Turn off the heat. Let the mixture cool for about 10 minutes. It’s hot, so be careful. Once it’s cool enough to handle, pour it through your mesh strainer or cheesecloth into a bowl. Press down on the berries and ginger with the back of your spoon to get every drop of liquid out. This is key for yield. Discard the solids. You can compost them. You should have about 2 cups of dark purple liquid left.
Step 4: Sweeten and Acidify (2 minutes)
While the liquid is still warm (not boiling hot, just warm), stir in the honey. Warm liquid helps the honey dissolve easily. If you add honey to boiling liquid, you might kill some of the beneficial enzymes. So, wait until it’s just warm. Stir until completely dissolved. Then, stir in the fresh lemon juice. The color might lighten slightly, and it will smell incredible. Tart, sweet, spicy.
Step 5: Bottle and Store
Use your funnel to pour the syrup into your glass jar. Let it cool completely to room temperature before putting the lid on. Then, pop it in the fridge. It will thicken slightly as it cools. This is your finished Immune-Boosting Elderberry Syrup with Ginger.
Total time: About 45 minutes from start to finish. Mostly waiting. Not bad for a whole bottle of health.
Expert Tips for Perfect Syrup
I’ve made this enough times to know what goes wrong and how to fix it. Here’s everything I learned.
Don’t Rush the Simmer
The first time I made this, I rushed it. I only simmered for 10 minutes. The result? Watery syrup with weak flavor. The 20-minute simmer is crucial for extracting the full flavor and potency from the dried berries. Trust the time.
Strain Twice for Clarity
If you want a clear, pretty syrup like you buy in stores, strain it twice. Once through the mesh, then again through cheesecloth. It takes an extra minute, but the texture is so much smoother. I do this when I’m giving it as a gift.
Watch the Honey Temperature
As I mentioned, don’t add honey to boiling liquid. It degrades the quality. Wait until the syrup is warm to the touch. If you forget and add it to boiling liquid, it’s still safe to drink, but you lose some of the raw honey benefits.
Adjust Sweetness to Taste
Elderberries can be quite tart. If you like it sweeter, add more honey. If you like it medicinal and tart, use less. Taste it after you add the lemon. It should taste good on its own, not just as a medicine.
Use Distilled Vinegar for Longer Shelf Life
If you want this to last longer in the fridge, add a teaspoon of distilled white vinegar. It doesn’t change the taste, but it lowers the pH, making it harder for bacteria to grow. I do this when I make a big batch.
Immune-Boosting Elderberry Syrup with Ginger Variations
Once you’ve nailed the basic version, here’s how to mix it up.
Elderberry and Turmeric
Add 1 teaspoon of turmeric powder and a pinch of black pepper when you simmer. Turmeric is anti-inflammatory, and the pepper helps your body absorb it. It turns the syrup a vibrant yellow-orange. It’s great for joint pain too.
Spiced Apple Cider Version
Swap half the water for apple cider. Add an extra cinnamon stick and a clove. It tastes like liquid apple pie but with immune benefits. This pairs perfectly with a spiced pumpkin hot chocolate on a cold night.
Cherry and Ginger
Swap half the elderberries for dried cherries. They add a different kind of tartness and are also high in antioxidants. It’s a nice variation if you can’t find elderberries.
Vegan Option
Simply swap the honey for maple syrup or agave. It works great. Maple syrup has its own mineral benefits, so it’s a good swap.
Extra Zesty
Add the zest of one orange along with the lemon. It adds a citrusy brightness that’s perfect for winter blues.
Serving and Storage
Serving:
I take 1-2 tablespoons daily as a preventative measure. When I feel a cold coming on, I bump it up to 1 tablespoon every 2-3 hours. It’s great mixed into warm water with lemon, stirred into tea, or just eaten straight off the spoon. It’s also delicious drizzled over yogurt or oatmeal. Don’t forget to shake the bottle before using, as natural sediment can settle.
Storage:
This keeps in the fridge for up to 3 months. The sugar and acidity act as preservatives. If you notice any mold or off-smell, toss it. It can also be frozen. Pour it into ice cube trays for easy portioning. Thaw a cube in warm water when you need it. It freezes perfectly for up to 6 months.
Meal Prep Tip:
Make a double batch in November. Freeze half. You’ll thank yourself in January when you’re feeling under the weather and don’t want to make a fresh batch.
Nutrition Information
I’m not a nutritionist, but here’s the general breakdown per 1 tablespoon serving (approx. 15ml).
| Nutrient | Amount |
|---|---|
| Calories | 45 |
| Carbohydrates | 11g |
| Sugar | 10g |
| Protein | 0g |
| Fat | 0g |
| Sodium | 2mg |
My Take:
This is essentially sugar syrup with some berry nutrients. It’s not a diet food. The honey adds calories and sugar. But it’s natural sugar, and the benefits outweigh the occasional indulgence. Think of it as a health tonic, not a dessert. It’s better than any store-bought cough syrup, and I know exactly what’s in it.
Final Thoughts
Making this Immune-Boosting Elderberry Syrup with Ginger is one of those simple acts of self-care that makes a big difference. It’s not magic, but it’s close. It’s a reminder that you can take care of your health with ingredients from your kitchen. I love that it’s easy, tasty, and effective. It’s become a staple in my home, and I hope it becomes one in yours too.
If you make this, drop a comment! I love hearing how it turns out in your kitchen. Do you take it straight or mix it in tea? Let me know. And if you need more cozy winter recipes, check out my homemade spiced apple cider for a non-alcoholic winter drink that’s equally comforting.
Happy cooking!
FAQs
Q: Can I use fresh elderberries instead of dried?
A: I don’t recommend it. Fresh elderberries contain cyanogenic glycosides, which are toxic if not cooked properly. Dried elderberries are safer and easier to find. If you forage your own fresh berries, you must cook them thoroughly and for a longer time, but dried is just simpler and safer for syrup.
Q: How long does this syrup last?
A> In the fridge, it lasts up to 3 months. If you freeze it, it lasts up to 6 months. Always use a clean spoon when taking it out to prevent contamination.
Q: Is this safe for children?
A: Yes, but with caution. Honey should not be given to children under 1 year old due to botulism risk. For older children, you can use maple syrup instead. Start with a small dose (1/2 teaspoon) and see how they like it.
Q: Can I make this without honey?
A: Yes, use agave nectar or maple syrup. It will still work, though honey is the traditional preservative. The syrup might not last quite as long without the honey’s antibacterial properties.
Q: Why is my syrup cloudy?
A: That’s normal! Elderberries release pectin and other compounds that make the syrup cloudy. If you want it clear, strain it through cheesecloth or a nut milk bag. Cloudy is fine and doesn’t affect the taste or health benefits.
Q: Can I double the recipe?
A: Absolutely. Just use a larger pot. Make sure you have enough surface area for the liquid to simmer properly. Don’t overcrowd the pot.
Pin This Recipe!
Immune-Boosting Elderberry Syrup with Ginger
- Total Time: 45 minutes
- Yield: Approximately 2 cups 1x
Description
A simple, one-pot winter remedy made with dried elderberries, fresh ginger, and honey. This syrup is easy to make, tastes like winter candy, and supports the immune system naturally.
Ingredients
- 1/2 cup (60g) dried elderberries
- 2 inches (30g) fresh ginger root, peeled and chopped
- 1 cup (340g) raw honey
- 2 lemons (approx. 1/4 cup / 60ml juice)
- 4 cups (960ml) water
- 1 cinnamon stick (optional)
- 1 star anise pod (optional)
Instructions
- Add dried elderberries, chopped ginger, cinnamon stick, and star anise to a medium saucepan. Pour in 4 cups of water.
- Bring the mixture to a boil over high heat and boil for 10 minutes until the water turns deep purple.
- Reduce heat to low, cover the pot with a lid slightly cracked, and simmer for 20 minutes until the liquid reduces by about half.
- Remove from heat and let cool for 10 minutes. Strain the mixture through a mesh strainer or cheesecloth into a bowl, pressing on solids to extract all liquid. Discard solids.
- While the liquid is still warm (not boiling), stir in the honey until dissolved. Stir in the fresh lemon juice.
- Pour the syrup into a glass jar using a funnel. Let cool completely to room temperature before sealing and refrigerating.
Notes
Do not add honey to boiling liquid as it degrades beneficial enzymes; wait until the syrup is warm. For a clearer syrup, strain twice. To extend shelf life, add a teaspoon of distilled white vinegar. Fresh elderberries are toxic unless cooked thoroughly; dried is safer and recommended. Honey is not safe for children under 1 year old.
- Prep Time: 5 minutes
- Cook Time: 30 minutes
- Category: Condiments
- Cuisine: American
Nutrition
- Serving Size: 1-2 tablespoons
- Calories: 45
- Sugar: 10
- Sodium: 2
- Carbohydrates: 11
Keywords: elderberry syrup, immune boost, ginger syrup, winter remedy, natural cold remedy, honey syrup, one-pot recipe, healthy syrup


