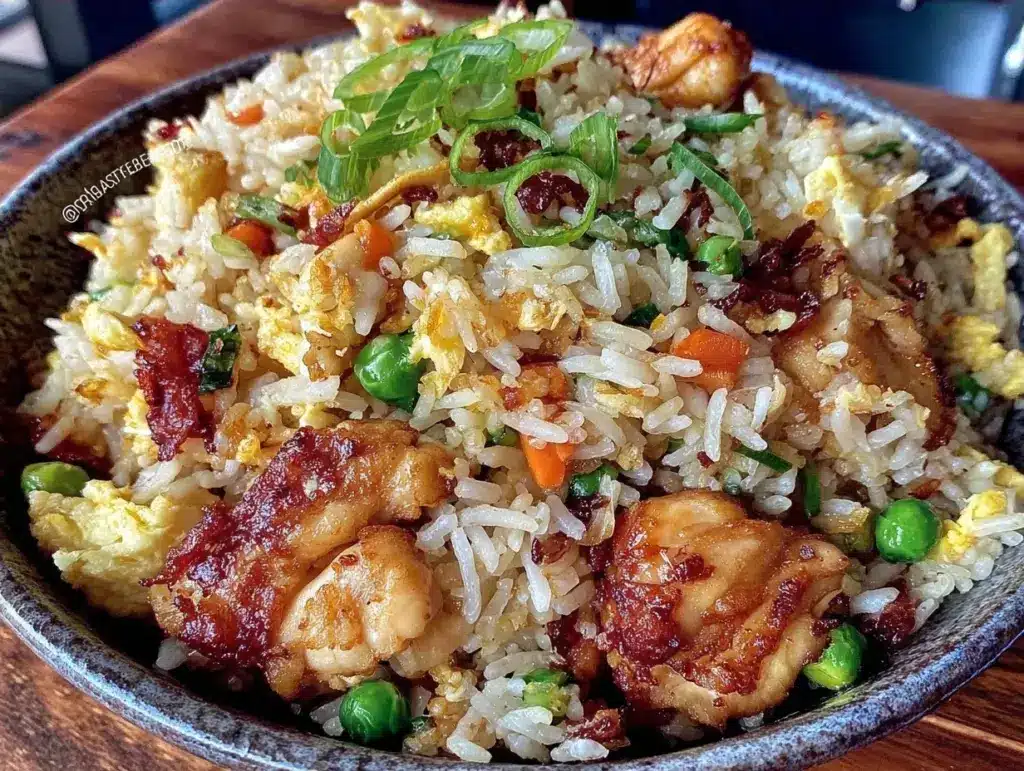
Last Saturday, the air was thick with humidity, and I was standing in front of my grill, sweating through my t-shirt, wondering if I’d made a mistake agreeing to cook dinner outdoors. My family had just dragged me out of the house for a “quick” backyard hang, and I had exactly twenty minutes before the kids started complaining about boredom. I looked at the half-pound of chicken thighs sitting in the marinade and the leftover rice in the cooler. Most people would have panicked. They would have run inside to the stove, compromised, and served something bland.
But I’ve been doing this long enough to know that the grill makes everything better. Even fried rice. I fired up the grates, got that charcoal smoking, and threw the chicken down. While it charred, I tossed cold rice into a cast-iron skillet with some oil, veggies, and soy sauce right on the side burner. Twenty minutes later, I had smoky, charred chicken pieces and a skillet of fried rice that tasted like it came from a high-end Asian restaurant, not a suburban backyard. The kids devoured it. My husband asked for seconds. And honestly? It was the easiest thing I’ve cooked all month.
This Restaurant-Style Chicken Fried Rice Ready in 20 Minutes isn’t just about speed. It’s about that specific flavor you can’t get indoors. The char from the grill meets the smoky soy glaze in the rice. It’s a game-changer. I’ve tested this method at least ten times—sometimes with gas, sometimes with charcoal, sometimes when I’m too tired to think straight. Every single time, the result is the same: crispy, flavorful, and incredibly fast. If you’re tired of taking out or making bland stir-fries, this is your new go-to. Trust me, once you try cooking rice on the grill side burner, you’ll never look back.
Why You’ll Love This Recipe
Here’s the thing about fried rice. It’s supposed to be quick, but usually, it’s a mess. You’re chopping veggies, dealing with sticky rice, and trying not to burn your garlic on a tiny stove burner. This Restaurant-Style Chicken Fried Rice Ready in 20 Minutes solves all of that. It’s not just a recipe; it’s a strategy for getting dinner on the table without stressing. Here’s why I keep coming back to this method:
- Smoky Depth You Can’t Fake — Indoor fried rice tastes like soy sauce and oil. This version tastes like smoke. The chicken gets actual grill marks and a smoky aroma that permeates the whole dish. I used to think smoke was only for ribs or brisket, but this proved me wrong.
- Zero Sticky Rice Issues — Using day-old rice is non-negotiable, and grilling the chicken separately means you aren’t crowding the pan. The rice stays loose and distinct, just like the pros do. I’ve made this with freshly cooked rice by accident once, and it turned into a gummy mess. Don’t make my mistake.
- One Skillet, Less Cleanup — You’re basically just using a cast-iron skillet and maybe a bowl for the chicken. No ten different pans. No washing a dozen utensils. I love that I can throw everything together in one vessel. It’s perfect for lazy nights when I don’t want to do dishes.
- 20 Minutes Flat — I timed this. From the moment I light the grill to the last bite, it’s twenty minutes. This is crucial for weeknights. I make this after getting home from work at 6:30 pm, and dinner is ready by 6:50 pm. It’s realistic, not theoretical.
- Flexible Proteins — While I call for chicken, you can swap this out easily. I’ve made this with leftover grilled steak strips, and it was incredible. The base recipe is a template, not a cage. This makes it adaptable to whatever is in your fridge.
This is my go-to when dinner needs to just work. It’s reliable, delicious, and gets you outside where you belong.
Key Ingredients
You don’t need a trek to the Asian market for this. You probably have most of this in your kitchen already. But for the best results, pay attention to the specifics. Quality matters, especially when you’re keeping it simple.
Day-Old Jasmine Rice (4 cups / 600g) — This is the most important ingredient. Freshly cooked rice is too wet and will turn your fried rice into mush. Jasmine is best because it’s fragrant and stays separate. If you only have fresh rice, spread it on a baking sheet and freeze it for 30 minutes to dry it out. I usually cook a big batch on Sunday and refrigerate it.
Chicken Thighs (1 lb / 450g) — Boneless, skinless. I prefer thighs over breasts because they stay juicy on the grill. Breasts tend to dry out quickly under direct heat. Thighs have enough fat to handle the char without turning into leather. If you must use chicken breast, cut it into smaller pieces and watch it closely.
Vegetable Oil (2 tbsp / 30ml) — I use a neutral oil with a high smoke point. Canola or grapeseed works fine. You need enough oil to coat the skillet and help the rice fry, not just steam. Don’t skimp here, or the rice will stick.
Green Onions (4 stalks / chopped) — Both the white and green parts. The whites go in first for flavor, the greens go in last for color and crunch. I buy a fresh bunch every week; they’re cheap and versatile.
Eggs (2 large / approx 100g) — Scrambled into the rice. This adds protein and richness. I crack them directly into the hot oil in the skillet and scramble them quickly before pushing them to the side. It’s faster than pre-cooking them separately.
Soy Sauce (3 tbsp / 45ml) — Use a good quality soy sauce. Kikkoman is reliable, but if you can find a tamari or a lower-sodium version, that works too. The soy sauce is your salt and your umami bomb. Taste it before adding more.
Sesame Oil (1 tsp / 5ml) — This is for finishing. Do not cook sesame oil in high heat; it turns bitter. Drizzle it in at the very end for that nutty aroma that screams “restaurant quality.”
Garlic and Ginger (3 cloves garlic / 1 tsp fresh grated ginger) — Fresh is mandatory. Jarred ginger tastes metallic. Fresh garlic needs to be minced fine so it doesn’t burn. I use a microplane for the ginger—it grates instantly and releases all the oils.
Tools Needed
You don’t need fancy equipment. Here’s what I use, and what you can swap out.
Cast-Iron Skillet — I use a 12-inch skillet. It holds heat better than stainless steel, which is crucial for frying rice. If you don’t have cast iron, a heavy-bottomed stainless pan works, but you’ll need to work in batches or stir more constantly.
Tongs — Essential for flipping the chicken on the grill. Forks can tear the meat. Tongs give you control.
Grill Side Burner or Portable Propane Burner — This is where the magic happens. If your grill doesn’t have a side burner, a portable propane burner works great too. Just set it up next to the grill grate. This allows you to cook the rice while the chicken finishes grilling.
Spatula — A wide, sturdy spatula for tossing the rice. I use a rubber-edged spatula because it scrapes the pan clean, getting all those crispy bits of rice.
Cooking Instructions
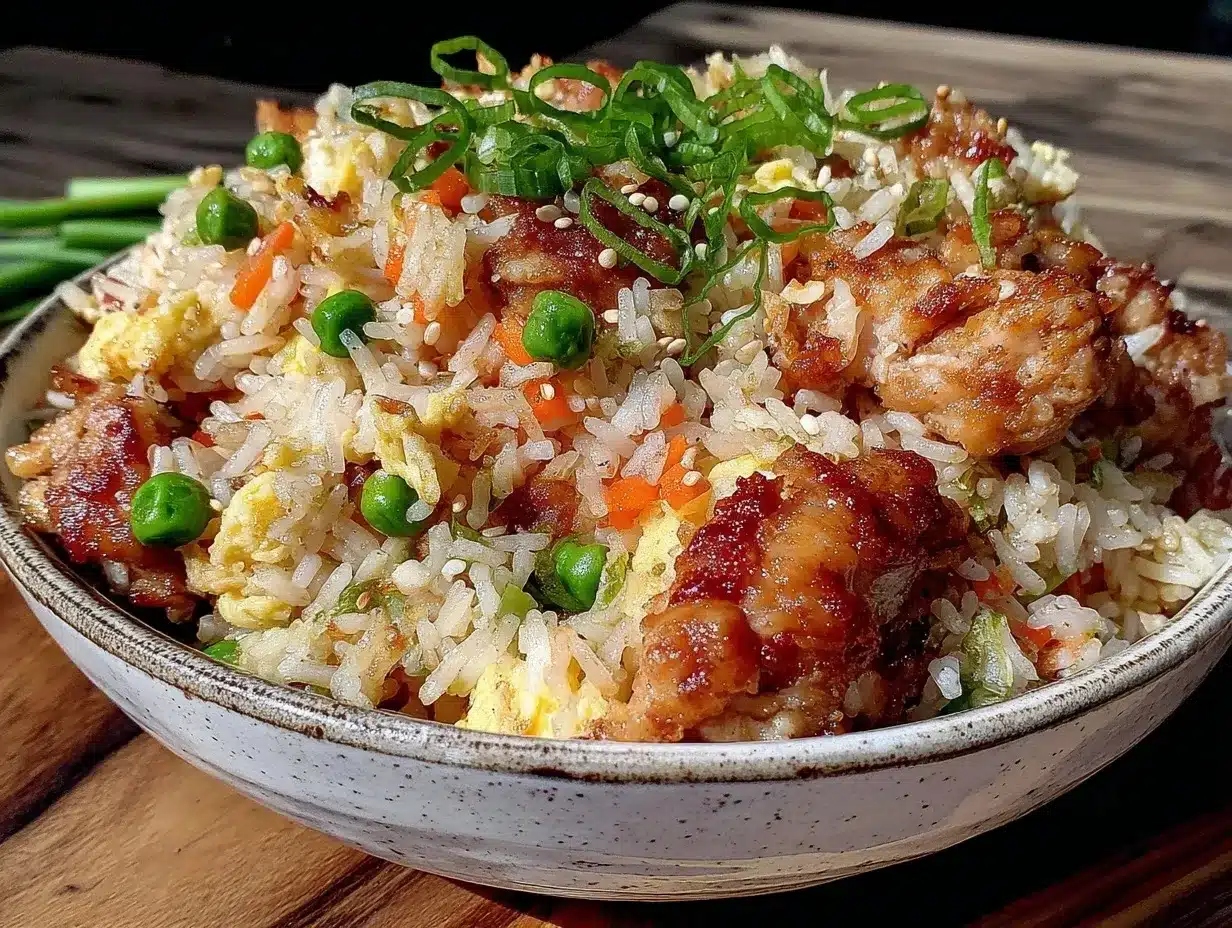
Let’s get this done. We’re aiming for speed and smoke. Here is exactly how I make my Restaurant-Style Chicken Fried Rice Ready in 20 Minutes.
Step 1: Prep the Chicken (5 minutes)
While you’re getting your grill ready, prep the chicken. Pat the thighs dry with paper towels—this helps them char better. Season generously with salt, pepper, and maybe a little garlic powder. If you have time, let them sit for 10 minutes, but I usually skip that when I’m hungry. Keep the rice in the fridge until the last second. Cold rice fries better.
Step 2: Fire Up the Grill (5 minutes)
Light your charcoal or turn on your gas grill. You want high heat, around 450°F to 500°F (230°C to 260°C). Clean the grates well. If you’re using a side burner, light that up now and place your cast-iron skillet on it to heat. You want the skillet smoking hot before the rice hits it. This is non-negotiable for texture.
Step 3: Grill the Chicken (8-10 minutes)
Place the chicken thighs on the direct heat. Don’t touch them for the first 3-4 minutes. Let them get a good char. Flip them. Cook for another 3-4 minutes. The chicken is done when the internal temperature hits 165°F (74°C). If you don’t have a thermometer, cut into the thickest part—it should be opaque and juicy. Remove the chicken to a plate and tent it with foil. Let it rest while you cook the rice.
Step 4: Fry the Rice (5 minutes)
This is the main event. Add vegetable oil to the hot skillet. Once it shimmers, pour in the cold rice. Break up any clumps with your spatula. Let it sit for 30 seconds without stirring to get some crispy bits. Then, toss and stir. Add the minced garlic and grated ginger. Cook for 1 minute until fragrant. Be careful not to burn the garlic—it turns bitter instantly.
Step 5: Add Eggs and Veggies (2 minutes)
Push the rice to the side of the skillet. Crack the eggs into the empty space. Scramble them quickly. Once they’re just set, mix them into the rice. Add the white parts of the green onions. Pour in the soy sauce. Toss everything together. The rice should darken evenly. Taste it. Need more salt? Add a splash more soy sauce. Need more punch? A dash of chili crisp or sriracha works well here.
Step 6: Combine and Serve (2 minutes)
Chop the grilled chicken into bite-sized pieces. Toss the chicken into the rice skillet. Drizzle the sesame oil over everything. Give it one final toss to coat. Serve immediately, topped with the green parts of the onions. It’s that simple.
Total Time: 20 minutes. Prep: 5 minutes. Cook: 15 minutes.
Expert Tips
Here’s everything I learned from making this too many times. Some of these are hard-learned lessons.
The Rice Must Be Cold
I cannot stress this enough. Warm or hot rice will steam in the pan and become gluey. If you cook rice in the morning, use it for lunch. If you cook it for dinner, make extra and refrigerate it overnight. I’ve ruined batches by being impatient. If you’re in a pinch, spread fresh rice on a baking sheet and put it in the freezer for 20 minutes. It dries out the surface moisture.
High Heat is Your Friend
Fried rice needs a sear. If your skillet isn’t hot enough, you’re boiling the rice in oil. Wait until the oil is shimmering and just starting to smoke before adding the rice. It should sizzle aggressively when it hits the pan. If it’s quiet, it’s too cold.
Don’t Crowd the Pan
If you’re making a large batch, cook in two rounds. Overcrowding lowers the temperature of the pan, leading to steamed rice instead of fried rice. It’s better to make two small batches than one mediocre one.
Common Problems & Solutions
Sticky Rice: Your rice was too fresh or you didn’t use enough oil. Next time, chill it longer.
Burnt Garlic: Your heat was too high. Garlic burns in seconds. Add it after the rice has been in the pan for a minute, or lower the heat slightly.
Bland Flavor: Rice is a blank canvas. It needs salt and fat. Taste as you go. Add more soy sauce or a pinch of salt if it tastes flat.
Recipe Variations
Once you’ve nailed the basic version, here’s how to mix it up. The base is flexible.
Shrimp Fried Rice
Swap the chicken for shrimp. Shrimp cooks much faster. Grill the shrimp for 2 minutes per side, then toss them in at the very end with the sesame oil. They get sweet and smoky. I love this with a squeeze of lime juice.
Vegetable Powerhouse
Add frozen peas and carrots. I throw them in with the rice. They thaw quickly and add sweetness. You can also add diced bell peppers or corn for extra crunch. Just make sure your veggies are chopped small so they cook evenly.
Spicy Kick
Add a tablespoon of gochujang or sriracha to the soy sauce mixture. This adds heat and depth. I usually add this when I’m adding the soy sauce. It turns the rice a beautiful red color.
Dairy-Free Option
This recipe is naturally dairy-free. Just ensure your soy sauce is certified gluten-free if you have celiac disease. Use coconut oil instead of vegetable oil for a slightly different flavor profile.
Gluten-Free Modification
Swap regular soy sauce for tamari. That’s it. The rest of the ingredients are naturally gluten-free. Just double-check your sesame oil and any other condiments you add.
Serving & Storage
Serving:
I serve this straight from the skillet. It looks rustic and inviting. Top with extra green onions, a fried egg on top (if you’re feeling fancy), or a sprinkle of sesame seeds. It pairs perfectly with a crisp salad or some steamed broccoli. For drinks, I usually grab an iced tea or a cold beer. It’s a complete meal.
Storage:
This reheats beautifully. Store leftovers in an airtight container in the fridge for up to 4 days. To reheat, add a splash of water to the skillet and warm it over medium heat. The water creates steam, which rehydrates the rice so it doesn’t dry out. It tastes almost as good as fresh.
Freezing:
This freezes well for up to 3 months. Let it cool completely, then portion it into freezer bags. When you’re ready to eat, thaw it in the fridge overnight and reheat in the skillet. It won’t be quite as crispy, but it’s still delicious for a quick lunch.
Nutrition Information
I’m not a nutritionist, but here’s the breakdown. This is comfort food. It’s indulgent but balanced.
Per serving (approx. 1.5 cups):
- Calories: 450
- Protein: 25g
- Carbs: 45g
- Fiber: 2g
- Fat: 18g
- Sodium: 600mg
My Take: It’s not “diet food,” but it’s better than takeout. You control the sodium by choosing low-sodium soy sauce, and you get protein from the chicken and eggs. It’s a solid weeknight meal.
Final Thoughts
This Restaurant-Style Chicken Fried Rice Ready in 20 Minutes is more than just a recipe. It’s a reminder that you don’t need to be stuck in a hot kitchen to cook great food. Sometimes, the best meals are made outside, with a little smoke and a lot of flavor. I hope you give this a try. It’s simple, it’s fast, and it’s delicious. If you make it, I’d love to hear how it turns out. Drop a comment below with your variations or tips. Happy cooking!
FAQs
Can I use instant rice for this recipe?
I don’t recommend it. Instant rice has a different texture and absorbs water differently. It tends to get mushy when fried. Jasmine or long-grain white rice is best. If you’re in a huge pinch, you can try it, but the texture won’t be the same.
Do I really need a grill side burner?
Not strictly. You can cook the chicken on the grill grate and the rice in a large skillet on a portable propane burner next to it. Or, if you have a large indoor stove, you can do it all inside. But the smoky flavor from the grill chicken is what makes this special. I think you’ll miss that if you cook it all indoors.
Why is my fried rice dry?
This usually happens if the rice was too dry to begin with or if you didn’t add enough oil. Rice absorbs oil during frying. If it’s dry, add a splash of water or more broth while reheating. Also, make sure you’re using day-old rice, which has lost some moisture.
Can I make this ahead of time?
You can prep the chicken and chop the veggies ahead of time. Store them in the fridge. When you’re ready to cook, just fire up the grill and start frying. The actual cooking part needs to be done fresh for the best texture.
What’s the best soy sauce for this?
Kikkoman is the standard, but I like using a darker soy sauce for a deeper color and richer flavor. Light soy sauce is saltier but less flavorful. A mix of both works well if you want balance.
Pin This Recipe!
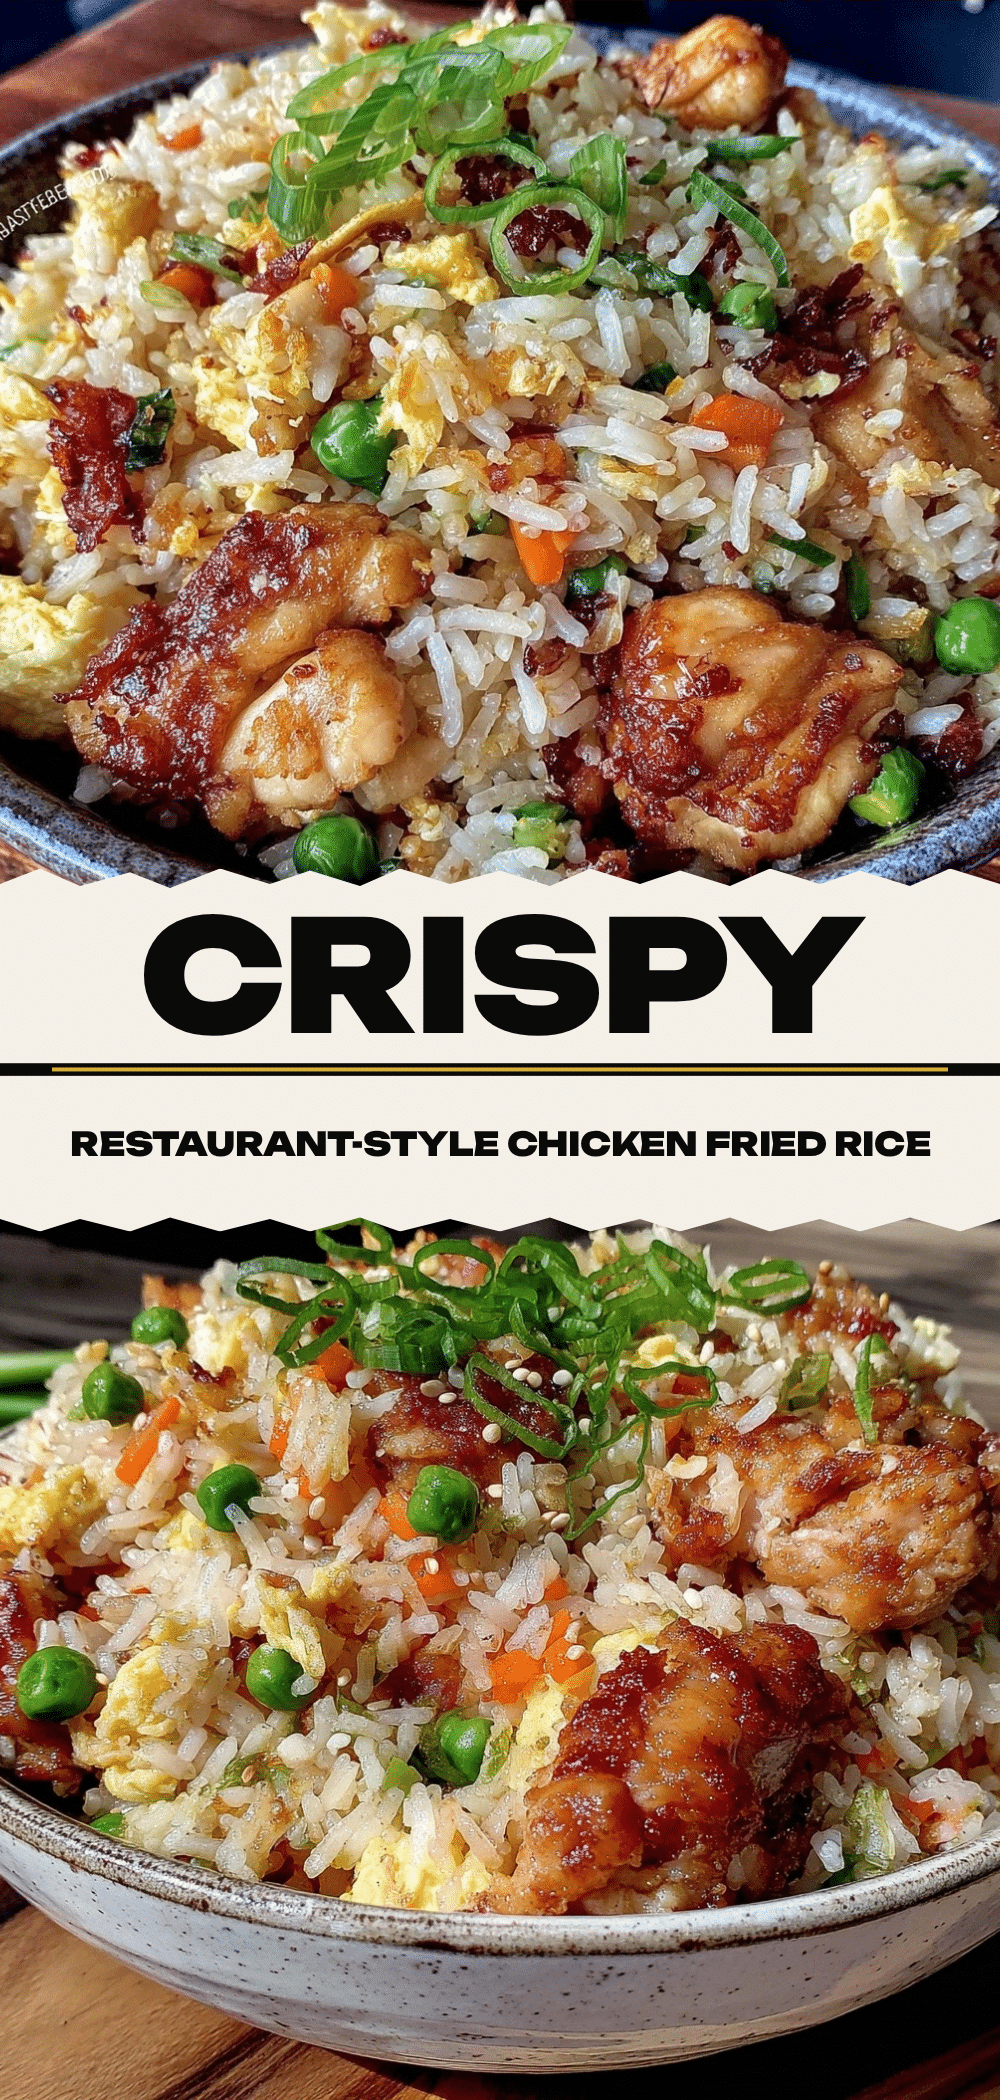

Grill Chicken Fried Rice: Smoky & Ready in 20 Mins
- Total Time: 20 minutes
- Yield: 4 servings 1x
Description
A quick, smoky, and flavorful restaurant-style chicken fried rice made on the grill in just 20 minutes. Uses day-old jasmine rice, grilled chicken thighs, and a cast-iron skillet for perfect texture.
Ingredients
- 4 cups (600g) day-old jasmine rice, cold
- 1 lb (450g) boneless, skinless chicken thighs
- 2 tbsp vegetable oil (or neutral oil like canola/grapeseed)
- 4 stalks green onions, chopped (whites and greens separated)
- 2 large eggs
- 3 tbsp soy sauce (or tamari for gluten-free)
- 1 tsp sesame oil
- 3 cloves garlic, minced
- 1 tsp fresh grated ginger
- Salt and pepper to taste
- Optional: Garlic powder for chicken seasoning
Instructions
- Pat chicken thighs dry and season generously with salt, pepper, and optional garlic powder.
- Light charcoal or gas grill to high heat (450°F-500°F). Clean grates well.
- If using a side burner, light it and place a 12-inch cast-iron skillet on it to heat until smoking hot.
- Grill chicken thighs over direct heat for 3-4 minutes without touching to char, then flip and cook another 3-4 minutes until internal temperature reaches 165°F.
- Remove chicken to a plate and tent with foil to rest.
- Add vegetable oil to the hot skillet. Once shimmering, add cold rice and break up clumps.
- Let rice sit for 30 seconds to crisp, then toss and stir.
- Add minced garlic and grated ginger; cook for 1 minute until fragrant.
- Push rice to the side, crack eggs into the empty space, and scramble quickly until just set.
- Mix eggs into rice, add white parts of green onions, and pour in soy sauce. Toss to combine.
- Chop grilled chicken into bite-sized pieces and toss into the skillet.
- Drizzle with sesame oil, add green parts of green onions, and give one final toss.
- Serve immediately.
Notes
Use day-old cold rice to prevent mushiness. If using fresh rice, freeze it for 30 minutes to dry it out. Ensure the skillet is smoking hot before adding rice for proper frying texture. Do not cook sesame oil at high heat as it turns bitter; add it at the end.
- Prep Time: 5 minutes
- Cook Time: 15 minutes
- Category: Main Course
- Cuisine: Asian
Nutrition
- Serving Size: Approx. 1.5 cups per
- Calories: 450
- Sugar: 2
- Sodium: 600
- Fat: 18
- Saturated Fat: 4
- Carbohydrates: 45
- Fiber: 2
- Protein: 25
Keywords: fried rice, grilled chicken, quick dinner, 20 minute meals, cast iron skillet, smoky flavor, weeknight dinner, restaurant style


