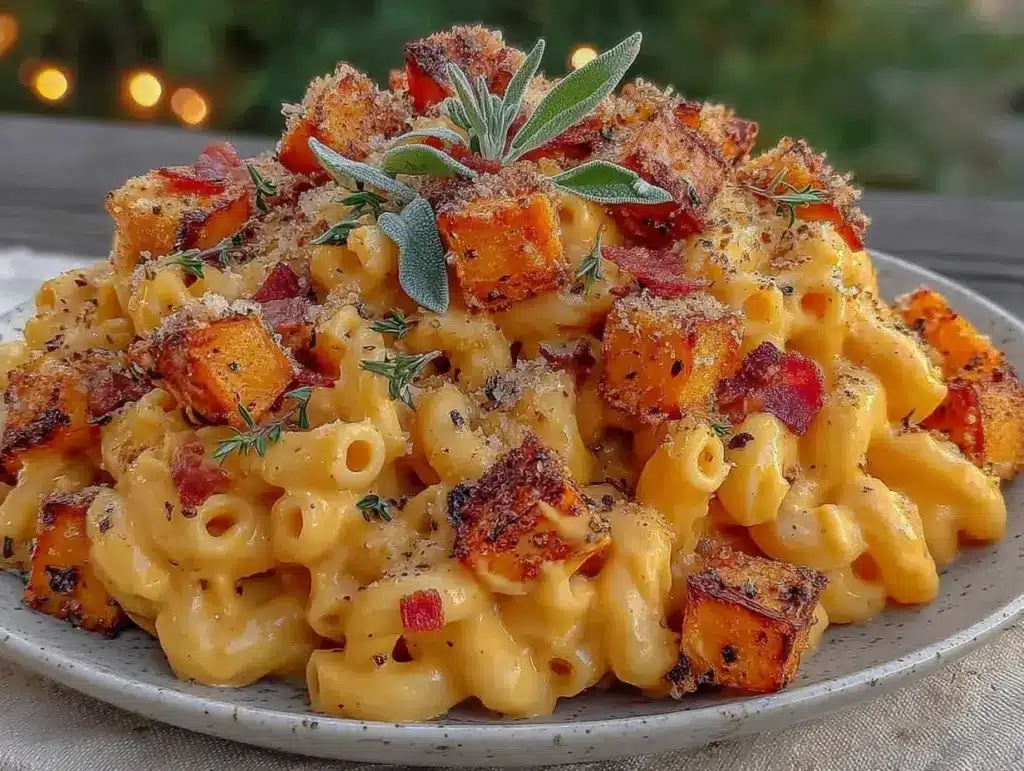
My grandmother’s kitchen didn’t have a timer. It had a nose. She could tell if the gravy was too thin by the way it coated the back of a spoon, and she knew the bread was done by the hollow sound it made when tapped. I spent a lot of autumns in that kitchen, sitting on a stool that was too high, watching her work. She never rushed. There was a rhythm to her cooking, a patience that felt like a hug in a crowded room.
One specific November afternoon, the rain was hammering against the windowpanes, and the house smelled of damp wool and roasted vegetables. She was making a new dish for us—a way to use up the squash from the farmer’s market that had started to pile up on her porch. She didn’t call it “mac and cheese.” She just called it “the warm bowl.” It was creamy, orange-hued, and tasted like comfort had a flavor profile. She stirred it slowly, letting the cheese melt into the squash puree until it looked like liquid gold. When she served it, she sprinkled just enough panko on top to give it a crunch, but not so much that it drowned out the vegetable.
I’ve been trying to recreate that moment for years. Most recipes online try to shortcut the process. They want you to buy pre-peeled squash or use a microwave. That’s not the way. That’s not how you get the deep, caramelized sweetness that makes this dish sing. This **Grandmother’s Way Butternut Squash Mac and Cheese** is about taking the time to roast the squash properly. It’s about building a roux that’s silky, not lumpy. It’s about respecting the ingredient.
I’ve made this **Butternut Squash Mac and Cheese** probably two dozen times since I started blogging. Some attempts were too thick. Some were too thin. One time I forgot the nutmeg and it tasted flat. But once I locked in the ratio of roasted squash to sharp cheddar, it became a staple. It’s my go-to when the weather turns crisp and I need something that feels like a hug. It’s rich, it’s seasonal, and it tastes like home. If you’re looking for a dish that brings warmth to the table, this is it. This **Butternut Squash Mac and Cheese** is worth every minute of prep.
Why You’ll Love This Recipe
There’s a reason this dish has taken over my weeknight rotation. It’s not just about taste; it’s about the feeling it gives you. Here’s why this **Grandmother’s Way Butternut Squash Mac and Cheese** deserves a spot in your cookbook:
- It Uses Real Vegetables — You’re getting a full serving of winter squash in every bite. The natural sweetness of the squash balances the salty cheese so perfectly that your kids won’t even realize they’re eating veggies. I served this to my neighbor’s picky eater, and he asked for seconds before he knew what was in it.
- Roasted Flavor Depth — Unlike boiled squash, roasting concentrates the sugars. When you roast the squash at 400°F, the edges caramelize. That caramelization is what gives this **Butternut Squash Mac and Cheese** its complex flavor, distinguishing it from those bland, watery versions.
- Comfort in a Bowl — It’s hearty enough to be a main course but light enough that you don’t feel sluggish afterward. The texture is creamy without being heavy. It sits well in your stomach, like a warm blanket.
- Leftovers Are Better — I know, I know, people say mac and cheese is best fresh. But this version actually improves after a night in the fridge. The flavors meld together overnight. The next day, I reheat it with a splash of milk, and it’s even creamier.
- Seasonal Connection — Making this ties you to the season. It’s a way to celebrate the harvest. It feels intentional, like you’re participating in something older and wiser than just quick cooking.
This is my go-to when dinner needs to just work, but also needs to feel special. It’s not a “hack.” It’s real food.
Key Ingredients for the Best Butternut Squash Mac and Cheese
Let’s talk about what goes into this bowl. You don’t need fancy, hard-to-find items. You need good quality basics. Here’s what I use, and why it matters.
Butternut Squash
1 large squash (about 2 lbs / 900g) peeled and cubed — This is the star. Don’t buy pre-cubed squash from the store if you can avoid it. The pre-cut pieces often have brown edges and lack flavor. Buy a whole squash, peel it, and cube it yourself. It takes about 15 minutes, but the difference in taste is huge. Look for a squash that feels heavy for its size—that means it’s full of moisture and sweetness.
Sharp Cheddar Cheese
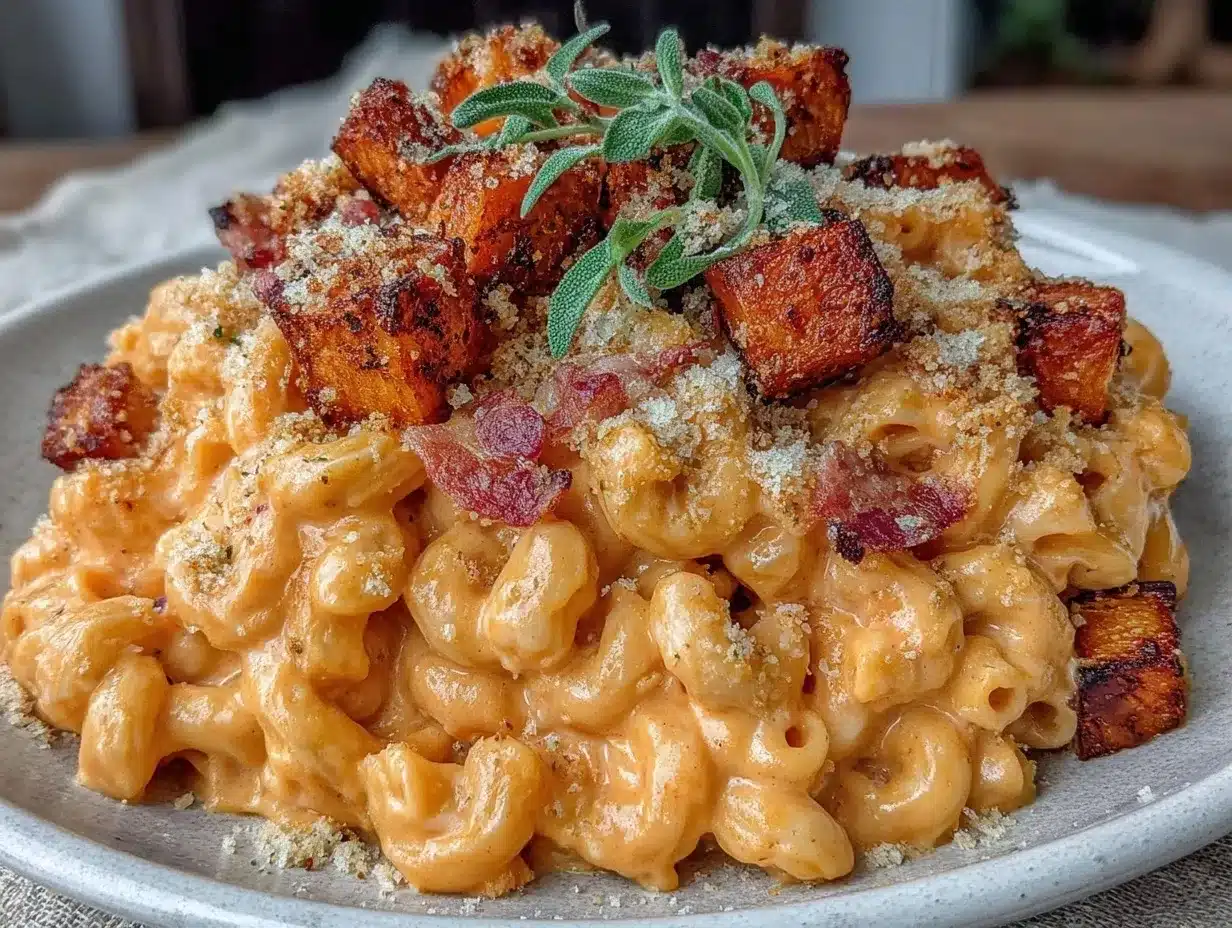
2 cups freshly shredded sharp cheddar (200g) — Freshly shredded is non-negotiable. Pre-shredded cheese is coated in cellulose (potato starch) to prevent clumping. That starch stops your cheese from melting smoothly. It creates a grainy sauce. Buy a block of sharp cheddar and shred it yourself with a box grater. Sharp cheddar has the tang to cut through the sweetness of the squash. If you only have mild cheddar, add a little Parmesan for bite.
Butter
4 tablespoons unsalted butter (60g) — I use unsalted so I can control the sodium. Butter adds richness and helps create the roux, the base of your sauce. Don’t skimp on the butter. It carries the flavor of the nutmeg and paprika. If you’re dairy-free, you can use a high-quality plant-based butter, but the flavor profile will shift slightly.
All-Purpose Flour
1/4 cup all-purpose flour (30g) — This is what thickens the sauce. You cook it with the butter to make a roux. It’s simple chemistry. Whisk it in until it’s smooth, then add your liquid. If you’re gluten-free, you can use a 1:1 gluten-free flour blend, but make sure it contains xanthan gum for better texture.
Milk
2 cups whole milk (480ml) — Whole milk gives you that creamy mouthfeel. Low-fat milk will result in a watery sauce. If you want it richer, you can swap half the milk for heavy cream, but the whole milk is the traditional way my grandmother did it. It’s creamy enough without being cloying.
Nutmeg
1/4 teaspoon freshly grated nutmeg — This is the secret weapon. Nutmeg pairs incredibly well with both squash and cheese. It adds a warm, spicy note that makes the dish taste like it came from a high-end restaurant. Use fresh nutmeg if you have a grinder. Pre-ground nutmeg loses its potency quickly and tastes dusty.
Panko Breadcrumbs
1/2 cup panko breadcrumbs (40g) — For the topping. Panko gives you that light, airy crunch. Traditional breadcrumbs are too dense. Toss them with a little melted butter before sprinkling on top so they brown evenly in the oven.
Tools Needed
You don’t need fancy equipment. Here’s what I use. Keep it simple.
- Large Sheet Pan — I use a half-sheet pan (13×18 inches). You need space for the squash so it roasts instead of steams. If your pan is too crowded, the squash will get soggy.
- Rimmed Baking Dish — A 9×13 inch ceramic or glass baking dish works best. Ceramic holds heat well, which helps keep the dish warm at the table.
- Box Grater — For shredding the cheese. A microplane is good for the nutmeg.
- Large Saucepan — To make the roux and heat the milk. A heavy-bottomed pot prevents scorching.
- Wooden Spoon or Whisk — For stirring the roux. A whisk is better for getting out lumps.
How to Make Grandmother’s Way Butternut Squash Mac and Cheese
Let’s get into the kitchen. This isn’t a race. Take your time. Here’s exactly how I do it.
Step 1: Roast the Squash (45 minutes)
Preheat your oven to 400°F (200°C). Line your sheet pan with parchment paper or foil for easy cleanup. Peel the butternut squash. I use a sharp Y-peeler; it’s the most efficient tool. Remove the seeds and strings from the center, then cube the flesh into 1-inch pieces. Toss them with 2 tablespoons of olive oil, salt, and pepper. Spread them out in a single layer. Important: Do not crowd the pan. If the pieces are touching, they will steam. You want them to roast. Roast for 30-40 minutes, flipping halfway through, until the edges are caramelized and a fork pierces them easily. Let them cool slightly. This step builds the flavor foundation. If you skip roasting and boil the squash, you miss out on that sweet, nutty depth.
Step 2: Make the Roux (5 minutes)
While the squash cools, melt 4 tablespoons of butter in a large saucepan over medium heat. Once the butter is foamy, add 1/4 cup of flour. Whisk constantly for about 2 minutes. You’re cooking out the raw flour taste. The mixture should look like wet sand and smell slightly toasted. This is your roux. If you don’t cook it long enough, your sauce will taste like raw flour. If you burn it, start over. It should be a pale blonde color.
Step 3: Create the Sauce (10 minutes)
Slowly pour in 2 cups of whole milk while whisking constantly. This is where patience pays off. Add the milk in small increments, whisking until smooth before adding more. This prevents lumps. Once all the milk is in, continue whisking. The sauce will thicken as it heats up. Add 1/4 teaspoon of nutmeg, 1/2 teaspoon of paprika, salt, and pepper. Taste it. It should be seasoned well, maybe even a little too salty, because the pasta and cheese will dilute it. Simmer gently for 5 minutes until the sauce coats the back of a spoon. Do not let it boil vigorously, or the milk might curdle.
Step 4: Combine Everything (5 minutes)
Bring a large pot of salted water to a boil. Cook your pasta (I prefer elbow macaroni or cavatappi) until al dente. Drain it, but save a cup of pasta water. In a large bowl, mix the roasted squash with a fork until it’s mostly mashed but still has some chunks for texture. Pour the cheese sauce over the squash. Stir until combined. Add the cooked pasta. Fold it all together gently. If the sauce is too thick, add a splash of the reserved pasta water. The starch in the water helps bind the sauce to the pasta.
Step 5: Bake and Brown (20 minutes)
Transfer the mixture to your greased 9×13 inch baking dish. Sprinkle the shredded cheddar evenly over the top. In a small bowl, toss the panko breadcrumbs with 1 tablespoon of melted butter. Sprinkle the buttered panko over the cheese. Bake at 350°F (175°C) for 20 minutes, or until the cheese is bubbly and the top is golden brown and crunchy. Let it rest for 10 minutes before serving. This resting time allows the sauce to set slightly, making it easier to scoop.
Total Time: 1 hour 25 minutes (including prep and roasting). Serves: 6-8 people.
Expert Tips from My Mistakes
Here’s everything I learned from making this too many times. These tips will save you from common pitfalls.
The Game-Changers
Don’t Overcook the Pasta
The first time I made this, I cooked the pasta until it was soft. Then I baked it for 20 minutes. When I pulled it out, it was mush. Always cook pasta al dente. It will continue to cook in the oven. If you like it softer, undercook it even more.
Reserve Pasta Water
This is the #1 mistake people make. They drain the pasta and toss it in. The starchy water is liquid gold. It helps emulsify the sauce. If your mac and cheese looks dry after mixing, add a splash of pasta water. It changes the texture instantly.
Roast Until Caramelized
I used to just roast the squash until it was tender. But I noticed the flavor was flat. Once I let the edges get dark and caramelized, the sweetness exploded. Don’t be afraid of the brown bits. That’s where the flavor is.
Common Problems & Solutions
- Sauce is too thick: Add warm milk or pasta water, one tablespoon at a time.
- Sauce is too thin: Let it simmer longer, or add a little more roux (equal parts butter and flour cooked together).
- Top isn’t browning: Move the dish to the top rack for the last 5 minutes, or broil for 1-2 minutes. Watch it closely so it doesn’t burn.
Recipe Variations
Once you’ve nailed the basic version, here’s how to mix it up. This **Butternut Squash Mac and Cheese** is a canvas.
Spicy Version
Add a teaspoon of cayenne pepper or a diced jalapeño to the roux. The heat cuts through the richness. It’s like a southern twist.
Herb-Infused
Stir in 2 tablespoons of fresh thyme or sage leaves when you combine the squash and sauce. Sage and squash are a classic pairing. It smells amazing.
Gluten-Free
Use gluten-free pasta and a gluten-free flour blend for the roux. Make sure your cheese and breadcrumbs are certified gluten-free. The method stays the same.
Add Protein
For a heartier meal, add crispy bacon bits or shredded rotisserie chicken. Bacon adds a smoky saltiness that pairs well with the sweet squash. I often make this with **smoked buffalo chicken dip** flavors in mind, so adding a bit of hot sauce and bacon works beautifully here too.
Serving & Storage
Serving
I serve this straight from the baking dish, family style. It looks rustic and inviting. Pair it with a simple green salad with a vinaigrette to cut the richness. A glass of **fall spiced apple cider** is the perfect drink pairing. The spice in the cider mirrors the nutmeg in the dish. It’s a cozy autumn meal.
Storage
Refrigerator: Store leftovers in an airtight container for up to 3 days. The sauce will thicken in the fridge, so add a splash of milk when reheating.
Freezer: This dish freezes well for up to 2 months. I recommend freezing it before baking. Assemble the dish, cover tightly with foil, and freeze. When you’re ready to eat, thaw it in the fridge overnight and bake as directed, adding 10-15 minutes to the cook time.
Reheating: Reheat in the oven at 350°F for the best texture. Microwave heating can make the pasta rubbery.
Nutrition Information
I’m not a nutritionist, but here’s the breakdown per serving (based on 8 servings):
| Nutrient | Amount |
|---|---|
| Calories | 480 |
| Protein | 18g |
| Carbs | 55g |
| Fiber | 5g |
| Fat | 20g |
| Sodium | 520mg |
My Take: This is comfort food. It has cheese, butter, and pasta. It’s not a diet food. But it’s better than takeout, and I know exactly what’s in it. The squash adds fiber and vitamins, which helps balance the indulgence. It’s a treat, not a daily staple.
Final Thoughts
There’s something magical about a dish that connects you to your past. This **Grandmother’s Way Butternut Squash Mac and Cheese** is more than just dinner. It’s a memory. It’s the sound of rain on the window and the smell of roasting vegetables. It’s patience. It’s love.
I hope you try this recipe. I hope you take the time to roast the squash yourself. I hope you taste the difference. If you make it, drop a comment! I love hearing how it turns out in your kitchen. Did you add extra cheese? Did you use a different pasta? Let me know.
Happy cooking!
FAQs
Can I use fresh butternut squash instead of pre-cut?
Yes, and I highly recommend it. Pre-cut squash often sits in the fridge for days, losing moisture and flavor. A whole squash roasted at home tastes much sweeter and more vibrant. It just takes a little extra effort to peel and cube.
What kind of pasta is best for this?
Elbow macaroni is traditional, but cavatappi or radiatori work well too. Their shapes hold the thick sauce and chunks of squash better than long pasta like spaghetti.
Can I make this ahead of time?
Yes. You can assemble the dish up to 24 hours in advance. Keep it covered in the fridge. When you’re ready to eat, let it sit at room temperature for 30 minutes, then bake as directed. You may need to add a few extra minutes to the bake time.
Why did my sauce separate?
This usually happens if the milk was too hot when added to the roux, or if the sauce boiled too vigorously. Add the milk slowly and whisk constantly. Keep the heat at medium-low. If it separates, you can rescue it by blending it with an immersion blender or whisking in a little more cold milk.
Is this recipe kid-friendly?
Absolutely. The sweetness of the squash hides the vegetable taste, and kids love cheese. It’s a great way to introduce winter squash to picky eaters. Just make sure the panko topping isn’t too spicy for them.
Can I substitute the cheddar?
You can use Gruyère or Fontina for a milder, nuttier flavor. But sharp cheddar provides the tang that balances the sweet squash. If you use a mild cheese, add a pinch of cayenne or mustard powder for depth.
Pin This Recipe!
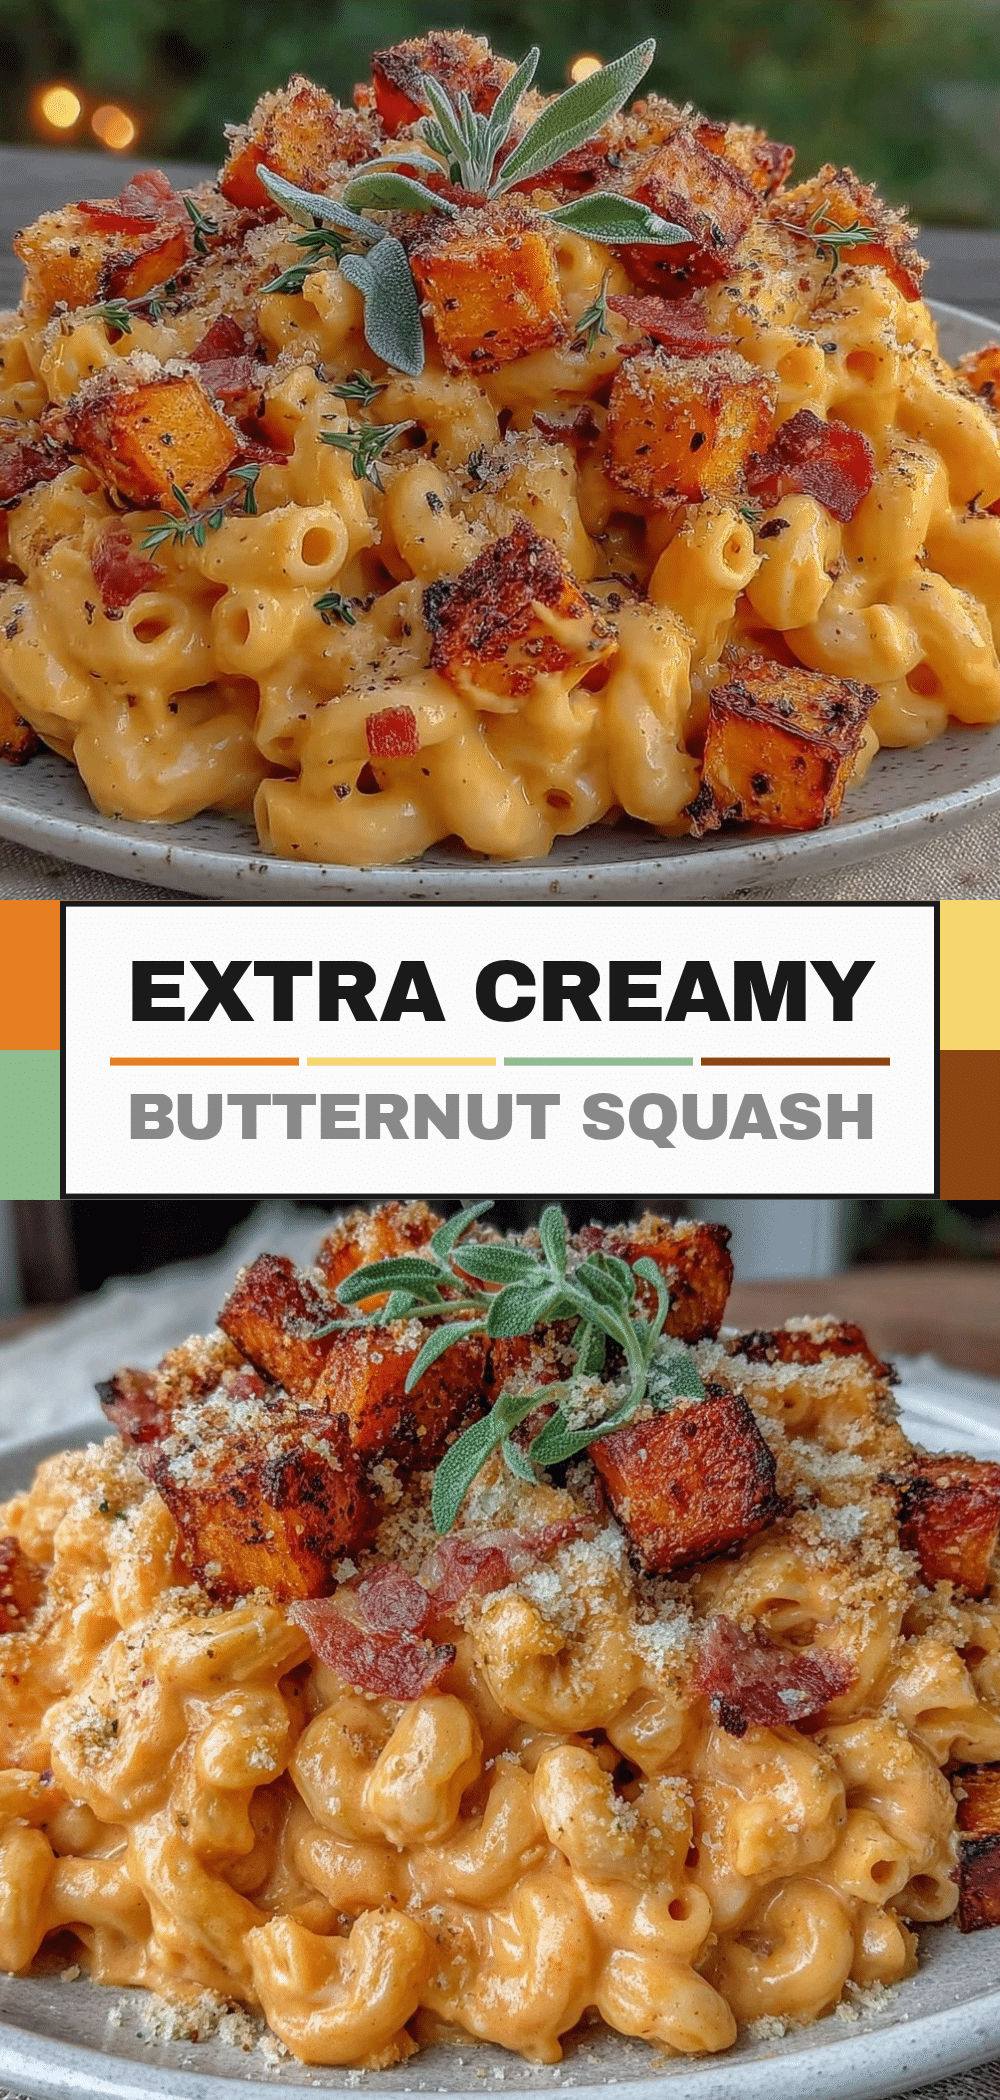

Grandmother’s Way Butternut Squash Mac and Cheese
- Total Time: 1 hour 25 minutes
- Yield: 6-8 servings 1x
Description
A creamy, comforting mac and cheese featuring roasted butternut squash and sharp cheddar, built on a silky roux and topped with crunchy panko breadcrumbs.
Ingredients
- 1 large butternut squash (about 2 lbs / 900g), peeled and cubed
- 2 tablespoons olive oil
- Salt and pepper to taste
- 4 tablespoons unsalted butter
- 1/4 cup all-purpose flour
- 2 cups whole milk
- 1/4 teaspoon freshly grated nutmeg
- 1/2 teaspoon paprika
- Salt and pepper to taste
- Elbow macaroni or cavatappi pasta
- 2 cups freshly shredded sharp cheddar cheese
- 1/2 cup panko breadcrumbs
- 1 tablespoon melted butter (for topping)
Instructions
- Preheat oven to 400°F (200°C). Line a large sheet pan with parchment paper or foil.
- Peel the squash, remove seeds, and cube into 1-inch pieces. Toss with olive oil, salt, and pepper. Spread in a single layer on the sheet pan.
- Roast for 30-40 minutes, flipping halfway, until edges are caramelized and fork-tender. Let cool slightly.
- While squash roasts, melt 4 tablespoons butter in a large saucepan over medium heat.
- Add flour and whisk constantly for 2 minutes until the mixture resembles wet sand and smells toasted (roux).
- Slowly pour in milk while whisking constantly to prevent lumps. Continue whisking until sauce thickens.
- Stir in nutmeg, paprika, salt, and pepper. Simmer gently for 5 minutes until sauce coats the back of a spoon.
- Cook pasta in salted boiling water until al dente. Drain, reserving 1 cup of pasta water.
- Mash roasted squash with a fork, leaving some chunks. Combine squash with the cheese sauce.
- Add cooked pasta to the squash-cheese mixture. Fold gently, adding reserved pasta water if the sauce is too thick.
- Transfer mixture to a greased 9×13 inch baking dish. Top with shredded cheddar.
- Toss panko breadcrumbs with 1 tablespoon melted butter and sprinkle over the cheese.
- Bake at 350°F (175°C) for 20 minutes until cheese is bubbly and topping is golden brown.
- Let rest for 10 minutes before serving.
Notes
Do not crowd the squash on the pan to ensure proper roasting and caramelization. Use freshly shredded cheese to avoid starch additives that prevent smooth melting. Reserve pasta water to help emulsify the sauce if it becomes too thick. The dish improves in flavor after sitting in the fridge overnight.
- Prep Time: 15 minutes
- Cook Time: 70 minutes
- Category: Main Course
- Cuisine: American
Nutrition
- Serving Size: 1 serving
- Calories: 480
- Sugar: 8
- Sodium: 520
- Fat: 20
- Saturated Fat: 10
- Carbohydrates: 55
- Fiber: 5
- Protein: 18
Keywords: butternut squash mac and cheese, comfort food, roasted squash, cheddar cheese, fall recipes, vegetarian main course, grandmother's recipe


