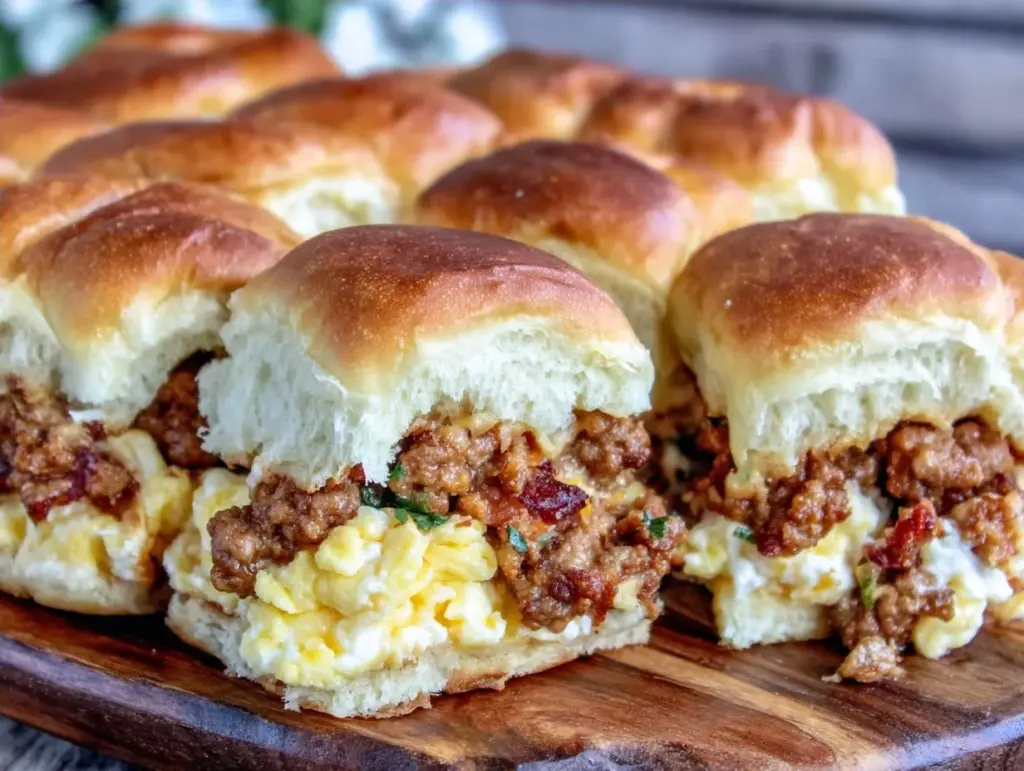
My grandmother’s house always smelled like yeast and brown butter on Sunday mornings. It wasn’t just coffee or toast; it was this heavy, comforting scent that meant time was being spent, not saved. She didn’t believe in rushing breakfast. If you wanted her famous breakfast sliders, you had to come early, help peel the potatoes, and wait while she let the dough rise on the windowsill where the morning sun hit just right. I remember watching her hands, flour-dusted and steady, folding the ham and cheese into those soft, pillowy buns. She called them “Sunday Specials,” but really, they were just her way of saying she loved you.
Fast forward twenty years, and I’m standing in my own kitchen, trying to recreate that magic for a crowd of rowdy football fans. The problem? Grandmother’s recipe took all day. My game day schedule takes about fifteen minutes before kickoff. I needed something that honored her slow, patient method but fit into the chaos of modern tailgating. After three failed attempts where the buns were either too dense or fell apart in the truck, I finally nailed it. These Make Ahead Tailgate Breakfast Sliders for Game Day are my tribute to her. They are soft, savory, and designed to survive the journey from oven to cooler to stadium seat without losing their soul.
I’ve made these Make Ahead Tailgate Breakfast Sliders for Game Day for Super Bowl parties, tailgates in the pouring rain, and lazy weekend brunches when I don’t want to stand over a stove. They work every single time. The secret isn’t in fancy ingredients; it’s in the patience of letting them rest before baking. It’s the “slow” part of my grandmother’s approach, condensed into a few hours instead of a full day. If you’ve ever struggled to find a breakfast dish that travels well and feeds a hungry crowd, this is your answer. Let’s talk about why this recipe changed my game day game forever.
Why You’ll Love This Recipe
Let’s be honest: most breakfast foods are terrible for travel. Pancakes get soggy. Eggs get rubbery. Bacon turns into sad, greasy confetti. But these sliders? They are different. Here is why this Make Ahead Tailgate Breakfast Sliders for Game Day recipe has earned a permanent spot in my rotation:
- They Actually Travel Well — I’ve carried these in a cooler for two hours. When I opened the lid an hour ago, they were still warm and the buns hadn’t collapsed. The sturdy yeast dough holds up better than biscuit dough ever could.
- Make-Ahead Friendly — You can assemble them the night before. This is huge. Instead of stressing over breakfast at 6 AM, you just pop the pan into the oven when you wake up. I learned this the hard way after showing up to a tailgate with cold, hard biscuits. Never again.
- Customizable for Crowds — Some people want extra cheese; others want it plain. Because you’re building individual sliders, you can mix and match. I’ve made half with jalapeños and half plain for my family, and everyone was happy.
- Restaurant-Quality Softness — Unlike store-bought slider buns that taste like cardboard, these rise beautifully. The butter glaze creates a golden, shiny top that looks impressive but is actually very simple to make.
- Feeds a Army — One pan makes 24 sliders. That’s enough for a small stadium section or a large family brunch. It’s efficient feeding without feeling rushed.
This is my go-to when dinner needs to just work, but it’s breakfast. It bridges the gap between a slow, loving homemade meal and the practical needs of feeding twenty people at once. If you want to try something similar but for dinner, you might enjoy my take on fall pumpkin streusel muffins, though these sliders are decidedly savory.
Key Ingredients for the Perfect Slider
My grandmother always said, “Don’t cheap out on the butter.” She was right. Here is exactly what you need to make these Make Ahead Tailgate Breakfast Sliders for Game Day work, with specific measurements because baking is chemistry.
For the Dough
All-Purpose Flour (500g / 4 cups) — This is your base. Don’t use self-rising flour; the salt and leavening levels will throw off the balance. I use King Arthur Brand because it has a higher protein content, which gives the buns that nice chew.
Instant Yeast (7g / 1 packet) — Quick rising. I know some people swear for active dry yeast, but for a weeknight or morning rush, instant yeast is a lifesaver. Just mix it straight into the flour.
Whole Milk (240ml / 1 cup) — Warmed to about 110°F (43°C). It should feel like a warm bath, not hot. If it’s too hot, you kill the yeast. If it’s too cold, it won’t rise. I test it on my wrist—it should feel neutral-warm.
Unsalted Butter (60g / 4 tbsp) — Melted. This goes into the dough for richness. Use real butter. Margarine will make these taste flat and waxy.
Eggs (2 large) — Room temperature. They help bind the dough and add structure. Cold eggs can shock the yeast mixture.
Sugar (30g / 2 tbsp) — Just enough to feed the yeast and add a slight sweetness to balance the savory filling.
Salt (8g / 1.5 tsp) — Essential for flavor. Don’t skip it.
For the Filling
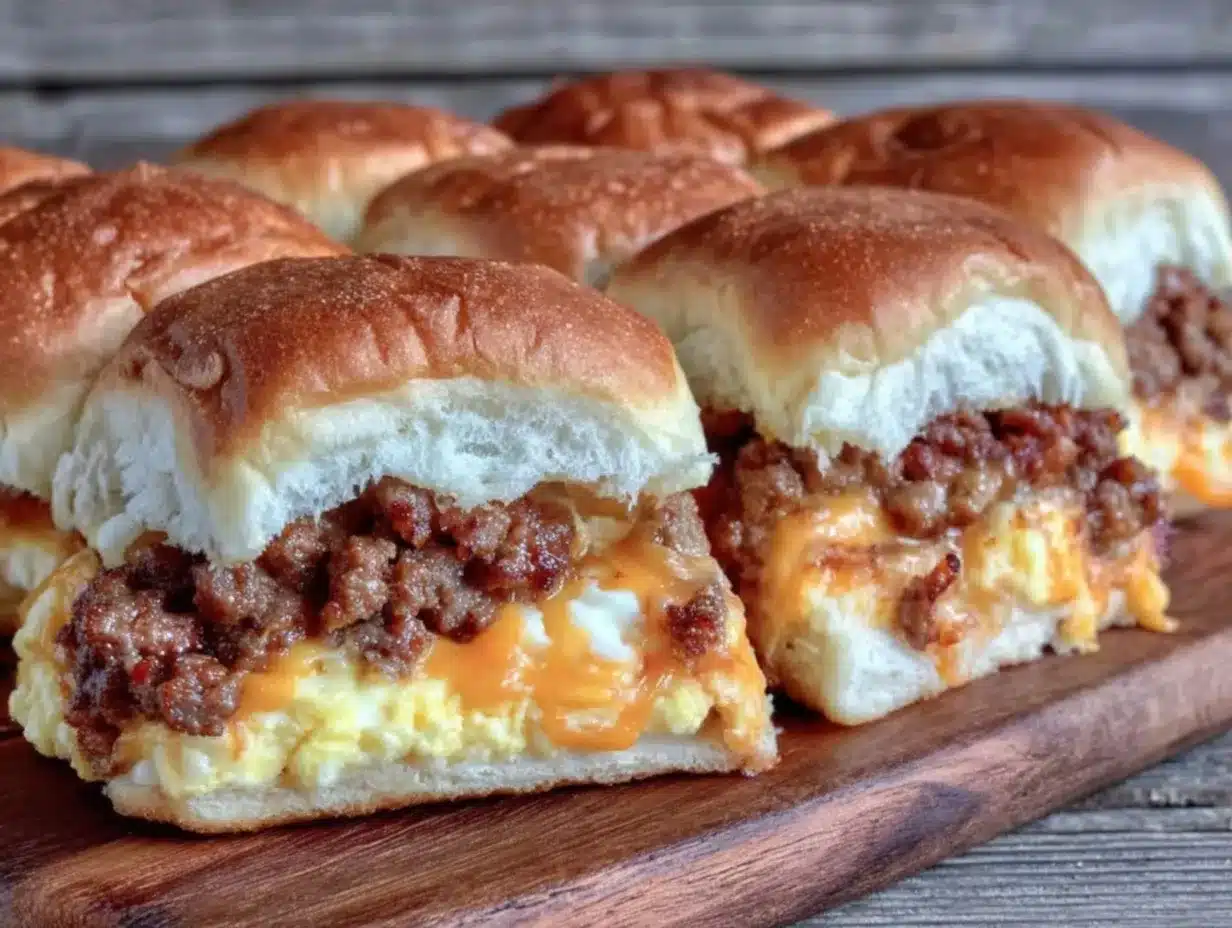
Breakfast Sausage (450g / 1 lb) — I prefer pork sausage with sage. If you like it spicy, buy the hot variety. Make sure you buy raw sausage links or bulk meat, not pre-cooked patties, as the texture is different.
Eggs (12 large) — Scrambled. You want them soft and curdy, not dry. Overcooked eggs will make the sliders dry.
Cheddar Cheese (200g / 2 cups) — Shredded yourself. Pre-shredded cheese has cellulose that prevents it from melting smoothly. I use a sharp cheddar for that tangy kick.
Ham (200g / 7 oz) — Diced. I use spiral-sliced ham because it’s easier to cube, but any cooked ham works.
For the Glaze
Melted Butter (85g / 6 tbsp) — Brushed on top. This is non-negotiable. It creates that golden crust and keeps the buns soft.
Dried Parsley (5g / 1 tbsp) — For color. It looks festive and adds a tiny hint of herbal freshness.
Garlic Powder (3g / 1 tsp) — Just a whisper. It enhances the savory notes without tasting like raw garlic.
Tools Needed
You don’t need fancy equipment. Here’s what I use. My grandmother would have laughed at the idea of needing special gear for breakfast, but a few tools do make life easier.
9×13 Inch Baking Dish — I use a glass Pyrex dish. It conducts heat evenly. Metal works too, but glass is easier to see the bottom browning.
Stand Mixer or Hand Mixer — Mixing this dough by hand is possible, but it takes effort. A mixer saves your arms. If you’re doing it by hand, expect to knead for 10 minutes.
Pastry Brush — For that butter glaze. Silicone brushes are easier to clean than bristle ones.
Non-Stick Skillet — For cooking the sausage and scrambling the eggs. A large cast-iron skillet is perfect if you have it.
Plastic Wrap — Essential for the make-ahead step. You need to cover the assembled sliders tightly so they don’t dry out in the fridge.
How to Make Make Ahead Tailgate Breakfast Sliders
Let’s walk through the process. I’ve broken it down so you know exactly what to expect at each stage.
Step 1: Make the Dough (10 minutes active, 1 hour rise)
In the bowl of your stand mixer, combine the flour, instant yeast, sugar, and salt. Whisk them together to distribute the yeast evenly. In a separate jug, mix the warm milk, melted butter, and eggs. Pour this wet mixture into the dry ingredients. Attach the dough hook and mix on low speed for 2 minutes, then increase to medium for 5 minutes. The dough should pull away from the sides of the bowl and be slightly sticky but smooth. If it’s too wet, add a tablespoon of flour. If too dry, add a splash of milk.
Transfer the dough to a lightly oiled bowl, cover with plastic wrap, and let it rise in a warm spot for about 1 hour, or until doubled in size. My kitchen is usually warm enough, but if yours is cold, put it in the turned-off oven with just the light on.
Step 2: Prep the Filling (15 minutes)
While the dough rises, cook the sausage in a large skillet over medium heat. Break it into small crumbles with a wooden spoon. Cook until browned and no pink remains, about 8 minutes. Drain excess grease. In the same pan, scramble the 12 eggs. Cook them gently, removing them from the heat while they are still slightly wet, as they will continue cooking from the residual heat. Let both the sausage and eggs cool completely. If you put hot filling on cold dough, you’ll steam the buns and make them gummy.
Step 3: Assemble the Sliders (15 minutes)
Punch down the risen dough and divide it into 24 equal pieces. Roll each piece into a ball. Place the balls into your greased 9×13 dish, pressing them together so there are no gaps. This is crucial—they need to touch so they pull apart easily later but stay together as a slab.
Cover the pan tightly with plastic wrap and refrigerate overnight (or up to 12 hours). This cold rest allows the flavors to meld and makes the assembly process much easier because the dough is firm.
Step 4: The Final Rise and Bake (10 minutes prep, 20 minutes bake)
Take the pan out of the fridge 30 minutes before you plan to bake. Preheat your oven to 350°F (175°C). In a small bowl, whisk together the melted butter, parsley, and garlic powder. Brush this mixture generously over the tops of the dough balls. You want good coverage.
Let the sliders sit uncovered for 30 minutes to rise again. They should puff up and touch the glaze. Bake for 18-20 minutes, or until the tops are golden brown and the internal temperature reaches 190°F (88°C). If the tops brown too quickly, tent them with foil.
Let them cool for 5 minutes before pulling them apart. Serve warm. Total time from start to finish is about 2.5 hours, but most of that is passive rising.
Expert Tips for Success
Here’s everything I learned from making this too many times. These tips separate the good sliders from the great ones.
The Cold Rise is Key
Don’t skip the overnight fridge step. It develops the gluten structure and makes the dough easier to handle. The first time I rushed this and let them rise on the counter for 4 hours, they were too airy and collapsed when I added the filling. The cold rise gives them that dense, satisfying chew.
Don’t Overcrowd the Pan
If you don’t have a 9×13 dish, you can use two 9×9 pans, but don’t try to squeeze them into a smaller dish. They need room to expand. If they’re touching too early in the rise, they’ll tear when you pull them apart.
Keep the Filling Cool
I cannot stress this enough. If your sausage or eggs are warm, they will melt the butter in the dough and make the buns soggy. Let everything cool to room temperature before assembling. I usually prep the filling the night before and store it in the fridge anyway.
Glaze Generously
Don’t be shy with the butter. The butter is what keeps the buns soft. If you use too little, they’ll dry out in the cooler. I’ve made these with half the butter once, and they tasted like dry bread. Stick to the recipe.
Recipe Variations
Once you’ve nailed the basic version, here’s how to mix it up. These sliders are a canvas.
Bacon and Egg Sliders
Swap the sausage for crispy bacon bits. Fry the bacon until very crisp, crumble it, and mix with the eggs. The salty crunch pairs perfectly with the soft bun.
Veggie Breakfast Sliders
For a lighter option, skip the meat. Sauté spinach, onions, and mushrooms until all moisture is gone. Mix with the eggs and cheese. This is great for vegetarians.
Spicy Jalapeño Sliders
Add diced jalapeños to the egg mixture and use pepper jack cheese instead of cheddar. If you like heat, add a dash of cayenne to the butter glaze.
Gluten-Free Option
You can use a 1:1 gluten-free flour blend, but the texture will be slightly more crumbly. Add an extra egg to help bind it. They still taste amazing, just a bit denser.
Serving & Storage
Serving
These are best served warm. Pull them apart from the pan and arrange them on a platter. They look fantastic with a dusting of extra parsley. Pair them with a strong black coffee or a fall spiced apple cider for a cozy autumn tailgate vibe.
Storage
Room Temp: Do not leave out for more than 2 hours. Food safety first.
Refrigerator: Store leftovers in an airtight container for up to 3 days. Reheat in the microwave for 30 seconds to restore softness.
Freezer: These freeze surprisingly well! Bake them, let them cool completely, then wrap the whole pan tightly in foil and plastic. Freeze for up to 2 months. To serve, thaw overnight in the fridge, then reheat in a 350°F oven for 15-20 minutes. They don’t freeze as well after being pulled apart, so freeze them as a slab.
Nutrition Information
I’m not a nutritionist, but here’s the breakdown per slider (approx. 1/24 of the recipe).
| Nutrient | Amount |
|---|---|
| Calories | 220 |
| Protein | 12g |
| Carbs | 24g |
| Fiber | 1g |
| Fat | 9g |
| Sodium | 450mg |
My Take: This is comfort food with bread, cheese, and sausage. Not diet food. But it’s better than gas station coffee and stale bagels. I know what’s in it, and I can control the sodium if I choose leaner ham or less salt in the dough.
Final Thoughts
These Make Ahead Tailgate Breakfast Sliders for Game Day are more than just food. They’re a way to bring people together, just like my grandmother did. They’re warm, they’re filling, and they’re easy to eat with one hand while cheering with the other. I hope they become a tradition in your house, too. Try them out, tweak the filling to your taste, and let me know how they turn out. If you make this, drop a comment! I love hearing how it turns out in your kitchen. Happy cooking!
FAQs
Can I make these ahead and freeze them raw?
No, I don’t recommend freezing them before baking. The yeast can lose its potency after freezing and thawing, leading to dense buns. It’s better to bake them first, then freeze. Or, assemble them and refrigerate overnight, then bake fresh.
Why did my sliders turn out dense?
This usually happens if the dough didn’t rise enough. Make sure your milk was warm but not hot, and that your yeast was fresh. Also, don’t skip the second rise after assembling. The cold rest in the fridge slows the rise, so the final 30-minute rise at room temperature is crucial for fluffiness.
Can I use frozen biscuits instead of making dough?
You can, but the texture will be different. Refrigerated biscuit dough (like Pillsbury) works in a pinch, but it won’t have that homemade, yeasted chew. If you use biscuits, just slice them in half horizontally, add filling, and bake for 10-12 minutes. They’ll be faster but less authentic.
How do I reheat these for a crowd?
Keep them in the pan. Cover loosely with foil and bake at 350°F (175°C) for 15-20 minutes. If they are frozen, thaw first, then bake. For individual servings, microwave for 30-45 seconds. They retain moisture well if covered.
Can I make these vegetarian?
Absolutely. Swap the sausage for sautéed mushrooms and spinach, or use a plant-based sausage crumble. The rest of the recipe remains the same. Just ensure your cheese is vegetarian-friendly if you’re strict about that.
Pin This Recipe!
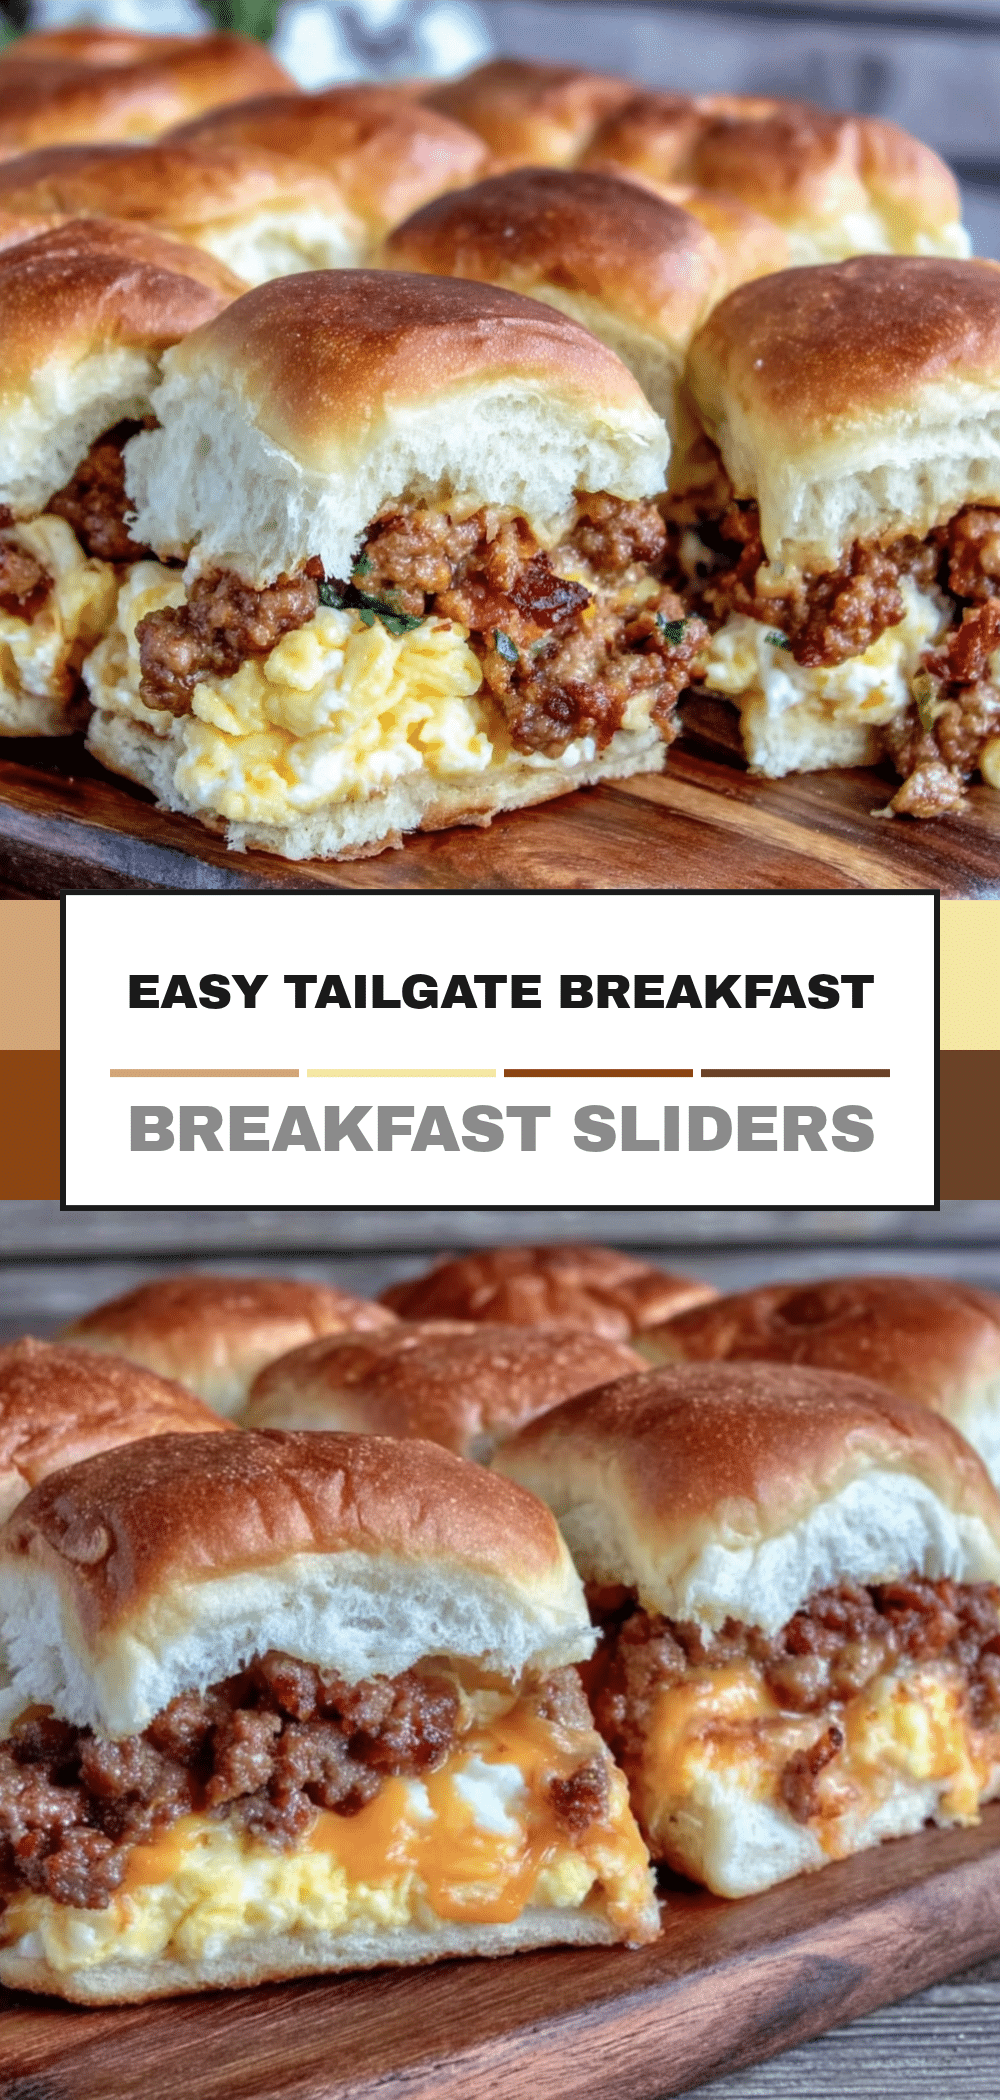
Make Ahead Tailgate Breakfast Sliders: Grandmother’s Slow Recipe
- Total Time: 2.5 hours (including rising and chilling)
- Yield: 24 servings 1x
Description
Soft, savory breakfast sliders designed for game day and travel. These make-ahead yeast dough sliders with sausage, eggs, ham, and cheese hold up well in coolers and feed a crowd easily.
Ingredients
- 500g (4 cups) All-Purpose Flour
- 7g (1 packet) Instant Yeast
- 240ml (1 cup) Whole Milk, warmed to 110°F
- 60g (4 tbsp) Unsalted Butter, melted
- 2 large Eggs, room temperature
- 30g (2 tbsp) Sugar
- 8g (1.5 tsp) Salt
- 450g (1 lb) Breakfast Sausage (pork or hot)
- 12 large Eggs, for scrambling
- 200g (2 cups) Cheddar Cheese, shredded
- 200g (7 oz) Ham, diced
- 85g (6 tbsp) Melted Butter, for glaze
- 5g (1 tbsp) Dried Parsley
- 3g (1 tsp) Garlic Powder
Instructions
- In a stand mixer bowl, whisk together flour, instant yeast, sugar, and salt.
- In a separate jug, mix warm milk, melted butter, and eggs.
- Pour wet mixture into dry ingredients. Mix on low for 2 minutes, then medium for 5 minutes until dough pulls away from sides and is smooth.
- Transfer dough to an oiled bowl, cover with plastic wrap, and let rise in a warm spot for 1 hour until doubled.
- While dough rises, cook sausage in a skillet over medium heat until browned and crumbled. Drain grease.
- Scramble 12 eggs gently in the same pan, removing from heat while still slightly wet. Let sausage and eggs cool completely.
- Punch down risen dough and divide into 24 equal pieces. Roll into balls.
- Place balls into a greased 9×13 baking dish, pressing them together so there are no gaps.
- Cover pan tightly with plastic wrap and refrigerate overnight (up to 12 hours).
- Remove pan from fridge 30 minutes before baking. Preheat oven to 350°F (175°C).
- Whisk together melted butter, parsley, and garlic powder. Brush generously over dough balls.
- Let sliders sit uncovered for 30 minutes to rise again until puffed.
- Bake for 18-20 minutes until golden brown and internal temperature reaches 190°F (88°C).
- Cool for 5 minutes before pulling apart and serving warm.
Notes
Ensure filling ingredients are completely cool before assembling to prevent soggy buns. The overnight cold rise is crucial for texture and handling. Do not freeze raw sliders; bake first, then freeze if desired.
- Prep Time: 40 minutes
- Cook Time: 20 minutes
- Category: Breakfast
- Cuisine: American
Nutrition
- Serving Size: 1 slider
- Calories: 220
- Sugar: 4
- Sodium: 450
- Fat: 9
- Saturated Fat: 4
- Carbohydrates: 24
- Fiber: 1
- Protein: 12
Keywords: breakfast sliders, tailgate food, game day recipes, make ahead breakfast, yeast dough sliders, crowd pleaser, football party food


