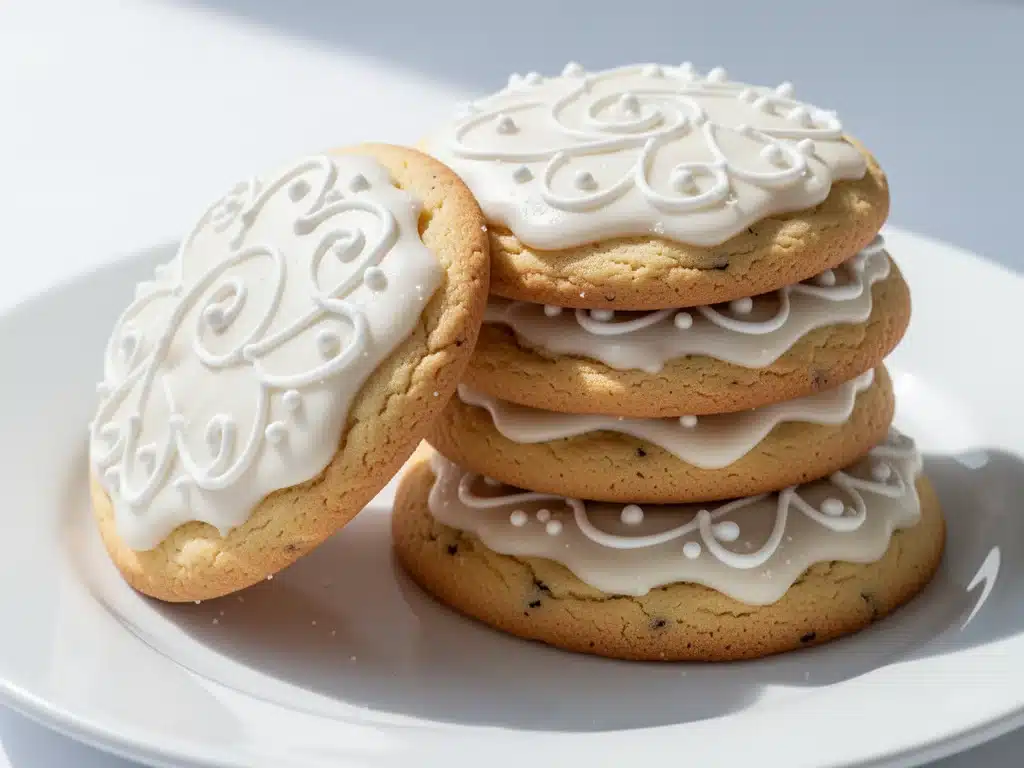
It was 2019, right in the thick of holiday prep, when I realized I was in trouble. I had promised my mother-in-law I’d bring cookies to the office party. A classic sugar cookie. Simple, right? Wrong. I pulled them out of the oven, and they had spread into flat, sad, circular pancakes. They tasted fine, sure, but they looked nothing like the pristine, decorated masterpieces I’d seen on Pinterest. I felt like a fraud. I was the person who couldn’t even get the basics right.
But here’s the thing: I didn’t give up. I spent the next six months testing sugar cookie dough. I tried chilling it for two hours. I tried chilling it overnight. I tried chilling it in the freezer for an hour while simultaneously panic-checking my email. I tried different flours, different sugars, different butter temperatures. I learned that the secret isn’t in the fancy ingredients—it’s in the science of how you handle the dough.
Fast forward to today, and these classic sugar cookies are the backbone of my holiday baking. They hold their shape. They’re soft in the middle with just a hint of crispness on the edges. And most importantly, they are incredibly forgiving for beginner bakers. I’ve made these for Christmas, for Valentine’s Day, and just because it was Tuesday. They are the definition of reliable holiday baking.
If you’ve struggled with cookies that spread too much or taste too dry, stop worrying. You just need the right ratio of butter to flour and a little patience. I’m going to walk you through exactly how I make them, including the one mistake 90% of people make (it’s not what you think), and why this method beats every other recipe out there.
Why You’ll Love This Classic Sugar Cookie Recipe
There are about ten reasons I keep coming back to this dough, but let’s be real—you’re here because you want cookies that actually look like cookies. Here’s why this recipe has earned a permanent spot in my rotation:
They Hold Their Shape — Seriously. I’ve rolled these out, cut intricate shapes, and baked them, and they don’t spread into oblivion. This is crucial if you’re planning to decorate. If you’ve ever tried to pipe icing onto a cookie that has turned into a puddle, you know the frustration. These stay put.
Perfect Texture Every Time — Soft, chewy center with a delicate, slightly crisp edge. Not hard like a cracker, not cakey like a muffin. It’s that ideal balance that makes people ask for the recipe before they’ve even finished the second one.
Freezer-Friendly Dough — This is my favorite feature. You can make the dough, roll it into a log, wrap it in plastic, and freeze it for up to three months. When you want cookies on a whim? Just thaw, slice, and bake. It’s the ultimate hack for busy holiday seasons when you’re juggling everything from pumpkin spice snickerdoodles to holiday casseroles.
Simple Ingredients — You don’t need specialty flours or exotic extracts. Just butter, sugar, eggs, flour, baking powder, salt, and vanilla. If you have these in your pantry, you’re already halfway done.
Endlessly Customizable — Plain? Glazed? Sprinkled? Colored? These cookies are a blank canvas. I use them for everything from Christmas trees to Easter bunnies. They take to royal icing beautifully, but they’re also delicious plain with just a dusting of powdered sugar.
Ingredients You’ll Need for Classic Sugar Cookies
Here’s the best part: you probably have most of this already. I’m particular about a few things here, and I’ll tell you exactly why they matter. Precision is key with sugar cookies, so grab your measuring cups.
Unsalted Butter (1 cup / 226g, softened) — This is non-negotiable. Use unsalted so you can control the sodium. Softened means it should be cool to the touch but leave a slight indent when you press it. Not melted! Melted butter changes the texture completely and makes cookies spread too much.
Granulated White Sugar (1 ½ cups / 300g) — The sugar does two jobs: it sweetens and it helps with texture. Don’t use brown sugar here; it adds moisture and molasses flavor that we don’t want. We want that clean, crisp sugar cookie taste.
Egg Yolks (2 large) — I use only yolks, no whites. The fat in the yolk adds richness and tenderness, while the lack of water in the white helps keep the dough from spreading. It’s a small detail that makes a huge difference.
All-Purpose Flour (3 ½ cups / 440g) — The backbone of the cookie. Spoon it into the cup and level it off. Don’t scoop directly from the bag, or you’ll pack in too much flour and end up with dry, crumbly cookies. I always use Gold Medal or King Arthur, but any standard AP flour works.
Baking Powder (1 teaspoon) — Leavening agent. It gives the cookies a little lift so they aren’t dense. Make sure it’s fresh; old baking powder won’t work.
Salt (½ teaspoon) — Enhances the flavor. Don’t skip it, even if you’re making sweet cookies. It balances the sugar.
Vanilla Extract (2 teaspoons) — Pure vanilla, please. I know it’s expensive, but the artificial stuff tastes chemical and clashes with the butter. If you’re on a budget, use a high-quality imitation, but pure is best.
Food Coloring (Optional) — Gel food coloring works best because it doesn’t add extra liquid. Liquid coloring can throw off the dough consistency.
Equipment Needed
You don’t need fancy equipment for this. Here’s what I actually use:
Mixer — Stand mixer is ideal, but a hand mixer works fine. You need to cream the butter and sugar until it’s light and fluffy, which takes about 3 minutes.
Rolling Pin — A wooden or acrylic rolling pin. I prefer wooden because it doesn’t stick as much if you flour it well.
Cookie Cutters — Any shapes you like. I keep a set of holiday-themed cutters in my drawer. Make sure they have sharp edges for clean cuts.
Parchment Paper — Line your baking sheets. This prevents sticking and makes cleanup a breeze. Silicone mats work too, but parchment is cheaper and easier to replace.
Wire Rack — For cooling the cookies. They need to cool completely before icing, or the icing will melt.
How to Make Classic Sugar Cookies: Step-by-Step
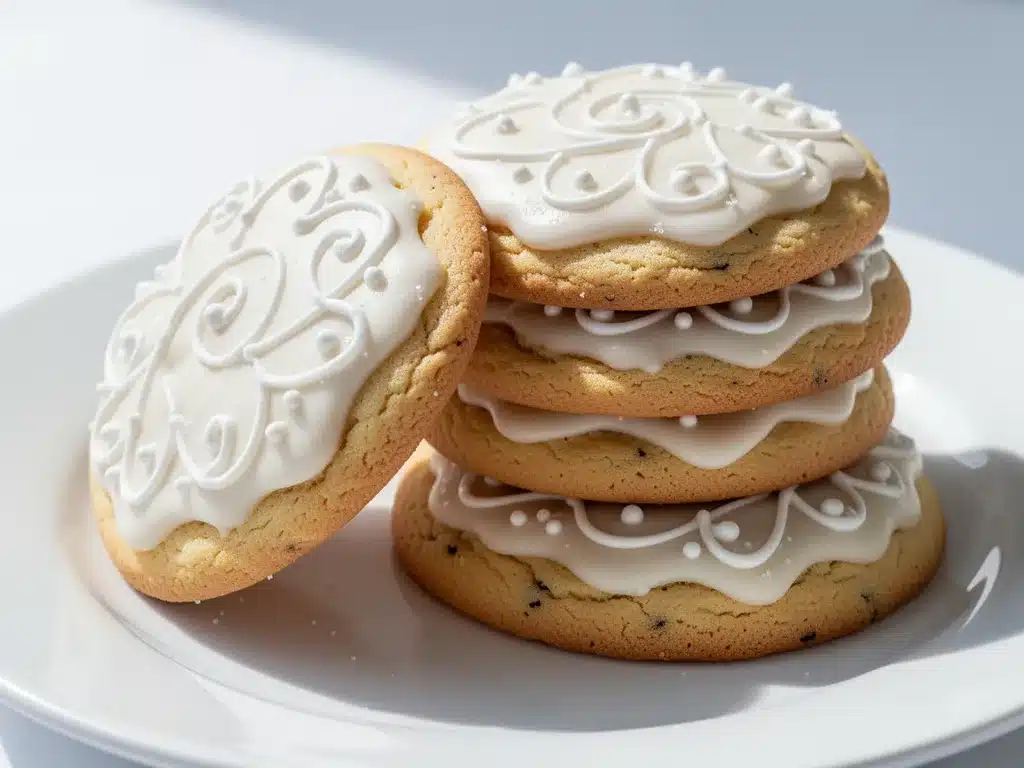
Alright, let’s make this! I’m walking you through exactly how I do it, including the little tricks I’ve picked up over the years.
Step 1: Cream the Butter and Sugar (3-4 minutes)
In a large bowl, beat the softened butter and granulated sugar together on medium-high speed. You’re looking for a pale, fluffy mixture. This incorporates air, which helps the cookies rise slightly. If you rush this step, your cookies will be dense. Scrape down the sides of the bowl halfway through.
Step 2: Add Egg Yolks and Vanilla (1 minute)
Beat in the egg yolks one at a time, then add the vanilla extract. Mix until just combined. Don’t overmix here; you don’t want to incorporate too much air at this stage.
Step 3: Mix Dry Ingredients (30 seconds)
In a separate medium bowl, whisk together the flour, baking powder, and salt. This ensures even distribution. Then, gradually add the dry ingredients to the wet mixture on low speed. Mix until *just* combined. The dough will look shaggy at first. Stop mixing as soon as you see no more dry flour. Overmixing develops gluten, which makes cookies tough.
Step 4: Chill the Dough (30-60 minutes)
This is the step most people skip, but it’s the secret to shape retention. Divide the dough into two discs, wrap tightly in plastic wrap, and refrigerate for at least 30 minutes (or up to 3 days). Chilling solidifies the fat, so the cookies hold their shape in the oven instead of melting into puddles. If you’re in a huge rush, you can freeze them for 15 minutes, but 30 minutes in the fridge is ideal.
Step 5: Preheat and Prep (5 minutes)
Preheat your oven to 350°F (175°C). Line two baking sheets with parchment paper. If you’re coloring the dough, divide the chilled dough into portions and knead in your gel food coloring until evenly distributed.
Step 6: Roll and Cut (15-20 minutes)
On a lightly floured surface, roll out one disc of dough to about ¼-inch thickness. Too thick, and they’ll be doughy in the middle. Too thin, and they’ll burn. Use your cookie cutters to cut out shapes. Press straight down, don’t twist. Twist the cutter seals the edges, which can prevent the cookie from rising evenly. Re-roll scraps gently and cut again.
Step 7: Bake (10-12 minutes)
Place cookies on the baking sheets, leaving about 2 inches between them for slight spreading. Bake for 10-12 minutes. They are done when the edges are just barely set and lightly golden, but the centers still look soft. They will firm up as they cool. Do not overbake!
Step 8: Cool Completely
Let the cookies cool on the baking sheet for 5 minutes, then transfer to a wire rack to cool completely. This is crucial before icing. Warm cookies will melt the icing.
Expert Tips & Tricks for Perfect Cookies
Here’s everything I’ve learned from making this dozens of times. These tips will save you from my mistakes.
Don’t Overmix the Dough
I know it’s tempting to mix it until it’s perfect, but stop as soon as the flour disappears. Overmixed dough = tough cookies. I’ve had this happen more times than I can count. The dough should look a bit rough, not smooth.
Chill Your Cutters Too
If your kitchen is warm, stick your cookie cutters in the freezer for 10 minutes before use. Cold cutters cut through the cold dough cleaner, giving you sharper edges. It’s a tiny detail, but it matters for intricate designs.
Use Gel Food Coloring
Liquid food coloring adds water to the dough, which can make it sticky and cause spreading. Gel coloring is more concentrated and doesn’t alter the texture. I buy the large bottles of red, blue, and green, and mix them for other colors.
Rotate Your Pan
Ovens have hot spots. Halfway through baking, rotate your baking sheet 180 degrees. This ensures even browning. I learned this the hard way when one side of my cookies was dark and the other was pale.
Store Properly
Once cooled, store cookies in an airtight container with a slice of bread. The bread keeps the cookies soft for days. If you want them crisp, leave them out uncovered for an hour after baking.
Variations & Substitutions
Once you’ve nailed the basic version, here’s how you can mix it up. I’ve tried all of these.
Lemon Sugar Cookies
Add the zest of one large lemon to the butter and sugar mixture. It adds a bright, fresh flavor that’s perfect for spring. I love these with a lemon glaze.
Chocolate Chip Sugar Cookies
Stir in 1 cup of semi-sweet chocolate chips after mixing the dough. It’s a hybrid of two favorites. My kids prefer these, though I stick to the classic version for decorating.
Shortbread Style
Reduce the baking powder to ½ teaspoon and chill the dough for 24 hours. These will be more tender and melt-in-your-mouth, less chewy.
Gluten-Free Option
Use a 1:1 gluten-free flour blend. The texture will be slightly different but still delicious. I’ve used Bob’s Red Mill and it works well. Add an extra ½ teaspoon of xanthan gum if your blend doesn’t have it.
Serving & Storage
How to Serve:
I usually serve these on a tiered stand at holiday parties. They look elegant and are easy to grab. Pair them with a cup of hot cocoa or coffee. They also travel well in a tin, making them great gifts.
Storage Instructions:
Room Temperature: Store in an airtight container for up to 5 days. If iced, they last 3 days because the icing can get sticky in humidity.
Freezing: You can freeze unbaked dough balls for up to 3 months. Thaw in the fridge overnight before baking. Baked cookies can also be frozen for 2 months. Just make sure they’re completely cool first.
Reheating: Warm them in the oven at 300°F for 5 minutes to restore freshness. Microwave for 10 seconds if you’re in a hurry.
Nutrition Information
I’m not a nutritionist, but here’s the breakdown if you’re tracking. Keep in mind, this varies based on exact measurements and icing.
Per Cookie (approx. 2-inch cookie, un-iced):
- Calories: 95
- Fat: 4g
- Carbs: 13g
- Sugar: 7g
- Protein: 1g
These are treat cookies, so enjoy them in moderation. They’re not exactly salad, but they’re better than a candy bar. If you’re looking for something lighter, check out my healthy pumpkin bars for a slightly lower-calorie option.
Final Thoughts
So that’s my go-to classic sugar cookie recipe! I know I’ve talked a lot about chilling the dough and not overmixing, but those are the keys to success. Sugar cookies have a reputation for being finicky, but once you understand the basics, they’re actually quite straightforward.
These cookies have saved my holiday reputation more times than I can count. They’re my answer to “what dessert should I bring?” when I’m tired and don’t want to overcomplicate things. They’re versatile, reliable, and delicious. Whether you’re decorating for Christmas or just craving something sweet, this recipe will deliver.
Make it yours! Try different extracts, add sprinkles, or dip them in chocolate. The best recipes are the ones you adapt to your tastes. If you make these, drop a comment and let me know how they turned out! I love hearing how recipes work in your kitchen.
Happy baking! And I hope your kitchen smells half as good as mine does right now.
Frequently Asked Questions
Why did my sugar cookies spread in the oven?
This usually happens for three reasons: the butter was too warm or melted, you didn’t chill the dough, or you didn’t measure the flour correctly. If your butter was soft and oily, it melted too quickly in the oven. Always chill the dough for at least 30 minutes. Also, make sure you’re spooning and leveling your flour, not scooping it, which packs in too much flour and can throw off the ratio.
Can I use salted butter instead of unsalted?
You can, but you’ll need to reduce the added salt in the recipe by half. Salted butter varies in salt content, so it’s harder to control. If you use salted butter, start with ¼ teaspoon of salt in the recipe and taste the dough (if you’re not eating it raw) to adjust.
How do I keep the icing from running off the cookies?
Make sure your cookies are completely cool before icing. Warm cookies melt the icing. Also, ensure your icing consistency is right. For outlining, use a thicker royal icing. For flooding, thin it out slightly with water. If it’s too thin, it will run. Let the first layer dry completely before adding details.
Can I freeze the baked cookies?
Yes! Let them cool completely, then place them in an airtight container with parchment paper between layers. They’ll last for 2-3 months. Thaw at room temperature before serving. Icing can be frozen too, but it may separate slightly. Whisk it back together before using.
Why are my cookies dry and crumbly?
You likely overmixed the dough or baked them too long. Overmixing develops gluten, making them tough. Baking them until they look hard in the oven ensures they’re dry when cool. Pull them out when the edges are just barely golden. They will firm up as they cool.
Can I make this dough ahead of time?
Absolutely. This dough actually benefits from resting. You can make it up to 3 days in advance and keep it in the fridge. Or freeze it for up to 3 months. Just thaw in the fridge overnight before rolling and cutting.
Pin This Recipe!

Classic Sugar Cookies: 5 Easy Holiday Baking Tips
- Total Time: 45 minutes
- Yield: Approximately 24 cookies 1x
Description
Reliable, soft-in-the-middle sugar cookies that hold their shape perfectly for decorating. This recipe uses a specific ratio of butter to flour and chilling techniques to prevent spreading.
Ingredients
- 1 cup (226g) unsalted butter, softened
- 1 ½ cups (300g) granulated white sugar
- 2 large egg yolks
- 3 ½ cups (440g) all-purpose flour
- 1 teaspoon baking powder
- ½ teaspoon salt
- 2 teaspoons pure vanilla extract
- Gel food coloring (optional)
Instructions
- In a large bowl, beat the softened butter and granulated sugar together on medium-high speed for 3-4 minutes until pale and fluffy. Scrape down the sides of the bowl halfway through.
- Beat in the egg yolks one at a time, then add the vanilla extract. Mix until just combined.
- In a separate medium bowl, whisk together the flour, baking powder, and salt. Gradually add the dry ingredients to the wet mixture on low speed, mixing until just combined. Do not overmix.
- Divide the dough into two discs, wrap tightly in plastic wrap, and refrigerate for at least 30 minutes (or up to 3 days).
- Preheat oven to 350°F (175°C). Line two baking sheets with parchment paper.
- On a lightly floured surface, roll out one disc of dough to about ¼-inch thickness. Cut out shapes using cookie cutters, pressing straight down without twisting. Re-roll scraps gently.
- Place cookies on baking sheets, leaving about 2 inches between them. Bake for 10-12 minutes until edges are barely set and lightly golden.
- Let cookies cool on the baking sheet for 5 minutes, then transfer to a wire rack to cool completely before icing.
Notes
Chilling the dough is crucial for preventing spreading. Use gel food coloring instead of liquid to avoid altering dough consistency. Store cookies in an airtight container with a slice of bread to keep them soft. For gluten-free option, use a 1:1 gluten-free flour blend.
- Prep Time: 30 minutes
- Cook Time: 10-12 minutes
- Category: Dessert
- Cuisine: American
Nutrition
- Serving Size: 1 cookie (approx. 2-
- Calories: 95
- Sugar: 7
- Sodium: 45
- Fat: 4
- Saturated Fat: 2.5
- Carbohydrates: 13
- Fiber: 0.5
- Protein: 1
Keywords: sugar cookies, holiday baking, Christmas cookies, easy cookie recipe, decorated cookies, freeze dough


