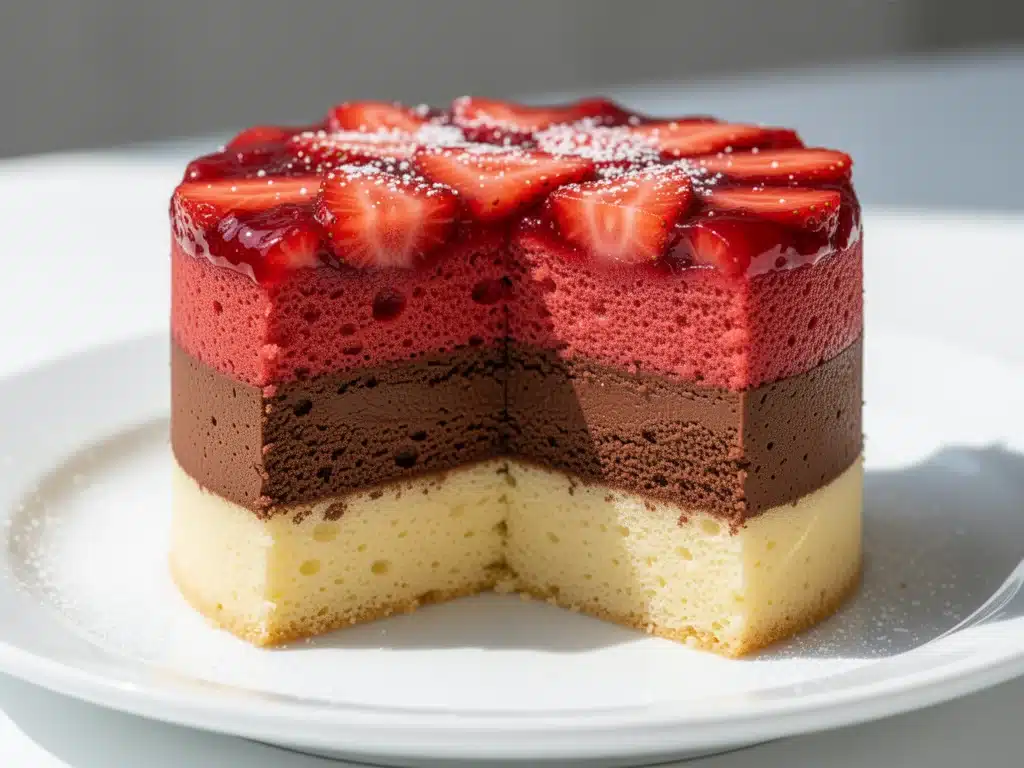
Let’s be honest for a second. If you grew up in the 90s or early 2000s, your idea of Neapolitan was a brick of ice cream with three distinct stripes: bright red strawberry, creamy vanilla, and rich chocolate. It was convenient. It was cheap. And for a lot of us, it was the first dessert we ever got to pick out at the grocery store on our own.
But here’s the thing. As an adult, I realized that while that ice cream brick was nostalgic, the actual cake version sold in most grocery stores is… well, let’s just say it’s often dry, overly sweet, and tastes like it was made in a factory rather than a kitchen. It’s all foam and artificial flavor.
I wanted to fix that. I wanted a Neapolitan layer cake that actually tasted like the ice cream I loved, but with the texture of a proper, moist, bakery-quality cake. So, I spent the last three months testing batters, adjusting sugar levels, and figuring out how to keep those three distinct colors from bleeding into each other during baking. (Spoiler alert: the trick is chilling the pans.)
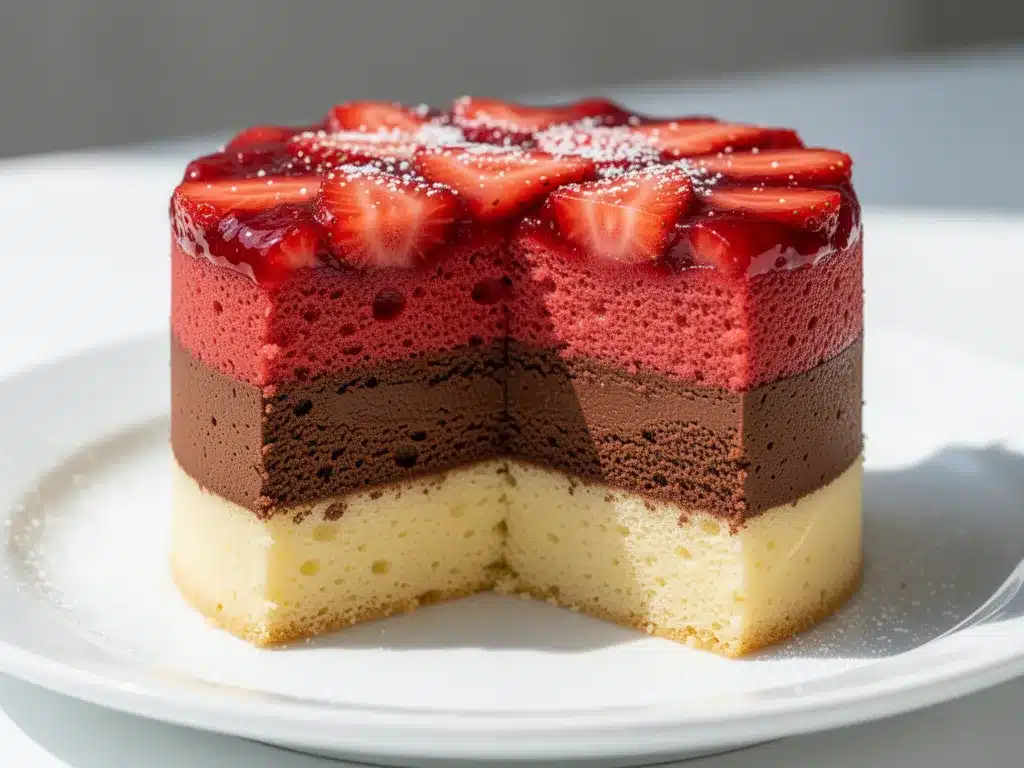
This Rich Neapolitan Layer Cake is the answer. It’s tall, it’s dramatic, and it tastes like a hug from your childhood but elevated for your actual adult palate. The vanilla layer is buttery and fragrant. The chocolate layer is deep and fudgy without being heavy. And the strawberry layer? It’s bright and fruity, not candy-sweet. Topped with a simple whipped cream frosting that keeps it light, this is the dessert that wins every potluck and birthday party.
I’ve made this for everything from casual Tuesday treats to my nephew’s fifth birthday. It’s surprisingly easy to assemble once you get the rhythm, and it looks so impressive that nobody will know you didn’t buy it from a fancy bakery. If you’re looking for other ways to use those three classic flavors, you might also enjoy my Neapolitan Ice Cream Cake for summer gatherings, but this baked version has a cozy, homemade feel that just hits different.
Why You’ll Love This Recipe
There are a dozen reasons I keep coming back to this cake, but they mostly boil down to three things: it’s nostalgic without being childish, it’s visually stunning, and it’s actually moist.
It Tastes Like Real Fruit — Most “strawberry” cakes taste like red dye #40 and sugar. I use real strawberry puree in the batter. It gives you that natural pink hue and a genuine berry flavor that isn’t cloying. You can taste the difference immediately.
The Colors Stay Sharp — One of the hardest parts of making a tri-color cake is keeping the stripes distinct. I’ve developed a method for mixing and baking that prevents the flavors from bleeding together. You get clean, beautiful layers every single time.
It’s Not Too Sweet — I’ve tasted plenty of Neapolitan cakes that are so sweet you need a glass of water halfway through. I balanced the sugar in each layer so the vanilla isn’t bland, the chocolate isn’t bitter, and the strawberry isn’t syrupy. It’s a perfect balance.
Perfect for Any Occasion — This isn’t just for kids’ birthdays. It looks elegant enough for a bridal shower or a summer picnic. The white whipped cream frosting ties it all together beautifully. Plus, it’s a great way to use up leftover strawberries in the summer or just satisfy a craving for something classic.
Makes Amazing Leftovers — Unlike some frosted cakes that get soggy, this one holds up well in the fridge for up to three days. The flavors actually meld a bit overnight, making it even better on day two. I often make it on Sunday to eat all week.
Ingredients You’ll Need
Here’s the good news: you probably have most of this already. This recipe uses standard pantry staples, but I’m particular about a few things to ensure that bakery-quality taste.
For the Vanilla Layer
All-purpose flour (2 ½ cups / 315g) — I use Gold Medal or King Arthur. Don’t swap for cake flour unless you adjust the protein content; AP flour gives us the right structure.
Sugar (1 ½ cups / 300g) — Granulated white sugar. This provides the sweetness and helps keep the crumb tender.
Baking powder (1 ½ teaspoons) — Make sure this isn’t expired! Old baking powder is the number one reason cakes don’t rise properly.
Salt (1 teaspoon) — Essential for balancing the sweetness. Don’t skip it.
Unsalted butter (½ cup / 115g, softened) — Softened means cool room temperature. If it’s melting, it’s too soft. You want it pliable.
Eggs (3 large, room temperature) — Room temp eggs emulsify better into the batter. Take them out of the fridge 30 minutes before you start.
Vanilla extract (2 teaspoons) — Use real vanilla extract, not imitation. It makes a huge difference in the aroma.
Whole milk (1 cup / 240ml) — Full-fat milk keeps the cake moist. Skim milk will make it dry.
For the Chocolate Layer
All-purpose flour (2 cups / 250g) — Slightly less flour to make it denser and fudgier.
Cocoa powder (¾ cup / 75g, unsweetened) — Use good quality Dutch-process cocoa if you can find it. It’s darker and less acidic. Hershey’s regular works fine too.
Sugar (1 ½ cups / 300g) — Same amount as vanilla, but the cocoa adds bitterness, so it balances out.
Baking powder (1 ½ teaspoons)
Salt (1 teaspoon)
Unsalted butter (½ cup / 115g, softened)
Eggs (3 large, room temperature)
Vanilla extract (1 teaspoon)
Whole milk (¾ cup / 180ml) — Slightly less liquid because cocoa absorbs moisture.
For the Strawberry Layer
All-purpose flour (2 ½ cups / 315g)
Sugar (1 ½ cups / 300g)
Baking powder (1 ½ teaspoons)
Salt (1 teaspoon)
Unsalted butter (½ cup / 115g, softened)
Eggs (3 large, room temperature)
Strawberry puree (1 cup / 240g) — This is the key. Blend fresh or frozen strawberries until smooth. If using frozen, thaw and drain excess water first. You want a thick puree, not a watery juice. This gives you the natural pink color and real flavor.
Vanilla extract (1 teaspoon)
Whole milk (½ cup / 120ml) — Reduced because the puree adds liquid.
For the Whipped Cream Frosting
Heavy whipping cream (2 cups / 480ml) — Must be cold. This is non-negotiable for stable whipped cream.
Confectioners’ sugar (½ cup / 60g) — Sifted to avoid lumps.
Vanilla extract (1 teaspoon)
Cream cheese (4 oz / 115g, softened) — Optional, but it stabilizes the cream and adds a slight tang that cuts the sweetness. I always add it.
Equipment Needed
You don’t need fancy gadgets for this, but having the right pans makes a huge difference in how evenly it bakes.
Three 8-inch round cake pans — I use Nordic Ware pans. They’re dark aluminum, which helps with browning. If you have light-colored pans, you might need to bake a minute or two longer.
Parchment paper — Cut circles to line the bottoms of the pans. This guarantees the layers release easily and stay intact.
Stand mixer or hand mixer — Creaming the butter and sugar by hand is possible, but it takes effort and time. A mixer ensures you get that airy texture.
Blender or food processor — For the strawberry puree. You want it completely smooth.
Wire cooling racks — Essential for cooling the cakes evenly. Leaving them in the pans traps steam and makes them soggy.
Offset spatula — For spreading the frosting smoothly between layers. A regular spatula works, but an offset gives you more control.
Turntable (optional) — If you want a really professional-looking finish, a turntable helps. But it’s not necessary for a delicious cake.
How to Make It: Step-by-Step
Alright, let’s get baking. This recipe involves making three separate batters, but I’ll walk you through how to do it efficiently so you’re not standing in the kitchen for hours.
Step 1: Prep Your Pans and Oven (10 minutes)
Preheat your oven to 350°F (175°C). Grease your three 8-inch round cake pans with butter or non-stick spray. Line the bottoms with parchment paper circles. This is crucial. If you skip this, the cakes might stick, and you’ll lose the nice flat bottom that helps the layers stack evenly.
Step 2: Make the Vanilla Batter (10 minutes)
In a large bowl, whisk together the flour, baking powder, and salt. In the bowl of your mixer, beat the softened butter and sugar on medium-high speed for about 3-4 minutes until light and fluffy. This aeration is key for a tender crumb. Add the eggs one at a time, beating well after each. Mix in the vanilla extract.
Reduce the mixer speed to low. Add the flour mixture in three parts, alternating with the milk in two parts, beginning and ending with the flour. Mix just until combined. Do not overmix! Scrape down the sides of the bowl. Divide this batter evenly among three bowls? No, keep it all in one bowl for now.
Step 3: Split and Flavor the Batters (10 minutes)
This is the magic step. You need to split the vanilla batter into three portions:
1. Plain Vanilla: Keep one-third of the batter as is. This is your vanilla layer.
2. Chocolate: To the second third, add the cocoa powder. Mix until fully incorporated. Then, reduce the milk by ¼ cup (add only ½ cup milk to this portion instead of ⅓ cup) because cocoa absorbs liquid. This will be your chocolate layer.
3. Strawberry: To the final third, add the strawberry puree and reduce the milk to ¼ cup. Mix until the color is uniform pink. This is your strawberry layer.
Now you have three distinct batters. Pour each into its own prepared pan. Tap the pans gently on the counter to release air bubbles.
Step 4: Bake the Layers (25-30 minutes)
Place all three pans on the middle rack of the oven. Bake for 25-30 minutes. The cakes are done when a toothpick inserted into the center comes out clean or with just a few moist crumbs. Rotate the pans halfway through baking for even browning.
Let the cakes cool in the pans for 10 minutes, then turn them out onto wire racks to cool completely. They must be completely cool before frosting, or the whipped cream will melt. This can take 1-2 hours. I usually bake them the day before.
Step 5: Make the Whipped Cream Frosting (10 minutes)
In a cold bowl, combine the heavy cream, softened cream cheese, confectioners’ sugar, and vanilla. Beat on medium-high speed until stiff peaks form. Be careful not to overbeat, or it will turn into butter. The frosting should be thick and hold its shape.
Step 6: Assemble the Cake (15 minutes)
Place one cake layer on your serving plate. Spread a generous layer of whipped cream over the top. Place the next layer on top, and repeat with the final layer. Use the remaining frosting to cover the top and sides of the cake. Smooth it out with your offset spatula.
For a classic look, you can pipe rosettes around the edge or just keep it smooth. Decorate with fresh strawberries if you have them.
Expert Tips & Tricks
Here’s everything I’ve learned from making this cake dozens of times. These tips will save you from common pitfalls.
Chill the Pans — After pouring the batter into the pans, put them in the fridge for 15 minutes before baking. This helps the layers bake evenly and prevents doming.
Room Temperature Ingredients — I can’t stress this enough. Cold butter doesn’t cream properly. Cold eggs seize up the batter. Everything should be cool room temperature.
Don’t Overmix — Once you add the flour, mix only until you no longer see dry streaks. Overmixing develops gluten, which makes the cake tough and chewy instead of tender.
True Cooling — If you frost a warm cake, the whipped cream will slide right off. Let them cool completely. I often wrap them in plastic wrap and leave them on the counter overnight.
Stabilize the Cream — Adding the cream cheese helps the whipped cream hold its shape, especially if you’re serving it in a warm room. If you don’t have cream cheese, add 1 tablespoon of cornstarch to the cream.
Variations & Substitutions
Once you’ve nailed the basic version, here’s how you can mix it up. I’ve tried all of these.
Gluten-Free — Use a 1-to-1 gluten-free flour blend. The texture might be slightly denser, but it still works well.
Dairy-Free — Use vegan butter and plant-based milk. For the frosting, use coconut cream (chilled) and omit the cream cheese. It will be richer but still delicious.
Chocolate-Strawberry Swap — If you’re not a fan of vanilla, swap the vanilla layer for another chocolate layer, or make the middle layer a red velvet cake using cocoa and a bit of buttermilk.
Extra Fruit — Add fresh strawberry slices between the layers for bursts of flavor. Just pat them dry first to avoid soggy cake.
Chocolate Frosting — If you prefer, you can use a chocolate ganache or buttercream instead of whipped cream. It will be richer and heavier, though.
Serving & Storage
How to Serve: This cake is best served chilled. Let it sit out for 10 minutes before slicing so the frosting softens slightly. Use a sharp knife dipped in hot water for clean cuts.
Side Dishes: Serve with fresh berries, a simple green salad, or even a scoop of vanilla ice cream if you’re feeling indulgent. It pairs beautifully with coffee or tea.
Storage: Store leftovers in the refrigerator in an airtight container for up to 3 days. The whipped cream may soften over time, but it will still be good.
Freezing: You can freeze the unfrosted cake layers wrapped tightly in plastic wrap and foil for up to 2 months. Thaw overnight in the fridge before frosting. The frosted cake does not freeze well because the whipped cream separates.
Nutrition Information
I’m not a nutritionist, but here’s the breakdown if you’re tracking. This is a rich dessert, so portion control is key.
Per Serving (based on 12 slices):
- Calories: 380
- Protein: 5g
- Carbs: 45g
- Fiber: 1g
- Sugar: 32g
- Fat: 20g
- Saturated Fat: 12g
This cake is higher in sugar and fat due to the butter, cream, and frosting. It’s a treat, not a health food. But it’s made with real ingredients, so it’s better than anything from a box mix.
Final Thoughts
So that’s my Rich Neapolitan Layer Cake! It’s a labor of love, but I promise it’s worth it. There’s something magical about taking three simple flavors and combining them into one stunning dessert. It brings back memories of summer ice cream trucks and childhood birthdays, but with a sophisticated twist that adults will appreciate.
I hope you try this recipe. Make it for your family, your friends, or just for yourself on a rainy Sunday. It’s a cake that demands to be shared. And if you make it, I’d love to see how it turns out! Drop a comment below with your thoughts or questions. Happy baking!
Frequently Asked Questions
Can I use jarred strawberry sauce instead of puree?
It’s not recommended. Jarred sauce often has added pectin and sugar that can throw off the batter’s liquid balance. Fresh or frozen strawberries blended into a puree give you the best flavor and texture. If you must use jarred, reduce the milk by ¼ cup.
Why did my layers dome and not stay flat?
This usually happens if the oven is too hot or the batter is too deep. Chilling the pans before baking helps. Also, you can use “bake even strips” (wet fabric strips wrapped around the pans) to insulate the edges and promote even rising.
Can I make this a sheet cake?
Yes, but you’d need to adjust the baking time. You’d likely need two 9×13 pans. Layer them vertically? No, that’s hard. Better to make three 8-inch rounds as directed for the classic look.
How do I keep the colors from bleeding?
Make sure the layers are completely cool before stacking. If the bottom layer is warm, the frosting will melt and mix with the next layer. Also, apply a thin “crumb coat” of frosting between layers to seal in any crumbs.
Can I use box cake mix?
You can, but it won’t taste as good. Box mixes often have artificial flavors that clash with the natural strawberry puree. If you’re short on time, you can use box mixes, but I highly recommend making the batter from scratch for the best results.
Is this cake good for birthdays?
Absolutely! It’s a crowd-pleaser. The tri-color design is festive and fun. Just add some sprinkles or fresh fruit on top for a celebratory touch.
Pin This Recipe!
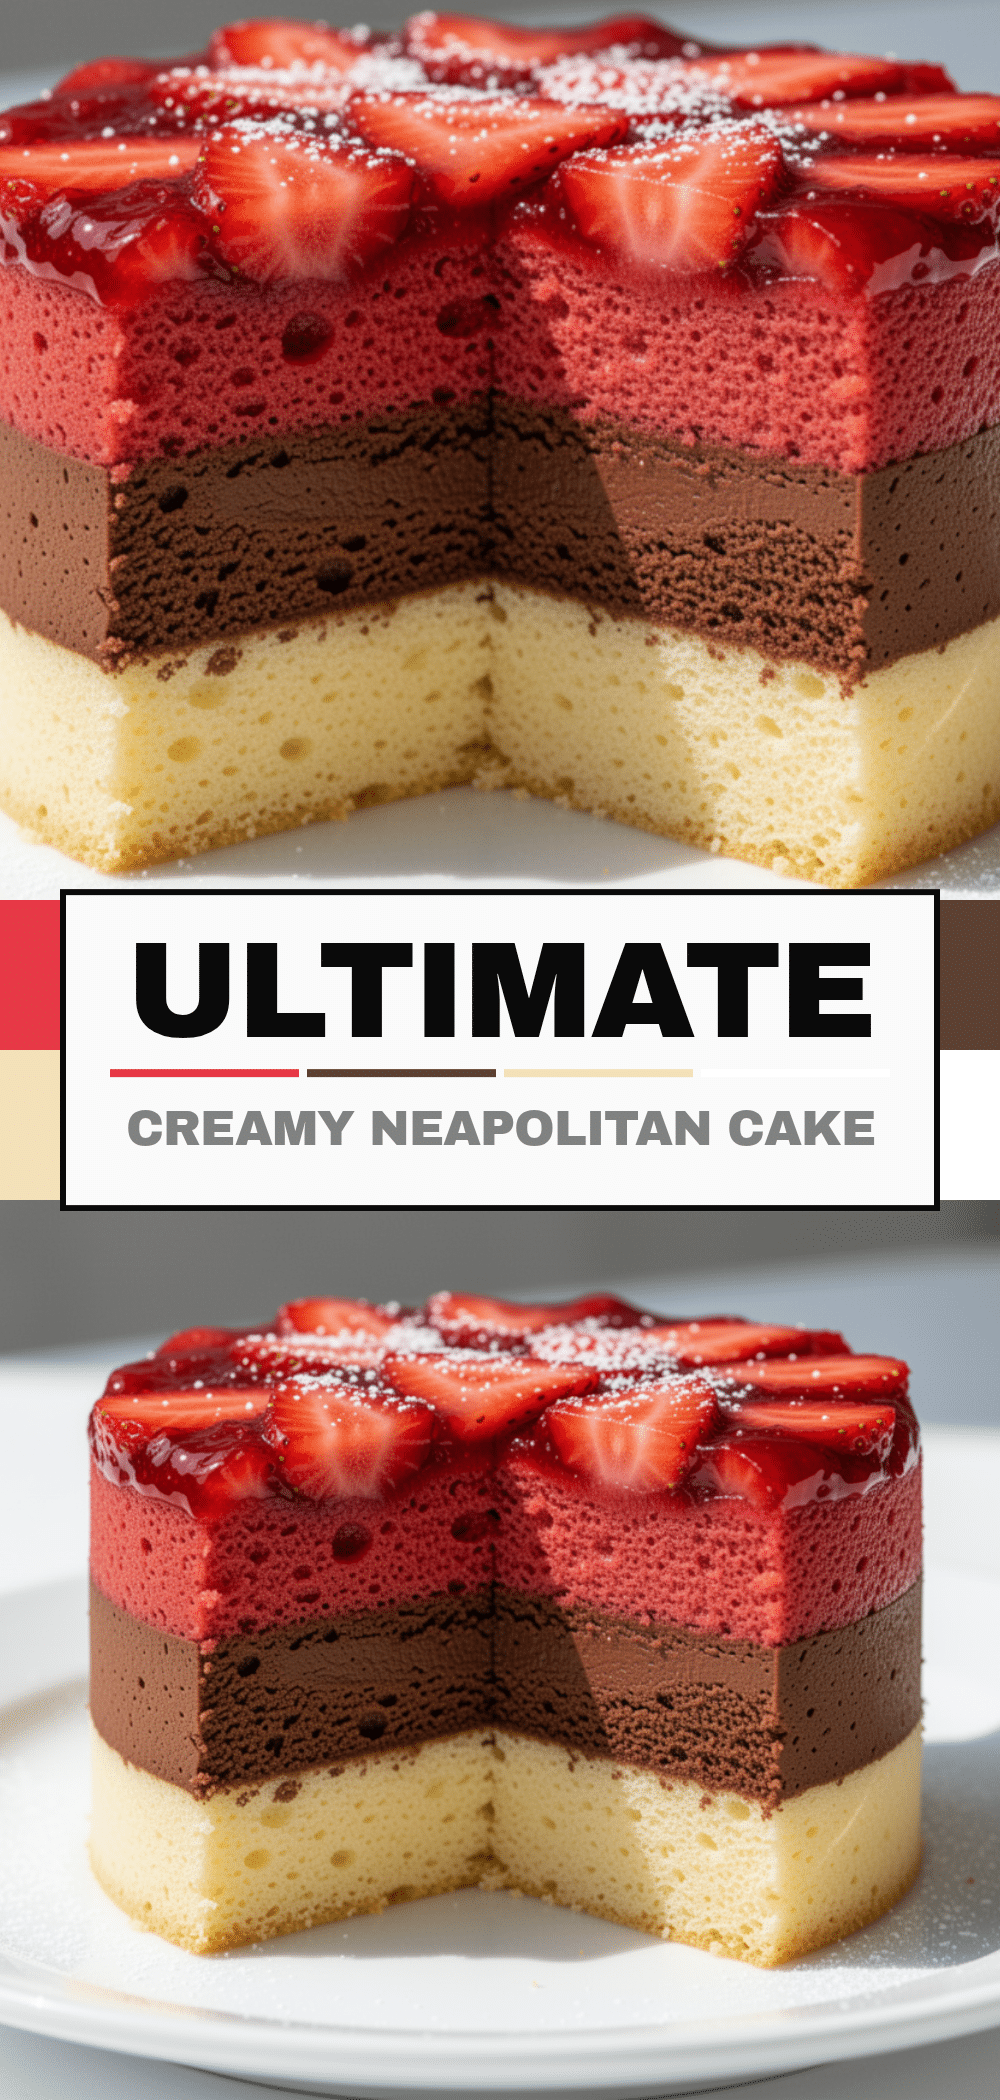
Rich Neapolitan Layer Cake: Best 3-Flavor Dessert
- Total Time: 1 hour 15 minutes
- Yield: 12 servings 1x
Description
A moist, bakery-quality Neapolitan layer cake featuring distinct vanilla, chocolate, and strawberry layers made with real ingredients, topped with a light whipped cream frosting.
Ingredients
- 2 ½ cups all-purpose flour (for vanilla and strawberry layers)
- 2 cups all-purpose flour (for chocolate layer)
- 4 ½ cups granulated white sugar (divided)
- 4 ½ teaspoons baking powder
- 3 teaspoons salt
- 1 ½ cups unsalted butter, softened (divided)
- 9 large eggs, room temperature (divided)
- 4 teaspoons vanilla extract (divided)
- 2 ¼ cups whole milk (divided)
- ¾ cup unsweetened cocoa powder
- 1 cup strawberry puree
- 2 cups heavy whipping cream, cold
- ½ cup confectioners’ sugar, sifted
- 4 oz cream cheese, softened
Instructions
- Preheat oven to 350°F (175°C). Grease three 8-inch round cake pans and line bottoms with parchment paper.
- In a large bowl, whisk together flour, baking powder, and salt for the base batter.
- In a mixer bowl, beat softened butter and sugar until light and fluffy (3-4 minutes).
- Add eggs one at a time, beating well after each. Mix in vanilla extract.
- Reduce mixer speed to low. Add flour mixture in three parts, alternating with milk in two parts, beginning and ending with flour. Mix just until combined.
- Divide batter into three portions. Keep one-third plain for the vanilla layer.
- To the second third, add cocoa powder and reduce milk to ½ cup total for this portion. Mix until incorporated for the chocolate layer.
- To the final third, add strawberry puree and reduce milk to ¼ cup total for this portion. Mix until uniform pink for the strawberry layer.
- Pour each batter into a prepared pan. Chill pans in the fridge for 15 minutes before baking.
- Bake for 25-30 minutes, rotating pans halfway through, until a toothpick comes out clean.
- Cool in pans for 10 minutes, then turn out onto wire racks to cool completely.
- In a cold bowl, beat heavy cream, cream cheese, confectioners’ sugar, and vanilla until stiff peaks form.
- Assemble cake by stacking layers with generous amounts of whipped cream between them and covering the top and sides.
- Chill before serving.
Notes
Ensure all ingredients are at room temperature for best emulsification. Chill the pans before baking to prevent doming. Do not overmix the batter to avoid a tough texture. The cake must be completely cool before frosting to prevent the whipped cream from melting. Store leftovers in the refrigerator for up to 3 days.
- Prep Time: 45 minutes
- Cook Time: 30 minutes
- Category: Dessert
- Cuisine: American
Nutrition
- Serving Size: 1 slice
- Calories: 380
- Sugar: 32
- Fat: 20
- Saturated Fat: 12
- Carbohydrates: 45
- Fiber: 1
- Protein: 5
Keywords: Neapolitan cake, layer cake, strawberry cake, chocolate cake, vanilla cake, whipped cream frosting, homemade dessert, birthday cake


