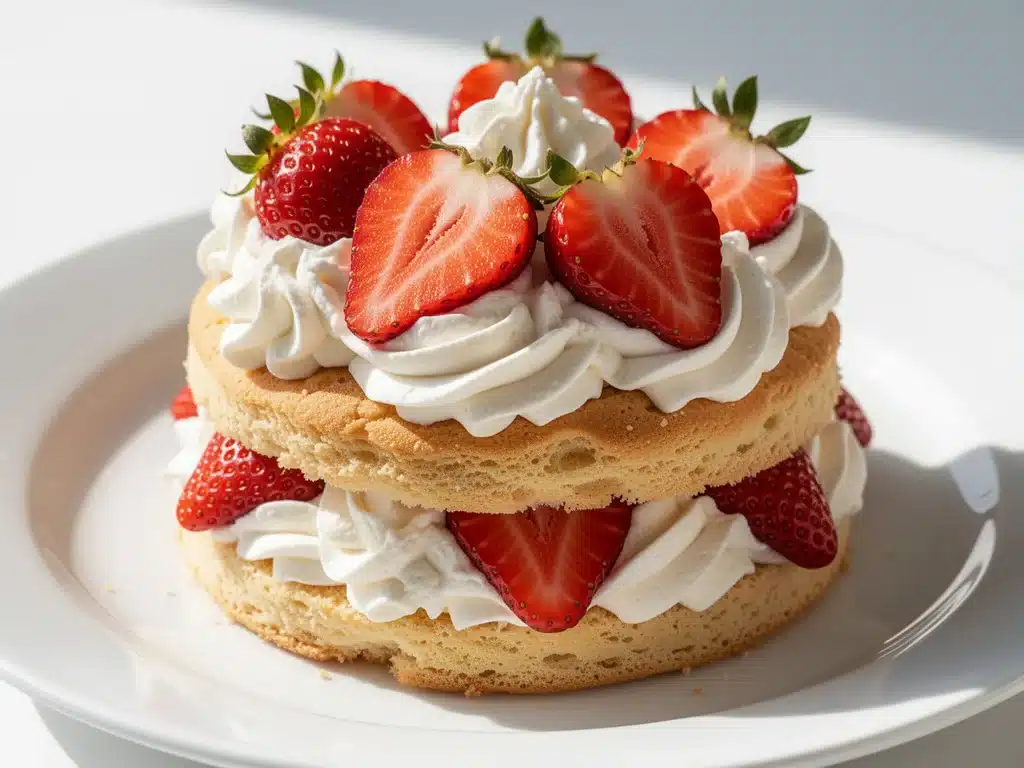
There is a very specific kind of magic that happens in July. It’s not just the heat or the long days—it’s the strawberry season. Last year, I found myself standing in my kitchen at 9 PM, exhausted from work, staring at a bag of strawberries that had started to look a little sad. They were soft, slightly bruised, and definitely not Instagram-worthy. My first instinct was to toss them. But then I remembered my grandmother’s rule: “Never throw away a strawberry that’s just ready to burst.” So, instead of composting them, I threw them into a saucepan with some sugar and lemon juice. Ten minutes later, the kitchen smelled like summer itself. I paired that warm, juicy strawberry mixture with a biscuit I threw together on a whim, and it was better than any bakery dessert I’ve ever bought.
That accidental dinner turned into a tradition. Now, every time I see those bright red berries at the market, I know exactly what I’m making. This classic strawberry shortcake isn’t just about the fruit; it’s about that contrast between the sweet, tart berries and the buttery, fluffy biscuit. It’s the kind of dessert that makes people stop talking and just eat. It’s simple, it’s nostalgic, and it’s incredibly easy to pull together even if you’re as tired as I was that night. I’ve tested this recipe dozens of times—sometimes with fresh berries, sometimes with frozen, sometimes with heavy cream and sometimes with whipped cream—and I’ve finally nailed the perfect balance. This is hands-down the best summer dessert you can make without spending hours in the kitchen.
I love how versatile this recipe is. You can serve it as a elegant afternoon tea treat or as a casual scoop-in-a-bowl dessert for a backyard BBQ. The key is in the details: the macerated strawberries that turn into their own syrup, and the biscuits that are crisp on the outside and soft on the inside. If you’re looking for a way to use up those seasonal berries before they’re gone, this is your answer. It’s a recipe that feels special but doesn’t demand much effort. And honestly? It’s way better than the dense, dry shortcakes you get at restaurants. This is light, airy, and bursting with flavor.
Why You’ll Love This Recipe
There are a lot of desserts out there, but few hit that perfect note of simplicity and satisfaction like this classic strawberry shortcake. I’ve made this for everything from casual Tuesday night snacks to Sunday brunches with friends, and it never fails to impress. Here’s why this recipe has earned a permanent spot in my rotation:
- Stupid Simple Ingredients — Seriously, if you have flour, sugar, butter, milk, and strawberries, you can make this. I don’t use any fancy leavening agents or obscure flours. Just pantry staples. I’ve walked my teenage son through it over FaceTime, and he nailed it the first time.
- Lightning Fast — From start to finish, you’re looking at about 30 minutes. That includes baking time. I make this on weeknights when I get home at 7 PM and still want something sweet. It’s faster than ordering delivery.
- Seasonal Star Power — This recipe lets the strawberries shine. By macerating them (tossing with sugar), you create a natural syrup that makes every bite juicy. It’s the best way to highlight summer produce.
- Flexible Texture — Do you like your biscuits tall and fluffy? Or flat and crumbly? This recipe lets you adjust the baking powder and handling to get your preferred texture. I prefer a slightly taller biscuit, but my husband likes them flatter. Both versions work.
- Makes Amazing Leftovers — Actually, it doesn’t last long enough for leftovers. But if you do have some, the biscuits reheat beautifully in a toaster oven, and the strawberry syrup is amazing on yogurt the next morning.
- Budget-Smart — Strawberries can be pricey in peak season, but when they’re in season, they’re cheap. This recipe feeds 4-6 people for under $10. That’s a fraction of the cost of a dessert at a nice restaurant.
This is my go-to when I need a dessert to just work. No complicated techniques, no weird ingredients, just reliable, delicious food that makes everyone happy. It’s the kind of dish that reminds you why summer is the best season.
Ingredients You’ll Need
Here’s the best part: you probably have most of this already. I’m particular about three ingredients here—the strawberries, the butter, and the flour—and I’ll tell you exactly why they matter. For the rest, standard pantry items will do just fine.
For the Strawberries
Fresh strawberries (1.5 pounds / 680g) — Use the ripest berries you can find. If they’re slightly underripe, the sugar in the maceration process will help, but perfectly ripe ones make the syrup sweeter and more flavorful. I buy them at the farmers market when they’re cheap and plentiful.
Granulated sugar (2-3 tablespoons / 25-37g) — Adjust based on how sweet your berries are. If they’re tart, go with 3 tablespoons. If they’re super sweet, 2 tablespoons is plenty. I like a balance where the sugar enhances the strawberry flavor without overpowering it.
Lemon juice (1 teaspoon / 5ml) — This seems small, but it brightens the flavor and balances the sweetness. It also helps the pectin in the strawberries release a bit more syrup. Don’t skip it.
Vanilla extract (½ teaspoon / 2.5ml) — Optional, but I always add it. It adds a warm, comforting note that pairs beautifully with the fruit.
For the Biscuits
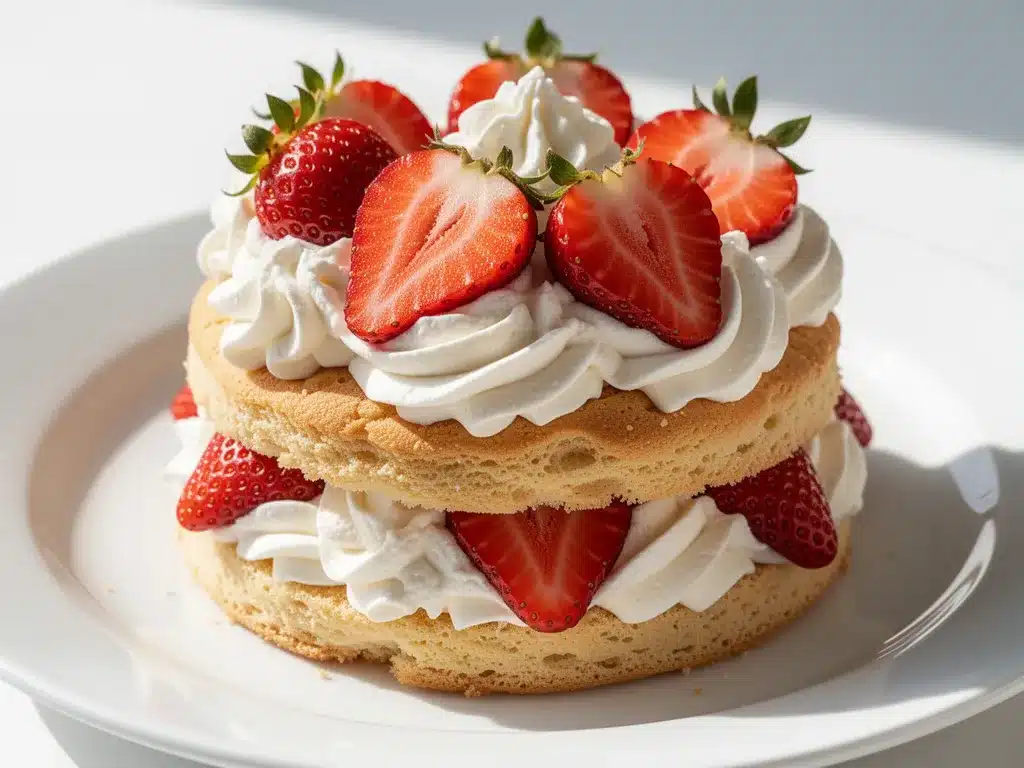
All-purpose flour (2 cups / 250g) — I use King Arthur or Gold Medal. Don’t use cake flour; it’s too tender. You need some structure for the biscuit. Spoon and level it—don’t scoop directly from the bag, or you’ll pack in too much flour and get dense biscuits.
Baking powder (1 tablespoon / 12g) — Make sure it’s fresh. Old baking powder makes flat biscuits. I keep a new can every few months because it’s cheap and makes a huge difference.
Salt (½ teaspoon / 3g) — Essential for flavor. It balances the sweetness of the sugar and enhances the butter.
Unsalted butter (½ cup / 113g, very cold) — This is the most important ingredient. The butter must be cold. Cube it and put it back in the fridge until the last minute. Cold butter creates steam pockets in the oven, which makes the biscuits flaky. If the butter gets warm, your biscuits will be tough.
Heavy cream (½ cup / 120ml) — Use full-fat. Buttermilk works too, but heavy cream makes them richer and more tender. I like the richness of cream for this recipe.
Extra butter (2 tablespoons / 30g, melted) — For brushing the tops after baking. This gives them a golden color and a buttery crust.
For the Whipped Cream
Heavy whipping cream (1 cup / 240ml) — Must be very cold. If your cream is warm, it won’t whip. Chill your bowl and beaters in the freezer for 15 minutes beforehand.
Confectioners’ sugar (2 tablespoons / 15g) — Sweetens the cream without adding graininess.
Vanilla extract (1 teaspoon / 5ml) — For flavor.
Personal Tips: I always buy a block of Parmesan for other recipes, but for this, I stick to basic all-purpose flour. For the strawberries, if you buy them in the off-season, they might be watery. In that case, reduce the sugar slightly and cook them down a bit more to concentrate the flavor. Also, I recommend using a stand mixer or hand mixer for the whipped cream—it’s much faster than whisking by hand.
Equipment Needed
You don’t need fancy equipment for this. Here’s what I actually use. Most of this is stuff you already have in your kitchen.
- Large mixing bowl — For the dry ingredients. I use a ceramic bowl because it’s heavy and doesn’t slide around.
- Pastry cutter or food processor — To cut the butter into the flour. I prefer a food processor for speed, but a pastry cutter works fine if you have the arm strength. A fork works too, but it takes longer.
- Baking sheet — I use a rimmed baking sheet. Line it with parchment paper for easy cleanup. I’ve burned cookies on my old sheets, so parchment is non-negotiable for me now.
- Rolling pin — A 12-inch rolling pin is ideal. I like wood because it’s smooth and doesn’t stick.
- Round biscuit cutter — 2.5 inches is the perfect size. I also use a drinking glass if I’m being lazy, but the edges aren’t as clean. Clean edges help the biscuits rise evenly.
- Mixer — For the whipped cream. Hand mixer or stand mixer. Whisking by hand is possible but tiring.
- Measuring cups and spoons — Pretty standard stuff. Dollar store versions work fine, but metal spoons are more durable.
- Spatula — For folding the dough. Silicone is best because it scrapes the bowl clean.
Tool Tips: Don’t have a biscuit cutter? Use a knife to cut squares. They won’t rise as high, but they taste the same. I’m obsessed with my parchment paper—it saves so much time on cleanup. And make sure your bowl for the whipped cream is cold. I learned this the hard way with a bowl of warm cream that never whipped.
How to Make It: Step-by-Step
Alright, let’s make this! I’m walking you through exactly how I do it, including the little tricks I’ve picked up over the years. This process is straightforward, but there are a few key moments where attention matters.
Step 1: Macerate the Strawberries (5 minutes + 30 minutes rest)
Wash and hull your strawberries. Hulling means removing the green tops. Slice them in half or quarters, depending on size. Place them in a bowl and toss with the sugar, lemon juice, and vanilla. Let them sit at room temperature for at least 30 minutes. This draws out the juices and creates a delicious syrup. Stir them once or twice during this time. While they sit, you can make the biscuits. The longer they sit, the more syrup they’ll produce.
Step 2: Mix the Dry Ingredients (2 minutes)
In your large bowl, whisk together the flour, baking powder, and salt. Make sure there are no clumps of baking powder. If you see any, break them up with your fingers. This ensures even rising. I usually do this while the strawberries are macerating to save time.
Step 3: Cut in the Butter (2 minutes)
Add the cold, cubed butter to the flour mixture. If you’re using a food processor, pulse until the mixture looks like coarse meal with some pea-sized butter pieces remaining. If you’re using a pastry cutter or fork, cut the butter in until you have a mixture that resembles coarse crumbs. You want visible pieces of butter—those create the flaky layers. Don’t overmix here. If the butter is all incorporated and smooth, your biscuits will be tough.
Step 4: Add the Cream (1 minute)
Make a well in the center of the flour-butter mixture. Pour in the heavy cream. Use a spatula to gently fold the cream into the flour. Stop as soon as the dough comes together. It will look shaggy and uneven. That’s okay. Overmixing develops gluten, which makes biscuits tough. You want them tender.
Step 5: Shape the Biscuits (3 minutes)
Turn the dough out onto a lightly floured surface. Pat it out to about ¾-inch thickness. Don’t roll it like a pie crust; pat it. Use your biscuit cutter to cut out circles. Dip the cutter in flour between cuts to prevent sticking. Gather the scraps and pat them out again to cut more biscuits. You should get about 8-10 biscuits. Place them on your prepared baking sheet, about 1 inch apart. They’ll spread as they bake.
Step 6: Bake (15-18 minutes)
Preheat your oven to 425°F (220°C). Place the biscuits in the oven and bake for 15-18 minutes, or until they are golden brown on top and cooked through. I rotate the pan halfway through for even browning. The biscuits should sound hollow when tapped on the bottom. If they sound dense, they need more time. Brush the tops with melted butter immediately after removing them from the oven.
Step 7: Whip the Cream (5 minutes)
While the biscuits bake, whip the cream. In a cold bowl, beat the heavy cream, confectioners’ sugar, and vanilla until stiff peaks form. Be careful not to overwhip, or it will turn into butter. Stop as soon as the peaks hold their shape.
Step 8: Assemble (5 minutes)
Once the biscuits are cool enough to handle (but still warm is best), split them in half horizontally. Place the bottom half on a plate, add a spoonful of macerated strawberries with plenty of syrup, a dollop of whipped cream, and more strawberries on top. Cap with the top half of the biscuit. Serve immediately.
Total Time: About 45 minutes (15 minutes active, 30 minutes resting, 15 minutes baking)
Expert Tips & Tricks
Here’s everything I’ve learned from making this dozens of times. These tips will save you from my mistakes.
Keep Everything Cold
This is the #1 rule for biscuits. Cold butter, cold cream, cold bowl. If your butter gets warm, it melts into the flour instead of creating steam pockets. I keep my butter in the freezer for 10 minutes before cutting it if my kitchen is warm. Same for the cream. If your dough feels warm while you’re shaping, put the whole bowl in the fridge for 10 minutes before baking.
Don’t Overwork the Dough
Handle the dough as little as possible. Overmixing leads to tough biscuits. When you fold in the cream, stop as soon as it comes together. When you pat it out, don’t knead it. Just pat. Think of it like handling a delicate baby bird—gentle touches only.
Use a Sharp Cutter
A dull biscuit cutter will seal the edges of the biscuit, preventing it from rising. Dip your cutter in flour between cuts to keep it clean. If you don’t have a cutter, use a knife to cut squares, but know that the edges won’t rise as high.
Macertate Properly
Don’t rush the strawberry maceration. Let them sit for at least 30 minutes. This is where the magic happens. The sugar draws out the juices, creating a natural syrup that soaks into the biscuit. If you’re short on time, you can cook the strawberries down on the stove for 5 minutes to speed it up, but the raw maceration tastes fresher.
Common Mistakes (and how to avoid them):
- Mistake: Biscuits are flat. Fix: Your baking powder might be old, or your butter was too warm. Use fresh baking powder and cold butter.
- Mistake: Biscuits are tough. Fix: You overmixed the dough. Handle it less next time.
- Mistake: Strawberries are watery. Fix: You didn’t macerate them long enough, or your berries were underripe. Use ripe berries and give them time.
Pro Tricks I’ve Learned:
- For Extra Flavor Add a pinch of cardamom or nutmeg to the biscuit dough. It adds a warm, spiced note that pairs beautifully with strawberries.
- For Better Texture Brush the tops of the biscuits with buttermilk before baking instead of cream. It gives them a slightly crispier crust.
- Make-Ahead Strategy You can macerate the strawberries up to 4 hours ahead and store in the fridge. Bake the biscuits ahead and reheat in a 350°F oven for 10 minutes. Assemble right before serving.
Variations & Substitutions
Once you’ve nailed the basic version, here’s how you can mix it up. I’ve tried all of these.
Rhubarb Strawberry Shortcake
Swap half the strawberries for chopped rhubarb. Rhubarb is tart, so you’ll need to add an extra tablespoon of sugar. Cook the rhubarb and strawberries together for 10 minutes before macerating. This is a classic spring combination.
Blueberry Lemon Shortcake
Use blueberries instead of strawberries. Add lemon zest to the biscuit dough and a splash of lemon juice to the berries. It’s bright and refreshing.
Chocolate Chip Biscuit Shortcake
Add ½ cup of chocolate chips to the biscuit dough. It’s like a dessert biscuit. Pairs well with strawberries or peaches. This is my favorite variation for kids.
Gluten-Free
Use a 1:1 gluten-free flour blend. Make sure it contains xanthan gum, or add ½ teaspoon. The texture will be slightly different but still delicious.
Dairy-Free
Use vegan butter (very cold) and coconut cream for the whipped cream. The flavor will be slightly coconutty, but it works well with strawberries. For the biscuits, use oat milk instead of heavy cream.
Lower-Sugar
Reduce the sugar in the biscuit dough to 1 tablespoon. Use unsweetened almond milk instead of heavy cream. For the strawberries, use a sugar substitute like erythritol or monk fruit. It’s less sweet but still tasty.
Serving & Storage
How to Serve: I usually serve this straight on plates at the dinner table. It looks rustic and stays warm. But here are other ways I’ve enjoyed it:
- Trifle Style: Layer broken biscuit pieces, strawberries, and whipped cream in a glass. Great for parties.
- Sundae Style: Serve a biscuit half in a bowl, top with strawberries and whipped cream, and drizzle with chocolate sauce. It’s like an ice cream sundae but with biscuits.
Side Dishes: This dessert is rich, so I usually serve it with just coffee or tea. But if you want a side, a simple green salad with a light vinaigrette can balance the meal.
Storage Instructions:
- Refrigerator: Store the macerated strawberries in an airtight container for up to 3 days. The biscuits keep at room temperature for 1 day, or in the fridge for 2 days. Reheat biscuits in a toaster oven to crisp them up.
- Freezing: You can freeze the unbaked biscuit dough. Shape the biscuits, place them on a baking sheet, and freeze until solid. Then transfer to a freezer bag. Bake from frozen, adding 2-3 minutes to the baking time. The macerated strawberries don’t freeze well because they become watery. Make them fresh.
Pro tip: If you have leftover whipped cream, you can freeze it in ice cube trays and use it to flavor coffee or hot chocolate later.
Nutrition Information
I’m not a nutritionist, but here’s the breakdown if you’re tracking. This is a treat, so enjoy it guilt-free.
Per Serving (based on 4 servings):
- Calories: 380
- Protein: 6g
- Carbs: 45g
- Fiber: 3g
- Sugar: 22g
- Fat: 18g
- Saturated Fat: 11g
- Cholesterol: 50mg
- Sodium: 280mg
What’s Good: It provides some calcium from the dairy and vitamins from the strawberries. The fiber from the fruit helps with digestion.
What to Know: It’s higher in sugar and fat due to the cream, butter, and sugar. If you’re watching your intake, use the lighter variations I mentioned above.
My Take: Look, this is dessert. It’s meant to be indulgent. It’s way better than store-bought shortcake, which is often dry and flavorless. When I want to make it lighter, I use less cream and more fruit. But usually? I just eat a reasonable portion and enjoy it.
Final Thoughts
So that’s my classic strawberry shortcake! I’ve probably talked your ear off at this point, but when you make a recipe this often, you have a lot to say about it. This has saved summer dinners more times than I can count. It’s my answer to “what’s for dessert” when I want something fresh, light, and delicious. My kids are happy, my husband’s happy, and I’m happy because I’m not stressed about cooking.
Make it yours! Try different add-ins, swap in your favorite berries, adjust the sweetness. The best recipes are the ones you adapt to your family’s tastes. If you make this, drop a comment and let me know what you think! I love hearing how recipes turn out in your kitchen. And if something doesn’t work, tell me that too—I’m here to help troubleshoot.
Happy cooking! And I hope your kitchen smells half as good as mine does right now.
Frequently Asked Questions
Can I use frozen strawberries?
Yes, you can, but they’ll be softer and release more water. Thaw them first, then drain the excess liquid before macerating. You might need to add a little extra sugar since frozen berries are often less sweet than fresh ones. I’ve used frozen berries in winter, and they work fine, but fresh is always better if you can get it.
Why did my biscuits turn out flat?
This usually happens for two reasons: the baking powder was old, or the butter was too warm. Make sure your baking powder is fresh (check the date). Also, keep your butter cold. If the butter melts into the flour before baking, you won’t get those flaky layers. Another common mistake is overworking the dough, which develops gluten and makes the biscuits dense. Handle the dough gently.
Can I make the biscuits ahead?
Yes! You can bake the biscuits up to 2 days ahead. Store them in an airtight container at room temperature. Reheat them in a 350°F oven for 10 minutes to crisp them up. You can also freeze the unbaked dough. Shape the biscuits, freeze them on a baking sheet, then transfer to a bag. Bake from frozen, adding 2-3 minutes to the baking time.
Why did my strawberries turn out watery?
Strawberries release water naturally when sugar is added. This is normal. If you want less water, macerate them for a shorter time, or cook them down on the stove for 5-10 minutes to reduce the liquid. You can also strain the syrup and use it as a sauce elsewhere. The key is to balance the syrup with the biscuit’s ability to absorb it.
Can I substitute heavy cream for buttermilk in the biscuits?
Yes, heavy cream works great and makes richer biscuits. Buttermilk makes them tangier and slightly lighter. If you use buttermilk, you might need to add a little more flour if the dough is too wet. I prefer heavy cream for this recipe because it adds a luxurious richness that pairs well with the strawberries.
How do I store leftover whipped cream?
Whipped cream doesn’t store well. It will deflate and separate after a few hours. It’s best to whip it fresh right before serving. If you must make it ahead, whip it until it’s just starting to form peaks, then store it in the fridge. Whip it again briefly before serving. Don’t store it for more than a few hours.
Pin This Recipe!
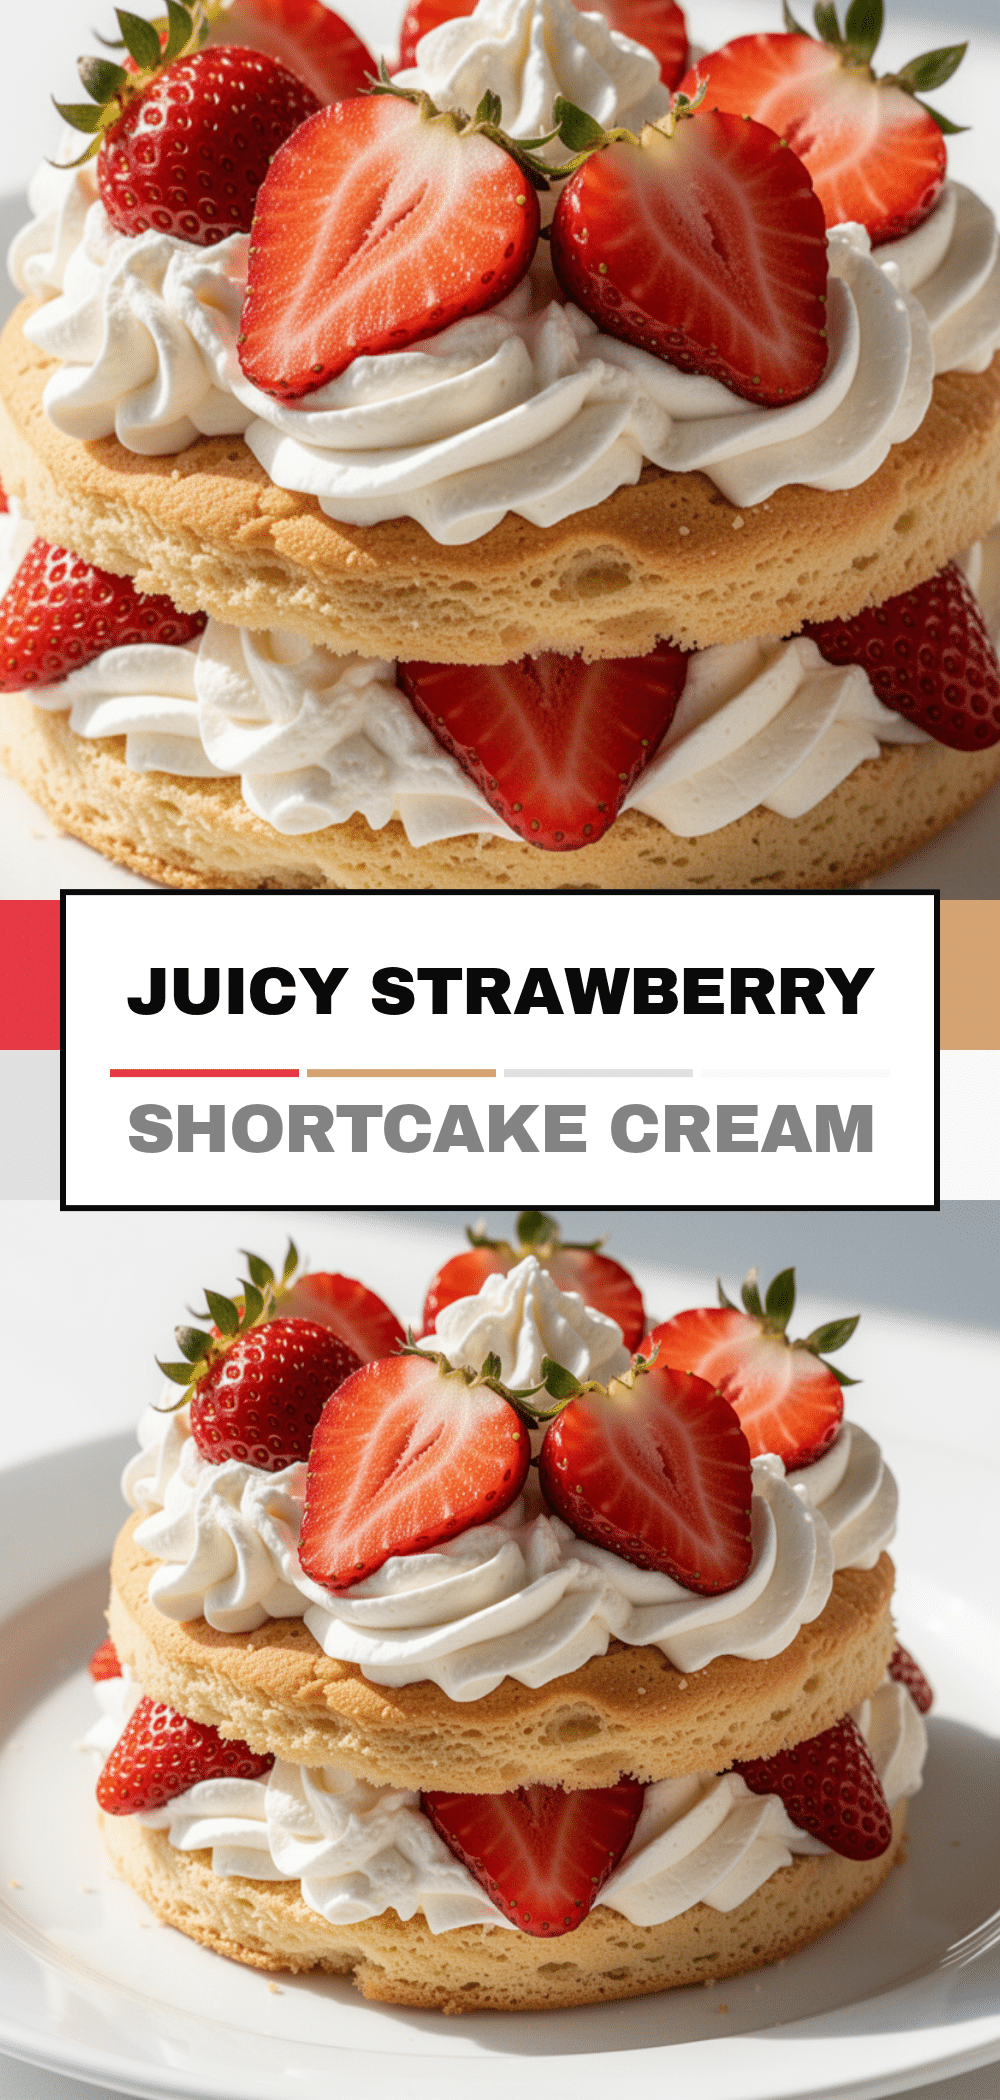
Classic Strawberry Shortcake: Best Easy Summer Dessert
- Total Time: 45 minutes
- Yield: 4 servings 1x
Description
A nostalgic and easy summer dessert featuring macerated strawberries with a natural syrup, served with light, buttery biscuits and fresh whipped cream. This recipe is simple, versatile, and perfect for using up seasonal berries.
Ingredients
- 1.5 pounds fresh strawberries, hulled and sliced
- 2–3 tablespoons granulated sugar
- 1 teaspoon lemon juice
- ½ teaspoon vanilla extract
- 2 cups all-purpose flour
- 1 tablespoon baking powder
- ½ teaspoon salt
- ½ cup unsalted butter, very cold and cubed
- ½ cup heavy cream, cold
- 2 tablespoons unsalted butter, melted (for brushing)
- 1 cup heavy whipping cream, very cold
- 2 tablespoons confectioners’ sugar
- 1 teaspoon vanilla extract
Instructions
- Wash and hull strawberries. Slice them and toss with sugar, lemon juice, and vanilla. Let sit at room temperature for at least 30 minutes to macerate.
- Preheat oven to 425°F (220°C). Line a baking sheet with parchment paper.
- In a large bowl, whisk together flour, baking powder, and salt.
- Add cold cubed butter to the flour mixture. Use a pastry cutter, food processor, or fork to cut in the butter until the mixture resembles coarse crumbs with pea-sized butter pieces.
- Make a well in the center and pour in heavy cream. Gently fold with a spatula until the dough just comes together; do not overmix.
- Turn dough onto a lightly floured surface and pat to ¾-inch thickness. Cut out circles with a 2.5-inch biscuit cutter. Place biscuits 1 inch apart on the baking sheet.
- Bake for 15-18 minutes until golden brown. Rotate pan halfway through. Brush tops with melted butter immediately upon removal.
- While biscuits bake, whip heavy cream, confectioners’ sugar, and vanilla until stiff peaks form.
- Split warm biscuits in half. Assemble by placing bottom half on plate, adding macerated strawberries with syrup, whipped cream, and more strawberries. Top with biscuit half and serve immediately.
Notes
Keep all ingredients for the biscuits (butter, cream, bowl) very cold to ensure flaky layers. Do not overwork the dough to avoid tough biscuits. Macerate strawberries for at least 30 minutes to create syrup. Biscuits can be made ahead and reheated; strawberries should be made fresh.
- Prep Time: 15 minutes
- Cook Time: 15 minutes
- Category: Dessert
- Cuisine: American
Nutrition
- Serving Size: 1 biscuit half with
- Calories: 380
- Sugar: 22
- Sodium: 280
- Fat: 18
- Saturated Fat: 11
- Carbohydrates: 45
- Fiber: 3
- Protein: 6
Keywords: strawberry shortcake, summer dessert, biscuits, easy dessert, seasonal recipes, macerated strawberries, homemade whipped cream


