It was July, the kind of July where the heat radiates off the asphalt so intensely you can actually see it shimmering in the air. I had just come from a family barbecue where the only thing cooler than the breeze was the ice cream my cousin had brought—a store-bought tub that tasted like sugar and regret. I went home, opened my freezer, and stared at the empty ice cream maker sitting in the back of the cabinet like a guilty secret. I hadn’t used it in three years because cleaning it is a nightmare, and churning ice cream is a lot of work when you’re trying to survive 95-degree weather.
That’s when I stumbled on the idea of no-churn ice cream. I was skeptical. I’ve always believed that real ice cream needs that churning process to incorporate air and prevent ice crystals. But desperate times call for desperate measures. I grabbed a can of sweetened condensed milk, a carton of heavy cream, and a jar of caramel sauce from my pantry. I whipped them together, poured the mixture into a loaf pan, and shoved it into the freezer. I didn’t check on it for six hours. I just went back to reading my book, sweating through my shirt, and ignoring the fact that I was making a dessert without a freezer-safe bowl.
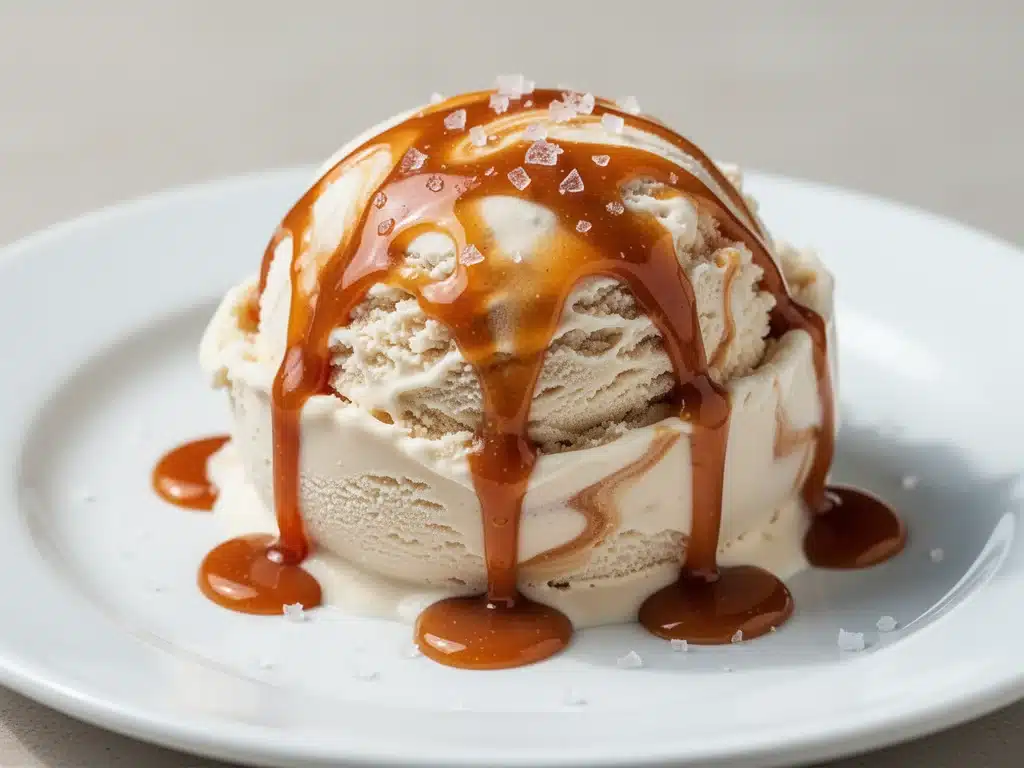
When I finally dug a spoon in, the texture was impossibly smooth. Creamy. Rich. And that salted caramel swirl? It was like liquid gold. It wasn’t just good for “no-churn” ice cream; it was just really, really good ice cream. I made it again the next weekend for a last-minute dinner party. By the time dessert was served, my guests were asking for the recipe before they’d even finished their second scoop. That was two summers ago. Now, this no-churn salted caramel ice cream is my go-to when I need a dessert that looks fancy but takes zero effort. It’s become my answer to “what’s for dessert” when I don’t want to bake, don’t want to turn on the oven, and definitely don’t want to deal with an ice cream maker.
Why You’ll Love This No-Churn Salted Caramel Ice Cream
There are a lot of reasons I keep coming back to this recipe, but they all boil down to one thing: it removes all the friction from making homemade ice cream. Here’s why this specific version has earned a permanent spot in my freezer rotation.
- Zero Special Equipment Needed — Seriously, if you have a hand mixer (or even a whisk and some elbow grease), you can make this. No ice cream machine, no special bowls, no freezing overnight. Just a loaf pan and a whisk.
- Stupid Simple Ingredients — You probably have half of this already. Sweetened condensed milk, heavy cream, vanilla, and caramel sauce. That’s it. No obscure ingredients from a specialty store.
- Ready in 6 Hours (Not Days) — Most ice cream recipes want you to plan ahead for 24 hours. This one needs about 6 hours to set. I can make it in the morning and serve it for dinner. Or make it at 4pm and have it ready for a spontaneous evening treat.
- Texture That Beats Store-Bought — I know what you’re thinking: “No-churn ice cream is always icy.” Not this one. The sweetened condensed milk acts as the antifreeze, keeping the sugar dissolved and the texture velvety. It’s rich and dense, not watery.
- Perfect for Leftovers — This makes a full loaf pan’s worth. I deliberately make extra because the leftovers taste even better the next day as the flavors meld. It’s my secret weapon for unexpected guests.
- Cost-Effective — Making ice cream at home usually feels expensive because you buy fancy add-ins. Here, you’re using pantry staples. It costs less than $5 to make a tub that would cost $8 at the grocery store.
This is my go-to when I need dessert to just work. No complicated techniques, no weird equipment, just reliable, delicious food that makes everyone happy. It pairs perfectly with other easy summer desserts, like my neapolitan ice cream cake, if you want to level up for a party.
Ingredients You’ll Need
Here’s the best part: you probably have most of this already in your pantry or fridge. I’m particular about three ingredients here, and I’ll tell you exactly why they matter. This isn’t just a list; it’s your roadmap to success.
For the Base
Heavy whipping cream (2 cups / 480ml) — This is non-negotiable. You need full-fat heavy cream with at least 35% milk fat. Light cream or half-and-half won’t whip up properly, and your ice cream will be icy. I use the kind that comes in the carton, not the butter-fat-only cans. It whips faster and creates a lighter texture.
Sweetened condensed milk (1 can / 14oz or 397g) — Do not substitute with evaporated milk. Evaporated milk is unsweetened and will make your ice cream taste like plain frozen cream. Sweetened condensed milk is thick, sugary, and crucial for the smooth texture. Keep the can refrigerated until you use it—it’s easier to mix when it’s cold.
Vanilla extract (2 teaspoons) — Use real vanilla extract, not imitation. The flavor needs to stand up to the richness of the cream and caramel. I use pure Madagascar vanilla because it has those tiny black specks that look pretty and taste amazing. If you’re in a pinch, vanilla bean paste works too.
For the Swirl
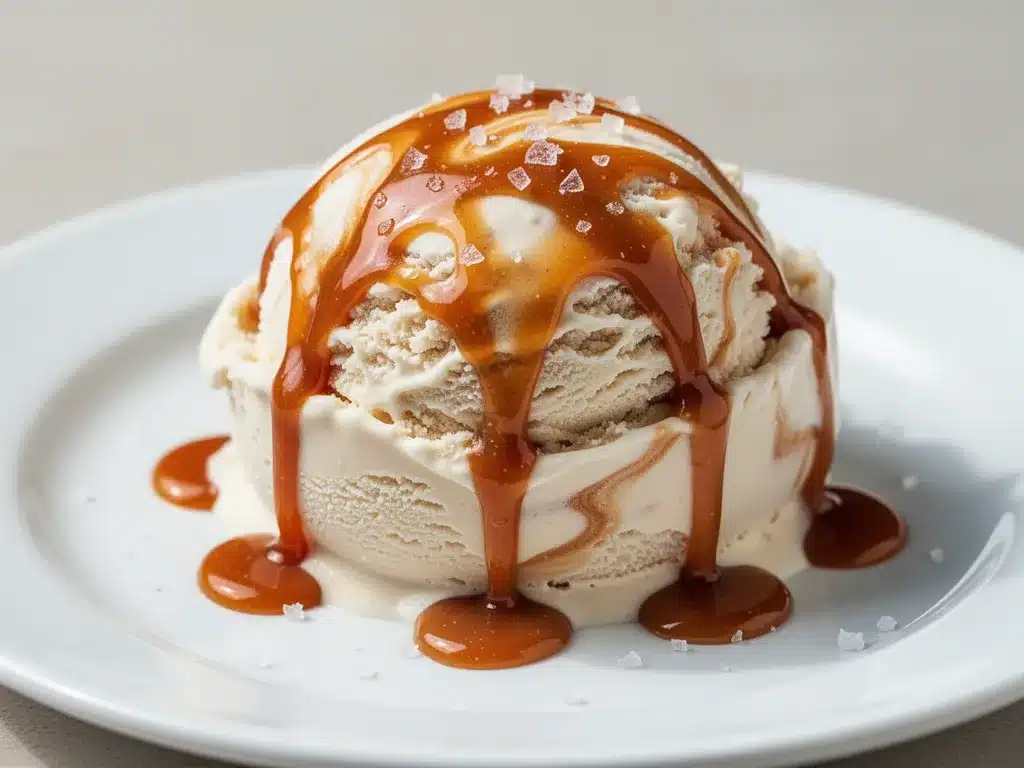
Caramel sauce (1 cup / 240ml) — This is where you get to choose your adventure. I prefer a thick, gooey caramel sauce over a thin syrup. Store-bought is fine (I like the ones in the glass jars with the twist lids), but homemade is better if you have time. The key is thickness—if it’s too runny, it’ll freeze into hard caramel rocks instead of soft swirls.
Flaky sea salt (1 teaspoon) — This is the “salted” part. Flaky salt like Maldon is perfect because it adds texture and bursts of saltiness. If you only have kosher salt or table salt, use half the amount. You want to taste the salt, not be overwhelmed by it.
Optional Add-ins
Toffee bits (½ cup) — For extra crunch, sprinkle in some toffee bits. It’s like a Snickers bar in ice cream form. I buy them pre-made to save time, but crushed caramel candies work too.
Chocolate chips (½ cup) — If you want a salted caramel chocolate chip version, add semi-sweet chocolate chips. They add a nice contrast to the sweet caramel.
Fresh berries (½ cup) — For a fruity twist, fold in fresh strawberries or raspberries. Just make sure they’re dry, or they’ll make the ice cream icy.
Equipment Needed
You don’t need fancy equipment for this. Here’s what I actually use.
Large mixing bowl — I use a 4-quart stainless steel bowl. It needs to be big enough to hold the whipped cream without splattering. Glass works too, but metal stays colder.
Electric hand mixer — This makes whipping the cream so much easier. Two minutes vs. twenty minutes of arm fatigue. But if you don’t have one, a whisk works. Just be prepared to work.
Loaf pan — A standard 9×5 inch loaf pan is perfect. It’s the right size for the volume of ice cream. Line it with parchment paper for easy removal later.
Parchment paper — Essential for lining the pan. It prevents sticking and makes it easier to lift the ice cream out if you want to slice it.
Spatula — A silicone spatula is best for folding. It gets all the cream out of the bowl and helps mix the caramel without deflating the whipped cream.
Knife — For drizzling the caramel. You can also use a squeeze bottle for more control.
Measuring cups and spoons — Standard stuff. Accurate measurements matter here because the ratio of sugar to fat is delicate.
How to Make It: Step-by-Step
Alright, let’s make this! I’m walking you through exactly how I do it, including the little tricks I’ve picked up over the years.
Step 1: Prep Your Pan (2 minutes)
Line your 9×5 inch loaf pan with parchment paper. Leave some overhang on the long sides so you can lift the ice cream out later if you want. I usually just leave it in the pan for serving, but the parchment makes cleanup easier if you want to slice it neatly.
Step 2: Whip the Cream (3-4 minutes)
Pour the cold heavy whipping cream into your large mixing bowl. Using an electric hand mixer on medium-high speed, whip the cream until it forms stiff peaks. This means when you lift the beaters, the cream stands up straight and doesn’t droop. Be careful not to over-whip it into butter! It should look like thick, glossy whipped cream. If you’re using a whisk, this will take about 10-15 minutes of vigorous stirring.
Step 3: Mix the Condensed Milk (1 minute)
In a separate medium bowl, stir the sweetened condensed milk and vanilla extract together until well combined. It’s thick and syrupy, so stir it thoroughly to ensure the vanilla is evenly distributed.
Step 4: Fold the Mixtures Together (2 minutes)
Gently fold the condensed milk mixture into the whipped cream. Use a spatula and cut down through the center, sweep along the bottom, and fold over the top. Rotate the bowl and repeat. You want to combine them completely without deflating the air you just whipped into the cream. The mixture should look uniform and fluffy. If you see streaks of white cream, keep folding gently.
Step 5: Add the Caramel Swirls (3 minutes)
This is the fun part. Take about half of the ice cream mixture and spread it into the prepared loaf pan. Smooth the top with your spatula. Drizzle half of the caramel sauce over the top in a zigzag pattern. Sprinkle half of the flaky sea salt over the caramel. Add the remaining ice cream mixture on top and smooth it out. Drizzle the remaining caramel sauce and sprinkle the remaining salt. Use a knife or skewer to gently swirl the caramel into the ice cream. Don’t over-mix; you want visible ribbons of caramel, not a uniform brown color.
Step 6: Freeze (6 hours minimum)
Cover the loaf pan tightly with plastic wrap or a lid. Place it in the freezer for at least 6 hours, or overnight. The longer it freezes, the firmer it gets. I usually freeze it overnight so it’s ready whenever I need it.
Step 7: Serve
Let the ice cream sit at room temperature for 5-10 minutes before scooping. This makes it easier to get nice scoops. Serve in bowls or cones with extra caramel drizzle on top. Enjoy!
Expert Tips & Tricks
Here’s everything I’ve learned from making this dozens of times. These tips will save you from my mistakes.
- Cold Cream is Key — Make sure your heavy cream is ice-cold before whipping. If it’s warm, it won’t whip up properly. I keep my cream in the fridge until the last minute. If you’re in a hurry, put the bowl and beaters in the freezer for 15 minutes before whipping.
- Don’t Over-Fold — When combining the cream and condensed milk, be gentle. Over-mixing deflates the air, resulting in dense, icy ice cream. Fold just until combined.
- Thick Caramel Only — If your caramel sauce is too thin, it will freeze into hard shards. If you’re using homemade caramel, let it cool completely and thicken before using. Store-bought caramel sauce is usually thick enough, but check the consistency.
- Salt Distribution — Sprinkle the flaky salt over the caramel, not directly into the ice cream. This ensures you get bursts of saltiness with each bite, rather than a uniform salty flavor.
- Softening Before Serving — Ice cream straight from the freezer is hard as a rock. Let it sit on the counter for 5-10 minutes before scooping. This makes it much easier to serve and enjoy.
Variations & Substitutions
Once you’ve nailed the basic version, here’s how you can mix it up. I’ve tried all of these.
- Chocolate Salted Caramel — Add ½ cup of cocoa powder to the condensed milk mixture before folding. It’s like a salty fudge brownie in ice cream form.
- Peanut Butter Swirl — Swap half the caramel for peanut butter. Drizzle peanut butter over the ice cream layers for a salty-sweet combo.
- Strawberry Salted Caramel — Add ½ cup of mashed fresh strawberries to the ice cream base before folding. It adds a fruity tang that cuts through the richness.
- Coffee Salted Caramel — Add 1 tablespoon of instant espresso powder to the condensed milk. It enhances the caramel flavor and adds a subtle coffee note.
- Gluten-Free — This recipe is naturally gluten-free, as long as your caramel sauce and vanilla extract are gluten-free. Check labels if you’re sensitive.
- Dairy-Free — This is harder to make dairy-free because sweetened condensed milk is key. You can use coconut cream and a dairy-free condensed milk alternative, but the texture will be different. I haven’t tested this extensively, so proceed with caution.
Serving & Storage
I usually serve this straight from the loaf pan at the dinner table—it looks rustic and stays cold. But here are other ways I’ve enjoyed it:
Side Dishes
- Grilled peaches or berries (the heat contrasts nicely with the cold ice cream)
- Shortbread cookies (for dipping)
- Warm brownies (classic combo)
- Fresh fruit salad (light and refreshing)
Storage Instructions
Refrigerator: Ice cream doesn’t store well in the fridge. It will melt. Keep it in the freezer.
Freezer: Store in the freezer for up to 2 weeks. Cover tightly with plastic wrap and then a lid to prevent freezer burn. It will last longer, but the quality starts to degrade after 2 weeks.
Reheating: No reheating needed. Just let it soften at room temperature for 5-10 minutes before serving.
Meal Prep: Make this on Sunday for the week ahead. It’s perfect for prepping desserts in advance. I make a batch every two weeks and keep it in the freezer for spontaneous treats.
Pro tip: If you’re serving a crowd, make two loaves. One for serving, one for backup. You’ll thank me later.
Nutrition Information
I’m not a nutritionist, but here’s the breakdown if you’re tracking.
Per Serving (based on 8 servings):
- Calories: 320
- Protein: 4g
- Carbs: 35g
- Fiber: 0g
- Sugar: 32g
- Fat: 18g
- Saturated Fat: 11g
- Cholesterol: 60mg
- Sodium: 120mg
- Calcium: 100mg
What’s Good:
- Rich and creamy texture
- Easy to make
- Can be customized with add-ins
What to Know:
- High in sugar and calories
- Contains dairy
- Not suitable for vegan or dairy-free diets (without modifications)
Look, this is dessert. It’s sweet, rich, and indulgent. It’s not a health food. But it’s way better than store-bought, and you know exactly what’s in it. When I want to make it lighter, I use less caramel and add more fruit. But usually? I just enjoy a reasonable portion and savor every bite.
Final Thoughts
So that’s my no-churn salted caramel ice cream! I’ve probably talked your ear off at this point, but when you make a recipe this often, you have a lot to say about it. This has saved summer evenings more times than I can count. It’s my answer to “what’s for dessert” when I’m tired, don’t want to bake, and still want something that tastes really good. My kids are happy, my husband’s happy, and I’m happy because I’m not stressed about cooking.
Make it yours! Try different add-ins, swap in your favorite sauces, adjust the salt. The best recipes are the ones you adapt to your family’s tastes. If you make this, drop a comment and let me know what you think! I love hearing how recipes turn out in your kitchen. And if something doesn’t work, tell me that too—I’m here to help troubleshoot.
Happy cooking! And I hope your kitchen smells half as good as mine does right now.
Frequently Asked Questions
Q: Can I use light cream instead of heavy cream?
A: You can, but the ice cream will be icy and dense. Light cream doesn’t have enough fat to whip up properly, so you won’t get that airy texture. Stick with heavy cream for the best results.
Q: Why did my ice cream turn out icy?
A: Usually means you didn’t whip the cream enough, or you over-mixed it when folding in the condensed milk. Make sure you whip the cream to stiff peaks and fold gently to keep the air in.
Q: Can I make this ahead for a party?
A: Absolutely! Make it up to 2 weeks ahead and store in the freezer. Let it soften at room temperature for 10 minutes before serving. It’s perfect for meal prepping desserts.
Q: Can I use homemade caramel sauce?
A: Yes, but make sure it’s thick and cooled completely. Thin caramel will freeze into hard rocks. If your homemade caramel is too thin, cook it down longer to reduce it.
Q: How do I store leftovers?
A: Cover tightly with plastic wrap and a lid. Store in the freezer for up to 2 weeks. It will last longer, but the quality starts to degrade after 2 weeks.
Q: Can I add mix-ins like chocolate chips?
A: Yes! Fold them in after combining the cream and condensed milk, before spreading it into the pan. Add-ins like toffee bits, chocolate chips, or nuts work great.
Q: Is this recipe gluten-free?
A: Yes, it’s naturally gluten-free, as long as your caramel sauce and vanilla extract are gluten-free. Check labels if you’re sensitive.
Pin This Recipe!
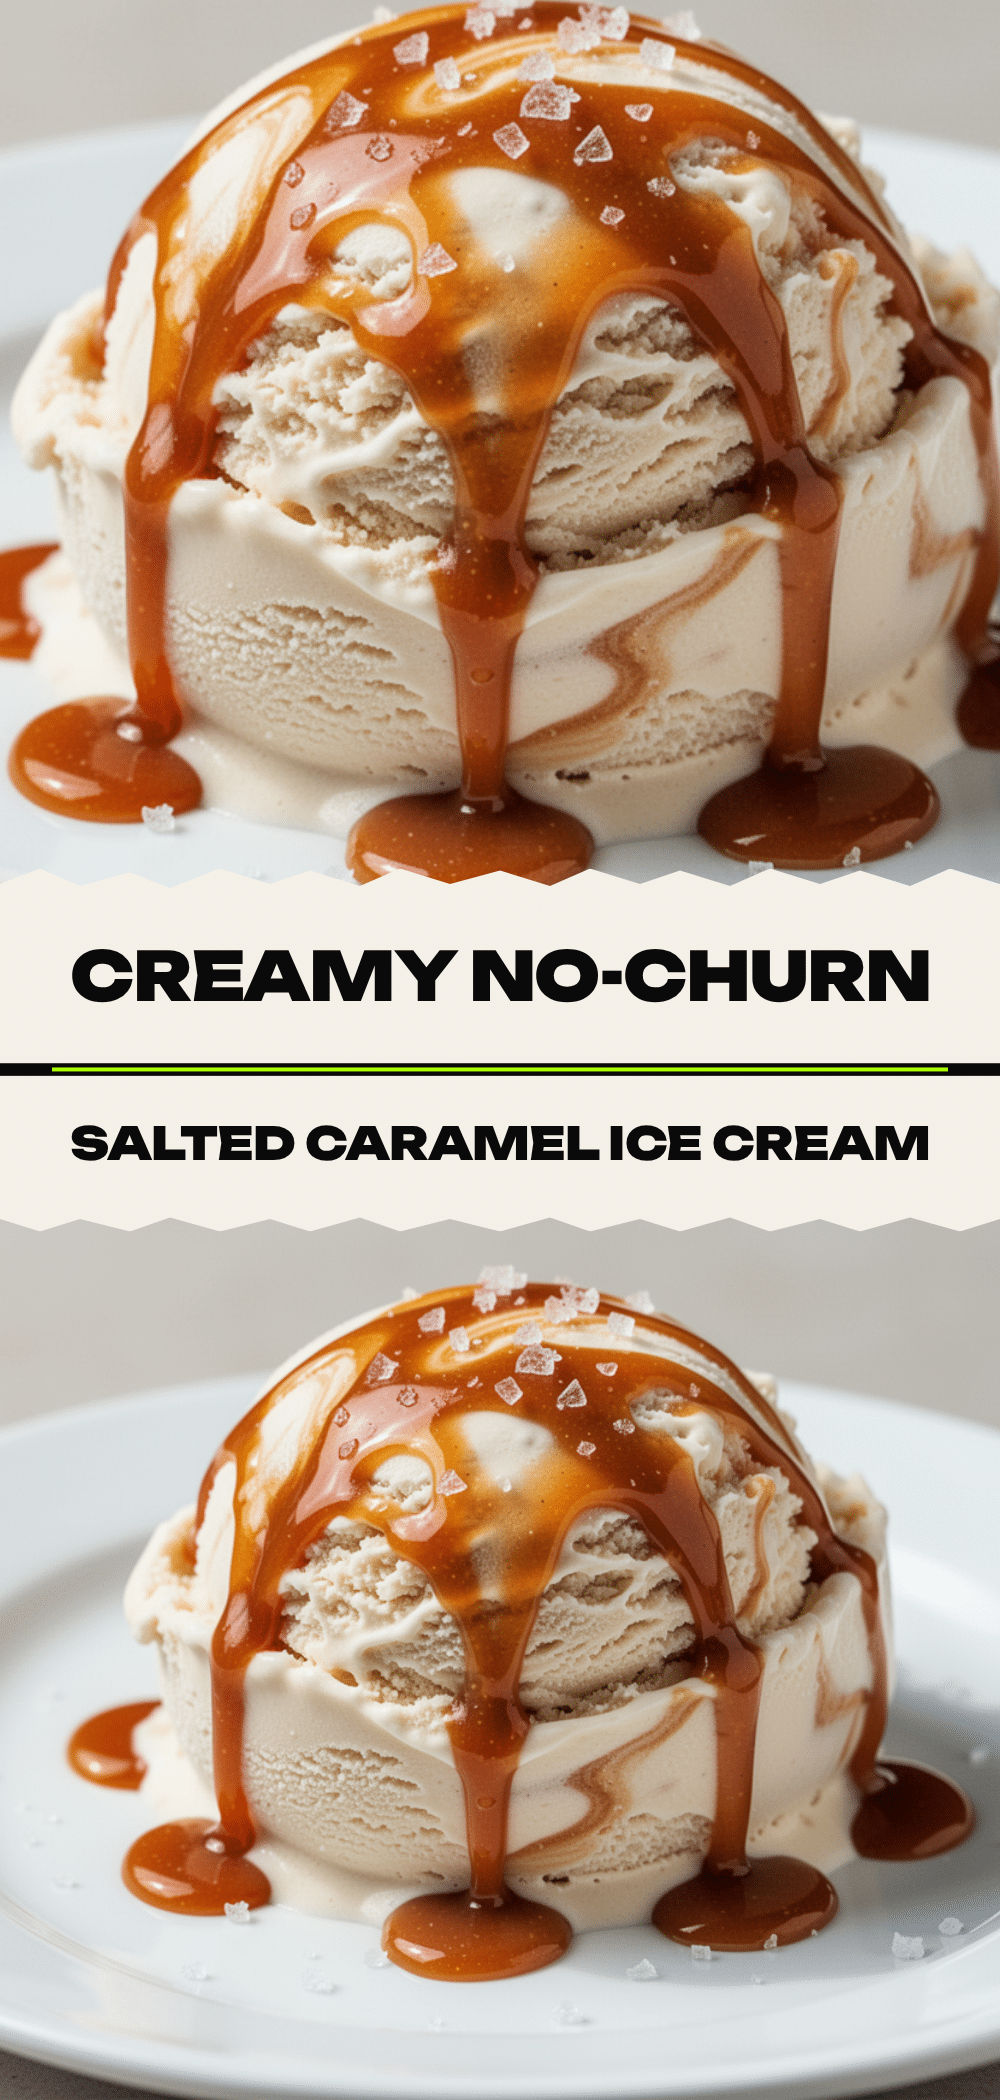

No-Churn Salted Caramel Ice Cream: 3-Ingredient Easy Summer Dessert
- Total Time: 6 hours 10 minutes
- Yield: 8 servings 1x
Description
A rich, creamy, and easy no-churn salted caramel ice cream that requires no ice cream maker. Made with just a few pantry staples, this dessert is ready in 6 hours and offers a smooth texture that rivals store-bought options.
Ingredients
- 2 cups heavy whipping cream (cold, at least 35% milk fat)
- 1 can (14oz / 397g) sweetened condensed milk
- 2 teaspoons pure vanilla extract
- 1 cup thick caramel sauce
- 1 teaspoon flaky sea salt (e.g., Maldon)
- Optional: ½ cup toffee bits, ½ cup semi-sweet chocolate chips, or ½ cup fresh berries
Instructions
- Line a 9×5 inch loaf pan with parchment paper, leaving an overhang on the long sides for easy removal.
- Pour the cold heavy whipping cream into a large mixing bowl. Using an electric hand mixer on medium-high speed, whip until stiff peaks form (about 2-4 minutes). Do not over-whip into butter.
- In a separate medium bowl, stir the sweetened condensed milk and vanilla extract together until well combined.
- Gently fold the condensed milk mixture into the whipped cream using a spatula. Cut down through the center, sweep along the bottom, and fold over the top until uniform and fluffy. Avoid deflating the air.
- Spread half of the ice cream mixture into the prepared loaf pan. Drizzle half of the caramel sauce over the top in a zigzag pattern and sprinkle with half of the flaky sea salt.
- Add the remaining ice cream mixture on top and smooth it out. Drizzle the remaining caramel sauce and sprinkle the remaining salt.
- Use a knife or skewer to gently swirl the caramel into the ice cream to create ribbons. Do not over-mix.
- Cover the loaf pan tightly with plastic wrap or a lid. Freeze for at least 6 hours or overnight until firm.
- Before serving, let the ice cream sit at room temperature for 5-10 minutes to soften slightly for easier scooping. Serve with extra caramel drizzle if desired.
Notes
Ensure the heavy cream is ice-cold before whipping for best results. Use thick caramel sauce; thin sauce will freeze into hard shards. If using kosher or table salt instead of flaky salt, use half the amount. This recipe is naturally gluten-free if your caramel and vanilla are certified gluten-free. For dairy-free version, substitute with coconut cream and dairy-free condensed milk, though texture may vary.
- Prep Time: 10 minutes
- Cook Time: 0 minutes
- Category: Dessert
- Cuisine: American
Nutrition
- Serving Size: 1 scoop (approx. 1/8
- Calories: 320
- Sugar: 32
- Sodium: 120
- Fat: 18
- Saturated Fat: 11
- Carbohydrates: 35
- Protein: 4
Keywords: no-churn ice cream, salted caramel ice cream, easy summer dessert, homemade ice cream without machine, 3 ingredient dessert, gluten-free dessert


