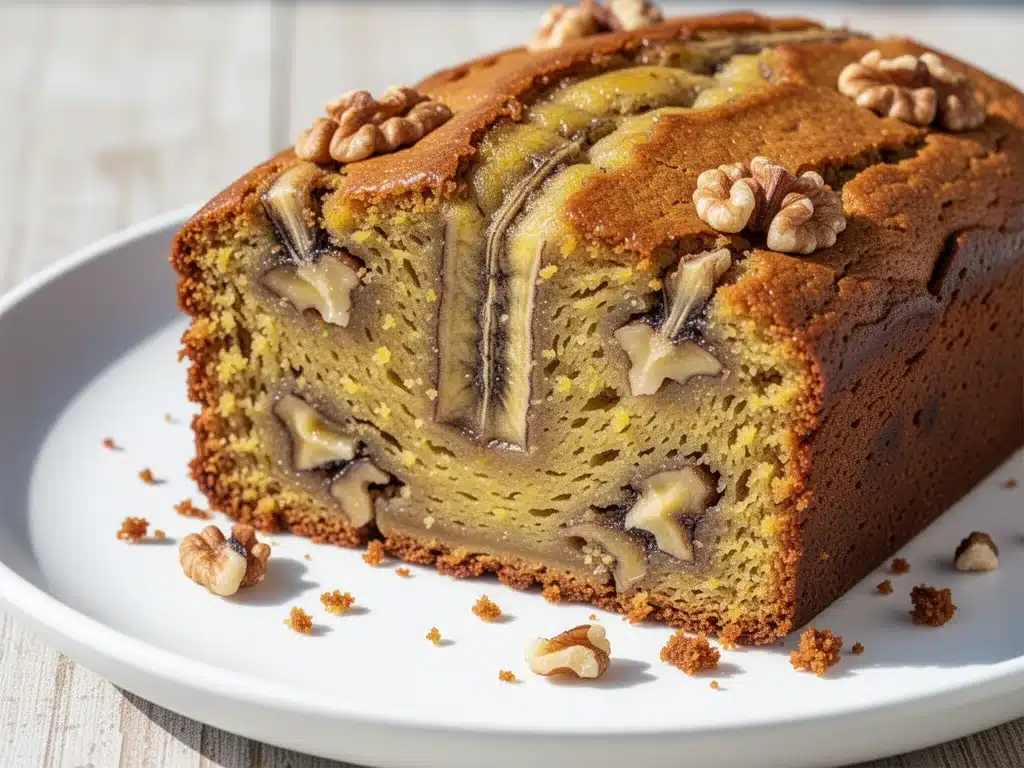
I’m not going to lie to you. For years, I was that person who bought the loaf of bread from the grocery store. You know the one. The one in the plastic bag that sits on the counter for three days, slowly turning into a science experiment. I told myself I was “too busy” to bake. I told myself I didn’t have the patience for measuring, mixing, and waiting for an oven to preheat.
Then came the Tuesday that changed everything.
I had a bag of bananas in my fruit bowl that had gone from “yellow with a few spots” to “black and soft enough to squeeze through a credit card slot.” I was staring at them, feeling that specific mix of guilt and laziness that comes with wasting food, when my daughter wandered in asking for breakfast. I didn’t have time for eggs. I didn’t have time for cereal. I had three black bananas and a bag of walnuts from a trail mix I’d been hoarding in the pantry.
I threw everything into a bowl. No fancy techniques. No creaming butter and sugar for twenty minutes. Just a whisk, a spoon, and a whole lot of hope. I baked it, walked away to answer a work email, and came back to the smell of caramelized sugar and toasted nuts filling the kitchen. My daughter took one bite and stopped talking. That’s the good kind of silence. The kind that means she’s too busy chewing to say anything.
That was the day I discovered that ultra-moist banana bread with walnuts isn’t just a breakfast option—it’s a rescue mission for bad mornings, overripe fruit, and hungry kids. It’s the most forgiving recipe I’ve ever made. If you overmix it, it’s still good. If you forget the walnuts, it’s still delicious. If you leave it in the oven five minutes too long, it’s still edible (though I’d recommend a glass of milk).
Since that Tuesday, I’ve made this loaf at least once a week. It’s become the backbone of our weekends, my go-to gift for neighbors, and my secret weapon when I need to feel like a “real” baker without actually trying hard. Today, I’m sharing the exact method I use. It’s simple, it’s reliable, and it produces a loaf that’s so moist, it’s almost like eating cake. And trust me, after testing this version dozens of times to get the texture just right, I know what I’m talking about.
Why You’ll Love This Banana Bread Recipe
There are a thousand banana bread recipes out there. Some are dry as dust. Some are so sweet they make your teeth hurt. Some require a stand mixer and a degree in chemistry. This one? It’s different. Here’s why this ultra-moist banana bread with walnuts has earned a permanent spot in my rotation:
- Zero Prep Hassle — Seriously, if you can mash a banana with a fork, you can make this. I’ve made this recipe while holding a baby, while watching TV, and while arguing with my husband about whose turn it is to do dishes. It’s that simple.
- Uses the “Trash” Bananas — This recipe is specifically designed for those bananas that are past their prime. The blacker they are, the sweeter and more flavorful your bread will be. It’s basically recycling at its finest.
- Actually Stays Moist — I’ve heard horror stories about banana bread drying out by Thursday. Not this one. Because of the extra fat from the walnuts and the careful mixing method, this loaf stays soft and tender for days. In fact, it often tastes better on day two.
- Perfect Texture Contrast — The walnuts aren’t just an afterthought. They add a crucial crunch that breaks up the soft crumb. It’s the difference between a good loaf and a great one. Plus, toasted walnuts smell incredible while they bake.
- One-Bowl Wonder — I hate doing dishes. This recipe requires one large mixing bowl, one whisk, one loaf pan, and a spatula. That’s it. Cleanup takes about two minutes. If that’s not efficient cooking, I don’t know what is.
- Freezer-Friendly — I often make two loaves at once. One for now, one for later. This bread freezes beautifully. I’ve thawed slices straight from the freezer in the microwave, and they taste freshly baked.
This isn’t just bread. It’s comfort. It’s easy. And it’s the kind of homemade treat that makes people ask, “Wait, you made this? I would never have thought to try that.”
Ingredients You’ll Need
Here’s the best part: you probably already have most of these ingredients in your kitchen right now. This isn’t a recipe that requires a special trip to the store for obscure items. It’s built on pantry staples and that one bag of bananas hiding in your fruit bowl.
The Wet Stuff
Ripe bananas (3 large / about 1.5 cups mashed) — This is the star. Do not use yellow bananas. I mean it. They need to be spotty, brown, or even black. The more brown the peel, the more sugar has converted, and the more intense the banana flavor will be. If they’re small, use four. Mash them until they’re mostly liquid with some lumps.
Butter (1/3 cup / 75g, melted) — Unsalted is best so you can control the saltiness. Melt it in the microwave or a small saucepan. Let it cool for a minute so it doesn’t cook the eggs when you mix them in. I’ve used oil before, but butter gives it that rich, bakery-style taste. You’ll notice the difference.
Granulated sugar (3/4 cup / 150g) — Yes, it’s sweet. But the bananas are tart, so you need the balance. Don’t reduce the sugar too much or you’ll lose that nice crust on top. If you prefer less sweet, you can drop it to 2/3 cup, but the texture might be slightly denser.
Brown sugar (1/4 cup / 50g) — This adds moisture and a hint of caramel flavor. It’s the secret to that “ultra-moist” texture. Don’t skip it for white sugar alone. It makes a huge difference.
Large egg (1 room temperature) — One egg binds everything together. Room temp is better because it emulsifies with the butter and sugar more easily, creating a smoother batter. Cold eggs can cause the butter to seize up a bit.
Vanilla extract (1 teaspoon) — Pure vanilla, please. I know it’s expensive, but artificial vanilla tastes chemical in baked goods. A little bit goes a long way.
The Dry Stuff
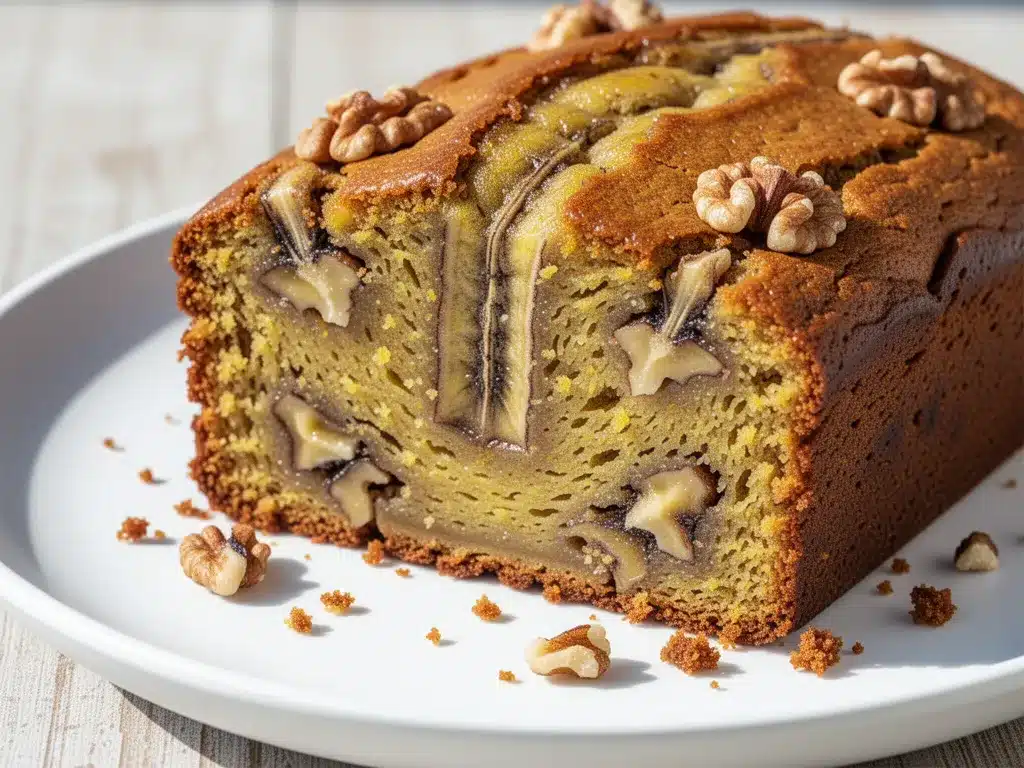
All-purpose flour (1 1/2 cups / 190g) — Standard flour works perfectly. Don’t bother with cake flour or bread flour here. All-purpose gives the right structure. Sift it if you have a sifter, otherwise just whisk it to aerate it.
Baking soda (1 teaspoon) — This reacts with the acidic bananas to help the bread rise. Make sure it’s not old! If your baking soda is more than six months old, it might not work. Test it by dropping a little in vinegar—if it fizzes, you’re good.
Baking powder (1/2 teaspoon) — A little extra lift to ensure a tall, beautiful loaf.
Salt (1/2 teaspoon) — Essential. It enhances the sweetness and balances the flavor. Never skip salt in baking.
The Mix-Ins
Walnuts (1 cup / 100g, chopped) — Toasting them first is optional but highly recommended. It brings out their nutty oils and makes them crispier. Chop them into small-to-medium pieces. You want bits in every bite, not giant chunks.
Dark chocolate chips (1/2 cup / optional) — I like to add these sometimes. It turns it into a dessert-style loaf. But if you want it to be a true breakfast bread, skip the chocolate. The vanilla and walnut combo is strong enough on its own.
Equipment Needed
You don’t need a fancy kitchen for this. Here’s what I actually use:
Large mixing bowl — I use a 4-quart bowl. It needs to be big enough to mash bananas and mix batter without splattering everywhere. Glass or ceramic works best, but plastic is fine if you’re lazy.
Whisk — For combining the wet ingredients and sifting in the dry ones. A balloon whisk is nice, but a sturdy spoon works too.
Spatula — A silicone spatula is crucial for scraping the sides of the bowl and folding in the walnuts. You want to be gentle here.
Loaf pan — 9×5 inch is standard. I use a metal pan because it conducts heat evenly. Dark non-stick pans might brown the top too fast, so keep an eye on it. Glass pans take longer to bake, so add 5-10 minutes.
Parchment paper — Line your pan with it. This is the #1 tip for easy cleanup. You just lift the bread out and walk away. No scrubbing stuck-on crust.
Knife or toaster — For toasting the walnuts, if you choose to do that step.
How to Make It: Step-by-Step
Alright, let’s make this! I’m walking you through exactly how I do it. It’s straightforward, but there are a few tricks to keep it moist.
Step 1: Prep Your Pan and Oven (5 minutes)
Preheat your oven to 350°F (175°C). This needs to be hot enough to set the crust but not so hot that the outside burns before the inside cooks. Line your 9×5 loaf pan with parchment paper, leaving an overhang on the long sides. This overhang acts as handles to lift the bread out later. Grease the parchment lightly with butter or cooking spray.
Step 2: Toast the Walnuts (Optional but Recommended)
If you have time, toast the walnuts. Spread them on a dry skillet over medium heat for 3-5 minutes, stirring often, until they smell fragrant. Or throw them on a baking sheet in the oven for 5 minutes while it preheats. Let them cool completely before chopping. This step changes the game. Raw walnuts are fine, but toasted ones have depth.
Step 3: Mash the Bananas
In your large mixing bowl, peel the bananas and mash them with a fork. You want them smooth but with a few small lumps. I like to leave some texture. If they’re very liquidy, mash until mostly uniform. Aim for about 1.5 cups of mashed banana.
Step 4: Mix the Wet Ingredients
Add the melted butter, granulated sugar, brown sugar, egg, and vanilla to the bananas. Whisk vigorously for about 1-2 minutes. The mixture should look glossy and combined. It might look a bit separated at first—that’s okay. The sugar will dissolve into the wet mix as you bake.
Step 5: Add the Dry Ingredients
Stir in the flour, baking soda, baking powder, and salt. Use a whisk or a wooden spoon. Mix just until the flour disappears. Do NOT overmix. If you see small streaks of flour, stop. Overmixing develops gluten, which makes banana bread tough and dense. We want tender, not chewy.
Step 6: Fold in the Walnuts
Gently fold in the chopped walnuts (and chocolate chips if using) with a spatula. Use a cutting motion, turning the bowl as you go. Just until they’re distributed. Again, gentle hands. This is where you ensure every bite has a nut.
Step 7: Bake
Pour the batter into your prepared loaf pan. Smooth the top with the spatula. Bake for 55-65 minutes. Here’s the thing about ovens: they all lie. Start checking at 55 minutes. Insert a toothpick into the center. If it comes out clean or with just a few moist crumbs, it’s done. If it has wet batter, give it 5 more minutes. The top should be golden brown and cracked in the middle.
Step 8: Cool
Let the bread cool in the pan for 10 minutes. Then, use the parchment overhang to lift it out onto a wire rack. Let it cool completely before slicing. I know this is hard. The smell is irresistible. But slicing it hot makes it gummy and mushy. Wait the 10 minutes, then move it to the rack. Patience pays off.
Expert Tips & Tricks
Here’s everything I’ve learned from making this dozens of times. These tips will save you from my mistakes.
The Blacker, The Better
I cannot stress this enough. If your bananas are yellow, they lack flavor. If they’re green, don’t even start. You want those bananas that are black on the outside and soft on the inside. If you have yellow bananas, put them on a baking sheet and bake at 300°F for 15-20 minutes until the skins turn black. It’s a hack that works.
Don’t Overmix
This is the #1 reason banana bread turns out dry or tough. Once you add the flour, mix until *just* combined. The batter will look lumpy. That is good. Lumpy batter = moist bread. Smooth batter = dense brick.
Check Early
Ovens vary wildly. My oven runs hot. Yours might run cool. Set a timer for 55 minutes. Check it. If the toothpick comes out clean, pull it. If it’s wet, check every 5 minutes. Remember, carryover cooking will continue to cook the bread as it cools in the pan.
Toast Your Nuts
I know I said this before, but it bears repeating. Toasting walnuts intensifies their flavor and prevents them from going stale in the bread. It adds a layer of complexity that raw nuts just don’t have.
Store Properly
Once cooled, wrap the loaf tightly in plastic wrap, then foil. Store at room temperature for up to 3 days, or in the fridge for up to a week. Freezing is best for long-term storage. Slice it first, then freeze individual slices in freezer bags.
Variations & Substitutions
Once you’ve nailed the basic version, here’s how you can mix it up. I’ve tried all of these.
Peanut Butter Banana Bread
Swap the walnuts for 1/2 cup of peanut butter chips. Or swirl 2 tablespoons of peanut butter into the batter before baking. It’s rich and salty-sweet. My kids love this version.
Cinnamon Walnut
Add 1 teaspoon of cinnamon to the dry ingredients. It adds warmth and pairs perfectly with the vanilla. Great for fall.
Gluten-Free
Use a 1:1 gluten-free flour blend. Most brands work well in banana bread because the bananas provide structure. Almond flour is also an option, but it changes the texture to be more dense and moist—almost like a brownie.
Dairy-Free
Replace the butter with coconut oil or a neutral vegetable oil. The bread will be slightly less rich but still delicious. Use maple syrup instead of brown sugar if you want to keep it vegan.
Chocolate Chip Walnut
Add 1/2 cup semi-sweet chocolate chips along with the walnuts. It’s basically banana bread cake. I make this for weekend brunches.
Blueberry Banana
Skip the walnuts and fold in 1 cup of fresh or frozen blueberries. The berries burst and create little pockets of juice. Delicious.
Serving & Storage
How to Serve
I usually serve this warm. Slice it thick—about 1 inch. Top with a pat of butter that melts into the cracks. Or spread a thin layer of cream cheese. It’s perfect with a cup of coffee or tea. I also love it for breakfast on weekends, paired with scrambled eggs.
Side Dishes
It’s great on its own, but if you want a full breakfast, pair it with:
- Fresh fruit salad
- Greek yogurt with honey
- A simple green salad (if you’re doing a savory brunch)
Storage Instructions
Room Temperature: Store in an airtight container or wrapped in plastic wrap for up to 3 days. It stays moist this way.
Refrigerator: Store in an airtight container for up to 1 week. The bread will firm up in the fridge, so let it come to room temp or warm it up before eating.
Freezer: Wrap the whole loaf or individual slices tightly in plastic wrap, then foil. Freeze for up to 3 months. Thaw at room temperature or microwave for 30 seconds.
Pro Tip: If your bread seems dry after a few days, wrap it in a damp paper towel and microwave for 10-15 seconds. It’ll steam back to life.
Nutrition Information
I’m not a nutritionist, but here’s the breakdown if you’re tracking. This is per slice (assuming 10 slices per loaf).
Per Serving:
- Calories: 220
- Protein: 4g
- Carbs: 32g
- Fiber: 2g
- Sugar: 18g
- Fat: 10g
- Saturated Fat: 4g
What’s Good:
It has some fiber from the bananas and walnuts. It’s a decent source of potassium. And it’s homemade, so you know exactly what’s in it.
What to Know:
It’s higher in sugar and carbs because of the bananas and added sugar. It’s a treat, not a health food. But it’s way better than store-bought bread, which is often loaded with preservatives.
Final Thoughts
So that’s my go-to ultra-moist banana bread with walnuts! I’ve probably talked your ear off at this point, but when you make a recipe this often, you have a lot to say about it.
This loaf has saved me more times than I can count. It’s my answer to “what’s for breakfast” when I’m tired, when I have overripe fruit, or when I just want to smell something amazing in my kitchen. My kids are happy, my husband’s happy, and I’m happy because I’m not stressed about cooking.
Make it yours! Try different nuts, swap the sugar, add chocolate. The best recipes are the ones you adapt to your family’s tastes. And if you make this, drop a comment and let me know what you think! I love hearing how recipes turn out in your kitchen. And if something doesn’t work, tell me that too—I’m here to help troubleshoot.
Happy baking! And I hope your kitchen smells half as good as mine does right now.
Frequently Asked Questions
Q: Can I use frozen bananas?
A: Yes! In fact, frozen bananas are great for this. Just thaw them completely and drain any excess liquid before mashing. The texture will be even softer, which works well for bread. I often freeze bananas specifically for baking.
Q: Why is my banana bread dense?
A: Usually, this means you overmixed the batter. Once you add the flour, mix only until combined. Also, check your baking soda. If it’s old, it won’t lift the bread. And make sure you’re using ripe bananas—less ripe bananas have less sugar and moisture.
Q: Can I use oil instead of butter?
A: You can. Use a neutral oil like vegetable or canola oil. The bread will be slightly less flavorful but still moist. Butter adds taste, but oil adds moisture. If you want both, use half butter and half oil.
Q: How do I know when the bread is done?
A: The toothpick test is the best way. Insert a toothpick into the center. If it comes out clean or with a few moist crumbs, it’s done. If it has wet batter, bake for 5 more minutes. The top should also be golden brown and spring back when lightly pressed.
Q: Can I make this in a muffin tin?
A: Absolutely! Fill muffin liners 2/3 full. Bake at 350°F for 20-25 minutes. Check at 18 minutes. These make great individual portions for breakfast or snacks.
Q: Why did my bread sink in the middle?
A: This usually happens if the bread is underbaked or if you opened the oven door too early. The structure hasn’t set yet, and the cold air causes it to collapse. Also, too much leavening agent (baking soda/powder) can cause it to rise too fast and then fall. Measure your leavening carefully.
Q: Can I add other mix-ins?
A: Yes! Chocolate chips, dried cranberries, raisins, or shredded coconut all work well. Just keep the total mix-in amount to about 1 cup so the batter can still hold together.
Pin This Recipe!
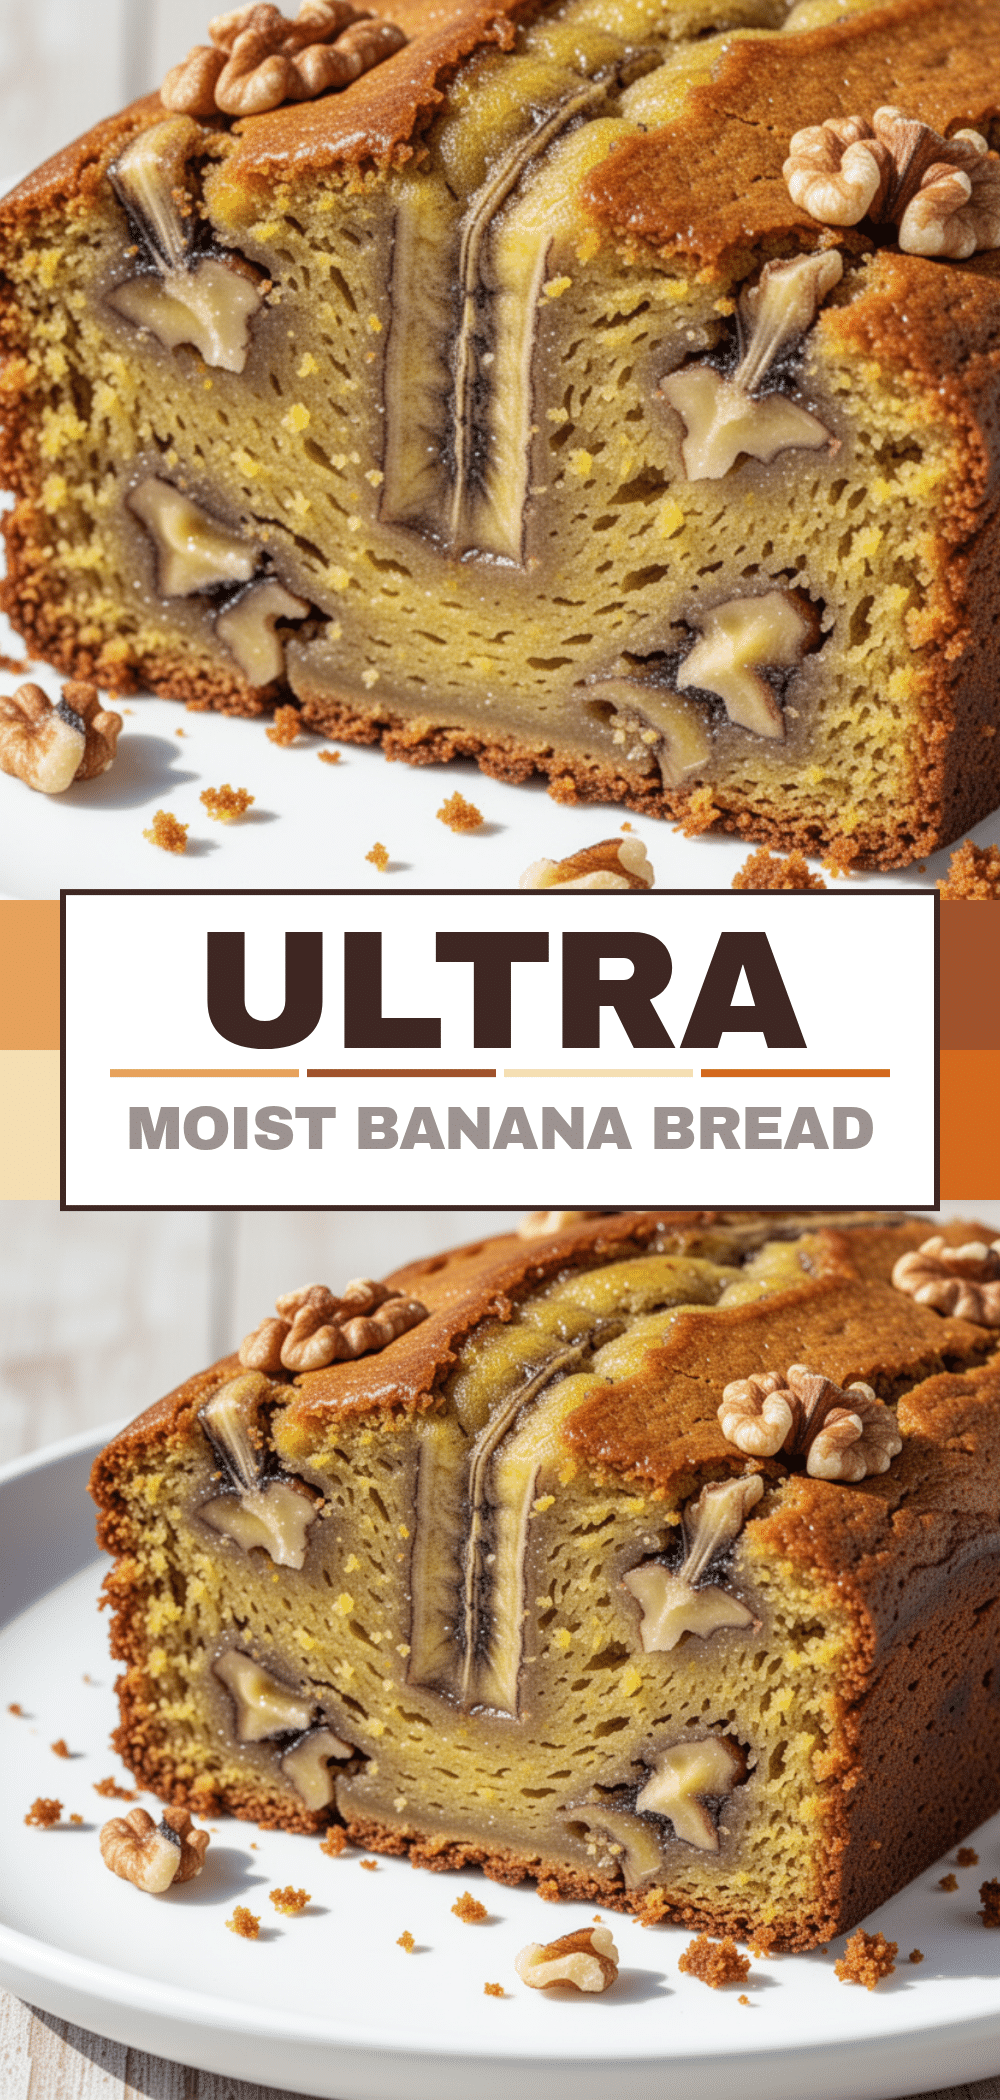
Ultra-Moist Banana Bread with Walnuts
- Total Time: 75 minutes
- Yield: 10 servings 1x
Description
A forgiving, one-bowl banana bread recipe that uses overripe bananas and walnuts to create an incredibly moist, tender loaf with a perfect texture contrast.
Ingredients
- 3 large ripe bananas (about 1.5 cups mashed)
- 1/3 cup (75g) unsalted butter, melted
- 3/4 cup (150g) granulated sugar
- 1/4 cup (50g) brown sugar
- 1 large egg, room temperature
- 1 teaspoon vanilla extract
- 1 1/2 cups (190g) all-purpose flour
- 1 teaspoon baking soda
- 1/2 teaspoon baking powder
- 1/2 teaspoon salt
- 1 cup (100g) walnuts, chopped and toasted
- 1/2 cup dark chocolate chips (optional)
Instructions
- Preheat oven to 350°F (175°C). Line a 9×5 inch loaf pan with parchment paper, leaving an overhang on the long sides, and grease lightly.
- Toast walnuts in a dry skillet or oven for 3-5 minutes until fragrant, then let cool completely.
- In a large mixing bowl, mash the bananas with a fork until mostly smooth with some lumps remain.
- Add melted butter, granulated sugar, brown sugar, egg, and vanilla to the bananas. Whisk vigorously for 1-2 minutes until glossy and combined.
- Add flour, baking soda, baking powder, and salt. Stir just until the flour disappears; do not overmix.
- Gently fold in the chopped walnuts (and chocolate chips if using) with a spatula until distributed.
- Pour batter into the prepared loaf pan and smooth the top.
- Bake for 55-65 minutes, or until a toothpick inserted into the center comes out clean or with moist crumbs.
- Let the bread cool in the pan for 10 minutes, then lift out using the parchment overhang and cool completely on a wire rack before slicing.
Notes
Use very ripe, black-spotted bananas for maximum sweetness and flavor. Do not overmix the batter once flour is added to avoid a dense texture. Toasting walnuts is optional but recommended for better flavor. The bread can be stored at room temperature for 3 days, refrigerated for 1 week, or frozen for up to 3 months.
- Prep Time: 15 minutes
- Cook Time: 60 minutes
- Category: Breakfast
- Cuisine: American
Nutrition
- Serving Size: 1 slice
- Calories: 220
- Sugar: 18
- Fat: 10
- Saturated Fat: 4
- Carbohydrates: 32
- Fiber: 2
- Protein: 4
Keywords: banana bread, walnut bread, moist banana bread, easy baking, one bowl recipe, overripe bananas, breakfast bread, homemade banana bread


