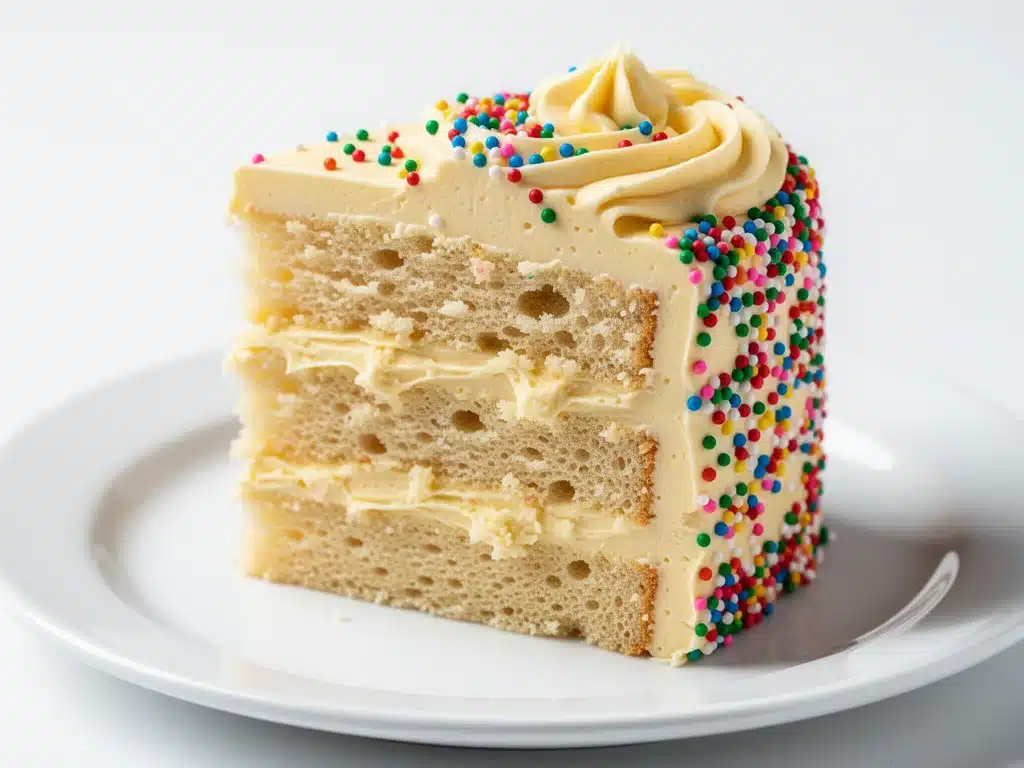
There is a specific kind of panic that sets in when you realize the birthday party is in three hours, the oven is still cold, and you have absolutely no idea what to bake. For my son’s 6th birthday last year, I fell into that exact trap. I had planned to buy a fancy cake from the bakery downtown—the kind with the intricate piping and the perfect fondant smiley face. But then the bakery called. They were short-staffed, the display case was half-empty, and they told me they couldn’t fulfill my order until the next day.
I was stuck. I had 30 kids coming over, a balloon arch that was already leaning to the left, and zero dessert. So, I did what any desperate parent does: I dug out an old, dog-eared recipe card from my mom’s kitchen and decided to bake a cake from scratch. I wasn’t a confident baker back then. I usually relied on box mixes because, let’s be honest, they’re consistent. But something about seeing my son’s face crumple when I told him we might not have a “real” cake made me want to try. I wanted to make him feel special, not just fed.
That day, I made a batch of Classic Birthday Cake that wasn’t perfect. The layers were slightly uneven, and I rushed the frosting, but when my son took that first bite, his eyes went wide. He didn’t care about the wobbly layers. He just shouted, “This tastes like magic!” And honestly? It did. It tasted like childhood summers, like the smell of vanilla in a warm kitchen, like being loved. Since then, I’ve made this Classic Birthday Cake for every birthday, every holiday, and sometimes just because it’s a Tuesday. It’s become the backbone of our family celebrations. It’s simple, it’s reliable, and it tastes like a hug.
Why You’ll Love This Classic Birthday Cake
Look, I’ve tried a lot of cake recipes over the years. Some are too dense, some are too sweet, and some require ingredients I have to order online from a specialty store. This recipe is different. It’s the kind of cake that feels nostalgic without being complicated. Here’s why this Classic Birthday Cake has earned a permanent spot in my recipe rotation:
- It’s Actually Moist — Not just “moist for a homemade cake,” but genuinely, tenderly moist. I use buttermilk and oil in the batter, which keeps it soft for days. I’ve left slices in an airtight container for three days, and they still tasted fresh. That’s rare.
- Simple Ingredients — You probably have 90% of this in your pantry right now. Flour, sugar, butter, eggs, buttermilk, vanilla. No weird emulsifiers or preservatives. It’s just real food. If you can make fall chocolate chip pumpkin bread, you can make this cake. The techniques are almost identical.
- Perfect for Beginners — I’ve walked my teenage niece through this recipe over the phone. She’s never baked before, and she pulled off two beautiful layers. The instructions are foolproof because I’ve tested them when I’m tired, distracted, and holding a toddler.
- Customizable Canvas — The vanilla cake is a blank slate. You can add food coloring, sprinkles, different extracts, or swap the frosting. It’s the perfect base for any theme. Whether you want pink for a princess party or blue for a truck theme, this batter takes it all.
- It Freezes Well — This is my secret weapon for busy parents. I bake the layers a week ahead, wrap them tightly, and freeze them. When the party day comes, I just thaw and frost. It saves so much stress. I do the same thing when I make my classic apple crisp with oat crumble for holidays—bake it early, reheat it later.
There’s something comforting about this cake. It reminds me of my own childhood birthdays, sitting at the kitchen table with a glass of milk, waiting for the cake to cool. It’s not just dessert; it’s a memory maker. And the best part? It’s easier than you think.
Ingredients You’ll Need
Before we get to the mixing bowls, let’s talk about what goes in. I’m particular about a few things here, mostly because I’ve learned the hard way what doesn’t work. This isn’t a gourmet French patisserie cake, so don’t worry about sourcing truffle oil or exotic flours. This is home-style baking at its finest.
For the Cake Layers
All-purpose flour (3 cups / 375g) — Don’t use cake flour unless you want a very delicate, fragile crumb. All-purpose gives this cake that sturdy, satisfying structure that holds up to frosting. Sift it if it’s lumpy, but otherwise, just spoon and level.
Granulated sugar (2 cups / 400g) — Yes, two full cups. It’s sweet, but the sugar also helps tenderize the crumb. Don’t reduce it significantly, or the cake will be dense. I use regular white sugar; brown sugar changes the flavor profile too much for this classic taste.
Unsalted butter (1 cup / 226g, softened) — This needs to be room temperature. Softened means you can press a finger into it and it leaves an indent, but it’s not melted. If you melt it, the batter will be greasy. I take my butter out of the fridge about an hour before I start baking. If I forget, I’ll microwave it in 5-second bursts, but watch it closely.
Eggs (4 large, room temperature) — Room temp eggs emulsify better into the batter. Cold eggs can cause the butter to seize up. I usually just let them sit on the counter while I measure the flour.
Buttermilk (1 ½ cups / 360ml) — This is the secret weapon. The acidity in buttermilk reacts with the baking soda to create lift and tenderness. If you don’t have buttermilk, make your own: add 1 tablespoon of white vinegar or lemon juice to a measuring cup, then fill the rest with whole milk. Let it sit for 5 minutes until it curdles. It works perfectly.
Vanilla extract (2 teaspoons) — Use the real stuff. I know it’s more expensive, but fake vanilla tastes chemical. I use a good quality American vanilla. It’s the backbone of the flavor.
Baking powder (1 ½ teaspoons) — And baking soda (1 teaspoon) — Make sure these are fresh! Old leavening agents are the #1 reason homemade cakes turn out flat. If your baking powder has been sitting in the back of the cupboard since 2019, toss it.
Salt (1 teaspoon) — Essential for balancing the sweetness. Don’t skip it.
For the Vanilla Buttercream Frosting
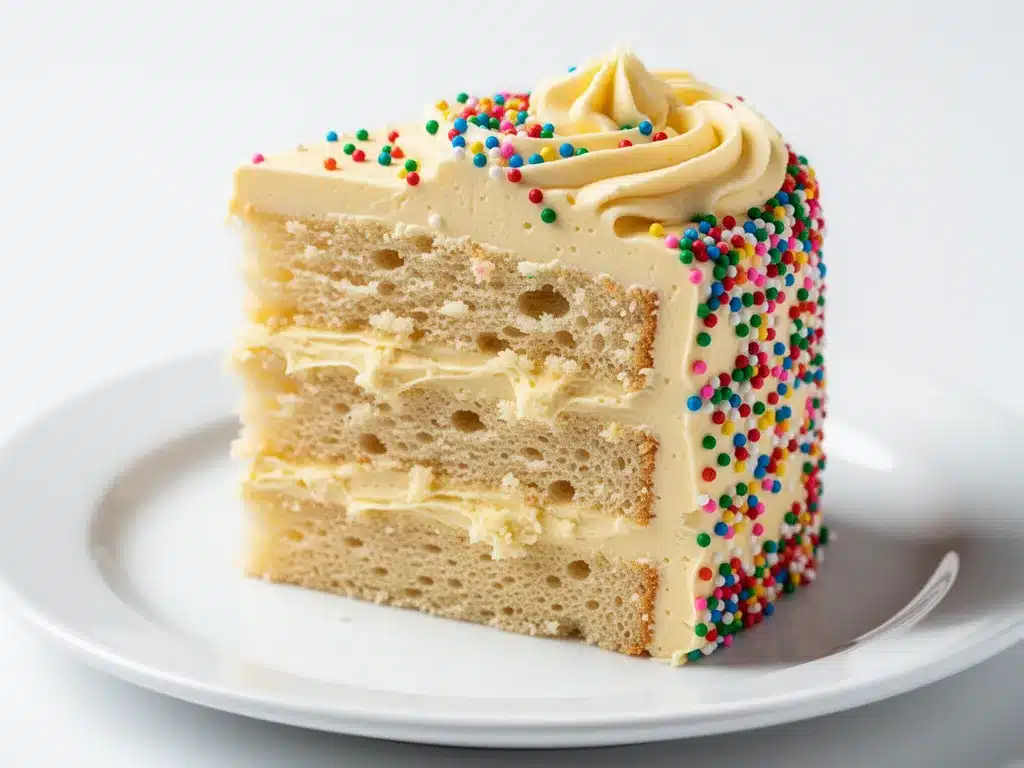
Unsalted butter (2 cups / 454g, softened) — Again, room temperature is key. If it’s too cold, you’ll get lumps. If it’s too warm, the frosting will be soupy. You want it pillowy soft.
Confectioners’ sugar (6-7 cups / 750-875g) — Sift this! I know it’s tedious, but lumpy frosting is the worst. I sift it twice to ensure it’s airy and smooth.
Heavy cream (3-4 tablespoons) — Add this gradually. You want the frosting to be spreadable, not stiff as cement. Start with 3 tablespoons and add more if needed.
Vanilla extract (1 tablespoon) — More vanilla never hurts in frosting.
Salt (½ teaspoon) — Cuts the sweetness and adds depth.
Equipment Needed
You don’t need a fancy kitchen to make this Classic Birthday Cake. Here’s what I actually use, along with some honest opinions on what’s necessary.
Two 8-inch or 9-inch round cake pans — I prefer 8-inch pans for taller layers, which are easier to frost and stack. If you use 9-inch pans, your layers will be thinner, and the bake time will be shorter. Grease them well and line the bottoms with parchment paper. This is non-negotiable if you want the cake to release cleanly.
Stand mixer or hand mixer — I use a stand mixer because it’s less tiring, but a hand mixer works fine too. You just need to mix for a few extra minutes. A whisk will work in a pinch, but you’ll need strong arms.
Rubber spatula — For scraping down the sides of the bowl. Never skip this step! The ingredients on the sides don’t mix in, and you’ll end up with pockets of flour or butter.
Cooling racks — Essential. Never frost a warm cake. The frosting will melt and slide off. I have two wire racks, but a clean, flat surface works too.
Offset spatula — This makes frosting so much easier. It lets you get close to the cake without smearing your knuckles. I bought mine at a thrift store for $2, and it’s my favorite tool.
Parchment paper — To line the pans. I cut circles by tracing the bottom of my pan. It makes cleanup and removal effortless.
Measuring cups and spoons — For dry and wet ingredients. I prefer metal measuring spoons because they’re accurate and durable.
How to Make It: Step-by-Step
Alright, let’s bake this Classic Birthday Cake. I’m going to walk you through exactly how I do it, including the little tricks I’ve picked up over the years. It’s easier than it looks, I promise.
Step 1: Prep Your Pans and Oven (10 minutes)
Preheat your oven to 350°F (175°C). This needs to be hot before the cake goes in. Grease your cake pans with butter or non-stick spray, then line the bottoms with parchment paper. Grease the parchment too. This ensures the cake doesn’t stick. Dust the pans with a little flour, tapping out the excess, or use baking spray with flour in it. I like to coat the inside with a thin layer of butter, then a light sprinkle of flour for extra insurance.
Step 2: Mix the Dry Ingredients (2 minutes)
In a medium bowl, whisk together the flour, baking powder, baking soda, and salt. Whisking aerates the flour and distributes the leavening agents evenly. If you don’t whisk, you might get a chemical taste from concentrated baking soda or a dense spot of flour. Set this aside.
Step 3: Cream the Butter and Sugar (3-4 minutes)
In your stand mixer fitted with the paddle attachment (or using a hand mixer), beat the softened butter and granulated sugar on medium-high speed. This is called “creaming.” You’re trapping air into the butter, which helps the cake rise. Beat for about 3-4 minutes until the mixture is pale yellow and fluffy. Scrape down the sides of the bowl with your rubber spatula. This step is crucial for texture.
Step 4: Add Eggs and Vanilla (2 minutes)
Reduce the mixer speed to medium. Add the eggs one at a time, mixing just until combined after each addition. Then add the vanilla extract. Mix until smooth. Don’t overmix here, or you’ll develop too much gluten and make the cake tough. The batter should look creamy and homogeneous.
Step 5: Combine Wet and Dry (2-3 minutes)
With the mixer on low speed, add the dry ingredients in three parts, alternating with the buttermilk in two parts. Start and end with the dry ingredients. The sequence is: Dry → Buttermilk → Dry → Buttermilk → Dry. Mix only until the flour disappears. Overmixing at this stage is the fastest way to get a rubbery cake. The batter should be thick and glossy.
Step 6: Bake the Layers (25-30 minutes)
Divide the batter evenly between your prepared pans. I use a scale to ensure each layer weighs the same, but a large ice cream scoop works too. Bake for 25-30 minutes. The cakes are done when the tops spring back when lightly touched, and a toothpick inserted into the center comes out clean or with just a few moist crumbs. Do not overbake! If the toothpick has wet batter on it, keep baking. If it has dry crumbs, it’s done.
Step 7: Cool Completely (1 hour)
Let the cakes cool in the pans for 10 minutes, then turn them out onto a wire rack. Peel off the parchment paper. Let them cool completely to room temperature. This is the hardest part, I know. But if you try to frost a warm cake, you’re in trouble. The heat will melt the butter in the frosting, and you’ll end up with a messy, sliding mess. I usually bake the cakes in the morning and frost them in the afternoon.
Step 8: Make the Frosting (10 minutes)
While the cakes cool, make the buttercream. In a clean mixer bowl, beat the softened butter on medium-high until it’s light and fluffy, about 2 minutes. Add the sifted confectioners’ sugar, one cup at a time, on low speed to avoid a sugar cloud. Once all the sugar is in, add the vanilla, salt, and 3 tablespoons of heavy cream. Beat on high for 3 minutes until the frosting is super fluffy and smooth. If it’s too stiff, add more cream, a teaspoon at a time.
Step 9: Assemble and Frost (15 minutes)
Place one cake layer on your serving plate or cake stand. Spread a generous layer of frosting over the top. Place the second layer on top, flat side up (if your layers are domed, level them with a serrated knife). Frost the top and sides of the cake. Use an offset spatula to create swirls or smooth sides. Decorate with sprinkles, fresh fruit, or extra sprinkles. This is where you get to be creative.
Expert Tips & Tricks
Here’s everything I’ve learned from making this Classic Birthday Cake dozens of times. These tips will save you from my mistakes.
Room Temperature Ingredients Matter
I can’t stress this enough. Cold eggs and butter won’t emulsify properly. If you forgot to take them out, put the eggs in a bowl of warm water for 5 minutes, and microwave the butter in 5-second bursts until soft. It’s worth the effort.
Don’t Overmix the Batter
Once you add the flour, mix until it *just* disappears. Overmixing develops gluten, which makes cake tough and bread-like. You want a tender crumb. If the batter looks slightly lumpy, that’s okay. It will smooth out during baking.
Check Your Oven Temperature
Ovens lie. I have an oven thermometer hanging in mine because my oven runs hot. If your cake is browning on top but raw in the middle, your oven is too hot. Lower the temperature by 25°F and tent the cake with foil. If it’s dense and pale, it might be too low.
Level Your Layers
Cakes rise in the middle, creating a dome. For a professional look, use a serrated knife to slice off the dome. You can eat the scraps (they’re the best part!) or freeze them for cake pops. Flat layers stack better and frost more evenly.
Chill Before Serving
Once frosted, put the cake in the fridge for 30 minutes before serving. This sets the frosting and makes it easier to slice cleanly. A warm cake slices messy; a chilled cake slices perfectly.
Variations & Substitutions
Once you’ve nailed the basic version, here’s how you can mix it up. I’ve tried all of these, and they all work.
Chocolate Birthday Cake
Replace ¾ cup of flour with ¾ cup of unsweetened cocoa powder. Add an extra ½ cup of milk to balance the dryness. It’s rich and chocolatey, perfect for chocolate lovers.
Lemon Vanilla Cake
Add the zest of two lemons to the batter. Swap ½ cup of the buttermilk for fresh lemon juice. It’s bright and refreshing, especially in summer.
Strawberry Cake
Replace ½ cup of buttermilk with strawberry puree. Add 1 cup of finely chopped fresh strawberries. The color turns pink, and the flavor is incredible. Just note that the added moisture might require a minute more baking time.
Gluten-Free Option
Use a 1:1 gluten-free flour blend (like Bob’s Red Mill or King Arthur). The texture will be slightly more delicate, but it tastes great. Add a teaspoon of xanthan gum if your blend doesn’t include it.
Dairy-Free Version
Use vegan butter (like Miyoko’s or Earth Balance) and almond milk with vinegar for the buttermilk substitute. The frosting will be slightly different, but still delicious. My dairy-free friends love this version.
Spice Cake Twist
Add 1 teaspoon of cinnamon, ½ teaspoon of nutmeg, and ¼ teaspoon of cloves to the dry ingredients. It’s like a birthday version of my fall cinnamon pumpkin dump cake, but in cake form.
Serving & Storage
How to Serve:
I usually serve this cake at room temperature. It’s the sweet spot for flavor and texture. Pair it with a simple green salad or some fresh berries for a balanced meal. For a party, cut it into small squares—people go back for seconds.
Storage:
Store leftovers in an airtight container at room temperature for up to 3 days. The fridge can dry out cake, so I avoid it unless it’s very hot outside. If you must refrigerate, let it come to room temperature before serving.
Freezing:
This cake freezes beautifully. Wrap the unfrosted layers tightly in plastic wrap, then in foil. Freeze for up to 3 months. Thaw overnight in the fridge before frosting. I do this all the time to prep for parties. You can also freeze frosted slices individually for quick snacks.
Reheating:
You don’t need to reheat cake, but if you want a warm slice, microwave it for 10-15 seconds. It’s like a warm brownie. Don’t overdo it, or it’ll get tough.
Nutrition Information
I’m not a nutritionist, but here’s the breakdown if you’re tracking. Keep in mind that this is a dessert, so it’s indulgent.
Per Serving (based on 12 slices):
- Calories: 480
- Protein: 5g
- Carbs: 65g
- Fiber: 1g
- Sugar: 45g
- Fat: 22g
- Saturated Fat: 13g
- Cholesterol: 85mg
- Sodium: 350mg
What’s Good: It’s a source of calcium from the dairy, and the butter provides some fat-soluble vitamins. It’s homemade, so you control the ingredients.
What to Know: It’s high in sugar and saturated fat. Enjoy it as a special treat, not an everyday snack. If you want to lighten it up, use half-and-half instead of heavy cream in the frosting, or reduce the sugar by ¼ cup (though it may affect texture).
Final Thoughts
So that’s my Classic Birthday Cake! I’ve probably talked your ear off at this point, but when you make a recipe this often, you have a lot to say about it. This cake has saved me in tight spots, made my kids smile, and brought my family together. It’s not just about the sugar and flour; it’s about the time you spend in the kitchen, the mess you make, and the joy of sharing something you created with your own hands.
Make it yours! Add sprinkles, change the flavor, or just enjoy the simplicity. The best recipes are the ones you adapt to your family’s tastes. If you make this, drop a comment and let me know what you think! I love hearing how recipes turn out in your kitchen. And if something doesn’t work, tell me that too—I’m here to help troubleshoot.
Happy baking! And I hope your kitchen smells as good as mine does right now.
Frequently Asked Questions
Can I use a box mix for this recipe?
You absolutely can! If you’re in a rush, start with a box mix and add an extra egg, ½ cup of buttermilk, and 1 teaspoon of vanilla extract. It makes the box mix taste more homemade. But if you have the time, scratch cake always tastes better.
Why did my cake sink in the middle?
This usually happens if the oven door was opened too early, or the cake wasn’t baked through. Make sure you don’t open the oven door for the first 20 minutes. Also, check your leavening agents—they might be old. If the cake sinks slightly, it’s often fine for frosting, but a big sink means underbaking.
Can I make this cake ahead of time?
Yes! Bake the layers 2-3 days ahead and store them wrapped tightly at room temperature. Frost the day of the party. Or, freeze the layers for up to 3 months and thaw before frosting. This is my favorite way to manage party stress.
How do I get smooth frosting?
The key is to chill the cake before frosting. Put it in the fridge for 30 minutes after stacking. Then, use an offset spatula and a bench scraper to smooth the sides. Rotate the cake on a lazy Susan if you have one. It takes practice, but you’ll get there.
Can I use oil instead of butter in the cake?
You can, and it will make the cake moister. Replace the butter with an equal amount of neutral oil (like vegetable or canola). The flavor will be less rich, but the texture will be incredibly tender. I often do this for summer cakes.
What kind of frosting goes best with this cake?
Vanilla buttercream is classic, but you can use cream cheese frosting, chocolate ganache, or whipped cream. The vanilla cake is neutral enough to pair with almost anything. If you’re making a neapolitan ice cream cake later, you can use this vanilla layer as part of that!
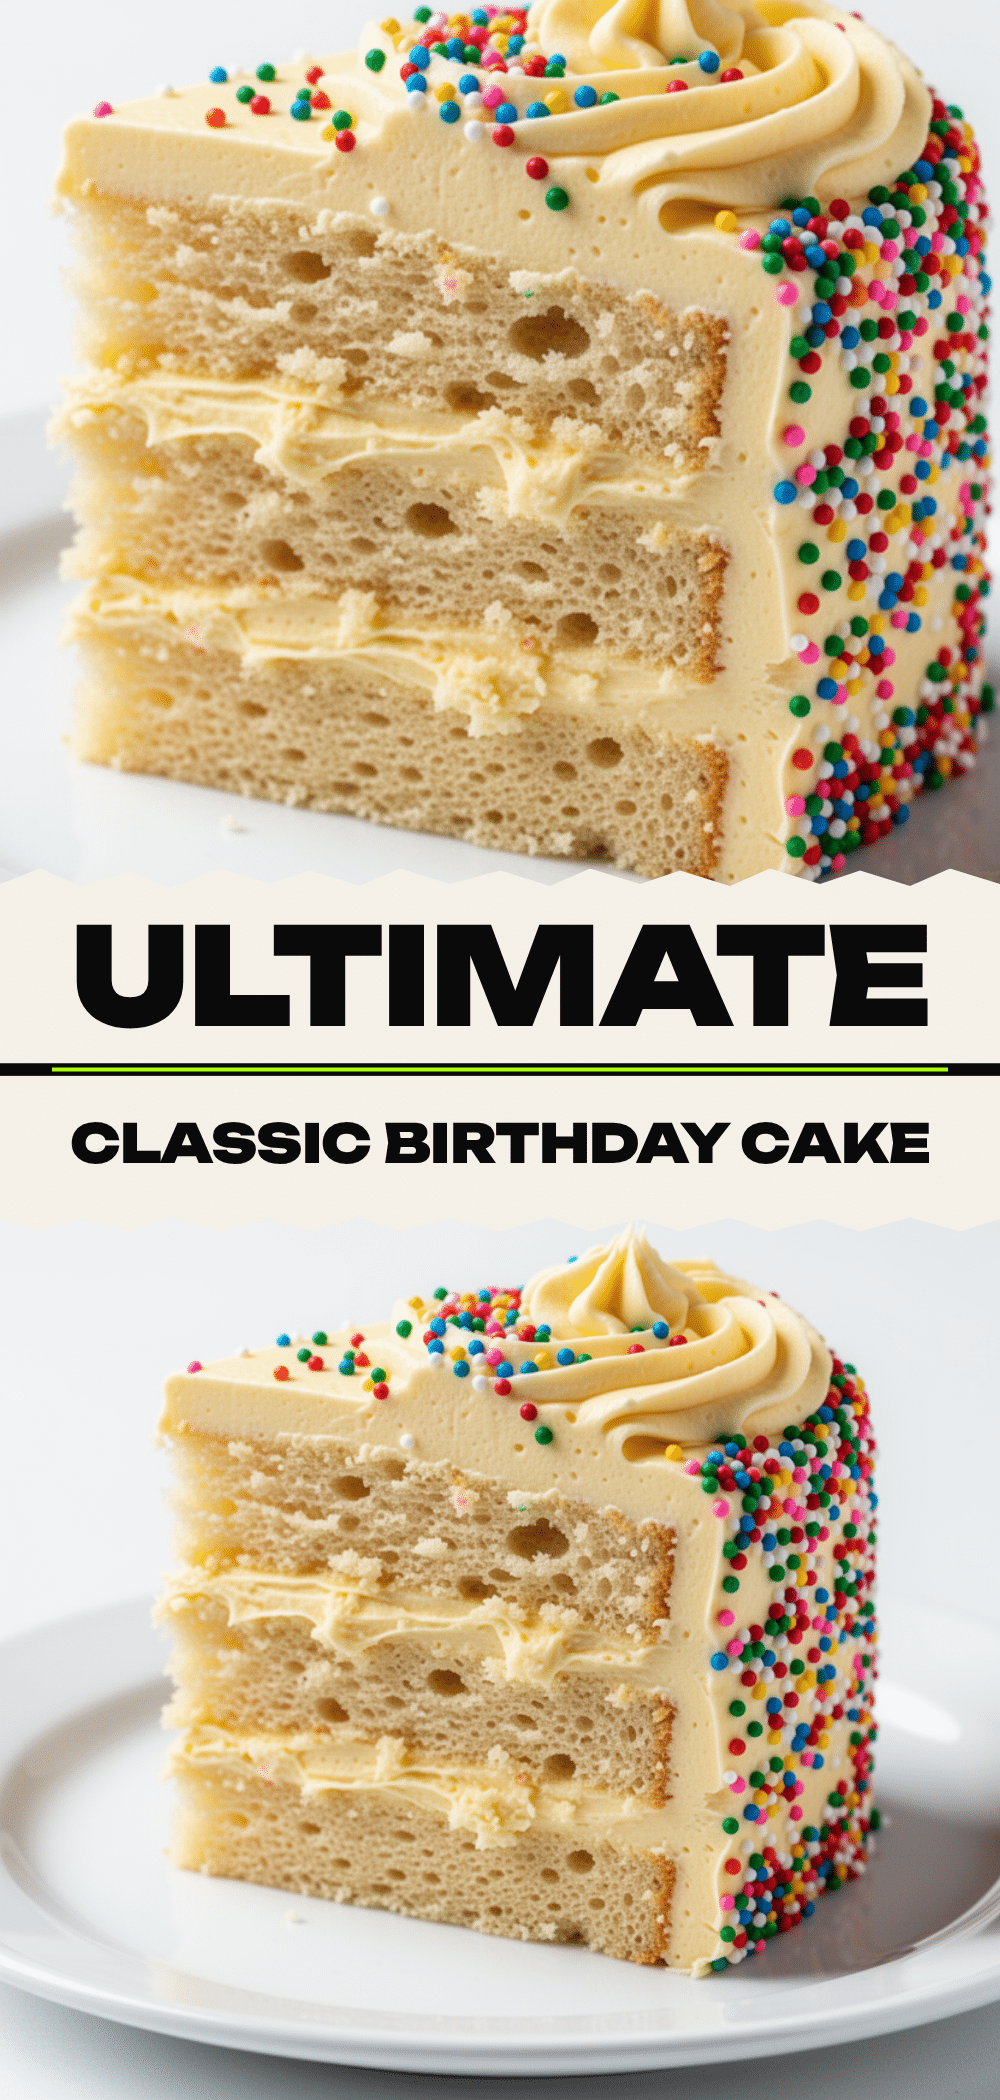
Pin This Recipe!
Classic Birthday Cake: Easy Homemade Dessert
- Total Time: 1 hour 30 minutes
- Yield: 12 servings 1x
Description
A reliable, moist, and nostalgic homemade vanilla birthday cake with simple ingredients and foolproof instructions, perfect for beginners and customizable for any celebration.
Ingredients
- 3 cups (375g) all-purpose flour
- 2 cups (400g) granulated sugar
- 1 cup (226g) unsalted butter, softened
- 4 large eggs, room temperature
- 1 ½ cups (360ml) buttermilk
- 2 teaspoons vanilla extract
- 1 ½ teaspoons baking powder
- 1 teaspoon baking soda
- 1 teaspoon salt
- 2 cups (454g) unsalted butter, softened (for frosting)
- 6–7 cups (750-875g) confectioners’ sugar, sifted (for frosting)
- 3–4 tablespoons heavy cream (for frosting)
- 1 tablespoon vanilla extract (for frosting)
- ½ teaspoon salt (for frosting)
Instructions
- Preheat oven to 350°F (175°C). Grease two 8-inch or 9-inch round cake pans, line bottoms with parchment paper, grease parchment, and dust with flour.
- In a medium bowl, whisk together flour, baking powder, baking soda, and salt. Set aside.
- In a stand mixer with paddle attachment, beat softened butter and granulated sugar on medium-high speed for 3-4 minutes until pale and fluffy. Scrape down sides of bowl.
- Reduce speed to medium. Add eggs one at a time, mixing until combined after each addition. Add vanilla extract and mix until smooth.
- With mixer on low, add dry ingredients in three parts, alternating with buttermilk in two parts (start and end with dry). Mix only until flour disappears.
- Divide batter evenly between prepared pans. Bake for 25-30 minutes until tops spring back and a toothpick inserted comes out clean.
- Let cakes cool in pans for 10 minutes, then turn out onto wire racks to cool completely.
- While cakes cool, beat softened butter for frosting until light and fluffy (2 minutes). Add sifted confectioners’ sugar one cup at a time on low speed. Add vanilla, salt, and 3 tablespoons heavy cream. Beat on high for 3 minutes until fluffy.
- Place one cake layer on serving plate. Spread generous layer of frosting on top. Place second layer on top. Frost top and sides with remaining frosting. Decorate as desired.
Notes
Ensure all ingredients are at room temperature for best emulsification. Do not overmix the batter once flour is added to avoid a tough texture. For smooth frosting, chill the assembled cake in the fridge for 30 minutes before serving. Layers can be baked ahead and frozen for up to 3 months.
- Prep Time: 30 minutes
- Cook Time: 30 minutes
- Category: Dessert
- Cuisine: American
Nutrition
- Serving Size: 1 slice
- Calories: 480
- Sugar: 45
- Sodium: 350
- Fat: 22
- Saturated Fat: 13
- Carbohydrates: 65
- Fiber: 1
- Protein: 5
Keywords: birthday cake, vanilla cake, homemade cake, easy dessert, buttercream frosting, party cake, classic cake recipe


