I have a confession to make. For years, I was the person who bought the box mix. You know the type. The one that says “from scratch” but really just means “add oil and water.” I wasn’t ashamed, exactly. I was just busy. Life was loud, dinner was chaotic, and the last thing I wanted to do was wash three bowls, sift dry ingredients, and hope my batter didn’t end up dry as cardboard.
Then, last winter, I was stuck inside during a snowstorm with a craving so specific it felt like a physical pain. I didn’t want a cake. I didn’t want cookies. I wanted something dense, dark, and impossibly fudgy. Something that would melt on my tongue and make me forget about the wind howling outside.
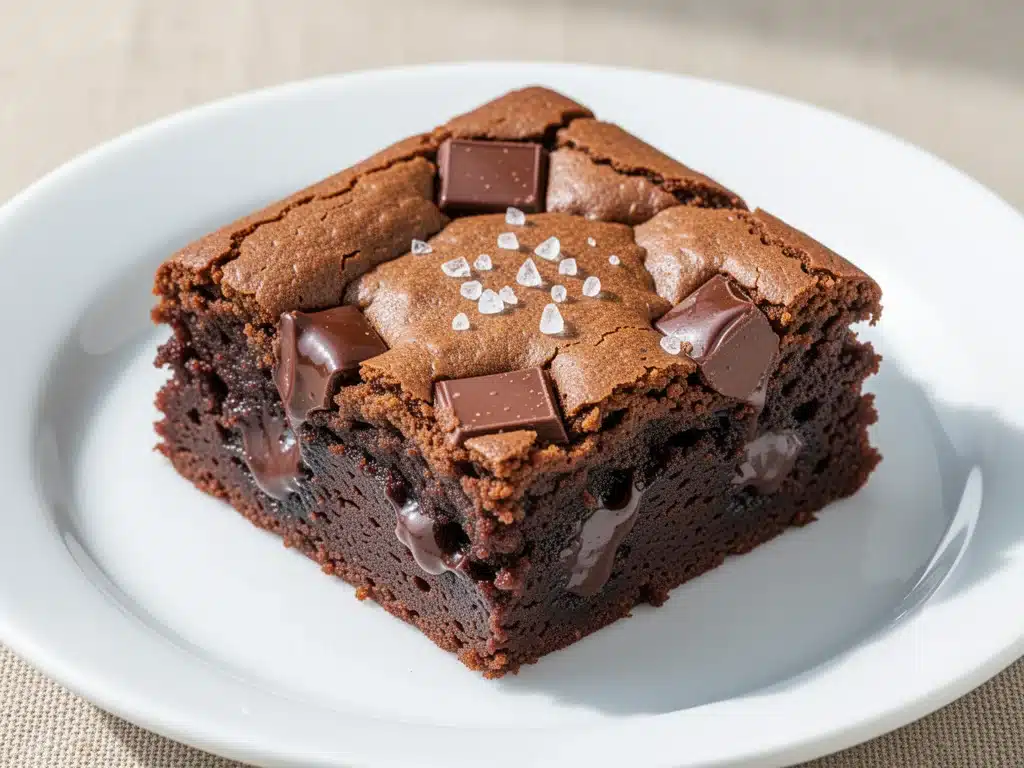
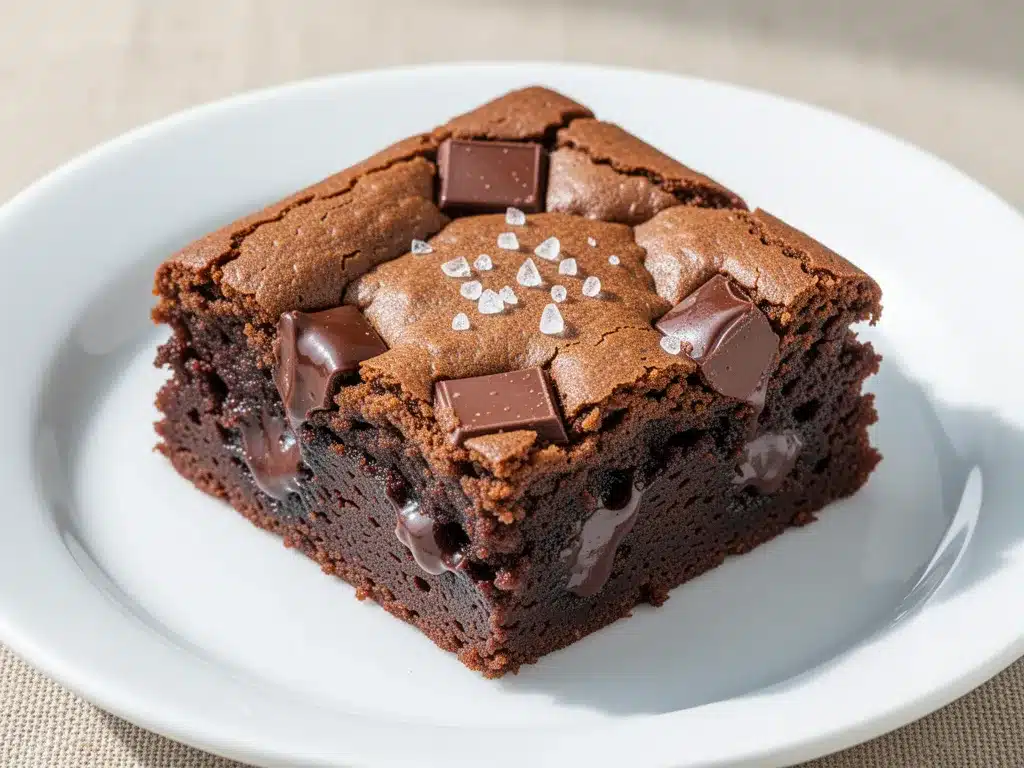
I threw together what I thought would be a mediocre batter in a single bowl. Just melted chocolate, butter, sugar, eggs, and flour. I baked it, let it cool (which took forever because I was impatient), and took a bite. It stopped me dead in my tracks. It wasn’t just brownie. It was chocolate. It had that crackly, paper-thin top and a center so fudgy it was almost gooey. I ate half the pan before my partner even came home from work. That’s how I discovered the Ultra-Fudgy One-Bowl Brownies.
Since then, I’ve made this recipe at least twenty times. I’ve tweaked the baking time, the chocolate type, and the mix-ins. I’ve tested it with my picky nephew (who usually hates dessert unless it’s ice cream) and my chocolate-snob sister. The result? This is hands-down the best easy dessert I’ve ever made. It’s stupid simple, requires zero special equipment, and tastes like you spent hours in the kitchen when it actually takes twenty minutes of active effort.
If you’re looking for a dessert that delivers maximum flavor with minimum fuss, stop scrolling. You’ve found it.
Why You’ll Love This One-Bowl Brownie Recipe
There are about ten reasons I keep making these brownies, but let’s be real—we’re all busy. Here’s why this recipe has completely changed my dessert routine:
One Bowl, Zero Stress — Seriously, if you can melt butter in the microwave, you can make these. I’ve walked my teenage son through it over FaceTime while he was at college. No sifting, no separate bowls for wet and dry. Just dump, stir, bake. It’s the definition of stress-free baking.
Actually Fudgy, Not Cakey — Most “easy” brownie recipes turn out dry or crumbly. Not this one. The ratio of fat to flour is perfectly balanced to create that dense, chewy texture that makes you close your eyes when you eat it. It’s the kind of brownie that leaves chocolate smudges on your chin and makes you feel guilty but happy.
Lightning Fast — From start to finish, including cooling time, it’s under an hour. But active cooking time? About 15 minutes. I make these on weeknights when I want something sweet but don’t have the energy for a complex project. It’s faster than ordering delivery.
Pantry-Friendly — You probably have all the ingredients right now. Chocolate (or chips), butter, sugar, eggs, flour, vanilla. No weird extracts or hard-to-find items. I keep the key items stocked specifically for those moments when I need a quick win.
Makes Amazing Leftovers — And there are usually leftovers because these freeze beautifully. I deliberately make a double batch (okay, I just use the big pan) for lunch throughout the week. They taste even better the next day, once the flavors have had time to meld.
Budget-Smart — Feeds 9-16 people for under $10. That’s cheaper than a box of fancy chocolates from the store. This is less than the cost of one movie ticket for a family of four.
This is my go-to when I need dessert to just work. No complicated techniques, no weird ingredients, just reliable, delicious food that makes everyone happy. It’s the culinary equivalent of a warm hug.
Ingredients You’ll Need
Here’s the best part: you probably have most of this already. I’m particular about two things here—the chocolate and the butter—but the rest is standard pantry fare.
Dark Chocolate Chips (12 ounces / 340g) — I use semi-sweet or dark chocolate chips (not milk chocolate). The higher cocoa content gives that deep, rich brownie flavor. If you can’t find chips, chop up a bar of good quality chocolate. It melts more evenly, but chips work fine if you’re in a hurry.
Unsalted Butter (½ cup / 113g) — Melted. Don’t use margarine. Don’t use oil. Butter is non-negotiable for that rich flavor. I use high-quality butter like Kerrygold or Land O’Lakes. If you only have salted butter, reduce the added salt in the recipe by half.
Granulated Sugar (1 cup / 200g) — Yes, white sugar. Some recipes call for brown sugar for chewiness, but for that classic crackly top and fudgy interior, white sugar is the way to go. It creates that shiny crust.
Eggs (3 large) — Room temperature is best. If you’re rushing, just drop them in a bowl of warm water for 5 minutes. They emulsify better with the butter mixture when they’re not cold.
Vanilla Extract (1 teaspoon) — Pure vanilla, please. The fake stuff tastes chemical in a simple recipe like this. It’s worth the extra dollar.
All-Purpose Flour (¾ cup / 95g) — Don’t over-measure! Scoop and level. Too much flour makes them cakey. I use Gold Medal flour because it’s consistent.
Cocoa Powder (¼ cup / 20g) — Unsweetened cocoa powder adds depth. It’s not strictly necessary if you’re using lots of chocolate chips, but it gives that professional bakery taste. I use Hershey’s Natural Cocoa.
Salt (½ teaspoon) — Enhances the chocolate flavor. Don’t skip it. It balances the sweetness.
Optional Mix-Ins — ½ cup chocolate chips (for extra gooeyness), ½ cup chopped walnuts (for crunch), or ½ cup peanut butter chips (for a twist). I usually go all-in on chocolate chips, but walnuts are classic.
Equipment Needed
You don’t need fancy equipment for this. Here’s what I actually use:
Large Microwave-Safe Bowl — For melting the butter and chocolate. I use a 4-quart glass bowl. It’s big enough to stir without spilling. A ceramic bowl works too.
Medium Mixing Bowl — For combining the wet and dry ingredients. Any bowl that’s big enough to whisk comfortably works.
Whisk or Wooden Spoon — For mixing. I prefer a whisk for the eggs and sugar to get them airy, then switch to a spoon for the flour.
9×9 Inch Baking Pan — Standard size. Line it with parchment paper for easy removal. If you only have an 8×8, the brownies will be thicker and might need 2-3 more minutes in the oven.
Parchment Paper — Essential for cleanup. Leave overhangs on the sides so you can lift the brownies out once they’re cool. No one wants to scrape brownie crumbs out of a greased pan.
Cooling Rack — To cool the pan. Or just let it sit on the stovetop.
Sharp Knife — For cutting. A serrated knife works best for clean cuts without squishing the fudgy center.
How to Make It: Step-by-Step
Alright, let’s make this! I’m walking you through exactly how I do it, including the little tricks I’ve picked up.
Step 1: Prep Your Pan and Oven
Preheat your oven to 350°F (175°C). Line your 9×9 inch baking pan with parchment paper. Leave a little overhang on the sides like handles. This is the #1 trick for easy removal. Grease the parchment lightly if your butter isn’t very sticky, but usually, the chocolate and sugar are enough to prevent sticking.
Step 2: Melt the Chocolate and Butter
Combine the melted butter and chocolate chips in a large microwave-safe bowl. Microwave in 30-second intervals, stirring in between, until smooth. If you’re using a bar of chocolate, chop it finely first. Stir until completely glossy and smooth. Let it cool for 5 minutes so it doesn’t scramble the eggs.
Step 3: Mix the Wet Ingredients
Whisk in the sugar, eggs, and vanilla extract to the chocolate mixture. Whisk vigorously for about a minute. You want the mixture to look shiny and slightly thickened. This step incorporates air, which helps create that crackly top. It’s worth the elbow grease.
Step 4: Add the Dry Ingredients
Stir in the flour, cocoa powder, and salt. Mix until just combined. Do not overmix! As soon as you no longer see streaks of flour, stop. Overmixing develops gluten, which makes brownies cakey instead of fudgy. It should look thick and glossy.
Step 5: Fold in Mix-Ins (Optional)
If you’re adding chocolate chips, nuts, or other mix-ins, fold them in now. Use a spatula or wooden spoon. Be gentle.
Step 6: Bake
Pour the batter into the prepared pan. Spread it out evenly. Bake for 25-30 minutes. Here’s the key: you want the edges to be set and pulling slightly away from the pan, but the center should still look slightly soft and jiggly. A toothpick inserted into the center should come out with moist crumbs, not wet batter, and definitely not clean. If it’s clean, you’ve overbaked them.
Step 7: Cool Completely
This is the hardest part. Let the brownies cool in the pan on a wire rack for at least 30 minutes. They will continue to set as they cool. If you cut them hot, they’ll be messy and crumbly. Patience pays off.
Step 8: Cut and Serve
Use the parchment overhang to lift the brownies out. Cut into squares. Serve warm with a glass of cold milk or a scoop of vanilla ice cream.
Total Time: About 45 minutes (15 minutes active, 30 minutes cooling/baking)
Expert Tips & Tricks
Here’s everything I’ve learned from making this dozens of times. These tips will save you from my mistakes.
The Toothpick Test is Critical
Most people overbake brownies. They want to be sure they’re cooked, so they leave them in too long. Don’t. When the toothpick comes out with a few moist crumbs, they’re done. They will firm up as they cool. If you wait for a clean toothpick, you’ll get dry, cakey brownies.
Don’t Skimp on the Cooling
I know it’s tempting. But hot brownies are a structural disaster. They’re too soft to cut cleanly. Let them cool for at least 30 minutes. If you can wait an hour, even better. The texture improves significantly.
Room Temperature Eggs
It sounds like a fancy technique, but it matters. Cold eggs can seize the melted chocolate, making it grainy. Room temperature eggs blend smoothly, creating a glossy, emulsified batter.
Quality Chocolate Matters
Since chocolate is the star, don’t use the cheapest chips. Look for chips with at least 60% cocoa content. Ghirardelli or Guittard are my go-tos. They melt better and taste richer.
Common Mistakes (and how to avoid them):
Mistake: Brownies are cakey
Fix: You overmixed the flour or overbaked them. Next time, mix just until combined and pull them out when the toothpick has moist crumbs.
Mistake: Brownies are greasy
Fix: You might have used margarine or the chocolate/butter ratio is off. Ensure you’re using real butter and measuring accurately.
Mistake: No crackly top
Fix: You didn’t whisk the eggs and sugar enough. Whisk vigorously for a full minute to incorporate air. Also, make sure your sugar is fresh and not clumpy.
Pro Tricks I’ve Learned:
For Extra Fudginess
Add an extra egg yolk. It adds fat and richness without adding liquid. I do this when I really want to treat myself.
For a Salted Caramel Twist
Drizzle store-bought caramel sauce on top before baking, then sprinkle with flaky sea salt after baking. It’s incredible.
For Better Texture
Chill the batter for 15 minutes before baking. It helps the fats set and can lead to a thicker, chewier brownie.
Variations & Substitutions
Once you’ve nailed the basic version, here’s how you can mix it up. I’ve tried all of these.
Double Chocolate Version
Add ½ cup of cocoa powder to the dry ingredients and use dark chocolate chips. For the ultimate chocoholic, add ½ cup of chocolate chips to the batter too. This is my personal favorite.
Walnut Brownies
Fold in ½ cup of chopped walnuts. The crunch contrasts beautifully with the fudgy texture. Classic for a reason.
Peanut Butter Swirl
Drop spoonfuls of peanut butter on top of the batter and swirl with a knife. It creates a marbled effect and adds a salty-sweet contrast.
Espresso Brownies
Add 1 teaspoon of instant espresso powder to the dry ingredients. It doesn’t make them taste like coffee; it just intensifies the chocolate flavor. Game-changer.
Mint Brownies
Add ½ teaspoon of peppermint extract to the wet ingredients and sprinkle with crushed peppermint candies after baking. Great for holidays.
Dietary Modifications:
Gluten-Free
Use a 1:1 gluten-free flour blend. It works perfectly. I’ve used Bob’s Red Mill and Cup4Cup with great results.
Dairy-Free
Use dairy-free butter and dairy-free chocolate chips. The texture might be slightly less fudgy, but it’s still delicious. My lactose-intolerant friend loves these.
Vegan
Replace butter with coconut oil and eggs with flax eggs (3 tablespoons ground flaxseed mixed with 9 tablespoons water, let sit for 5 minutes). Use dairy-free chocolate. They’re denser but still tasty.
Other Proteins:
Bacon Bits
Crispy bacon crumbles on top add a smoky-salty kick. Surprisingly good.
White Chocolate Chips
Half regular, half white chocolate chips for a marbled look.
Serving & Storage
How to Serve:
I usually serve these warm, right out of the oven (after they’ve cooled enough to cut). But here are other ways I’ve enjoyed them:
Side Dishes:
- Cold milk (obviously)
- Vanilla ice cream
- Whipped cream
- Fresh berries (strawberries or raspberries cut the richness)
Toppings Bar:
When I have guests, I put out: flaky sea salt, crushed pistachios, caramel sauce, and chocolate shavings. Everyone customizes their square.
Wine Pairing:
Not a wine expert, but my wine-snob friend says a bold Cabernet Sauvignon or a Port works great with these. For non-drinkers, hot coffee or cold milk is perfect.
Storage Instructions:
Refrigerator:
Store in an airtight container for up to 5 days. They stay fudgy in the fridge. I actually prefer them chilled for a denser texture.
Freezing:
These freeze beautifully! Wrap individual squares in plastic wrap, then put them in a freezer bag. They last up to 3 months. Thaw at room temperature for 30 minutes. Or microwave for 15 seconds for a warm treat.
Meal Prep:
I bake a batch on Sunday, cut them, and store them in the fridge. Grab one for lunch or a snack. They hold up well for days.
Pro tip: If leftovers are drying out, wrap them in a damp paper towel and microwave for 10 seconds. Brings back that fresh-baked moisture.
Nutrition Information
I’m not a nutritionist, but here’s the breakdown if you’re tracking.
Per Serving (based on 16 servings):
- Calories: 220
- Protein: 3g
- Carbs: 28g
- Fiber: 1g
- Sugar: 18g
- Fat: 12g
- Saturated Fat: 7g
- Cholesterol: 35mg
- Sodium: 80mg
What’s Good:
- Decent protein from eggs
- Antioxidants from dark chocolate
- Simple ingredients you can pronounce
What to Know:
- Higher in calories and sugar (it’s a brownie!)
- Contains dairy and gluten
- Moderate sodium
My Take:
Look, this is a dessert. It’s chocolate, butter, and sugar. It’s not a health food. But it’s way better than store-bought brownies, costs less, and I know exactly what’s in it. When I want to make it lighter, I reduce the sugar slightly and add more nuts. But usually? I just eat one square and enjoy it.
Dietary Notes:
- Contains: gluten, dairy, eggs
- Can be made: gluten-free, vegetarian
- Not suitable for: vegan (without modifications), dairy-free (without modifications)
Final Thoughts
So that’s my go-to Ultra-Fudgy One-Bowl Brownies! I’ve probably talked your ear off at this point, but when you make a recipe this often, you have a lot to say about it.
This has saved my dessert game more times than I can count. It’s my answer to “what’s for dessert” when I’m tired, don’t want takeout, and still want something that tastes really good. My kids are happy, my partner’s happy, and I’m happy because I’m not stressed about baking.
Make it yours! Try different mix-ins, swap in your favorite chocolate, adjust the baking time to your oven. The best recipes are the ones you adapt to your family’s tastes. If you want to explore more easy desserts, you might also like my fall chocolate chip pumpkin bread for a spiced twist, or my neapolitan ice cream cake for a fun summer party treat.
If you make this, drop a comment and let me know what you think! I love hearing how recipes turn out in your kitchen. And if something doesn’t work, tell me that too—I’m here to help troubleshoot.
Happy baking! And I hope your kitchen smells half as good as mine does right now.
Frequently Asked Questions
Q: Can I use milk chocolate instead of semi-sweet?
A: You can, but the brownies will be sweeter and less chocolatey. Semi-sweet or dark chocolate provides a better balance with the sugar. If you use milk chocolate, consider reducing the sugar by 2 tablespoons.
Q: My brownies came out cakey—what happened?
A: Usually means you overmixed the flour or overbaked them. Next time, mix just until the flour disappears, and pull them out when the toothpick has moist crumbs. Also, make sure you’re not packing the flour too tightly into the measuring cup.
Q: Can I make this ahead for a party?
A: Absolutely! Bake them 1-2 days ahead. Store in an airtight container at room temperature. They actually taste better after a day because the flavors meld. Just cut and serve right before the party.
Q: Why did my brownies crumble when I cut them?
A: You probably cut them while they were still hot. Brownies need to cool completely to set. If you cut them hot, they’ll fall apart. Let them cool in the pan for at least 30 minutes, preferably longer.
Q: Can I use oil instead of butter?
A: You can, but the flavor won’t be as rich. If you must, use a neutral oil like vegetable or canola oil. Use the same amount. But honestly, butter makes a huge difference. Don’t skip it.
Q: How do I store leftover brownies?
A: Store in an airtight container at room temperature for up to 5 days. For longer storage, freeze them. They thaw beautifully at room temperature.
Q: Can I double this recipe?
A: Yes, but you’ll need a 9×13 inch pan. Increase the baking time by 5-10 minutes. Check with a toothpick a few minutes before the estimated time.
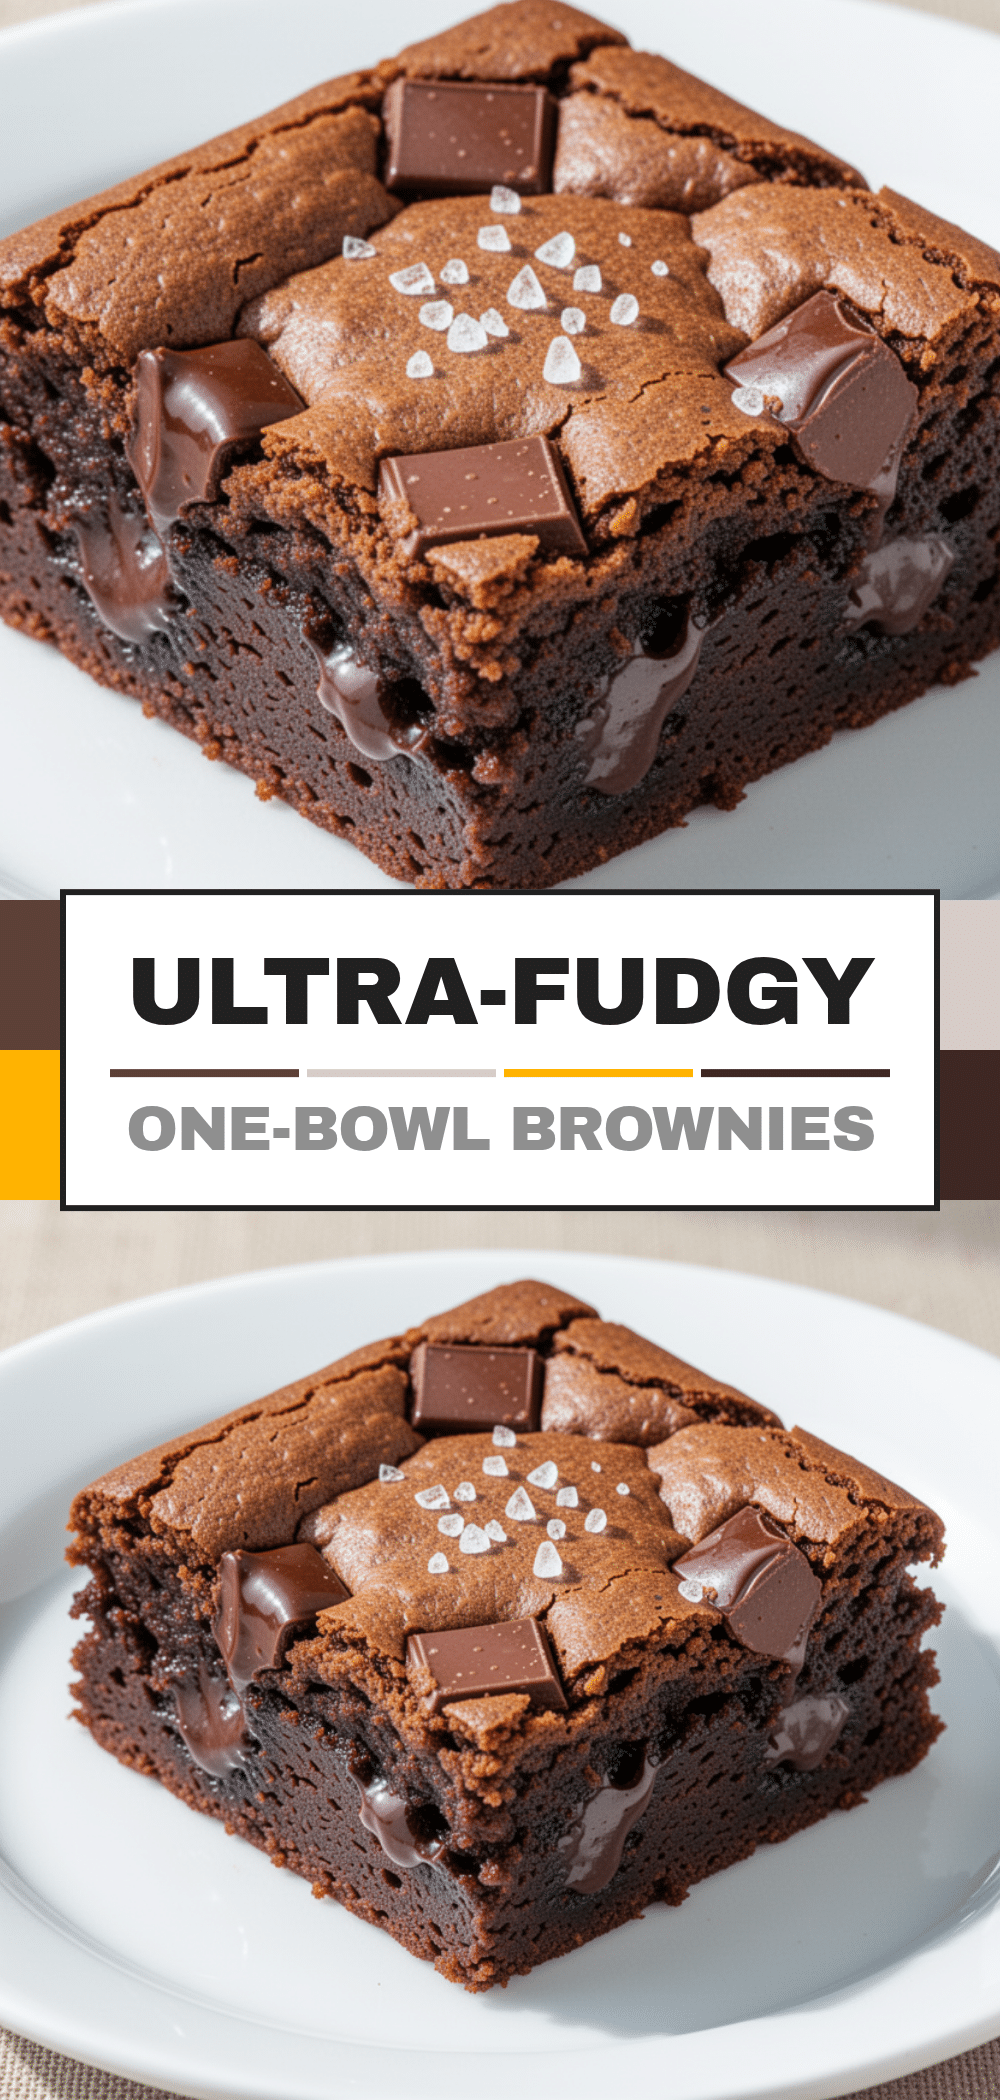
Pin This Recipe!
Ultra-Fudgy One-Bowl Brownies: Best Easy Dessert
- Total Time: 45 minutes
- Yield: 16 servings 1x
Description
These ultra-fudgy one-bowl brownies are dense, dark, and impossibly fudgy with a crackly top. They require minimal active time, use standard pantry ingredients, and deliver maximum flavor with minimum fuss.
Ingredients
- 12 ounces (340g) semi-sweet or dark chocolate chips
- ½ cup (113g) unsalted butter, melted
- 1 cup (200g) granulated sugar
- 3 large eggs, room temperature
- 1 teaspoon pure vanilla extract
- ¾ cup (95g) all-purpose flour
- ¼ cup (20g) unsweetened cocoa powder
- ½ teaspoon salt
- Optional: ½ cup chocolate chips, walnuts, or peanut butter chips
Instructions
- Preheat oven to 350°F (175°C). Line a 9×9 inch baking pan with parchment paper, leaving an overhang on the sides for easy removal.
- In a large microwave-safe bowl, combine the melted butter and chocolate chips. Microwave in 30-second intervals, stirring in between, until smooth. Let cool for 5 minutes.
- Whisk in the sugar, eggs, and vanilla extract to the chocolate mixture. Whisk vigorously for about a minute until the mixture is shiny and slightly thickened.
- Stir in the flour, cocoa powder, and salt. Mix until just combined; do not overmix.
- If using mix-ins, gently fold them into the batter.
- Pour the batter into the prepared pan and spread evenly.
- Bake for 25-30 minutes. The edges should be set and pulling slightly away from the pan, while the center remains slightly soft and jiggly. A toothpick inserted into the center should come out with moist crumbs.
- Let the brownies cool in the pan on a wire rack for at least 30 minutes before cutting.
- Use the parchment overhang to lift the brownies out, cut into squares, and serve.
Notes
For extra fudginess, add an extra egg yolk. For a salted caramel twist, drizzle caramel sauce on top before baking and sprinkle with flaky sea salt after. Chill batter for 15 minutes before baking for a thicker, chewier texture. Ensure eggs are room temperature to prevent seizing the chocolate. Do not overmix the flour to avoid cakey texture.
- Prep Time: 15 minutes
- Cook Time: 30 minutes
- Category: Dessert
- Cuisine: American
Nutrition
- Serving Size: 1 square
- Calories: 220
- Sugar: 18
- Sodium: 80
- Fat: 12
- Saturated Fat: 7
- Carbohydrates: 28
- Fiber: 1
- Protein: 3
Keywords: brownies, fudgy brownies, one-bowl recipe, easy dessert, chocolate dessert, quick baking, homemade brownies


