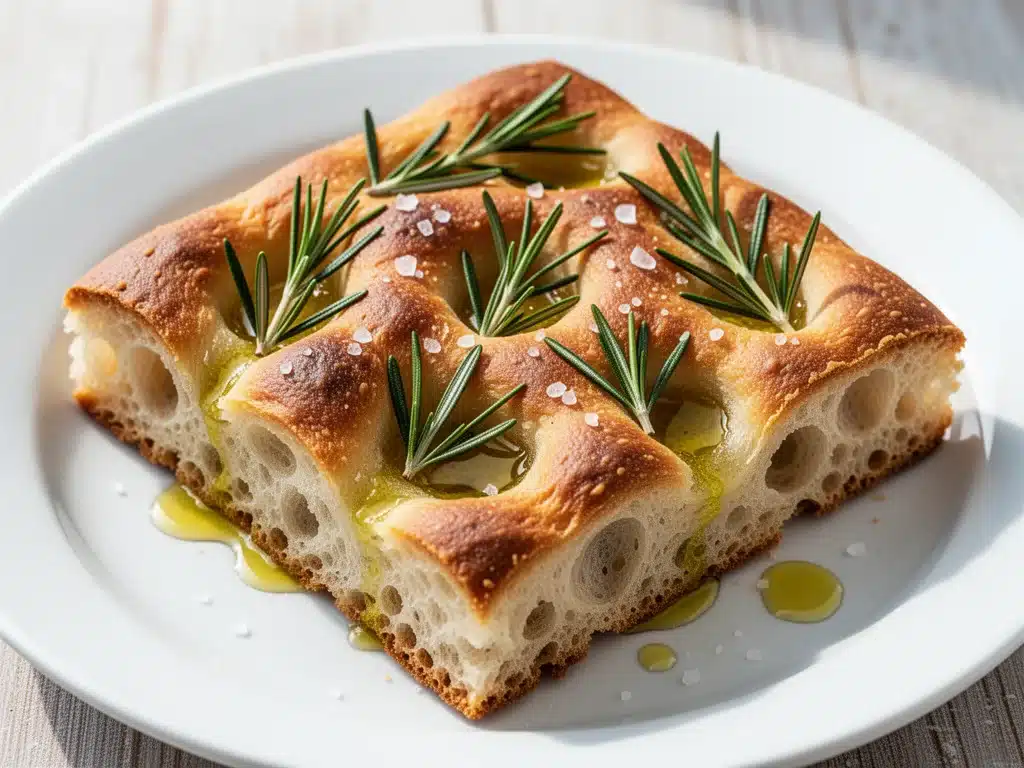
There’s a specific kind of silence that falls over my kitchen on Saturday mornings. The house is still, the light is that soft, pale gold that only happens in October, and the air smells like yeast and rosemary. It’s my favorite time of the week. It’s the ritual.
Two years ago, I was stuck in a baking rut. I was making the same sandwich bread, over-kneading it, stressing over proofing times, and ending up with dense, sad loaves that tasted like disappointment. I needed something that forced me to slow down. I needed something that demanded attention but didn’t require me to stand over the stove stirring for hours. That’s when I stumbled into the world of sourdough focaccia.
First attempt? A disaster. It was too wet, spread everywhere, and tasted like flat, salty cardboard. Second attempt? Better, but dry as a brick. Third time? I finally got it. I got the hydration right. I got the olive oil ratio perfect. I learned that the secret isn’t in the kneading—it’s in the waiting, and in the freedom to let the dough do its own thing.
Now, this Sourdough Focaccia with Rosemary is my autumn anchor. It’s the recipe I make when the days get shorter and I want to fill the house with warmth. It’s the bread I pull from the oven at 10 a.m., tear into while it’s still steaming, and drizzle with more olive oil than I probably should. It’s crispy on the bottom, chewy in the middle, and fragrant enough to make my neighbors wonder what I’m cooking (they don’t know it’s sourdough, they just think it smells amazing).
If you’ve been intimidated by sourdough because of the starter or the long fermentation, this is your entry point. This Sourdough Focaccia with Rosemary is forgiving. It’s designed for messy hands and busy weekends. It’s the best easy autumn recipe because it turns simple ingredients—flour, water, salt, olive oil, and a bit of starter—into something that feels like a hug. Let me walk you through exactly how I make it, so you can stop buying expensive bakery bread and start making this instead.
Why You’ll Love This Sourdough Focaccia with Rosemary
I’ve made this specific version of Sourdough Focaccia with Rosemary probably fifty times in the last eighteen months. I’ve tweaked the hydration, swapped the herbs, and tried different flours. But this combination? This is the one. Here’s why it keeps me coming back.
It’s Actually Easy (No Kneading Required)
Sourdough usually sounds like work. You hear words like “autolyse,” “stretch and fold,” and “bulk fermentation,” and your brain wants to check out. With this Sourdough Focaccia with Rosemary, the process is different. You mix it up, you let it rest, you do a few gentle folds, and then you let the oven do the heavy lifting. There’s no aggressive kneading. There’s no stress. If you can mix a bowl, you can make this bread.
It Uses Your Discard (or Active Starter)
One of the biggest barriers to sourdough is feeling guilty about throwing away your starter. This recipe is perfect for using your daily discard, but it also works beautifully with an active, fed starter. It’s flexible. If you’re a sourdough newbie, you can feed your starter the night before and use it fresh. If you’re a seasoned pro, toss in your discard. The result is a slightly tangy, complex flavor that regular yeast just can’t match.
The Texture is Unbeatable
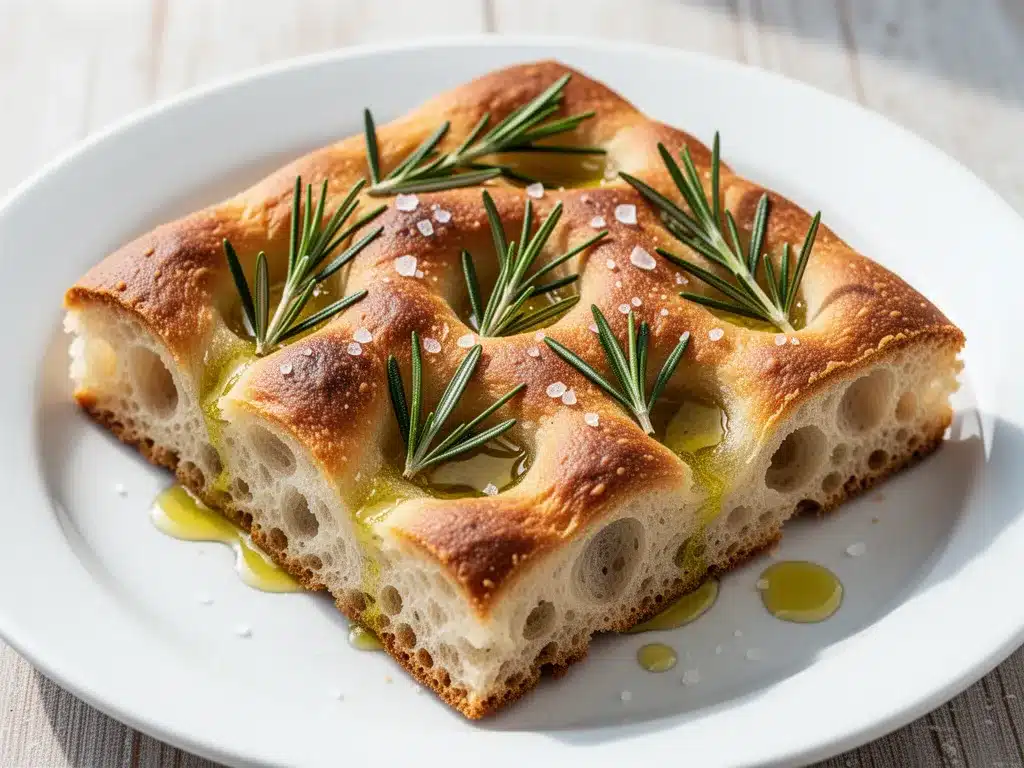
There’s nothing worse than dry focaccia. It’s supposed to be pillowy and airy, with those iconic dimples holding pools of olive oil. When you bite into this Sourdough Focaccia with Rosemary, you get a crisp, golden crust on the bottom and sides, and a crumb that’s moist and chewy without being gummy. The rosemary adds an earthy, pine-like note that cuts through the richness of the oil. It’s savory, it’s aromatic, and it’s addictive.
It’s Perfect for Autumn
Why is this the best easy autumn recipe? Because it smells like the season. There’s something about the combination of fresh rosemary and warm bread that feels like a cozy sweater. It pairs perfectly with autumn soups, roasted vegetables, and sharp cheddar cheeses. It’s also a great make-ahead item. You can mix it on Friday night, let it ferment in the fridge overnight, and bake it Saturday morning. It fits into a busy weekend schedule without demanding your entire day.
Ingredients You’ll Need
Here’s the thing about focaccia: it’s simple. You don’t need fancy equipment or obscure ingredients. You just need good quality basics. For this Sourdough Focaccia with Rosemary, I’m using standard all-purpose flour, but bread flour works too if you want a chewier crumb. I’ll explain why below.
For the Dough
All-Purpose Flour (500g / 3 ¾ cups) — I prefer all-purpose for a tender crumb. If you want a more rustic, chewy texture, swap half of it for bread flour. Don’t use whole wheat unless you want a dense loaf; this recipe is designed for lightness. Measure by weight if you can, but if you’re using cups, fluff the flour first and spoon it in. Don’t scoop directly from the bag, or you’ll pack in too much flour and dry out your dough.
Water (350g / 1 ½ cups) — This gives us a high hydration dough, which creates those big air pockets. Use lukewarm water, not hot. If your kitchen is cold, warm the water slightly to help the yeast activate. Room temperature is fine if your house is around 70°F.
Sourdough Starter (100g / ½ cup) — This should be active and bubbly. If you’re using discard, it’s fine, but the rise might be slower. If you’re using an active starter, feed it 4-6 hours before you plan to mix. It should pass the float test (drop a spoonful in water and it floats). This is the leavening agent, so its vitality matters.
Extra Virgin Olive Oil (60g / ¼ cup + extra for the pan) — This is non-negotiable. You need good olive oil for the dough and *more* for the pan. I use a fruity, medium-bodied oil. Don’t use light olive oil; you’ll taste the difference. The oil in the pan is what creates that crispy, golden bottom crust.
Salt (10g / 1 ¾ teaspoons) — Use fine sea salt. Kosher salt works too, but adjust the amount slightly as it’s less dense. Salt controls the yeast and adds flavor. Don’t skimp on salt; focaccia needs it to balance the richness of the oil.
For the Toppings
Fresh Rosemary (2-3 sprigs, needles removed) — Fresh is best. Dried rosemary works in a pinch, but it’s potent and can be bitter. Use half the amount if using dried. I like to chop the needles roughly so they distribute evenly.
Flaky Sea Salt (for finishing) — Maldon salt is my favorite. It adds a beautiful crunch and a burst of saltiness that regular salt can’t match. Sprinkle this on right before baking.
Garlic (optional) — I love adding thin slices of garlic to the dimples. It gets soft and sweet in the oven. If you’re garlic-averse, skip it.
Black Pepper — A crack of fresh black pepper adds a nice heat. I usually add it along with the rosemary.
Equipment Needed
You don’t need much. Here’s what I actually use in my kitchen.
9×13 Inch Baking Pan — I use a metal pan. Dark non-stick pans work too, but keep an eye on the bottom so it doesn’t burn. Glass or ceramic pans work, but they heat slower, so you might need to add 5 minutes to the bake time. I prefer metal for that crisp crust.
Dutch Oven or Large Bowl — For mixing and bulk fermentation. A large glass bowl is easiest for watching the dough rise.
Clean Kitchen Towel or Plastic Wrap — To cover the dough. Plastic wrap is easier because it doesn’t stick, but a damp towel works if you’re old-school.
Pastry Brush — For brushing the top with oil before adding toppings.
How to Make It: Step-by-Step
Alright, let’s make this! I’m walking you through exactly how I do it, including the little tricks I’ve picked up over the years. This process is about patience, not speed.
Step 1: Mix the Dough (10 minutes)
In a large bowl, combine the flour, water, and sourdough starter. Mix with your hands or a sturdy spoon until no dry flour remains. It will look shaggy and messy. That’s normal. Don’t worry about it being smooth yet. Let it rest for 20 minutes. This is called autolyse, and it helps the gluten develop on its own without kneading.
After 20 minutes, add the salt and another tablespoon of olive oil. Mix again until incorporated. The dough will still be sticky. That’s good. High hydration means sticky dough.
Step 2: The First Fold (5 minutes)
Wet your hands with water (this prevents sticking). Grab one side of the dough, stretch it up, and fold it over the center. Do this for all four sides. You’re creating surface tension. Let it rest for 30 minutes.
Step 3: The Second Fold (5 minutes)
Repeat the stretch and fold process. You’ll notice the dough is smoother and more elastic now. Let it rest for another 30 minutes. By now, you should see bubbles forming on the surface. This is the gluten network developing.
Step 4: Bulk Fermentation (4-12 hours)
Now, you wait. Cover the bowl and let it sit at room temperature. If your kitchen is warm (75°F+), 4-6 hours might be enough. If it’s cool, it might take 8-12 hours. You’re looking for the dough to double in size and look puffy and jiggly. When you gently shake the bowl, the dough should jiggle like gelatin. This is the sweet spot.
Pro Tip: If you want to bake in the morning, do your last fold at night, cover the bowl, and put it in the fridge. The cold retardation develops flavor and makes the timing easier for weekend mornings.
Step 5: Prep the Pan (10 minutes)
Generously coat your 9×13 pan with olive oil. Use your hands to spread it into every corner and crevice. Pour another tablespoon of oil into the center. This pool of oil is crucial for the crispy bottom.
Gently transfer the dough from the bowl to the pan. Do not punch it down! You want to keep those air bubbles. Use your oiled fingers to gently press the dough into the corners. It will resist. That’s okay. Let it rest for 15 minutes, then gently stretch and press again. It should eventually cover the whole pan.
Step 6: The Dimples and Toppings
Let the dough proof in the pan for 30-60 minutes until it looks puffy. Preheat your oven to 425°F (220°C) during the last 20 minutes of proofing. Hot oven is key for the rise.
Once the oven is hot and the dough is puffy, it’s time for the dimples. Wet your fingers again and press deep dimples into the dough. Go all the way to the oil at the bottom. This is the signature focaccia look. Sprinkle with chopped rosemary, flaky salt, and pepper. Drizzle with a little more olive oil.
Step 7: Bake (25-30 minutes)
Slide the pan into the oven. Bake for 25-30 minutes. You want it deep golden brown on top and bottom. If the top is browning too fast, tent it loosely with foil. The bottom should be crisp and audible when you tap it. Let it cool in the pan for 10 minutes, then lift it out onto a wire rack. Wait at least 20 minutes before tearing into it. I know it’s hard, but hot bread is gummy. Let it set.
Expert Tips & Tricks
Here’s everything I’ve learned from making this dozens of times. These tips will save you from my mistakes.
Hydration is Key
If your dough feels too dry, add water a tablespoon at a time. If it’s too wet to handle, add flour a tablespoon at a time. But remember, focaccia *should* be sticky. Don’t try to make it like pizza dough. The stickiness is what creates the airy crumb.
The Cold Ferment Secret
I highly recommend the overnight fridge method. It develops a deeper, more complex sourdough flavor. The cold slows down the yeast, allowing enzymes to break down the starches into sugars. This results in a better crust color and a nicer tang. Plus, it fits into a real-world schedule.
Don’t Skip the Oil in the Pan
I’ve made this with a light brush of oil, and then I made it with a pool of oil. The difference is night and day. The oil fries the bottom of the dough as it bakes, creating that irresistible crunch. Be generous.
Watch the Oven Temperature
Every oven runs differently. If your focaccia is pale after 30 minutes, it needs more time. If it’s burning on the bottom, your oven is too hot. Use an oven thermometer to check your actual temperature. I’ve found that 400°F is safer than 425°F for my oven, but adjust to your own.
Variations & Substitutions
Once you’ve nailed the basic version, here’s how you can mix it up. I’ve tried all of these.
Savory Add-Ins
Caramelized Onions — Spread these on top before the final proof. They add sweetness and depth.
Sun-Dried Tomatoes — Chop them up and press into the dough. They add a burst of umami.
Potatoes — Thinly slice Yukon Gold potatoes and layer them on top. This is a classic Italian variation called focaccia di patate. It’s incredible.
Chorizo — Crumble cooked chorizo over the top. It gets crispy and spicy.
Dietary Modifications
Gluten-Free — You can use a 1:1 gluten-free flour blend, but the texture will be different. GF dough is wetter and doesn’t stretch the same way. Press it gently into the pan and don’t expect the same air pockets.
Yeast Version — If you don’t have sourdough starter, substitute 1 teaspoon of instant yeast for the starter. Skip the long bulk fermentation; just let it rise once until doubled, then bake. It won’t have the sour tang, but it will still be delicious.
Serving & Storage
How to Serve
I serve this straight from the pan, torn into rustic chunks. It’s perfect with a bowl of tomato soup, a roasted chicken, or just a glass of wine and some cheese. The rosemary pairs beautifully with autumn flavors like squash, apples, and pears.
Storage Instructions
Room Temperature: Store in an airtight container or wrapped in foil for up to 2 days. It actually tastes better the next day as the flavors meld.
Reheating: Reheat in a 350°F oven for 10 minutes to crisp up the crust. Avoid the microwave, which will make it chewy and tough.
Freezing: Yes, you can freeze focaccia! Wrap it tightly in plastic wrap and then foil. It lasts for up to 3 months. Thaw at room temperature and reheat in the oven.
Nutrition Information
I’m not a nutritionist, but here’s the breakdown if you’re tracking. Keep in mind that the olive oil adds significant calories, so this is a calorie-dense bread.
Per Serving (based on 12 slices):
- Calories: 280
- Protein: 6g
- Carbs: 38g
- Fat: 12g
- Fiber: 2g
Look, this is comfort food. It’s not a diet recipe. But it’s way better than store-bought, and you control the ingredients. When I make it, I use whole grains sometimes, which boosts the fiber. But usually? I just enjoy it in moderation and appreciate the joy it brings.
Final Thoughts
So that’s my go-to Sourdough Focaccia with Rosemary! I’ve probably talked your ear off at this point, but when you make a recipe this often, you have a lot to say about it. This bread has saved my weekends. It’s my answer to “what’s for breakfast” or “what’s for snack” when I want something substantial and delicious.
It’s taught me that baking doesn’t have to be perfect. It just has to be honest. This dough is honest. It tells you when it’s ready. It rewards patience with flavor. And it brings people together. There’s nothing like tearing into a warm, oily, herb-scented loaf with your family.
Make it yours! Try different toppings. Use your favorite olive oil. Let the dough rise longer if you want more sourness. The best recipes are the ones you adapt to your life.
If you make this, drop a comment and let me know what you think! I love hearing how recipes turn out in your kitchen. And if something doesn’t work, tell me that too—I’m here to help troubleshoot. Happy baking, and I hope your kitchen smells half as good as mine does right now.
Frequently Asked Questions
Can I use bread flour instead of all-purpose?
Yes! Bread flour has more protein, which means more gluten. This will give you a chewier, more elastic crumb. Some people prefer this texture for focaccia. If you use bread flour, you might need a tiny bit more water because it absorbs more liquid. Start with the same amount and add a tablespoon if the dough feels too stiff.
My dough didn’t rise. What happened?
There are a few reasons. First, check your starter. If it’s old or inactive, it won’t leaven the dough. Feed it for a few cycles before trying again. Second, check the temperature. If your kitchen is cold (below 65°F), the yeast will work very slowly. Try putting the bowl in a turned-off oven with just the light on for warmth. Third, you might have waited too long. If the dough collapses and smells acidic, it’s over-proofed. Next time, watch it more closely.
Can I make this with just yeast?
Absolutely. If you don’t have sourdough starter, use 1 teaspoon of instant yeast. Mix it with the flour and water. Skip the long bulk fermentation. Let the dough rise in the pan until puffy (about 1-2 hours), then bake. It won’t have the sour tang, but it will still be a delicious, fluffy focaccia.
Why is my focaccia dense?
This usually happens if the dough was over-kneaded (though we’re not kneading here) or if the starter wasn’t active. It can also happen if you pressed the air out of the dough when transferring it to the pan. Remember: gentle hands. Don’t punch it down. Also, ensure your hydration is high enough. Dry dough = dense bread.
How do I get those big air pockets?
The secret is high hydration and gentle handling. Don’t degas the dough. Let it ferment long enough to develop gas bubbles. When you transfer it to the pan, handle it like a baby. Press it gently into the corners. Those dimples also help trap air. If you bake it hot enough, the steam will expand those pockets quickly.
Can I add cheese to this?
Yes! Grated Parmesan, Pecorino, or even mozzarella works great. Add it right before baking. Just be careful not to overload it, as too much cheese can weigh down the dough. A light sprinkle is usually enough to add flavor without compromising the texture.
Pin This Recipe!
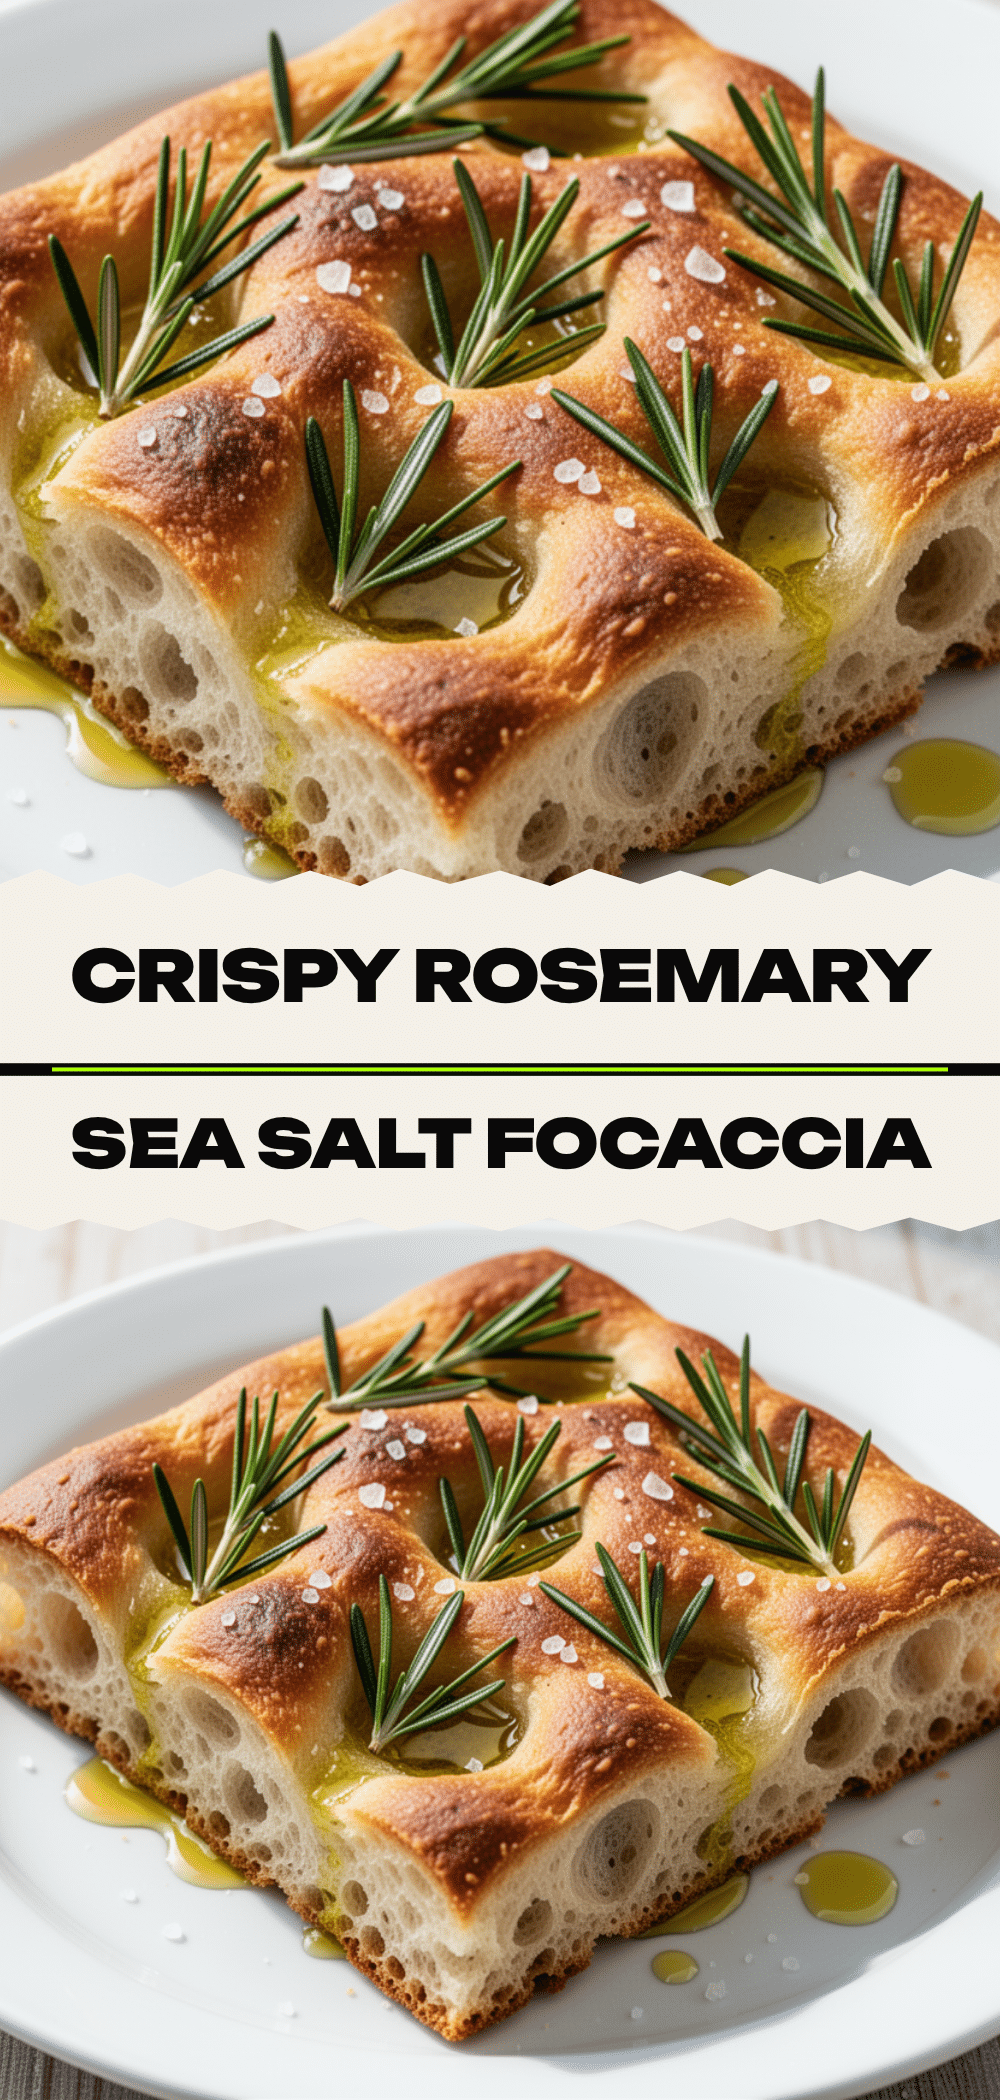

Sourdough Focaccia with Rosemary
- Total Time: 4 hours 30 minutes
- Yield: 12 servings 1x
Description
A forgiving, easy-to-make sourdough focaccia featuring a crispy golden crust, chewy interior, and fragrant rosemary. This autumn-friendly recipe uses high hydration and olive oil for maximum flavor and texture.
Ingredients
- 500g (3 ¾ cups) All-Purpose Flour
- 350g (1 ½ cups) Lukewarm Water
- 100g (½ cup) Active Sourdough Starter or Discard
- 60g (¼ cup) Extra Virgin Olive Oil (plus extra for the pan)
- 10g (1 ¾ teaspoons) Fine Sea Salt
- 2–3 sprigs Fresh Rosemary, needles removed and chopped
- Flaky Sea Salt (for finishing)
- Black Pepper (optional)
- Garlic slices (optional)
Instructions
- In a large bowl, combine flour, water, and sourdough starter. Mix until no dry flour remains. Let rest for 20 minutes (autolyse).
- Add salt and 1 tablespoon of olive oil. Mix until incorporated.
- Wet hands and perform the first stretch and fold: grab one side of the dough, stretch up, and fold over the center. Repeat for all four sides. Let rest for 30 minutes.
- Repeat the stretch and fold process. Let rest for another 30 minutes.
- Cover the bowl and let bulk ferment at room temperature for 4-12 hours until doubled in size and jiggly. Alternatively, refrigerate overnight for cold fermentation.
- Generously coat a 9×13 inch baking pan with olive oil. Transfer dough to the pan, gently pressing it into the corners without punching down. Let rest for 15 minutes, then stretch and press again to cover the pan.
- Let dough proof in the pan for 30-60 minutes until puffy. Preheat oven to 425°F (220°C) during the last 20 minutes of proofing.
- Wet fingers and press deep dimples into the dough, reaching the oil at the bottom. Sprinkle with rosemary, flaky salt, pepper, and optional garlic. Drizzle with more olive oil.
- Bake for 25-30 minutes until deep golden brown on top and bottom. Tent with foil if browning too fast.
- Cool in the pan for 10 minutes, then transfer to a wire rack. Wait at least 20 minutes before slicing.
Notes
High hydration dough will be sticky; do not add too much flour. For best flavor, use the cold fermentation method overnight in the fridge. Ensure your sourdough starter is active and passes the float test. If using bread flour, you may need slightly more water.
- Prep Time: 30 minutes
- Cook Time: 30 minutes
- Category: Bread
- Cuisine: Italian
Nutrition
- Serving Size: 1 slice
- Calories: 280
- Sugar: 1
- Sodium: 600
- Fat: 12
- Saturated Fat: 2
- Carbohydrates: 38
- Fiber: 2
- Protein: 6
Keywords: sourdough focaccia, rosemary bread, autumn recipe, easy sourdough, no knead bread, olive oil bread


