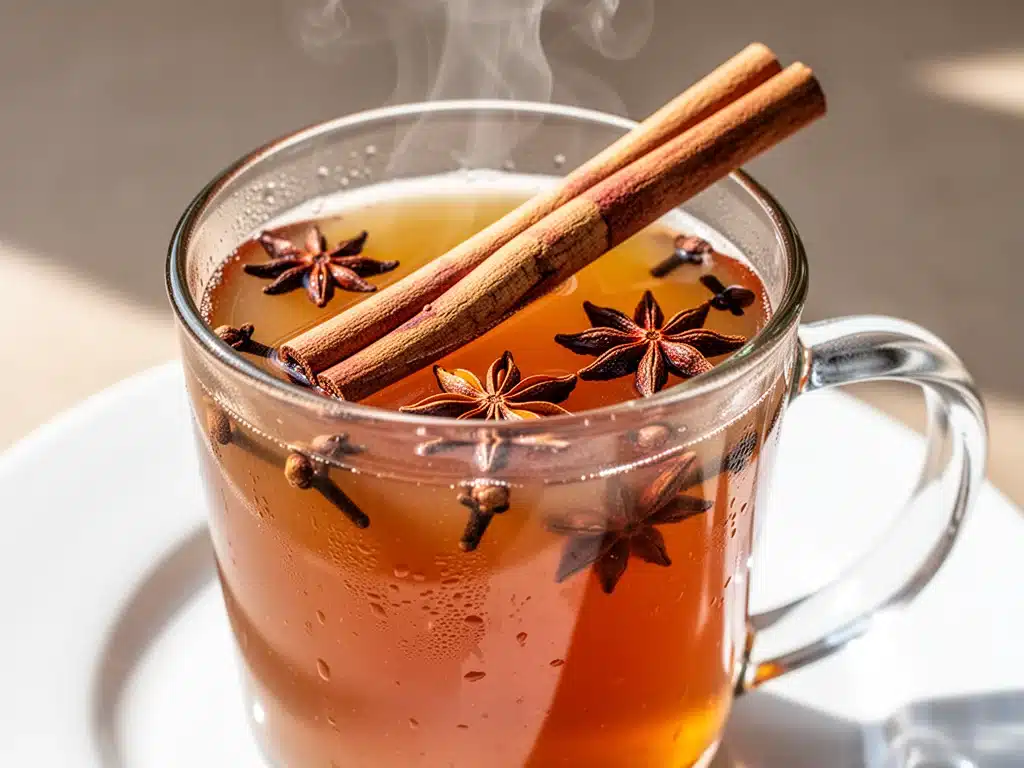
There is a specific moment in mid-October when the air shifts. It’s not just the temperature dropping a few degrees; it’s the way the light changes, getting longer and goldier, and the scent of woodsmoke starts drifting from three houses down. That’s when my kitchen transforms. It stops being a place for quick lunches and becomes the heart of the house, filled with the thick, intoxicating aroma of simmering apples and warm spices.
This isn’t just about drinking something warm. It’s about capturing that feeling—the crunch of leaves underfoot, the first sweater weather, the sense that the world is slowing down just enough to let you breathe. For years, I bought the boxed stuff from the grocery store. You know the kind: clear plastic bottles with bright orange labels, tasting faintly of artificial flavor and too much sugar. It was convenient, sure, but it lacked soul. It was like listening to a recorded version of your favorite song instead of the live album.
Then, two autumns ago, I bought a bushel of bruised, imperfect apples from a local farm stand. They weren’t pretty. Some had brown spots, others were slightly shriveled. But they smelled incredible. I decided to stop buying concentrate and start making my own fall spiced apple cider. I didn’t have a fancy juicer or a large stockpot. I had a heavy-bottomed Dutch oven and a jar of spices my grandmother used to keep on her windowsill.
The first batch was a disaster. I boiled it too hard, and the apples turned cloudy and bitter. The second batch? Better, but I forgot the cinnamon sticks and it tasted like sweetened apple juice. But by the third attempt, I cracked the code. I learned that low and slow is the only way. I learned that a pinch of allspice is the secret weapon most people skip. And I learned that this cozy autumn drink is actually stupid simple to make if you don’t overcomplicate it.
Now, this is my ritual. Every weekend in October, I make a big batch. The house smells like a bakery, my kids beg for “spice water” (as they call it), and I finally have a reason to wear my favorite oversized sweater. It’s 5 ingredients. That’s it. Five things you probably already have, or can grab on a whim. No complicated techniques. No hours of prep. Just warm, spiced, apple goodness that tastes like a hug in a mug.
If you’ve been looking for a way to bring that autumn vibe into your home without spending hours in the kitchen, you need to try this. It’s the easiest, most rewarding thing you’ll make this season. Trust me. Once you taste the difference between fresh-spiced cider and the store-bought stuff, you’ll never go back.
Why You’ll Love This Recipe
Look, I get it. You’re busy. Life is loud. The last thing you want is a recipe that requires a trip to a specialty store and three hours of active stirring. This fall spiced apple cider is different. It’s designed for real life. Here’s why it’s become my absolute favorite way to kick off the season:
- Five Ingredients, Zero Fuss — Seriously, five. Apples, water, cinnamon, cloves, and brown sugar. That’s the whole list. I’m not asking you to hunt down star anise or mace. If you can chop an apple and dump ingredients in a pot, you can make this.
- Smells Better Than Any Candle — I’ve tried those expensive soy candles that claim to smell like “pumpkin spice” and “fall harvest.” They smell chemical. This cider smells like actual autumn. It fills the house, the hallway, even the bathroom. It makes guests stop in the doorway and ask, “What is that amazing smell?”
- Ready in 45 Minutes — You might think making cider from scratch takes all day. It doesn’t. It’s mostly hands-off simmering. You spend about 15 minutes prepping (peeling and chopping apples), and then the pot does the work. In under an hour, you have a pitcher full of warmth.
- Customizable Sweetness — Store-bought cider is often cloyingly sweet. With this recipe, you control the sugar. I use brown sugar because it adds that molasses depth, but you can use less, more, or skip it entirely if your apples are super sweet. It’s your drink, your rules.
- Perfect for Hosting — Made a big batch? It keeps warm on the stove for hours. It’s the ultimate party drink for Halloween, Thanksgiving, or just a Friday night with friends. Serve it in mugs with a cinnamon stick stirrer, and you look like a hosting pro.
This isn’t just a drink. It’s a mood. It’s the antidote to the gray, rainy days of November. It’s comfort in a cup.
Ingredients You’ll Need
Here’s the best part: you probably have most of this already. I’m not asking for anything exotic. This fall spiced apple cider relies on the natural flavor of the apples, boosted by simple pantry spices. Here’s what you need and why it matters.
For the Base:
Apples (3-4 pounds / about 1.5 kg) — This is the star. You want a mix of sweet and tart apples. I love using a combination of Honeycrisp (for sweetness) and Granny Smith (for tang). Don’t use Red Delicious—they turn to mush and have no flavor. Keep the peels and cores on! That’s where all the flavor and color lives. You’re straining it anyway, so no waste.
Water (8 cups / 2 liters) — Just standard tap water is fine. You’re not making espresso. This dilutes the intense apple flavor to a drinkable level. If you want a stronger cider, use 6 cups, but 8 cups is the sweet spot for most palates.
For the Spice:
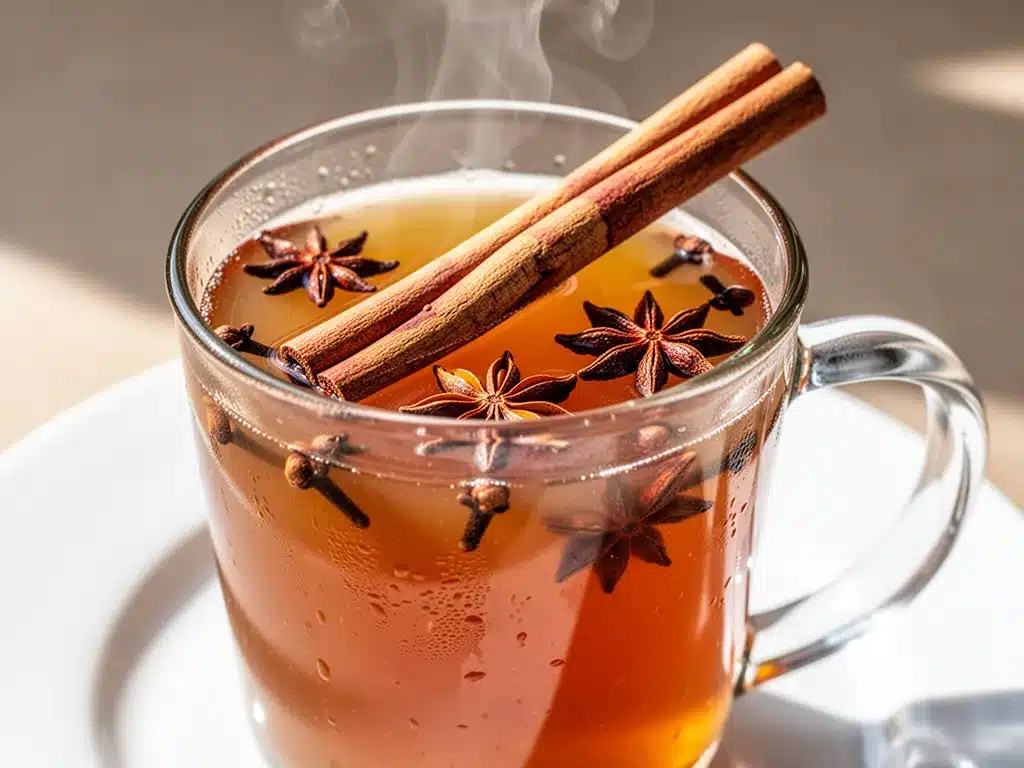
Cinnamon Sticks (3 large sticks) — Buy whole sticks, not ground powder. Ground cinnamon gets muddy and gritty in the liquid. Sticks infuse the flavor cleanly and look beautiful in the pot. I use Ceylon cinnamon if I can find it, but regular Cassia works fine too.
Whole Cloves (6-8 cloves) — Yes, whole. Do not use ground cloves. They are potent and can make the cider taste medicinal if you’re not careful. Whole cloves give you that warm, woody depth without overwhelming the apple. You’ll remove them before serving, so no one has to bite into a clove by accident.
Allspice Berries (1 teaspoon) — This is the secret ingredient. It tastes like a mix of cinnamon, nutmeg, and cloves. It adds complexity that makes the cider taste like it came from a fancy cidermill. If you don’t have allspice, you can skip it, but you’ll miss out on that “magic” flavor.
For the Sweetness:
Brown Sugar (½ cup / 100g, packed) — I prefer brown sugar because it has molasses, which complements the spices beautifully. Light brown is fine. Dark brown is stronger. If you don’t have brown sugar, white sugar or maple syrup works, but the flavor profile will be slightly different. Start with ½ cup and taste. Add more only if needed.
Optional: Fresh Ginger (1-inch piece, sliced) — If you like a little kick, add sliced ginger. It adds a zesty warmth that pairs perfectly with apples. I usually add this if I’m feeling under the weather or want a spicier punch.
Equipment Needed
You don’t need fancy equipment for this. Here’s what I actually use:
Large Stockpot or Dutch Oven — You need something that holds at least 6-8 quarts. The apples will take up space, and you need room for the water. My 6-quart Dutch oven is perfect. If you have a huge stockpot, even better. Just make sure it has a lid.
Sharp Knife and Cutting Board — For chopping the apples. I don’t peel them, but I do core them. If you’re lazy, you can leave the cores on, but it might make the cider slightly bitter. I core mine to be safe.
Sieve or Strainer — A fine-mesh sieve is best for straining out the apple pieces and spices. I also use a cheesecloth-lined sieve if I want crystal-clear cider, but it’s not necessary. A regular strainer works fine for a rustic look.
Measuring Spoons — Standard stuff. Dollar store versions work fine.
Ladle — For serving. Or just use a large spoon.
How to Make It: Step-by-Step
Alright, let’s make this! I’m walking you through exactly how I do it, including the little tricks I’ve picked up over the years.
Step 1: Prep the Apples (10 minutes)
Wash your apples thoroughly. You’re keeping the peels on, so make sure they’re clean. Cut them into quarters. Remove the cores if you want a less bitter cider (I do), but it’s not strictly necessary. You don’t need to peel them—that’s where the color and flavor lives. Toss the apple chunks into your large pot. Don’t worry about them being uniform; big chunks and small chunks will both release flavor.
Step 2: Add the Spices and Water (2 minutes)
Pour the water over the apples. Add the cinnamon sticks, whole cloves, and allspice berries. If you’re using ginger, add that now too. Give it a quick stir to submerge the spices. You want the apples to be mostly covered by water. If they’re sticking out, just push them down with a spoon.
Step 3: Simmer, Don’t Boil (30-40 minutes)
Turn the heat to medium-high and bring the pot to a boil. Once it boils, immediately reduce the heat to low. You want a gentle simmer, not a rolling boil. Cover the pot with the lid, but leave it slightly ajar to let some steam escape. Let it simmer for 30-40 minutes. You’ll know it’s ready when the apples are soft and falling apart, and the kitchen smells incredible. The liquid should turn a deep, rich amber color.
Step 4: Sweeten and Taste (2 minutes)
Remove the pot from the heat. Now is the time to add the brown sugar. Stir until it’s completely dissolved. Taste the cider. Is it sweet enough? Do you want more spice? Add more sugar if needed. If it tastes flat, add a pinch more allspice or a second cinnamon stick. Remember, you can always add more, but you can’t take it away.
Step 5: Strain and Serve (5 minutes)
Set a fine-mesh sieve over a large bowl or pitcher. Carefully pour the cider through the sieve to catch the apple chunks and spices. Press gently on the apples with a spoon to extract as much liquid as possible, but don’t mash them into pulp, or the cider will be cloudy. Discard the solids (compost them, they’re great for garden soil!).
Serve immediately in mugs. Garnish with a fresh cinnamon stick or a thin apple slice. It’s best enjoyed hot, right out of the pot.
Expert Tips & Tricks
Here’s everything I’ve learned from making this dozens of times. These tips will save you from my mistakes.
Use Good Apples — This sounds obvious, but it’s not. If your apples are mealy or old, the cider will taste old. Use fresh, crisp apples. A mix of varieties is best for complexity. I usually buy a bag of “cooking apples” or a mix from the farmer’s market.
Don’t Skip the Simmer Time — I’ve been tempted to rush this by boiling it harder. Don’t. The flavor needs time to infuse. If you boil it too fast, the apples can turn bitter. Low and slow is the key to smooth, sweet cider.
Make It Ahead — This cider actually tastes better the next day. The flavors meld together. Make it the night before, let it cool, and refrigerate it. Reheat gently on the stove before serving. It saves you time on busy weekends.
Freeze for Later — If you make a huge batch, you can freeze it. Let it cool completely, pour into freezer-safe containers (leave room for expansion), and freeze for up to 3 months. Thaw in the fridge and reheat when autumn cravings hit in December.
Add a Splash of Alcohol — For adults, this is the perfect base for a spiked drink. Add a splash of bourbon, rum, or brandy to your mug before pouring the cider. It’s like a fancy hot toddy but easier. I love it with dark rum.
Variations & Substitutions
Once you’ve nailed the basic version, here’s how you can mix it up. I’ve tried all of these.
Spicy Apple Cider — Add a pinch of cayenne pepper or a sliced jalapeño (seeds removed) during the simmer. It adds a surprising heat that balances the sweetness. Great for cold nights.
Pineapple Twist — Swap half the apples for pineapple chunks. It adds a tropical sweetness that pairs well with the cloves. It’s like a piña colada vibe but autumnal.
Maple Cider — Replace the brown sugar with pure maple syrup. Add it after straining. It gives a richer, woodsy sweetness. My kids prefer this version.
Decaf Apple Cider — Wait, there’s no caffeine in cider! But if you’re adding chai tea bags or something, this applies. Just stick to the spices for a caffeine-free version.
Dietary Modifications — This is naturally vegan and gluten-free. If you’re watching sugar, use stevia or monk fruit sweetener instead of brown sugar. It won’t have the same molasses flavor, but it’s lower calorie.
Serving & Storage
How to Serve: I usually serve this straight from the pot on the stove. Put it on a trivet and pass around mugs. It looks rustic and stays warm. For parties, keep it in a slow cooker on the “warm” setting. It’ll stay perfect for hours.
Side Dishes: This pairs perfectly with pumpkin bread, apple pie, or cheesy grilled sandwiches. It’s also great with spicy nuts or pretzels.
Storage Instructions: Store leftover cider in an airtight container in the fridge for up to 5 days. It will thicken slightly as it cools—totally normal. Just add a splash of water when reheating to thin it out.
Reheating: Gently heat on the stove over low heat. Do not boil. Microwaving works too, but stir halfway through to prevent hot spots. Never freeze in glass jars—they can crack. Use plastic containers or ice cube trays for small portions.
Nutrition Information
I’m not a nutritionist, but here’s the breakdown if you’re tracking. This is a treat, so enjoy it!
Per Serving (based on 8 servings of 1 cup):
- Calories: 90
- Carbs: 22g
- Sugar: 18g
- Fiber: 1g
- Protein: 0g
- Fat: 0g
What’s Good: It’s naturally fat-free and dairy-free. The apples provide some vitamin C and fiber (though most fiber is lost in straining). It’s a better alternative to sugary sodas or alcoholic drinks.
What to Know: The sugar content comes from the apples and added brown sugar. If you’re diabetic or watching sugar, use less sweetener or opt for a sugar-free substitute. It’s not a “health food,” but it’s not junk food either. It’s just fruit and spices.
Final Thoughts
So that’s my go-to fall spiced apple cider! I’ve probably talked your ear off at this point, but when you make a recipe this often, you have a lot to say about it.
This has saved my October evenings more times than I can count. It’s my answer to “what do I do now that the kids are home from school?” It’s my way of slowing down. My kids are happy, my husband’s happy (especially when I add the rum), and I’m happy because I’m not stressed about cooking.
Make it yours! Try different apples, adjust the spices, add a splash of something stronger. The best recipes are the ones you adapt to your family’s tastes.
If you make this, drop a comment and let me know what you think! I love hearing how recipes turn out in your kitchen. And if something doesn’t work, tell me that too—I’m here to help troubleshoot.
Happy cooking! And I hope your kitchen smells half as good as mine does right now.
Frequently Asked Questions
Can I use store-bought apple juice instead of fresh apples?
You can, but it won’t be the same. Store-bought juice is often pasteurized and lacks the fresh, bright flavor of real apples. If you use juice, you’ll need to add extra spices since there’s no apple flavor to infuse. I recommend using 100% pure apple juice (not from concentrate) and adding an extra cinnamon stick and allspice. But fresh apples are still the best.
Why is my cider cloudy?
Cloudiness is normal! It’s caused by tiny bits of apple pulp and pectin. If you want clear cider, strain it through a cheesecloth or coffee filter instead of a regular sieve. Let it sit in the fridge overnight; the sediment will settle to the bottom, and you can decant the clear liquid from the top.
Can I make this in a slow cooker?
Yes! This is actually my preferred method for busy days. Put all ingredients in the slow cooker. Cook on low for 6-8 hours. The long, slow cook makes the cider incredibly flavorful. Just strain before serving. It’s even easier than the stovetop method.
How do I keep the cider warm for a party?
Transfer the strained cider to a slow cooker or a large thermal carafe. Set it to “warm” or “keep warm.” Don’t let it boil on the stove, or it will reduce and become too strong. Stir occasionally to prevent scorching on the bottom.
Can I freeze this cider?
Absolutely. Let it cool completely, then pour into freezer-safe containers. Leave about an inch of headspace for expansion. It will keep for up to 3 months. Thaw in the fridge and reheat gently. The flavor holds up surprisingly well.
Is this recipe gluten-free and vegan?
Yes! This fall spiced apple cider is naturally gluten-free and vegan. Just make sure your brown sugar is vegan (some is processed with bone char, though most isn’t) and that you don’t add any dairy-based toppings like whipped cream.
Pin This Recipe!
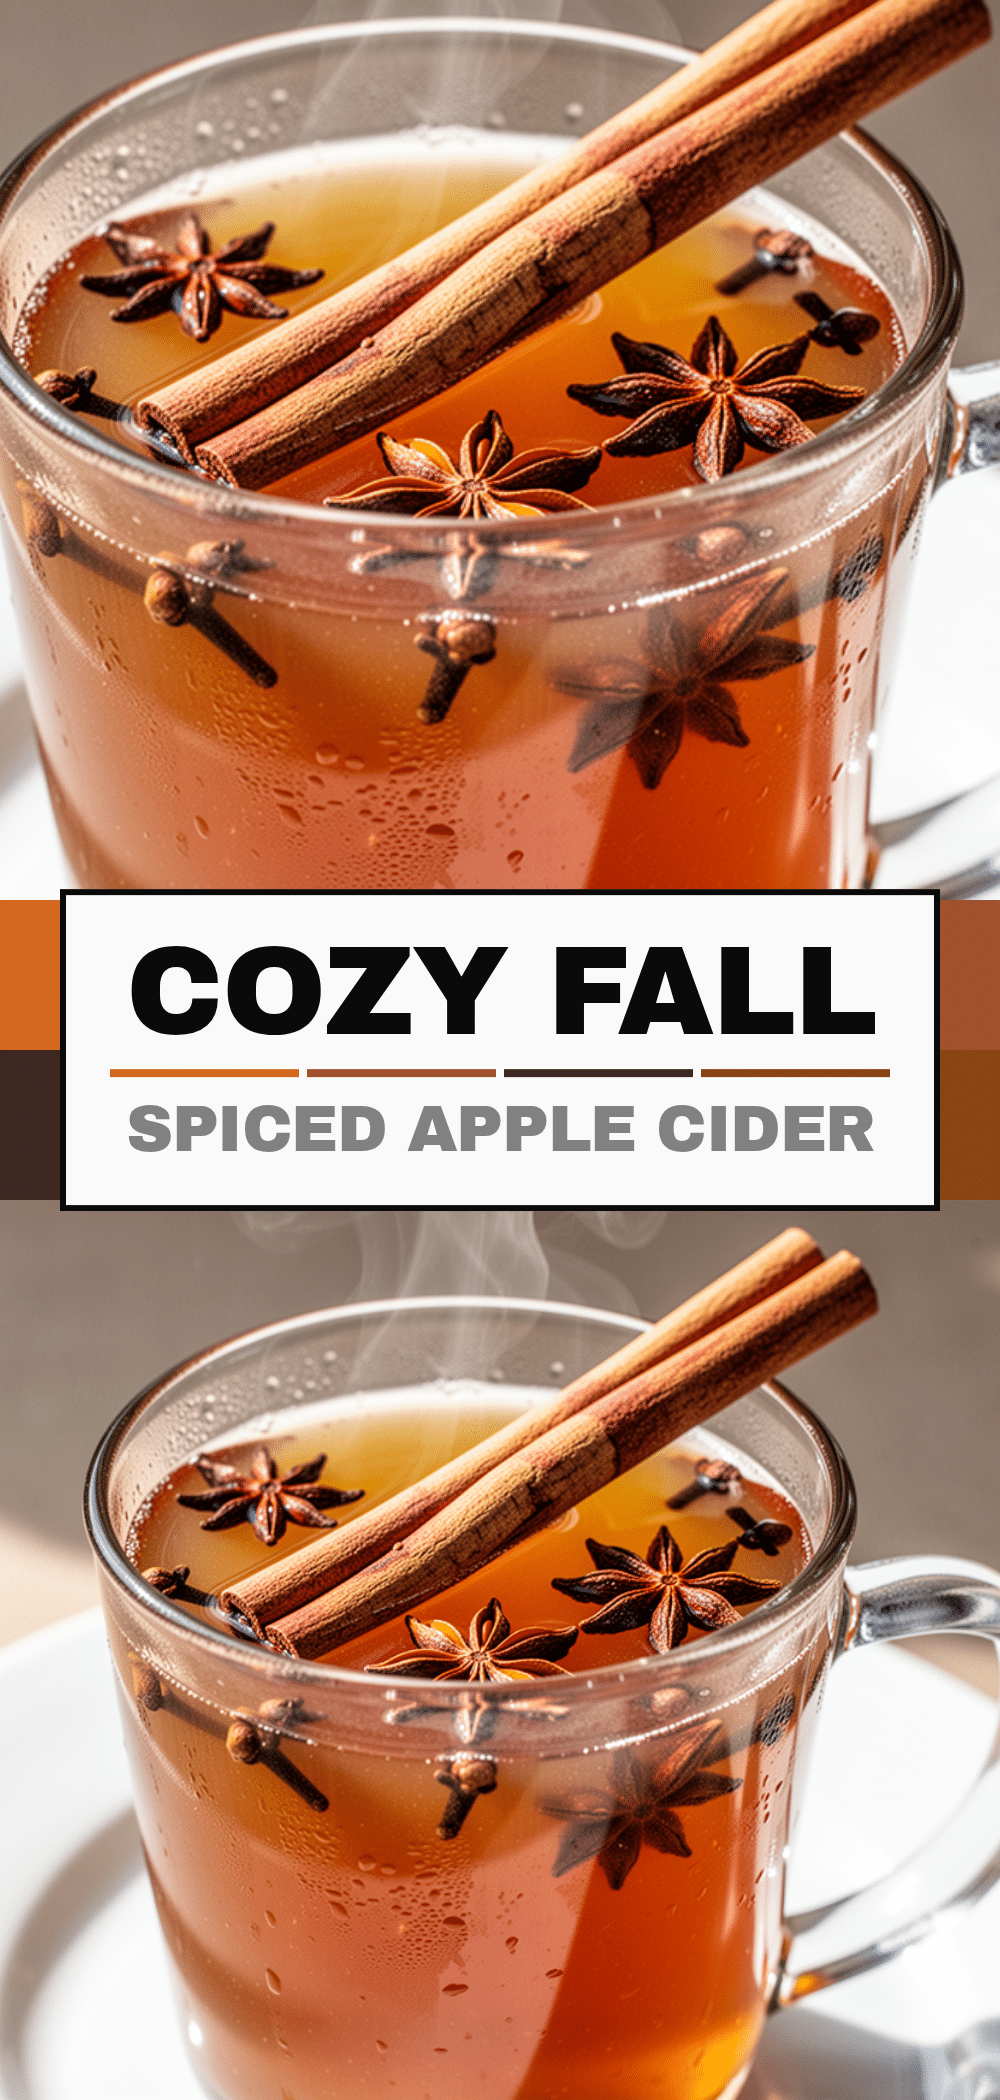
Fall Spiced Apple Cider: 5-Ingredient Homemade Cozy Autumn Drink
- Total Time: 45 minutes
- Yield: 8 servings 1x
Description
A simple, homemade fall spiced apple cider made with just five ingredients. This cozy autumn drink captures the essence of the season with fresh apples, warm spices, and a touch of brown sugar, ready in under an hour.
Ingredients
- 3–4 pounds apples (mix of sweet like Honeycrisp and tart like Granny Smith), washed, quartered, and cored
- 8 cups water
- 3 large cinnamon sticks
- 6–8 whole cloves
- 1 teaspoon allspice berries
- 1-inch piece fresh ginger, sliced (optional)
- 1/2 cup packed brown sugar
Instructions
- Wash apples thoroughly and cut into quarters, removing cores. Place apple chunks into a large stockpot or Dutch oven.
- Pour water over the apples. Add cinnamon sticks, whole cloves, allspice berries, and ginger (if using). Stir to submerge ingredients.
- Turn heat to medium-high and bring to a boil. Immediately reduce heat to low to maintain a gentle simmer. Cover with lid slightly ajar and simmer for 30-40 minutes until apples are soft and liquid is amber.
- Remove pot from heat. Stir in brown sugar until completely dissolved. Taste and adjust sweetness or spice if needed.
- Set a fine-mesh sieve over a large bowl or pitcher. Pour cider through sieve to strain out solids. Press gently on apples to extract liquid without mashing into pulp.
- Serve immediately in mugs, garnished with a cinnamon stick or apple slice.
Notes
For clearer cider, strain through a cheesecloth. The cider tastes better the next day as flavors meld. It can be frozen for up to 3 months. For a spiked version, add a splash of bourbon, rum, or brandy. Do not boil vigorously as it can make the cider bitter.
- Prep Time: 15 minutes
- Cook Time: 30 minutes
- Category: Beverage
- Cuisine: American
Nutrition
- Serving Size: 1 cup
- Calories: 90
- Sugar: 18
- Carbohydrates: 22
- Fiber: 1
Keywords: fall spiced apple cider, homemade apple cider, autumn drink, cozy autumn recipes, 5-ingredient recipes, seasonal drinks, vegan cider, gluten-free drinks


