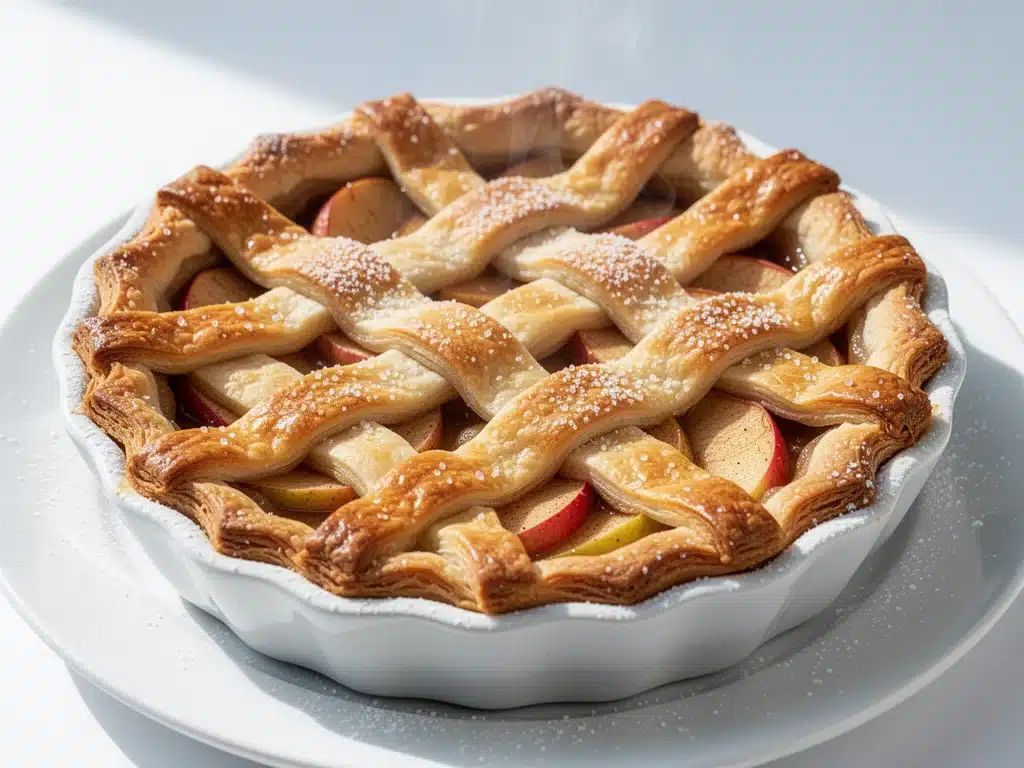
It’s 1998, and I’m standing on a step stool in my grandmother’s kitchen, watching her hands work magic on the flour-dusted counter. She’s making an apple pie for my grandfather’s birthday—a tradition that had survived three decades of burnt crusts, soggy bottoms, and my own clumsy attempts at lattice work. Back then, I thought lattice was just a fancy way to look pretty. I didn’t understand that it was actually functional.
Grandma didn’t use a ruler or a measuring tape. She used her eyes, her fingertips, and a lifetime of intuition. She’d lay down two strips, then weave the third, pausing to tug just slightly on the edges so they’d shrink and meld together as they baked. “The crust needs to breathe,” she’d say, wiping her hands on her apron. “If you pack it tight, it’s just a brick. Let it expand, let it gold.”
That pie wasn’t just dessert. It was love made edible. The apples were tart Granny Smiths from her backyard tree, the filling smelled like cinnamon and nutmeg and comfort, and the crust? Flaky, golden, and holding everything together with a gentle, buttery embrace. I ate two slices that day. My grandfather ate one. We didn’t talk much, but the pie said everything that needed to be said.
Fast forward to today. I’m a home cook who’s tested this homemade apple pie with lattice crust recipe at least 15 times. I’ve made it for holidays, for potlucks, and yes, specifically for Grandparents Day. Because let’s be honest: grandparents don’t need more stuff. They need time, they need nostalgia, and they need to taste something that reminds them of their own childhoods. This pie does exactly that.
And here’s the thing about lattice crusts—they’re not as hard as you think. Once you understand the weave, it’s just playing with food. It’s meditative. It’s fun. And when you pull that golden, fragrant pie out of the oven, the house will smell like a hug. I promise you, if you make this for your grandparents (or anyone you love), they’ll remember it forever.
Why You’ll Love This Apple Pie Recipe
I’ve made hundreds of pies over the years—cherry, peach, pumpkin, even a weird beet one once—and this homemade apple pie with lattice crust remains my absolute favorite. Here’s why it keeps coming back to the top of my list:
- It’s a Showstopper Without the Stress — Lattice looks complicated, but the pattern is repetitive. Once you do the first few strips, your hands just remember what to do. It’s like knitting for your stomach. And the result? It looks like you spent hours. (Spoiler: You didn’t. You spent about 45 minutes prep, most of which is hands-off chilling.)
- Perfectly Balanced Filling — I’ve tried recipes that are too sweet, too tart, too runny, or too dry. This one hits the sweet spot. The apples stay tender but don’t turn to mush. The spices are warm but not overpowering. It tastes like autumn in a bowl.
- Flaky, Buttery Crust That Actually Stays Flaky — The secret is keeping everything cold and using a mix of butter and shortening. Butter gives flavor; shortening gives structure. Together, they create layers that shatter when you cut into it. No soggy bottoms. No tough dough. Just pure, golden flakes.
- It Brings People Together — There’s something communal about pie. It’s not a single-serving dessert. It’s meant to be shared, sliced, and passed around. I’ve seen strangers become friends over a slice of this pie. I’ve seen teenagers put down their phones to help cut it. It’s a conversation starter.
- Great for Meal Prep (Sort Of) — You can make the crust ahead and freeze it. You can make the filling ahead and chill it. The day of, it’s just assembly and bake. Perfect for busy weekends or when you want to impress without being stuck in the kitchen all day.
This pie is my go-to when I want to make someone feel special. It’s not complicated, but it’s thoughtful. It says, “I care enough to make this from scratch.” And that’s worth more than any store-bought box.
Ingredients You’ll Need
Before we get to the fun part (the weaving!), let’s talk about what goes into this pie. I’m particular about a few things here, mostly because I’ve learned the hard way what doesn’t work. But don’t worry—it’s all pantry staples.
For the Double Crust
All-purpose flour (2 ½ cups / 315g) — The base of your crust. Don’t try to swap this out for whole wheat unless you want a dense, biscuit-like texture. For a tender, flaky crust, stick with AP flour. I use Gold Medal because it’s consistent.
Salt (1 teaspoon) — Essential for flavor. It also strengthens the gluten slightly, which helps the crust hold together. Don’t skip it.
Sugar (1 tablespoon) — Just a little bit. It helps with browning and adds a hint of sweetness to the crust itself. You won’t taste it directly, but it balances the salt.
Unsalted butter (1 cup / 2 sticks / 226g, cold and cubed) — This is the flavor star. Use real butter, not margarine. Cold butter is non-negotiable. If it melts before it hits the oven, you lose those flaky layers. I keep my butter in the fridge until the last minute.
Vegetable shortening (½ cup / 113g, cold) — This is my secret weapon. Shortening has a higher melting point than butter, which means the crust holds its shape better during baking. It also creates those distinct, tender layers. I know some people swear by all-butter, but for a lattice crust that needs structure, I trust the combo.
Ice water (6-8 tablespoons) — Just enough to bring the dough together. Too much, and the crust becomes tough. Too little, and it crumbles. Add it a tablespoon at a time. Your dough should look like coarse crumbs that hold together when squeezed.
For the Apple Filling
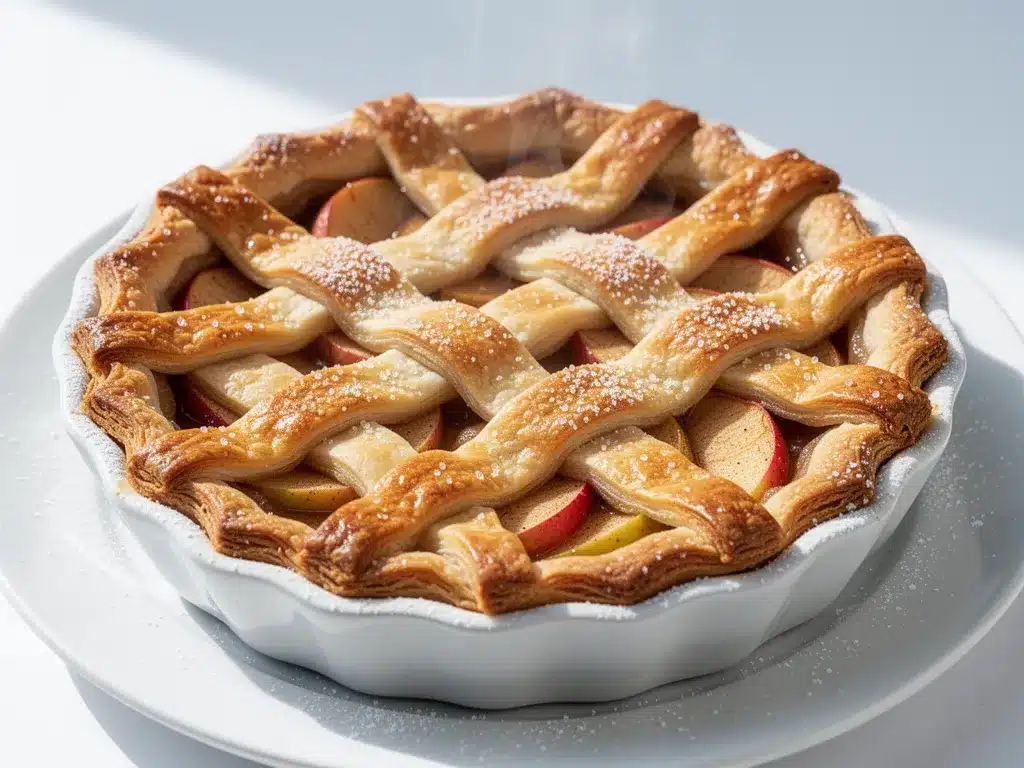
Granny Smith apples (6 medium / about 2.5 lbs / 1.1 kg) — Tart, firm, and hold their shape. I use all Granny Smiths for that classic tart apple pie flavor. You can mix in some Honeycrisp or Braeburn for sweetness, but keep the majority tart to balance the sugar.
Granulated sugar (¾ cup / 150g) — Adjust based on how tart your apples are. If you’re using sweeter apples, reduce to ½ cup. Taste a slice of apple first if you’re unsure.
Brown sugar (¼ cup / 45g) — Adds depth and a slight caramel note. It also helps thicken the filling slightly.
All-purpose flour (3 tablespoons) — This acts as a thickener. Cornstarch works too (use 2 tablespoons), but flour gives a more traditional texture. It absorbs the juices as the pie bakes.
Cinnamon (1 teaspoon) — The backbone of apple pie spice. Use ground cinnamon, not sticks. I prefer McCormick because it’s fresh and potent.
Nutmeg (¼ teaspoon, freshly grated) — Freshly grated makes a huge difference. Pre-ground nutmeg is dusty and weak. If you don’t have a microplane, buy whole nutmegs. They last forever and taste infinitely better.
Vanilla extract (1 teaspoon) — Adds warmth and complexity. Pure vanilla only. Artificial tastes chemical.
Lemon juice (1 tablespoon) — Prevents the apples from browning and adds a bright note that cuts through the sweetness. Don’t skip it.
Butter (2 tablespoons, cut into small pieces) — Dot the top of the filling with these before adding the crust. It bakes into the apples, adding richness.
For the Topping
Heavy cream (2 tablespoons) — Brush over the lattice before baking for that deep, golden brown color.
Sugar (1 tablespoon) — Sprinkle over the cream for a crunchy, caramelized top. Optional, but highly recommended.
Equipment Needed
You don’t need fancy gadgets for this pie. Here’s what I actually use, and why:
- Large mixing bowl — For combining the crust ingredients. I use a stainless steel bowl because it stays cool.
- Pastry cutter or food processor — A pastry cutter is traditional and gives you control. A food processor is faster but can overwork the dough if you’re not careful. I use a pastry cutter when I want to be precise; I use the processor when I’m in a hurry.
- Rolling pin — A 14-inch wooden rolling pin is my go-to. It’s smooth and doesn’t stick. Avoid plastic ones; they can warp.
- 9-inch pie dish — Glass or ceramic is best because it conducts heat evenly. Metal pans can over-brown the edges. I use a Pyrex dish because I can see the bottom browning.
- Sharp knife or pizza cutter — For trimming the crust edges. A pizza cutter is surprisingly effective for straight cuts.
- Baking sheet — Place your pie dish on a baking sheet before putting it in the oven. This catches any drips and makes it easier to slide in and out. Also protects your oven floor.
That’s it. No special molds, no intricate tools. Just basic kitchen staples. If you have these, you’re ready.
How to Make It: Step-by-Step
Alright, let’s make this pie. I’m walking you through exactly how I do it, including the little tricks I’ve picked up over the years. This might seem like a lot of steps, but it’s mostly hands-off. You’ll be surprised how easy it is.
Step 1: Make the Crust Dough (15 minutes)
In a large bowl, whisk together the flour, salt, and sugar. Add the cold, cubed butter and shortening. Using a pastry cutter or your fingers, work the fats into the flour until the mixture looks like coarse meal with some pea-sized chunks of butter remaining. Those chunks are crucial—they create steam pockets that make the crust flaky.
Gradually add ice water, one tablespoon at a time, mixing gently with a spatula. Stop when the dough just begins to come together. It should look shaggy, not smooth. Overmixing develops gluten, which makes the crust tough.
Divide the dough into two equal discs. Wrap them tightly in plastic wrap and refrigerate for at least 1 hour (or up to 2 days). This chilling step is non-negotiable. It relaxes the gluten and re-chills the butter. If you skip this, your crust will shrink and be tough.
Step 2: Prep the Apples (10 minutes)
While the dough chills, peel, core, and slice the apples. Aim for uniform slices, about ¼-inch thick. This ensures they cook evenly. Toss the slices with lemon juice to prevent browning. In a large bowl, combine the sugar, brown sugar, flour, cinnamon, nutmeg, and vanilla. Add the apples and toss until evenly coated. Let this mixture sit for 15-20 minutes. This draws out some of the juice, which you’ll use to adjust the thickener later.
Step 3: Roll Out the Bottom Crust (5 minutes)
On a lightly floured surface, roll out one disc of dough into a 12-inch circle. Roll from the center outward, rotating the dough frequently to prevent sticking. Transfer the dough to your 9-inch pie dish. Gently press it into the bottom and sides without stretching. Stretching causes shrinkage. If it tears, just patch it with scraps—it’ll be covered anyway.
Trim the overhang to about ½-inch beyond the rim of the dish. Place the apple filling into the crust, mounding it slightly in the center. Dot the top with the 2 tablespoons of butter. This will melt into the apples as it bakes.
Step 4: Weave the Lattice Top (15-20 minutes)
This is the fun part. Roll out the second disc of dough into a 12-inch circle. Cut it into 12 equal strips. You can use a pizza cutter or a sharp knife. For a neat look, cut the strips at a consistent width (about ¾-inch).
Lay 5-6 strips vertically across the pie, spaced evenly. Fold every other strip back halfway. Lay one strip horizontally across the pie. Unfold the vertical strips. Fold back the remaining vertical strips, lay another horizontal strip, and unfold. Continue this alternating pattern until you’ve used all the strips. You should have a woven basket effect.
Trim the excess lattice strips so they’re even with the bottom crust. Tuck the edges of the lattice under the bottom crust’s overhang and crimp with your fingers or a fork. This seals the pie and gives it a professional finish.
Step 5: Chill and Prep for Baking (10 minutes)
Place the assembled pie in the freezer for 15 minutes. This re-chills the butter, which helps the crust hold its shape in the oven. Meanwhile, preheat your oven to 400°F (200°C). Place a baking sheet on the middle rack to preheat.
Brush the lattice with heavy cream and sprinkle with sugar. The cream promotes browning; the sugar creates a crunchy, caramelized top.
Step 6: Bake the Pie (50-60 minutes)
Carefully place the pie (on the baking sheet) into the oven. Bake at 400°F for 20 minutes. Then, reduce the heat to 375°F (190°C) and bake for another 30-40 minutes. The crust should be deep golden brown, and the filling should be bubbling vigorously through the lattice. If the edges brown too quickly, cover them with a pie shield or aluminum foil tent.
The bubbling filling is your sign that the thickener has activated. If the filling isn’t bubbling after 40 minutes at 375°F, give it more time. Undercooked thickener means runny pie.
Step 7: Cool Completely (2 hours)
This is the hardest part. You must let the pie cool completely before slicing. At least 2 hours. If you cut into it hot, the filling will spill out and be soupy. The filling needs time to set as it cools. Patience pays off. I know, I know. But trust me. Slice it after it’s cooled, and you’ll get perfect, neat slices.
Expert Tips & Tricks
Here’s everything I’ve learned from making this pie dozens of times. These tips will save you from my mistakes.
Keep Everything Cold
I can’t stress this enough. Cold butter = flaky crust. If your kitchen is warm, put your flour in the fridge for 30 minutes before starting. Use ice water with actual ice cubes in it. If the butter softens while you’re working, pop the dough back in the fridge. It’s better to be impatient and chill than to rush and ruin the texture.
Don’t Skip the Crimp
Crimping the edges isn’t just for looks. It seals the top and bottom crusts together, preventing the filling from leaking out. It also gives you a nice, sturdy edge to hold when you’re serving. Use a fork for a classic look, or pinch with your fingers for a rustic rope effect. Both work.
Use a Baking Sheet
Always bake your pie on a preheated baking sheet. This ensures the bottom crust cooks evenly and prevents a soggy bottom. It also catches drips, so you don’t have to clean your oven floor later. I’ve burned pies on the bottom before because I didn’t use a sheet. Don’t make my mistake.
Let It Cool
I’ve sliced hot pie. It’s a disaster. The filling is liquid, the slices fall apart, and you’re left with a mess. Wait at least 2 hours. If you can’t wait, wait at least 1 hour. Set a timer. Distract yourself. Watch a movie. But don’t cut it early.
Apple Selection Matters
Granny Smiths are my go-to for a reason. They hold their shape and provide tartness. If you use too many sweet apples (like Red Delicious), the pie will be cloyingly sweet and the apples will turn to mush. If you want more sweetness, mix in Honeycrisp or Braeburn, but keep the Granny Smiths as the base.
Variations & Substitutions
Once you’ve nailed the basic version, here’s how you can mix it up. I’ve tried all of these, and they’re all delicious.
Maple Walnut Apple Pie
Replace the granulated sugar with pure maple syrup (reduce other liquids slightly). Fold in 1 cup of toasted walnuts into the filling. The nuttiness pairs beautifully with the apples and adds crunch.
Caramel Apple Pie
Drizzle ½ cup of caramel sauce over the bottom crust before adding the apples. Add a pinch of sea salt on top of the filling. This is rich, indulgent, and perfect for special occasions. My kids love this version.
Spiced Pear Pie
Swap the apples for pears (Bosc or Anjou work best). Increase the cinnamon to 1.5 teaspoons and add a pinch of cardamom. Pears are softer, so reduce the baking time by 10 minutes. Check for doneness earlier.
Gluten-Free Crust
Use a 1:1 gluten-free flour blend with xanthan gum. The texture will be slightly more tender and less flaky, but still delicious. Handle the dough gently, as GF dough can be more fragile.
Vegan Version
Use vegan butter and shortening (like Spectrum). Use agave nectar or maple syrup instead of sugar. The filling is naturally vegan. The crust will be slightly different but still tasty. I’ve made this for vegan friends, and they’ve loved it.
Serving & Storage
How to serve this pie for maximum impact:
- Warm with Ice Cream — Warm a slice in the microwave for 30 seconds and top with vanilla bean ice cream. The contrast of hot pie and cold ice cream is heavenly.
- With Whipped Cream — A dollop of freshly whipped cream is classic. Sweeten it lightly with honey if you like.
- With Coffee or Tea — This pie pairs perfectly with black coffee or Earl Grey tea. It’s not too sweet to pair with bitter drinks.
Storage:
- Room Temperature — Cover loosely with foil or plastic wrap. Keeps for up to 2 days.
- Refrigerator — Cover tightly. Keeps for up to 5 days. Let it come to room temperature before serving for the best texture.
- Freezing — You can freeze the unbaked pie. Wrap tightly in plastic and foil. Bake from frozen, adding 15-20 minutes to the baking time. Or, bake the pie, cool it completely, wrap tightly, and freeze for up to 3 months. Thaw overnight in the fridge before serving.
Reheating:
Warm slices in a 350°F oven for 10-15 minutes. Microwave works in a pinch but can make the crust soggy. Oven reheating preserves the flakiness.
Nutrition Information
I’m not a nutritionist, but here’s the breakdown if you’re tracking. Keep in mind, this is an estimate based on standard ingredients.
Per Slice (1/8 of pie):
- Calories: 380
- Carbs: 52g
- Fat: 18g
- Fiber: 3g
- Sugar: 28g
- Protein: 4g
Look, this is a dessert. It’s meant to be enjoyed, not guilt-tripped. The apples provide fiber and vitamins, and the crust is made with real butter. It’s homemade, so you know what’s in it. When I make this for Grandparents Day, I serve small slices with a side of fresh fruit. Balance is key. But honestly? I usually just eat the slice. It’s that good.
Final Thoughts
So that’s my homemade apple pie with lattice crust! It’s a lot of work, yes. But it’s the kind of work that feels good. It’s tactile. It’s creative. And the result is something that brings people together.
I make this pie for Grandparents Day every year. Not because it’s a holiday that requires a specific dish, but because it’s a day to honor the people who shaped us. And what’s more shaping than the taste of home? The smell of baking apples, the sound of a crust cracking, the sight of steam rising from a warm slice—it’s all memory. It’s all love.
Make this pie. Make it messy. Make it imperfect. Your grandparents won’t care about the perfect lattice. They’ll care that you made it for them. And that’s what matters.
If you make this recipe, drop a comment and let me know how it turned out! I love hearing your stories. And if you’re looking for more pie inspiration, check out my cherry pie recipe or my classic pumpkin pie for other seasonal favorites.
Happy baking! May your kitchen smell like autumn and your heart feel full.
Frequently Asked Questions
Why did my pie crust shrink?
Shrinkage usually happens if the dough was stretched when placed in the pan, or if it wasn’t chilled enough before baking. Always press the dough into the pan without stretching. Chill it for at least an hour. And if it shrinks a little, don’t panic—it’s normal. Just patch it.
Can I use frozen apples?
I don’t recommend it. Frozen apples release too much water and turn mushy. Fresh apples are best. If you must use frozen, thaw them completely and drain the excess liquid before adding to the filling. But fresh is always better for texture.
How do I prevent a soggy bottom crust?
Three things: 1) Preheat your baking sheet. 2) Use a thick enough thickener (flour or cornstarch). 3) Blind bake the bottom crust if you’re using a very wet filling. For this recipe, the baking sheet and proper thickener are usually enough.
Can I make this pie ahead of time?
Yes! You can make the crust and filling up to 2 days ahead. Store them separately in the fridge. Assemble the pie the day you plan to bake it. This actually helps the flavors meld. Just remember to let it cool completely before slicing.
What’s the best way to store leftovers?
Cover loosely with foil or plastic wrap at room temperature for up to 2 days. For longer storage, refrigerate for up to 5 days. Reheat in the oven to restore crispiness. Don’t microwave unless you’re in a hurry.
Can I freeze the baked pie?
You can, but the texture of the crust might change slightly. It can become a bit softer. If you freeze it, wrap it tightly in plastic and foil. Thaw overnight in the fridge and reheat in the oven. It’s still delicious, just not quite as flaky as fresh.
Pin This Recipe!
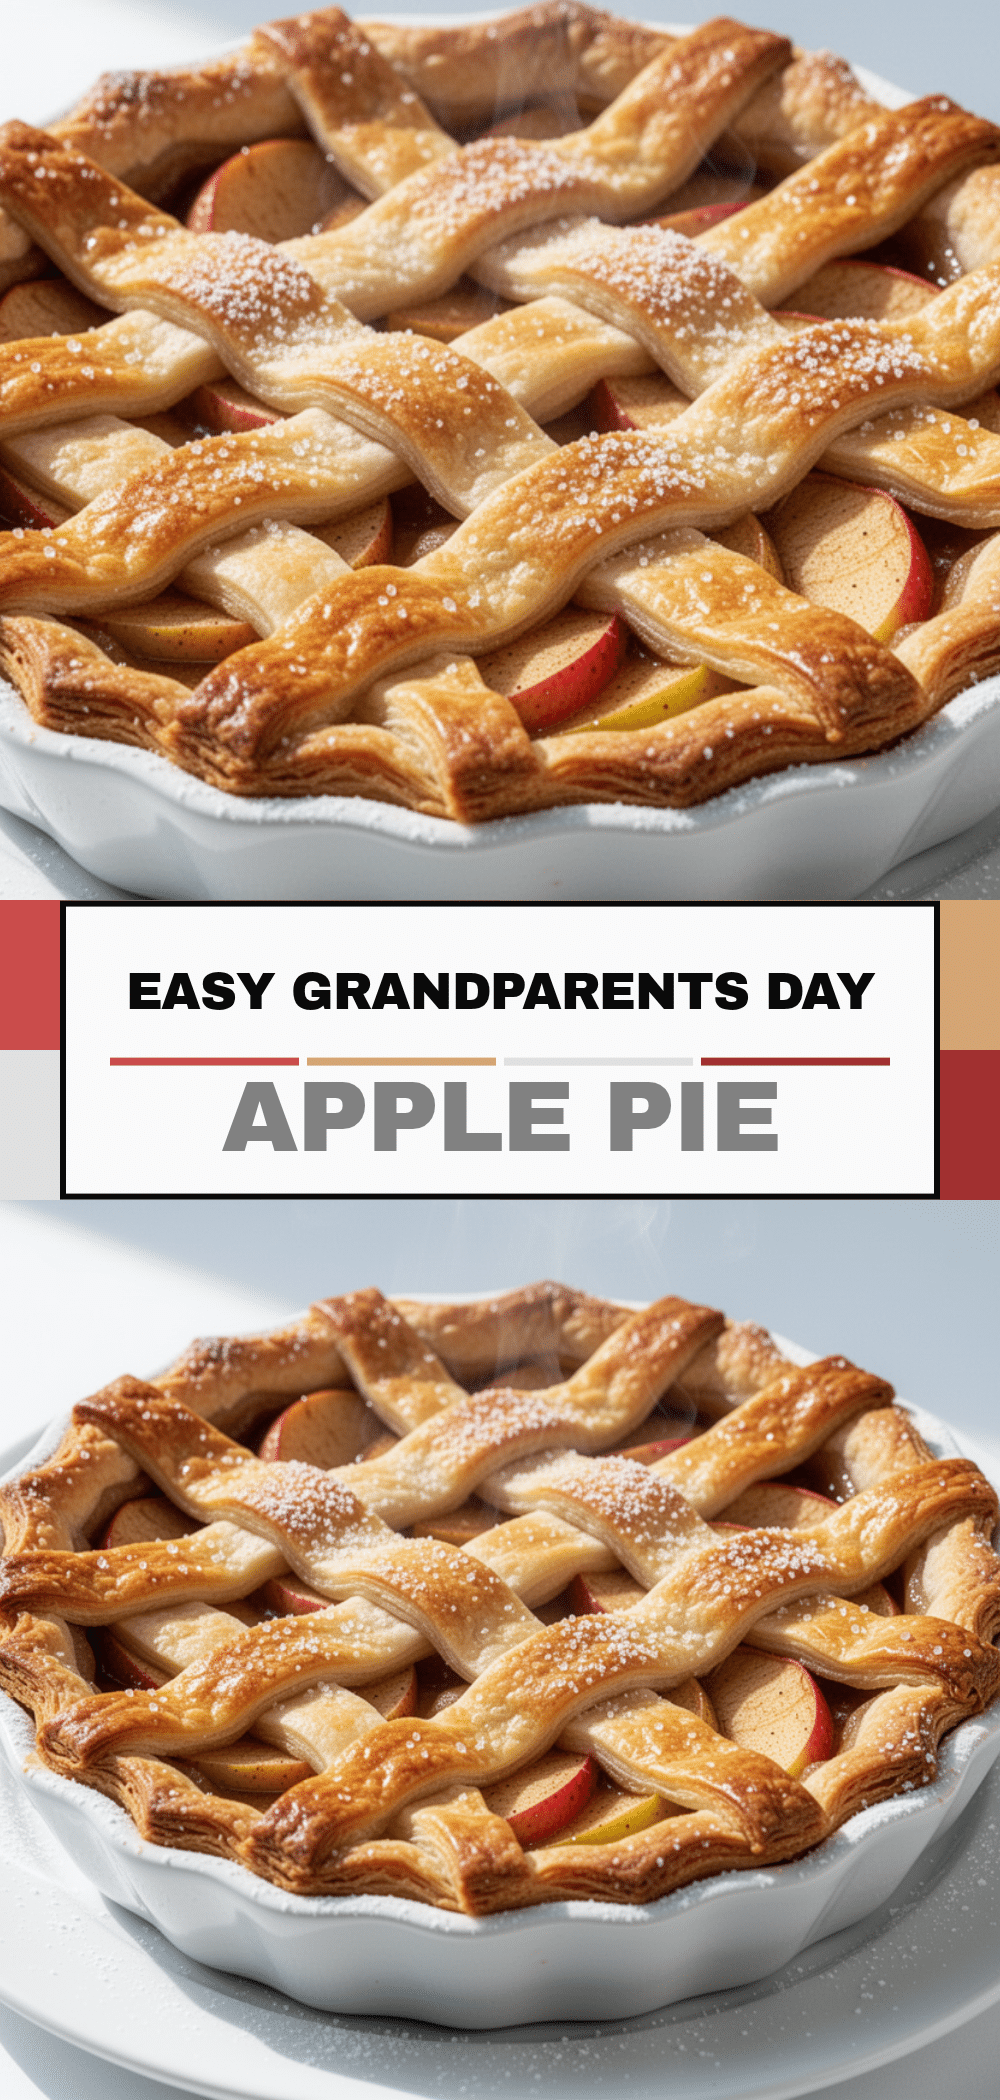
Homemade Apple Pie: Best Lattice Crust Recipe
- Total Time: 2 hours 35 minutes
- Yield: 8 servings 1x
Description
A classic homemade apple pie featuring a flaky, buttery lattice crust and a perfectly balanced tart apple filling. This recipe is designed to be a showstopper that brings nostalgia and warmth to any gathering.
Ingredients
- 2 ½ cups all-purpose flour
- 1 teaspoon salt
- 1 tablespoon sugar
- 1 cup unsalted butter, cold and cubed
- ½ cup vegetable shortening, cold
- 6–8 tablespoons ice water
- 6 medium Granny Smith apples (about 2.5 lbs)
- ¾ cup granulated sugar
- ¼ cup brown sugar
- 3 tablespoons all-purpose flour
- 1 teaspoon ground cinnamon
- ¼ teaspoon freshly grated nutmeg
- 1 teaspoon vanilla extract
- 1 tablespoon lemon juice
- 2 tablespoons butter, cut into small pieces
- 2 tablespoons heavy cream
- 1 tablespoon sugar (for topping)
Instructions
- In a large bowl, whisk together 2 ½ cups flour, 1 teaspoon salt, and 1 tablespoon sugar. Add cold cubed butter and shortening. Work fats into flour using a pastry cutter or fingers until mixture resembles coarse meal with pea-sized butter chunks.
- Gradually add ice water, one tablespoon at a time, mixing gently until dough begins to come together in shaggy crumbs. Do not overmix.
- Divide dough into two equal discs, wrap tightly in plastic, and refrigerate for at least 1 hour (or up to 2 days).
- While dough chills, peel, core, and slice apples into ¼-inch thick slices. Toss with lemon juice to prevent browning.
- In a large bowl, combine granulated sugar, brown sugar, 3 tablespoons flour, cinnamon, nutmeg, and vanilla. Add apples and toss to coat evenly. Let sit for 15-20 minutes to draw out juices.
- On a lightly floured surface, roll one dough disc into a 12-inch circle. Transfer to a 9-inch pie dish, pressing gently without stretching. Trim overhang to ½-inch beyond rim.
- Place apple filling into the crust, mounding slightly in the center. Dot top with 2 tablespoons of butter.
- Roll the second dough disc into a 12-inch circle. Cut into 12 equal strips (about ¾-inch wide).
- Lay 5-6 strips vertically across the pie. Fold every other strip back halfway. Lay one strip horizontally. Unfold vertical strips. Fold back remaining vertical strips, lay another horizontal strip, and unfold. Repeat until all strips are used, creating a woven lattice.
- Trim excess lattice strips. Tuck edges under the bottom crust overhang and crimp with fingers or a fork to seal.
- Place assembled pie in the freezer for 15 minutes. Preheat oven to 400°F (200°C) with a baking sheet on the middle rack.
- Brush lattice with heavy cream and sprinkle with 1 tablespoon sugar.
- Bake on the preheated baking sheet at 400°F for 20 minutes. Reduce heat to 375°F (190°C) and bake for another 30-40 minutes until crust is deep golden brown and filling is bubbling. Cover edges with foil if browning too quickly.
- Cool completely for at least 2 hours before slicing to allow filling to set.
Notes
Keep all ingredients cold for a flaky crust. Do not stretch the dough when placing it in the pan to prevent shrinkage. Let the pie cool completely for at least 2 hours before slicing to ensure the filling sets properly. You can make the crust and filling ahead and refrigerate for up to 2 days.
- Prep Time: 45 minutes
- Cook Time: 50-60 minutes
- Category: Dessert
- Cuisine: American
Nutrition
- Serving Size: 1/8 of pie
- Calories: 380
- Sugar: 28
- Sodium: 250
- Fat: 18
- Saturated Fat: 8
- Carbohydrates: 52
- Fiber: 3
- Protein: 4
Keywords: apple pie, lattice crust, homemade pie, fall dessert, grandparents day recipe, flaky crust, granny smith apples


