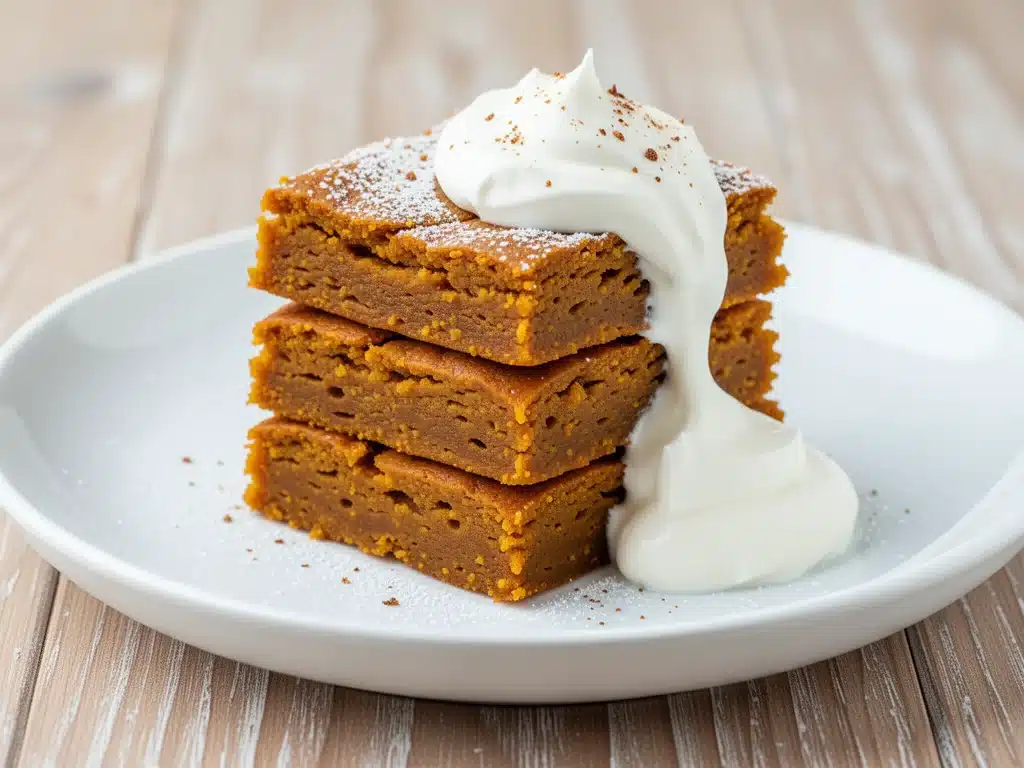
Let’s be real for a second. There is a specific kind of magic that happens in October. The air gets crisp, sweaters come out of storage, and suddenly, every bakery window is screaming at you to buy pumpkin spice everything. And don’t get me wrong—I love the scent of cinnamon and nutmeg as much as the next person. But after the third pumpkin latte and the fifth slice of overly sweet pumpkin bread, my sugar cravings hit a wall. I wanted something that tasted like autumn but didn’t leave me feeling sluggish or guilty three hours later.
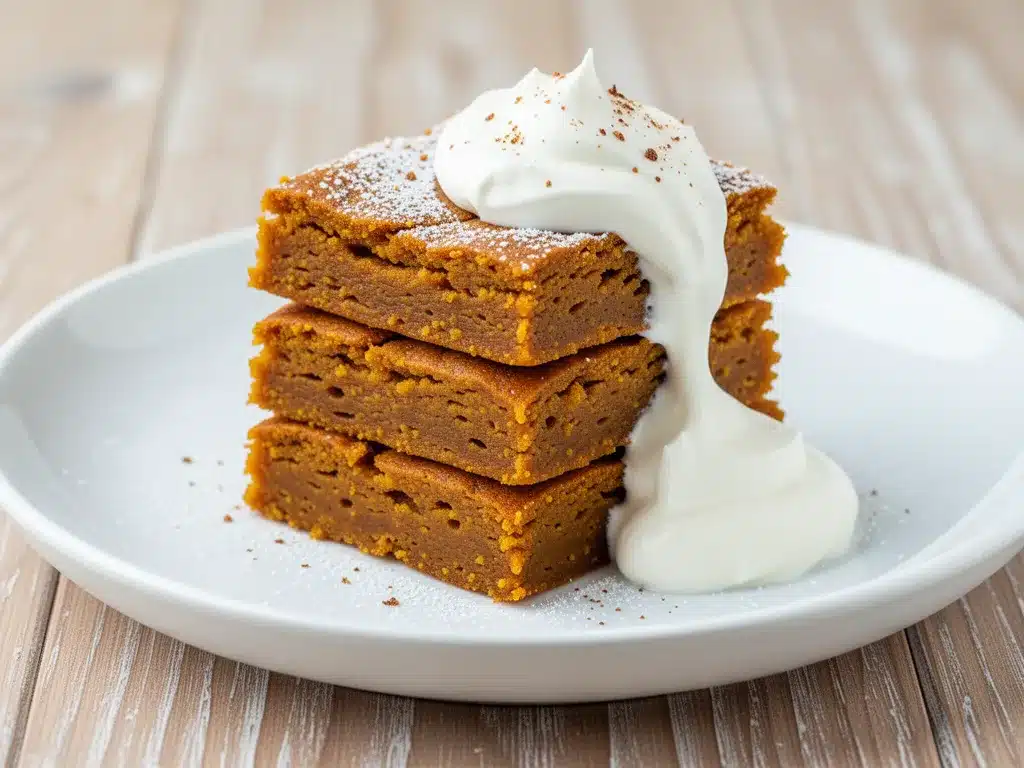
That’s exactly why I started experimenting with these healthy pumpkin dessert bars. I’ve been tweaking this recipe for about six months now, testing batch after batch in my kitchen while my kids begged for “just one more” (which, spoiler alert, is always more than one). The goal was simple: keep the cozy, spiced flavor profile that screams “fall,” but cut out the refined sugar, skip the heavy butter layers, and use ingredients that actually nourish your body. The result? A bar that’s moist, dense, and perfectly spiced, with a crumbly oat topping that adds just the right amount of crunch. They’re the kind of treat you can eat for breakfast if you’re feeling brave, or serve at a Halloween party where adults pretend they’re being good.
I’ve tested these bars with almond flour, whole wheat flour, and even oat flour, and I’ve found the perfect balance that keeps them gluten-friendly without sacrificing texture. The sweetness comes from ripe bananas and a touch of maple syrup, so you skip the artificial junk but still get that satisfying dessert hit. These healthy pumpkin dessert bars have become my go-to for meal prep, post-dinner treats, and even lunchbox swaps. If you’re looking for a way to enjoy fall flavors without the sugar crash, you’re going to want to make this recipe. It’s easy, it’s forgiving, and it smells incredible while it bakes.
Why You’ll Love This Healthy Pumpkin Dessert Bars Recipe
There are a lot of pumpkin recipes out there, but most of them fall into one of two camps: they’re too healthy (taste like cardboard) or they’re too indulgent (taste like a dessert bomb that ruins your day). These bars hit that sweet spot in the middle. Here’s why they’ve earned a permanent spot in my fall baking rotation:
- Actually Moist, Not Dry — A lot of “healthy” baked goods turn out dry and crumbly because they replace too much fat with fruit. I use pureed pumpkin and a little bit of almond butter to keep these bars incredibly moist. They hold together well but still melt in your mouth. I’ve made these for my book club, and three different people asked for the recipe within ten minutes.
- No Refined Sugar — We’re using ripe bananas for natural sweetness, plus a drizzle of pure maple syrup. It’s not zero-sugar, but it’s real sugar, not processed white sugar. You get flavor without the spike. My husband, who usually scoffs at anything “diet,” asked for seconds.
- Gluten-Free Friendly — These bars are naturally gluten-free if you use certified gluten-free oats and almond flour. I’ve made them for my celiac friend, and she said they were indistinguishable from the regular version. Plus, the oat topping adds a nice texture that regular flour can’t replicate.
- Meal Prep Champion — I make a batch on Sunday, and they last all week in the fridge. They actually get firmer and more flavorful as they sit, making them perfect for grabbing on the go. I keep a container in the fridge just for myself (don’t tell my kids).
- Quick and Easy — No creaming butter, no complex layering. It’s a one-bowl mix for the base, a quick toss for the topping, and then bake. Total active time is about 15 minutes. Perfect for those weeknights when you’re tired but want something homemade.
These healthy pumpkin dessert bars are my answer to “what can I bake that’s good for me but still feels like a treat?” They’re cozy, they’re comforting, and they’re surprisingly easy to make. Once you try them, you’ll understand why I’m obsessed.
Ingredients You’ll Need for Healthy Pumpkin Dessert Bars
One of the best things about this recipe is how simple the ingredient list is. You probably have most of this already in your pantry. I’m particular about a few key items, so let’s break down what you need and why it matters.
For the Pumpkin Bar Base
Pumpkin puree (1 cup / 245g) — Make sure this is 100% pure pumpkin, not pumpkin pie filling. Pie filling has sugar and spices already added, which will throw off the balance. I buy the canned kind because it’s consistent, but if you have fresh pumpkin, roast and puree it yourself. Just make sure it’s fully drained so it’s not watery.
Ripe bananas (2 medium / about 1 cup mashed) — These are your main sweetener. They need to be very ripe, with brown spots on the peel. The riper they are, the sweeter they’ll be, and the less maple syrup you’ll need. Blend them into the pumpkin puree for a smooth base.
Almond flour (1 ½ cups / 170g) — This is what gives the bars their tender, cake-like texture without gluten. Almond flour adds healthy fats and protein. You can use all-purpose flour or whole wheat pastry flour if you need it to be less expensive, but almond flour keeps them moist. Just make sure it’s finely ground.
Coconut oil (¼ cup / 60ml, melted) — I use refined coconut oil so it doesn’t taste like coconut. Unrefined works too, but it will add a coconut flavor that some people don’t want in their pumpkin bars. Butter works in a pinch, but coconut oil keeps these dairy-free.
Maple syrup (¼ cup / 60ml) — Pure maple syrup, not pancake syrup. It adds a rich, deep sweetness that pairs perfectly with pumpkin spice. You can reduce this to 2 tablespoons if your bananas are very sweet.
Almond butter (2 tablespoons) — This adds healthy fats and helps bind the bars together. It also adds a subtle nutty flavor that complements the pumpkin. Use smooth almond butter, not chunky, so it mixes evenly.
Vanilla extract (1 teaspoon) — Essential for depth of flavor. Don’t skip it.
Pumpkin pie spice (2 teaspoons) — This is your flavor backbone. If you don’t have a pre-mixed blend, you can make your own: 1 tsp cinnamon, ½ tsp ginger, ½ tsp nutmeg, and ¼ tsp cloves. It’s worth keeping a jar of this on hand in the fall.
Baking powder (1 teaspoon) — Helps the bars rise slightly so they’re not dense. Use fresh baking powder for best results.
Baking soda (½ teaspoon) — Reacts with the acidic pumpkin and banana to help the bars bake evenly.
Salt (½ teaspoon) — Enhances all the flavors. Don’t skip it, even in a sweet recipe.
For the Oat Topping
Old-fashioned oats (½ cup / 45g) — These add a chewy, hearty texture. Use gluten-free oats if needed.
Almond flour (¼ cup / 30g) — Keeps the topping tender and gluten-free.
Chopped pecans or walnuts (¼ cup / 30g) — Optional, but adds a nice crunch. I love pecans with pumpkin.
Coconut oil (2 tablespoons, melted) — Binds the topping together.
Maple syrup (1 tablespoon) — Sweetens the topping slightly.
Cinnamon (½ teaspoon) — Adds warmth to the crumbly top.
Pinch of salt — Balances the sweetness.
Common Questions About Ingredients
Can I use canned pumpkin pie filling? No. It has too much sugar and thickening agents. Stick to pure pumpkin puree.
Can I skip the almond flour? You can use all-purpose flour, but the bars will be less moist and more cake-like. Almond flour is key for the “healthy” aspect here.
What if I don’t have almond butter? You can use sunflower seed butter or omit it, but the bars might be slightly drier. Peanut butter works too, but it will change the flavor profile.
Equipment Needed
You don’t need any fancy gadgets for these healthy pumpkin dessert bars. Here’s what I actually use:
8×8-inch baking pan — I use a glass pan because it bakes evenly. Metal works too, but you might need to reduce the baking time by 2-3 minutes. Line it with parchment paper for easy removal.
Mixing bowls — Two bowls: one for the wet ingredients, one for the dry. I use medium-sized ones.
Fork or pastry cutter — For mixing the topping. A fork works fine; you just want clumps.
Blender or food processor — Optional, but I blend the banana and pumpkin puree together for a smooth base. You can mash the banana by hand, but blending ensures no lumps.
Measuring cups and spoons — Standard stuff. Be accurate with the flour, or the bars will be dry.
Parchment paper — Essential for easy cleanup and clean cuts. I leave a little overhang on the sides to lift the bars out.
How to Make It: Step-by-Step
Alright, let’s make these healthy pumpkin dessert bars! I’m walking you through exactly how I do it, including the little tricks I’ve picked up.
Step 1: Prep Your Pan and Oven (5 minutes)
Preheat your oven to 350°F (175°C). Line an 8×8-inch baking pan with parchment paper, leaving a little overhang on the sides so you can lift the bars out later. Spray it lightly with cooking spray if you want extra insurance. This is crucial—these bars are sticky, and you’ll want them to come out cleanly.
Step 2: Make the Pumpkin Base (10 minutes)
In a large mixing bowl, combine the pumpkin puree and ripe bananas. I blend them together with a hand blender or in a small food processor until smooth. If you don’t have a blender, mash the bananas really well with a fork. Add the melted coconut oil, almond butter, maple syrup, and vanilla extract. Whisk everything together until it’s smooth and well combined.
In a separate bowl, whisk together the almond flour, baking powder, baking soda, pumpkin pie spice, and salt. Then, gently fold the dry ingredients into the wet mixture. Don’t overmix—just stir until no dry streaks remain. The batter will be thick and sticky, like a dense cake batter. That’s exactly what you want.
Step 3: Press the Base into the Pan
Transfer the batter into your prepared baking pan. Use a spatula or wet your hands to press the batter evenly into the pan. You want it flat and smooth. This is your base layer.
Step 4: Make the Topping
In a small bowl, combine the oats, almond flour, chopped pecans (if using), cinnamon, and salt. Drizzle in the 2 tablespoons of melted coconut oil and 1 tablespoon of maple syrup. Use a fork to mix it until it looks like wet sand with clumps. You want it crumbly, not a solid dough.
Step 5: Add Topping and Bake
Sprinkle the oat topping evenly over the pumpkin base. Press it down gently so it sticks. Bake for 25-30 minutes. You’ll know they’re done when the top is golden brown and a toothpick inserted into the center comes out clean or with just a few moist crumbs. Don’t overbake, or they’ll dry out.
Step 6: Cool and Cut
Let the bars cool in the pan for at least 15 minutes. This is the hardest part—waiting—but if you cut them hot, they’ll fall apart. Once cooled, lift them out of the pan using the parchment paper, and cut into squares or bars. Enjoy!
Expert Tips & Tricks for Perfect Bars
Here’s everything I’ve learned from making these dozens of times. These tips will save you from my mistakes.
Don’t Skip the Cooling Time — These bars are delicate when hot. The starches need to set. If you cut them immediately, they’ll be mushy. Patience pays off. I usually let them cool for 20 minutes, then refrigerate for 30 minutes for cleaner cuts.
Use Very Ripe Bananas — The riper the bananas, the sweeter the bars. If your bananas are still greenish, they won’t provide enough natural sweetness, and the bars will taste bland. I keep a bag of bananas in the fridge until they’re brown and squishy.
Drain Your Pumpkin Puree — If your pumpkin puree is watery, your bars will be gummy. Spread the puree on a paper towel for 10 minutes to absorb excess moisture. This is a game-changer for texture.
Don’t Overmix the Batter — Overmixing develops gluten (even in almond flour, it can make things tough). Mix until just combined. Lumps are okay.
Store Properly — These bars keep best in the fridge. Room temperature makes them too soft because of the banana and pumpkin. Keep them in an airtight container for up to 5 days.
Variations & Substitutions
Once you’ve nailed the basic version, here’s how you can mix it up. I’ve tried all of these.
Chocolate Chip Version — Stir ½ cup dark chocolate chips into the pumpkin base before baking. It’s like a pumpkin brownie. My kids love this version.
Coconut Version — Swap almond flour for coconut flour (use ⅓ cup instead of 1 ½ cups, as coconut flour is super absorbent). Add ½ cup shredded coconut to the topping. Very tropical.
Protein-Packed — Add 1 scoop of vanilla protein powder to the dry ingredients. You might need to add 1-2 tablespoons of extra almond milk if the batter is too thick. Great for post-workout snacks.
Gluten-Free — Use certified gluten-free oats and almond flour. The recipe is naturally gluten-free, but always check your labels.
Dairy-Free — Use coconut oil instead of butter (already dairy-free in this recipe) and ensure your maple syrup is vegan. These bars are already dairy-free!
Serving & Storage
How to Serve — I usually serve these warm, straight from the microwave (30 seconds). They’re perfect with a cup of coffee or tea. They also travel well in lunchboxes or as office snacks.
Refrigerator — Store in an airtight container for up to 5 days. They get firmer in the fridge, which I actually prefer. If you want them soft, let them sit at room temperature for 10 minutes before eating.
Freezing — Yes, you can freeze these! Wrap individual bars in plastic wrap and store in a freezer bag for up to 3 months. Thaw in the fridge overnight. They freeze really well because of the banana and pumpkin moisture.
Pro Tip — If you’re meal prepping, cut them into small squares. They’re easier to eat as snacks, and you’re less likely to overindulge.
Nutrition Information
I’m not a nutritionist, but here’s the breakdown if you’re tracking. This is per bar (makes 12 bars).
- Calories: 180
- Protein: 4g
- Carbs: 22g
- Fiber: 3g
- Sugar: 10g (natural)
- Fat: 10g
- Saturated Fat: 5g
- Sodium: 120mg
What’s Good: High in fiber from oats and pumpkin, decent protein from almond flour, and no refined sugar. What to Know: It’s still a dessert, so enjoy in moderation. The almond flour adds healthy fats, which is why the calorie count isn’t super low, but it’s much better than a standard pumpkin bar.
Final Thoughts
So that’s my go-to healthy pumpkin dessert bars recipe! I’ve probably talked your ear off at this point, but when you make a recipe this often, you have a lot to say about it. These bars have saved my fall baking routine. They’re my answer to “what can I make that’s good for me but still feels special?” My kids are happy, my husband’s happy, and I’m happy because I’m not stressing about sugar crashes.
Make it yours! Try different nuts in the topping, add chocolate chips, or reduce the maple syrup. The best recipes are the ones you adapt to your family’s tastes. If you make these healthy pumpkin dessert bars, drop a comment and let me know what you think! I love hearing how recipes turn out in your kitchen. And if something doesn’t work, tell me that too—I’m here to help troubleshoot.
Happy baking! And I hope your kitchen smells half as good as mine does right now.
Frequently Asked Questions
Can I use pumpkin pie filling instead of pure pumpkin?
No, I strongly recommend against it. Pumpkin pie filling has added sugar, spices, and thickeners that will make your bars too sweet and alter the texture. Stick to 100% pure pumpkin puree. If you want extra sweetness, adjust the maple syrup or bananas.
Why did my bars turn out dry?
This usually happens if you overbake them or use dry pumpkin puree. Make sure your pumpkin puree is moist, and check the bars at 25 minutes. They should still look slightly soft in the center. Also, ensure your bananas were ripe—they add moisture.
Can I make these ahead for a party?
Absolutely. These bars actually taste better the next day as the flavors meld. Make them 1-2 days ahead, store in the fridge, and bring to room temperature before serving. They hold up well for parties.
Can I use oat flour instead of almond flour?
You can, but the texture will be different. Oat flour is less fat-rich, so the bars might be less tender. I recommend sticking with almond flour for the best texture, but if you need to be nut-free, sunflower seed flour is a good substitute.
How do I store these bars?
Store in an airtight container in the fridge for up to 5 days. They can also be frozen for up to 3 months. Do not store at room temperature for more than a day, as the banana and pumpkin can spoil faster.
Can I double this recipe?
Yes, but you’ll need a 9×13-inch baking pan. Double all ingredients and bake for 35-40 minutes. Keep an eye on them, as larger pans can bake unevenly.
Are these bars gluten-free?
Yes, if you use certified gluten-free oats and almond flour. The base is naturally gluten-free. Always check your oat packaging to ensure they’re processed in a gluten-free facility.
Pin This Recipe!
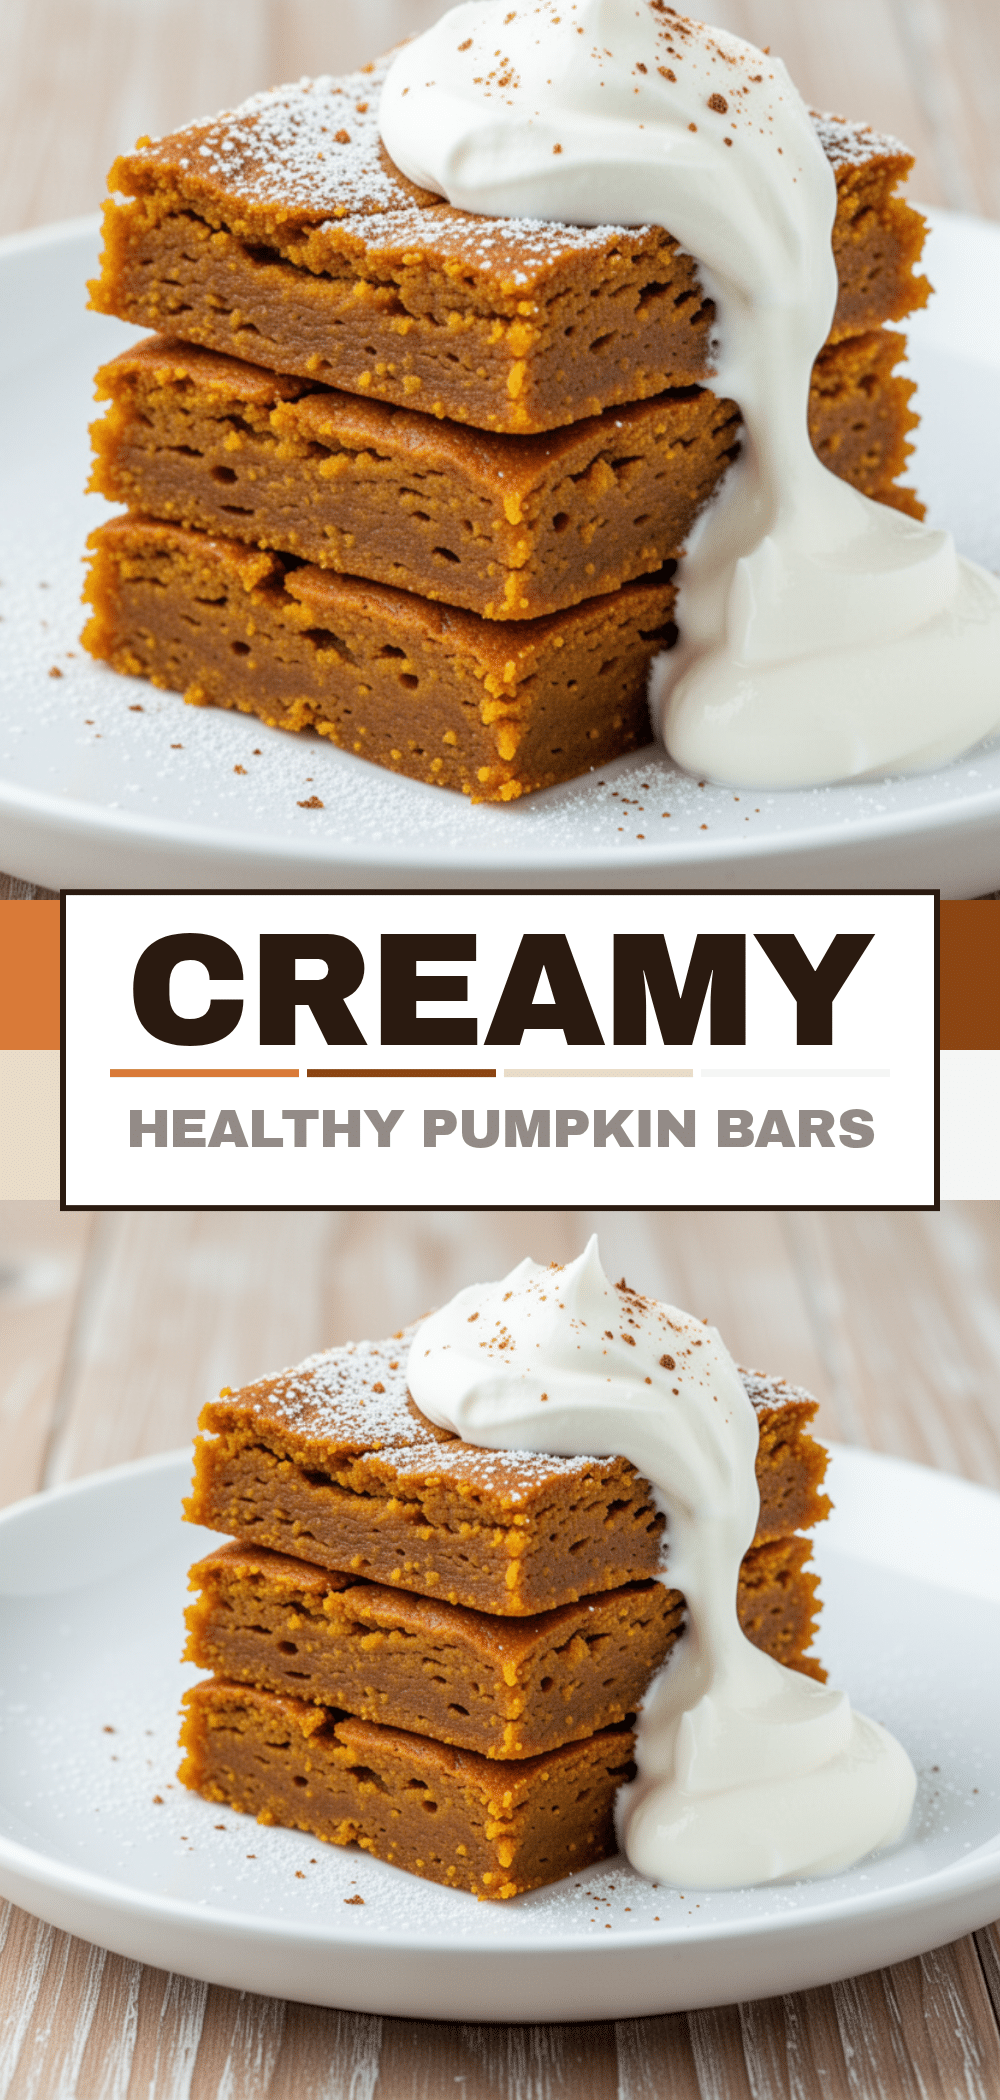
Healthy Pumpkin Dessert Bars: Easy Fall Treats
- Total Time: 45 minutes
- Yield: 12 servings 1x
Description
Moist, dense, and perfectly spiced pumpkin bars with a crumbly oat topping. These healthy treats use natural sweeteners like bananas and maple syrup, avoiding refined sugar and heavy butter for a guilt-free fall dessert.
Ingredients
- 1 cup (245g) pure pumpkin puree
- 2 medium ripe bananas (about 1 cup mashed)
- 1 ½ cups (170g) almond flour
- ¼ cup (60ml) melted refined coconut oil
- ¼ cup (60ml) pure maple syrup
- 2 tablespoons smooth almond butter
- 1 teaspoon vanilla extract
- 2 teaspoons pumpkin pie spice
- 1 teaspoon baking powder
- ½ teaspoon baking soda
- ½ teaspoon salt
- ½ cup (45g) old-fashioned oats
- ¼ cup (30g) almond flour (for topping)
- ¼ cup (30g) chopped pecans or walnuts (optional)
- 2 tablespoons melted coconut oil (for topping)
- 1 tablespoon maple syrup (for topping)
- ½ teaspoon cinnamon (for topping)
- Pinch of salt (for topping)
Instructions
- Preheat oven to 350°F (175°C). Line an 8×8-inch baking pan with parchment paper, leaving an overhang on the sides.
- In a large bowl, blend or mash the pumpkin puree and ripe bananas until smooth. Add melted coconut oil, almond butter, maple syrup, and vanilla extract; whisk until well combined.
- In a separate bowl, whisk together almond flour, baking powder, baking soda, pumpkin pie spice, and salt.
- Gently fold the dry ingredients into the wet mixture until just combined. Do not overmix.
- Press the batter evenly into the prepared pan to form the base layer.
- In a small bowl, combine oats, almond flour, chopped nuts, cinnamon, and salt. Drizzle in 2 tablespoons melted coconut oil and 1 tablespoon maple syrup. Mix with a fork until it resembles wet sand with clumps.
- Sprinkle the topping evenly over the pumpkin base and press down gently.
- Bake for 25-30 minutes, or until the top is golden brown and a toothpick inserted into the center comes out clean.
- Let the bars cool in the pan for at least 15-20 minutes before lifting them out and cutting into squares.
Notes
Ensure pumpkin puree is 100% pure, not pie filling. Use very ripe bananas for natural sweetness. If pumpkin puree is watery, drain it on a paper towel for 10 minutes. Do not overmix the batter. Bars are delicate when hot; allow them to cool completely for clean cuts. Store in an airtight container in the fridge for up to 5 days or freeze for up to 3 months.
- Prep Time: 15 minutes
- Cook Time: 30 minutes
- Category: Dessert
- Cuisine: American
Nutrition
- Serving Size: 1 bar
- Calories: 180
- Sugar: 10
- Sodium: 120
- Fat: 10
- Saturated Fat: 5
- Carbohydrates: 22
- Fiber: 3
- Protein: 4
Keywords: healthy pumpkin bars, gluten-free dessert, dairy-free baking, fall treats, no refined sugar, pumpkin oat bars, meal prep dessert


