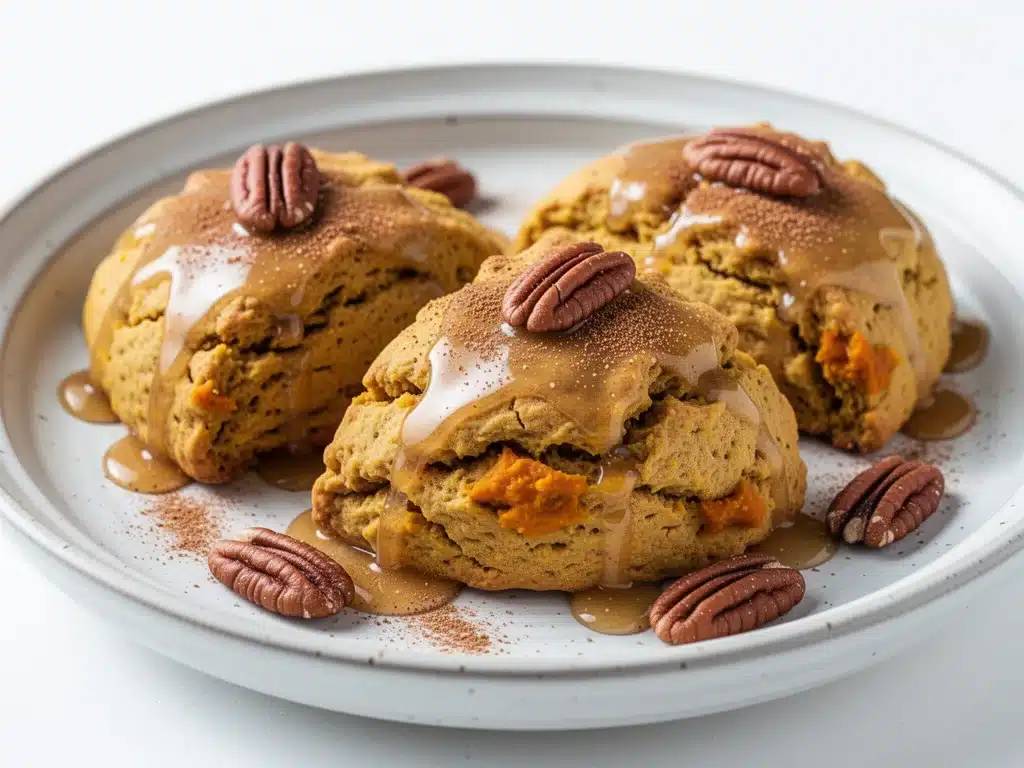
There is a specific kind of magic that happens when the first real chill hits the air. You know the one. It’s that crisp, golden morning where the leaves are turning, the coffee tastes better, and your kitchen suddenly needs to smell like autumn. For me, that smell is non-negotiable. And lately, it’s been coming from my oven, baking up a batch of these fall pumpkin scones with maple glaze.
I have a confession to make: I used to think pumpkin bread was the only way to go. Scones always felt too fussy to me. Too dry. Too much work for a Tuesday morning. But then I stumbled on this 6-ingredient method, and everything changed. Seriously. These fall pumpkin scones with maple glaze are tender, moist, and have that perfect crumb that crumbles just right. No dense bricks here. Just buttery, spiced, maple-kissed goodness that makes me want to cancel my plans and stay in bed with a book and a mug of tea.
I’ve tested this recipe at least twelve times over the last three years. I’ve tweaked the spice ratios, fought with butter temperatures (yes, I’ve melted it accidentally, and it was a disaster), and finally nailed the balance between the pumpkin’s moisture and the flour’s structure. What I’ve landed on is honestly the easiest, most reliable pumpkin scone recipe out there. It uses simple pantry staples, takes less than an hour from start to finish, and the maple glaze? It’s the cherry on top that makes you feel like you’re at a fancy café, except you spent five dollars instead of five dollars per scone.
If you’re looking for a cozy autumn breakfast that feels like a hug in food form, stop scrolling. These fall pumpkin scones with maple glaze are about to become your new weekend ritual.
Why You’ll Love This 6-Ingredient Pumpkin Scone Recipe
Let’s be real. Autumn mornings are chaotic. Between getting the kids ready, dealing with the weather, and trying to find five minutes for yourself, the last thing you want is a complicated baking project that requires a stand mixer and a degree in chemistry. These fall pumpkin scones with maple glaze are designed for real life. Here’s why they’ve earned a permanent spot in my weekly rotation:
Stupid Simple Ingredients — I’m not exaggerating when I say you likely have everything in your kitchen right now. Flour, sugar, baking powder, salt, butter, pumpkin puree, spices, and maple syrup. That’s it. Six main components. No weird extracts or hard-to-find flours. If you can boil water, you can make these.
Moist, Not Dense — This is the biggest pain point with pumpkin baked goods. Most recipes turn out heavy or gummy. The trick here is using actual pumpkin puree (not pie filling, obviously) and handling the dough gently. These fall pumpkin scones with maple glaze stay tender because the fat from the butter stays cold until they hit the oven, creating steam pockets that lift the dough. It’s science, but it feels like magic.
Quick and Easy — From mixing to cooling, this takes about 45 minutes. That’s faster than ordering takeout. I make these on Sunday mornings, and they last for three days. Actually, they usually don’t last that long. My family devours them by noon.
The Maple Glaze Factor — Plain scones are good. Scones with a maple glaze are legendary. The sweetness of the maple cuts through the warmth of the cinnamon and nutmeg, adding a glossy finish that looks incredible on Pinterest (and tastes even better). It’s the detail that makes you feel like a pro baker.
Budget-Friendly — Pumpkin puree is cheap in the fall. Maple syrup is an investment, but you only need a tablespoon per batch. You’re feeding a crowd for under $10. That’s less than the price of a single artisanal pastry at the coffee shop down the street.
This recipe has saved my breakfast routine more times than I can count. It’s my go-to when I want to impress guests without spending all morning in the kitchen. It’s my answer to “what’s for brunch?” when I’m tired but want to feel festive. And honestly? It’s just delicious. Comforting, warm, and perfectly spiced.
Ingredients You’ll Need
Here’s the best part: you probably have 90% of this already. I’m particular about a few things, but for the most part, this is a pantry-friendly recipe. Let’s break it down.
All-Purpose Flour (2 cups / 250g) — This is your base. Don’t try to swap it for whole wheat unless you want a denser scone. For these fall pumpkin scones with maple glaze, you want that light, fluffy texture. Spoon the flour into your measuring cup and level it off. Don’t scoop directly from the bag, or you’ll pack it down and end up with dry scones.
Granulated Sugar (½ cup / 100g) — Just enough to sweeten without overwhelming the pumpkin flavor. You can use light brown sugar if you want a deeper molasses note, but white sugar keeps the color bright and the texture tender.
Baking Powder (2 teaspoons) — The leavening agent. Make sure yours isn’t expired! I test mine by dropping a bit into hot water—if it fizzes, it’s good. If it’s old, your scones will be flat rocks.
Salt (½ teaspoon) — Crucial. Salt enhances the sweetness and the spices. Don’t skip it.
Ground Cinnamon (1 teaspoon) — The star of the spice show. Use fresh ground if you have it, but standard store-bought works fine.
Ground Ginger (½ teaspoon) — Adds that warm, spicy kick that screams “autumn.”
Ground Nutmeg (¼ teaspoon) — Just a pinch. Nutmeg is strong, so a little goes a long way. Too much tastes like soap.
Unsalted Butter (½ cup / 115g, cold and cubed) — This is the secret weapon. The butter must be cold. If it’s soft or melted, it will coat the flour instead of creating flakes. Cube it straight from the fridge. Some people grate frozen butter—that’s a great trick if you’re in a hurry.
Pumpkin Puree (½ cup / 120g) — Not pumpkin pie filling! Pie filling has sugar and spices added, which will throw off the recipe. You want 100% pure pumpkin. Canned is perfect. Just make sure it’s not watery. If your puree looks thin, strain it through a coffee filter for a few minutes to remove excess moisture.
Egg (1 large) — Acts as the binder. Room temperature is ideal, but straight from the fridge is fine.
Vanilla Extract (1 teaspoon) — Adds depth. Pure vanilla only if you can find it.
For the Maple Glaze:
- Powdered Sugar (1 cup / 120g) — Standard confectioners’ sugar.
- Maple Syrup (2-3 tablespoons) — Use real maple syrup, not pancake syrup. The flavor difference is huge. Grade A or Grade B both work; Grade B is stronger and more robust.
- Milk (1-2 teaspoons) — Adjust for consistency. You want it thick enough to drizzle, not runny.
Equipment Needed
You don’t need fancy gadgets for these fall pumpkin scones with maple glaze. Here’s what I actually use:
Mixing Bowls — One large bowl for dry ingredients, one medium for wet. I prefer glass or ceramic so I can see everything clearly.
Fork or Pastry Cutter — To cut the butter into the flour. A fork works perfectly. A pastry cutter is faster, but I usually just use two knives or my fingers if I’m feeling lazy (though fingers warm the butter, so be quick!).
Baking Sheet — A standard 13×18 inch sheet. Line it with parchment paper. This is non-negotiable for easy cleanup and even browning.
Parchment Paper — Saves you from scrubbing burnt sugar off your pan. Trust me on this.
Mixing Spoon or Spatula — For combining the wet and dry ingredients. A silicone spatula is best because it scrapes the bowl clean.
Cooling Rack — Essential. If you let them cool on the hot pan, they’ll steam and get soggy on the bottom.
Whisk — For the glaze. Makes it smooth and lump-free.
Measuring Cups and Spoons — Precision matters in baking. Don’t eyeball the flour.
How to Make It: Step-by-Step
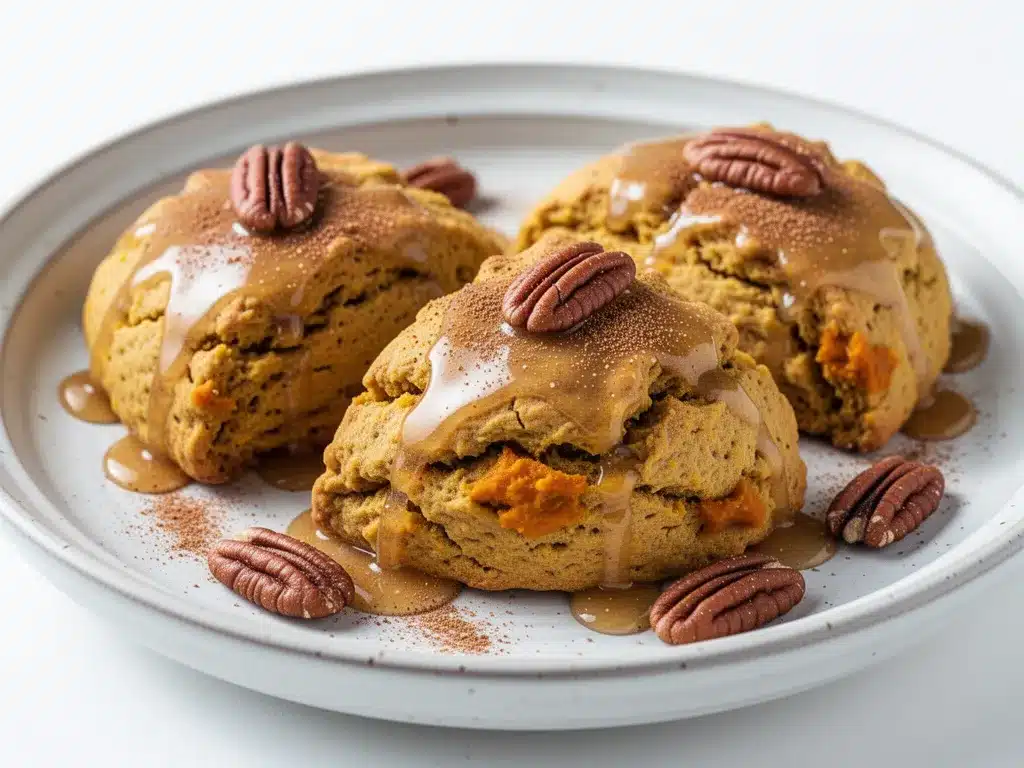
Alright, let’s make these fall pumpkin scones with maple glaze! I’m walking you through exactly how I do it, including the little tricks that keep them tender.
Step 1: Prep Your Oven and Pan (5 minutes)
Preheat your oven to 400°F (200°C). This high heat is key for a good rise. Line your baking sheet with parchment paper. If you don’t have parchment, grease the pan well, but parchment is better. Set aside.
Step 2: Mix the Dry Ingredients (2 minutes)
In your large bowl, whisk together the flour, sugar, baking powder, salt, cinnamon, ginger, and nutmeg. Make sure there are no clumps of baking powder. This ensures even rising.
Step 3: Cut in the Butter (3-4 minutes)
Add the cold, cubed butter to the dry ingredients. Use a fork, pastry cutter, or your fingers to work the butter into the flour. You’re looking for pea-sized chunks. Some larger pieces are okay—that’s where the flakiness comes from. Don’t overmix! If the butter melts, your scones will be dense. Keep it cool and quick.
Step 4: Add the Wet Ingredients (2 minutes)
In a small bowl or mug, whisk together the pumpkin puree, egg, and vanilla. Pour this into the dry ingredients. Use a spatula or wooden spoon to gently fold everything together. Stop as soon as the dough comes together. It will look shaggy and messy. That’s good. Overmixing develops gluten, which makes tough scones. If there are still dry patches, give it one more gentle fold.
Step 5: Shape the Dough (5 minutes)
Turn the dough out onto a lightly floured surface. Gently pat it into a circle about ¾ inch thick. Don’t knead it! Just press it together. If it’s sticky, add a dusting of flour, but be sparing. Cut the circle into 8 wedges (like a pizza). Use a sharp knife or pizza cutter. Wipe the knife between cuts to keep the edges clean.
Step 6: Bake (18-20 minutes)
Place the scones on the prepared baking sheet, leaving an inch between them. Bake for 18-20 minutes, or until the tops are golden brown and a toothpick inserted into the center comes out clean. The edges should be firm to the touch. Don’t underbake, or they’ll be gummy inside.
Step 7: Cool and Glaze (10 minutes)
Let the scones cool on the pan for 5 minutes, then transfer to a wire rack to cool completely. If you glaze them while hot, the glaze will melt off. Once cool, whisk the powdered sugar, maple syrup, and milk together until smooth. Drizzle over the scones. Let the glaze set for a few minutes before serving.
Total Time: About 45 minutes (10 minutes prep, 20 minutes bake, 15 minutes cool/glaze).
Troubleshooting During Baking:
- Scones are flat: Your baking powder might be old, or you overmixed the dough. Or the butter was too warm.
- Scones are dry: You might have measured too much flour, or baked them too long. Check at 18 minutes.
- Glaze is too runny: Add more powdered sugar. Too thick? Add a drop more milk.
Expert Tips & Tricks
Here’s everything I’ve learned from making these fall pumpkin scones with maple glaze dozens of times. These tips will save you from my mistakes.
Keep the Butter Cold
This is the #1 rule. Cold butter creates steam when it hits the oven, which lifts the scones. If your kitchen is warm, put your butter in the freezer for 10 minutes before starting. If the butter starts to soften while you’re cutting it in, pop the bowl in the fridge for 5 minutes. It’s worth the effort.
Don’t Overmix the Dough
I know it’s tempting to get it smooth, but stop when it’s shaggy. Overmixing = tough scones. Think of it like biscuits; you want tender, not chewy. Handle the dough as little as possible.
Strain the Pumpkin
If your canned pumpkin looks watery, strain it. Excess moisture makes the dough sticky and can prevent proper rising. A coffee filter or cheesecloth works great. Pat it dry with a paper towel if needed.
Use Real Maple Syrup
For the glaze, avoid “pancake syrup” which is mostly corn syrup. Real maple syrup has a complex flavor that pairs beautifully with the spices. It’s worth the extra cost.
Cut Clean Wedges
When cutting the dough, use a sharp knife and lift straight up. Don’t drag the knife through the dough, as this seals the edges and prevents rising. Wipe the blade between cuts for clean lines.
Glaze Only When Cool
Hot scones melt glaze. It’s a common mistake. Let them cool on a rack so air circulates underneath. If you’re impatient, you can glaze them slightly warm, but they’ll absorb it rather than sit on top.
Pro Trick: Add a Crumble Top
For extra texture, mix 1 tablespoon of cold butter and 1 tablespoon of brown sugar into the dry ingredients before adding the pumpkin. It creates little crunchy bits on top. Delicious.
Variations & Substitutions
Once you’ve nailed the basic version, here’s how you can mix it up. I’ve tried all of these.
White Chocolate Chip Pumpkin Scones
Fold in ½ cup of white chocolate chips after mixing the dough. The sweetness pairs amazingly with the maple glaze. My kids’ favorite.
Pecan or Walnut Scones
Add ½ cup of chopped toasted nuts. Toasting them in a dry pan for 3 minutes before adding boosts the flavor. Adds crunch and richness.
Gluten-Free Version
Use a 1:1 gluten-free flour blend (like Bob’s Red Mill or King Arthur). Make sure it contains xanthan gum, or add ½ teaspoon. The texture is slightly more crumbly but still delicious.
Vegan Pumpkin Scones
Replace butter with cold vegan butter (like Miyoko’s or Earth Balance). Use a flax egg (1 tbsp ground flax + 3 tbsp water) instead of the regular egg. Use maple syrup in the dough too. They’re moist and flavorful.
Spice Variation
Add ¼ teaspoon of cardamom or allspice for a different aromatic profile. Clove works too, but use sparingly—it’s potent!
Mini Scones
Pat the dough thinner and cut into smaller wedges. Bake for 12-15 minutes. Perfect for parties or lunchboxes.
Serving & Storage
How to Serve:
I usually serve these fall pumpkin scones with maple glaze warm, straight from the cooling rack. They pair perfectly with black coffee, chai tea, or hot chocolate. For a fancy touch, serve with a dollop of whipped cream or a slice of sharp cheddar cheese on the side. The salty cheese cuts the sweetness beautifully.
Side Dishes:
– Fresh fruit salad (apples and pears are in season)
– Bacon or sausage links
– Greek yogurt with honey and granola
Storage Instructions:
Room Temperature: Store in an airtight container for up to 3 days. They stay moist thanks to the pumpkin. If your house is humid, keep them in the fridge.
Refrigerator: Store for up to 5 days. Let them come to room temperature or warm them in the microwave for 20 seconds before eating. The glaze might soften, but it’s still good.
Freezing: Yes, you can freeze them! Freeze the baked scones (without glaze) in a freezer bag for up to 3 months. Thaw at room temperature and glaze when ready to eat. Or freeze glazed scones, but the glaze may become sticky. I prefer to glaze after thawing.
Reheating: Microwave for 20-30 seconds. Or warm in a 350°F oven for 5 minutes. Don’t skip this step—cold pumpkin scones are just not as good.
Pro Tip: If the glaze gets too hard in the fridge, let the scones sit out for 10 minutes before eating. It softens right up.
Nutrition Information
I’m not a nutritionist, but here’s the breakdown if you’re tracking. This is an estimate per scone (makes 8 scones).
Per Serving:
– Calories: 280
– Protein: 4g
– Carbs: 42g
– Fiber: 2g
– Sugar: 22g
– Fat: 12g
– Saturated Fat: 7g
– Cholesterol: 45mg
– Sodium: 220mg
What’s Good:
– Pumpkin adds vitamin A and fiber
– Moderate protein from flour and egg
– Real maple syrup has antioxidants
What to Know:
– Higher in sugar due to glaze
– Contains gluten and dairy
– Can be modified for dietary needs (see variations)
My Take:
Look, these are fall pumpkin scones with maple glaze. They’re a treat. Enjoy them as part of a balanced breakfast, maybe with some fruit or protein on the side. But honestly? They’re worth the indulgence. Autumn is for cozy food.
Final Thoughts
So that’s my go-to fall pumpkin scones with maple glaze! I’ve probably talked your ear off at this point, but when you make a recipe this often, you have a lot to say about it. These scones have saved my autumn mornings. They’re my answer to “what’s for brunch?” when I want something special but don’t want to stress. My family is obsessed, my friends ask for the recipe, and I’m just happy to have a reliable, delicious recipe that captures the essence of the season.
Make it yours! Try different nuts, swap the spices, or double the glaze. The best recipes are the ones you adapt to your tastes. And if you make these, I want to hear about it. Drop a comment and let me know how they turned out. Did you add white chocolate? Did you use Grade B maple syrup? I love hearing your variations.
Happy baking! And I hope your kitchen smells half as good as mine does right now.
Frequently Asked Questions
Can I use pumpkin pie filling instead of puree?
No, please don’t. Pie filling has sugar and spices already, which will mess up the balance of this recipe. You’ll end up with overly sweet, overly spiced scones. Stick to 100% pure pumpkin puree.
Why are my scones dry?
This usually happens if you measure too much flour or overmix the dough. Always spoon and level your flour, and stop mixing when the dough comes together. Also, don’t overbake. Check them at 18 minutes.
Can I make the dough ahead of time?
Yes! You can mix the dough, shape it, and refrigerate it overnight. Let it sit at room temperature for 15 minutes before baking. This can actually help the flavors meld. Just make sure the butter stays cold.
Can I freeze the glaze separately?
It’s not recommended. The maple syrup and powdered sugar can separate when frozen and thawed. It’s best to make the glaze fresh when you’re ready to serve.
What’s the best way to store leftover glaze?
You won’t have leftover glaze, but if you do, store it in a small jar in the fridge for up to 3 days. Reheat it slightly in the microwave to thin it out before drizzling.
Can I make these gluten-free?
Yes! Use a 1:1 gluten-free flour blend. The texture will be slightly more crumbly, but they’ll still be delicious. Make sure your baking powder is gluten-free too.
Do I need to sift the flour?
Not strictly necessary, but it helps remove lumps and aerates the flour for lighter scones. If you’re in a hurry, just whisk it well in the bowl.
Pin This Recipe!
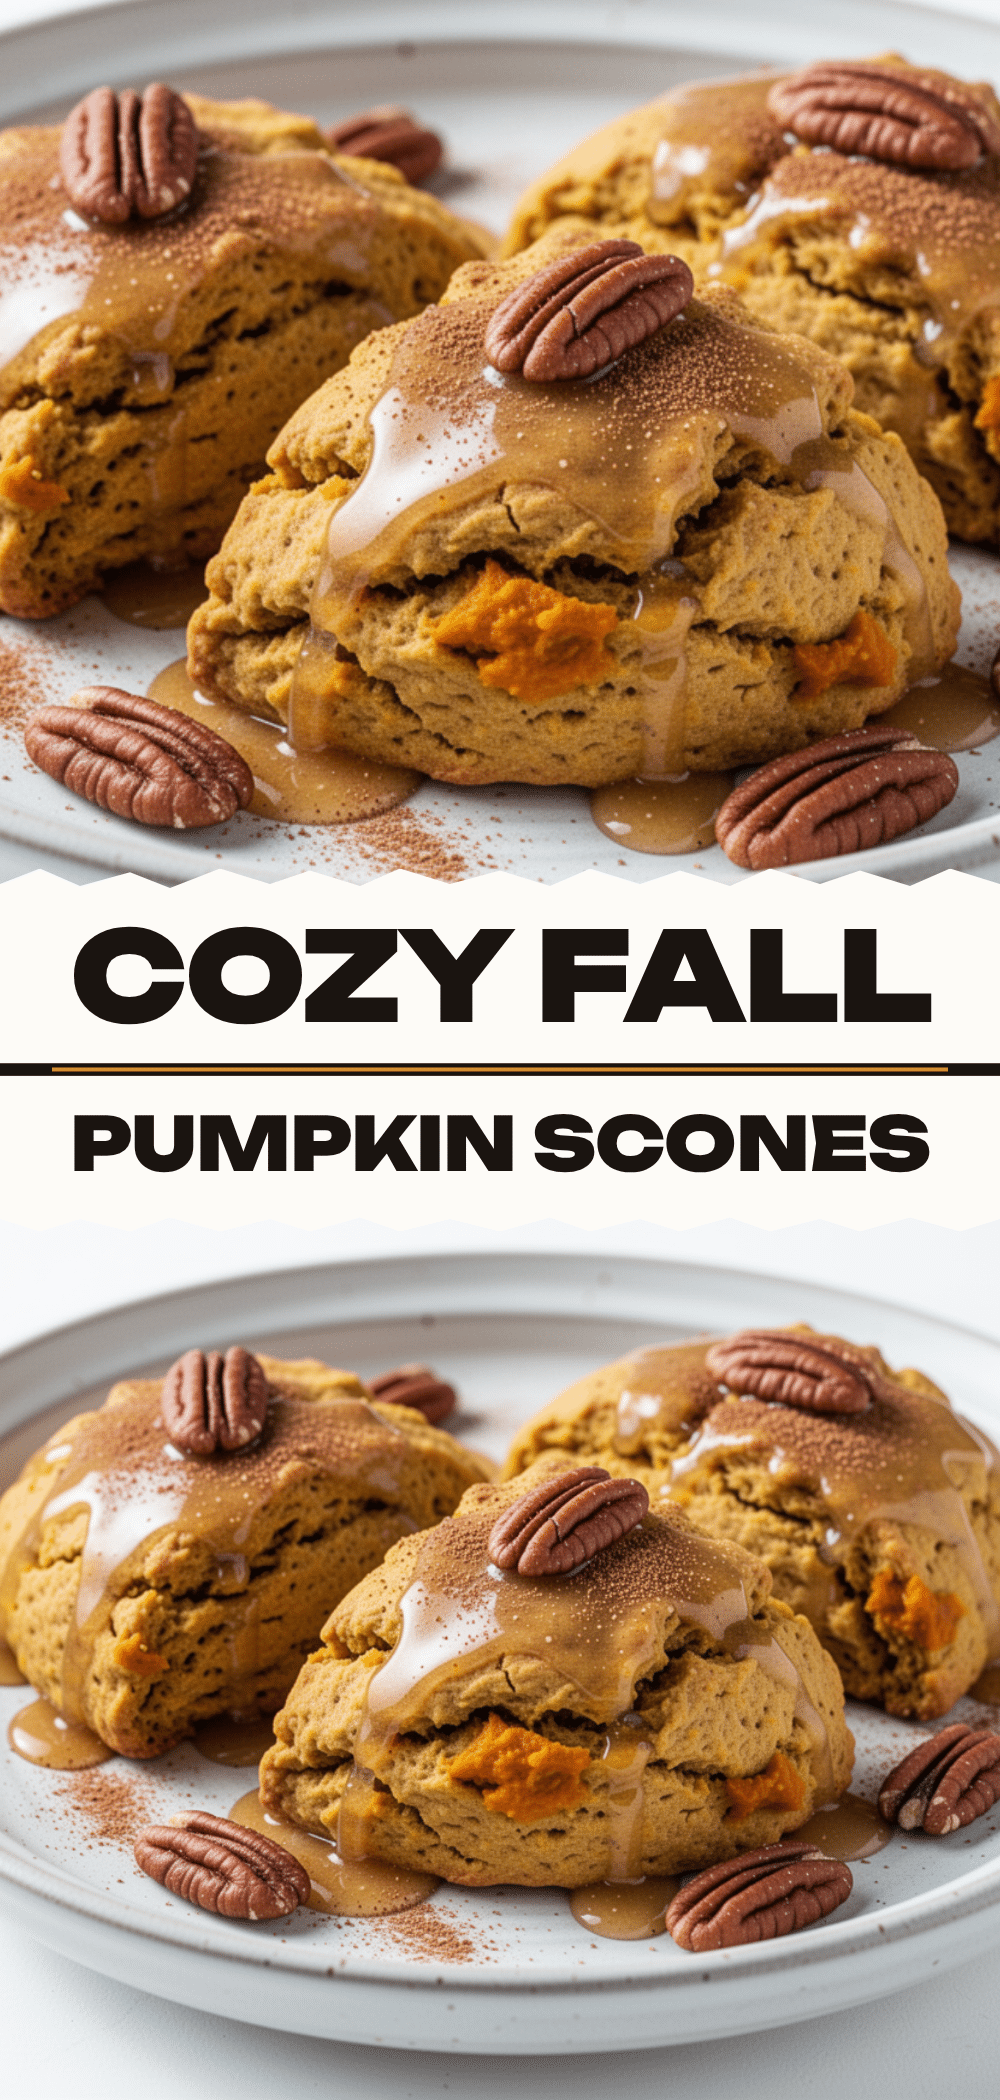
Fall Pumpkin Scones with Maple Glaze
- Total Time: 45 minutes
- Yield: 8 servings 1x
Description
Tender, moist, and easy-to-make pumpkin scones with a sweet maple glaze. This 6-ingredient recipe uses simple pantry staples and takes less than an hour to prepare.
Ingredients
- 2 cups (250g) All-Purpose Flour
- 1/2 cup (100g) Granulated Sugar
- 2 teaspoons Baking Powder
- 1/2 teaspoon Salt
- 1 teaspoon Ground Cinnamon
- 1/2 teaspoon Ground Ginger
- 1/4 teaspoon Ground Nutmeg
- 1/2 cup (115g) Unsalted Butter, cold and cubed
- 1/2 cup (120g) Pumpkin Puree
- 1 large Egg
- 1 teaspoon Vanilla Extract
- 1 cup (120g) Powdered Sugar (for glaze)
- 2–3 tablespoons Maple Syrup (for glaze)
- 1–2 teaspoons Milk (for glaze)
Instructions
- Preheat oven to 400°F (200°C). Line a baking sheet with parchment paper.
- In a large bowl, whisk together flour, sugar, baking powder, salt, cinnamon, ginger, and nutmeg.
- Add cold, cubed butter to the dry ingredients. Use a fork or pastry cutter to work the butter into the flour until pea-sized chunks remain.
- In a small bowl, whisk together pumpkin puree, egg, and vanilla. Pour into the dry ingredients and gently fold until the dough comes together. Do not overmix.
- Turn dough onto a lightly floured surface and pat into a circle about 3/4 inch thick. Cut into 8 wedges.
- Place scones on the prepared baking sheet, leaving an inch between them.
- Bake for 18-20 minutes until tops are golden brown and a toothpick inserted into the center comes out clean.
- Let scones cool on the pan for 5 minutes, then transfer to a wire rack to cool completely.
- Whisk powdered sugar, maple syrup, and milk together until smooth. Drizzle over cooled scones and let set before serving.
Notes
Ensure butter is cold to create flaky texture. Do not overmix the dough to avoid tough scones. Strain pumpkin puree if it appears watery. Use real maple syrup for the glaze, not pancake syrup. Glaze only when scones are completely cool.
- Prep Time: 10 minutes
- Cook Time: 20 minutes
- Category: Breakfast
- Cuisine: American
Nutrition
- Serving Size: 1 scone
- Calories: 280
- Sugar: 22
- Sodium: 220
- Fat: 12
- Saturated Fat: 7
- Carbohydrates: 42
- Fiber: 2
- Protein: 4
Keywords: pumpkin scones, maple glaze, fall baking, autumn breakfast, easy scone recipe, pumpkin puree, gluten-free option


