It was one of those humid July afternoons where the air feels thick enough to chew. I had just come in from gardening, sweat soaking through my shirt, and the last thing on my mind was standing over a hot stove. But my sister was coming over for dinner, and I needed a dessert that felt special but didn’t require me to turn the kitchen into a sauna. I looked around the fridge—half a carton of heavy cream, some sad-looking strawberries that were getting soft, and a box of vanilla wafers that I’d bought three weeks ago for a project that never happened.
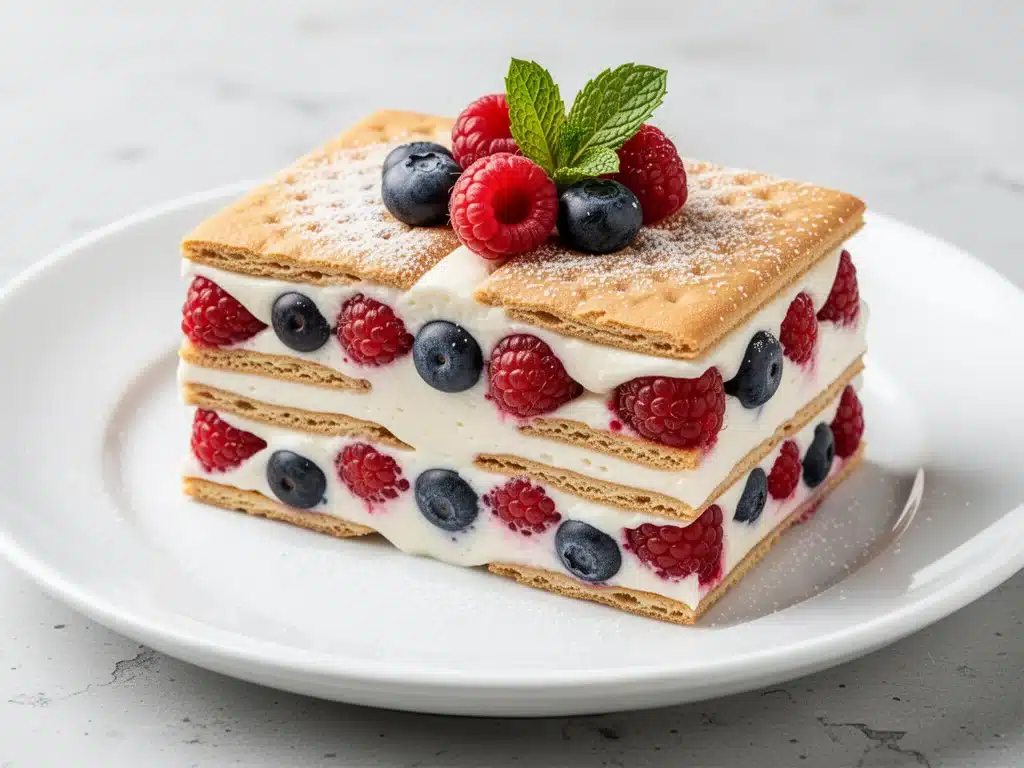
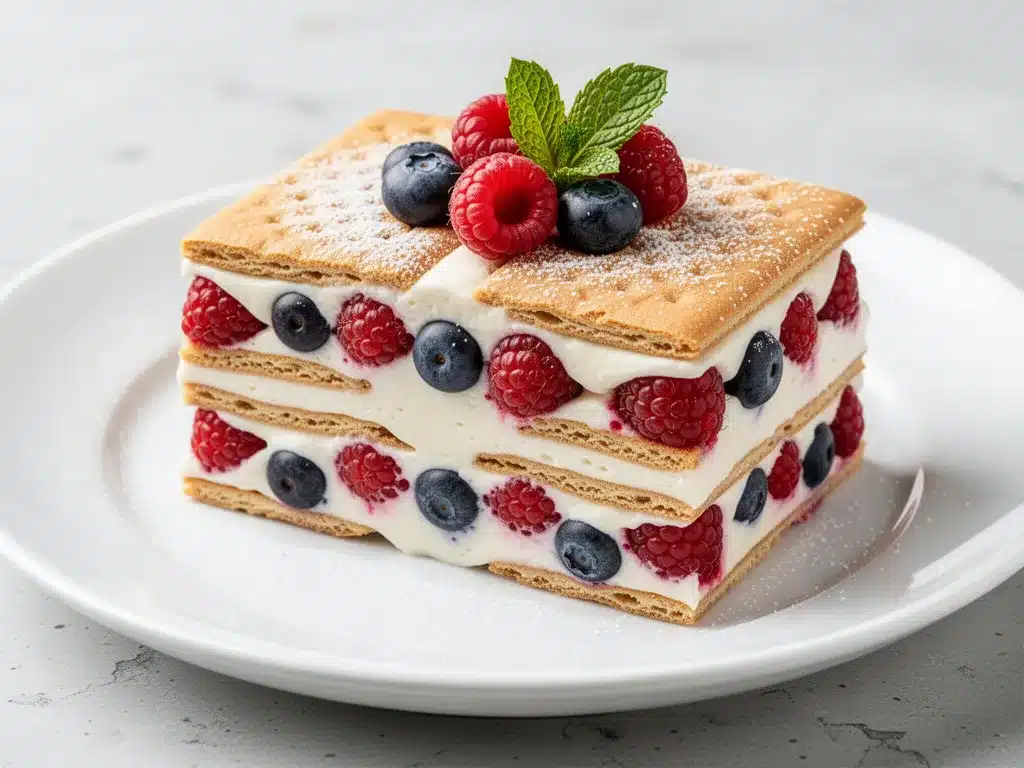
That’s when I decided to make the no bake berry icebox cake. It’s the kind of recipe that feels like cheating. You’re literally just stacking cookies and fruit, putting it in the fridge, and waiting. But what comes out? It’s magic. The cookies soften into something akin to a sponge cake, the berries turn into a jammy, vibrant sauce, and the cream sets into a light, airy mousse. It’s cool, refreshing, and absolutely stunning on a plate.
I’ve made this no bake berry icebox cake probably two dozen times since I first discovered it. It’s become my secret weapon for summer gatherings, potlucks, and lazy weeknight treats when I don’t want to deal with baking heat. And honestly? It’s better than most of the fancy cakes I’ve bought from bakeries. The texture is perfect—creamy, fruity, and just sweet enough without being cloying. If you’re looking for an easy summer dessert that looks impressive but takes almost zero effort, this is it. Trust me, your guests won’t know you didn’t spend hours in the kitchen.
Why You’ll Love This No Bake Berry Icebox Cake
There are a few reasons why this no bake berry icebox cake has earned a permanent spot in my recipe rotation. It’s not just because it’s delicious (though it is), but because it solves so many problems that come with summer cooking.
- Zero Oven Heat — Seriously, the kitchen stays cool. This is huge in July when the AC is fighting a losing battle against the sun. No preheating, no baking time, no warming up the house.
- Five Ingredients, Max — I’m not exaggerating. You need wafers, cream, sugar, vanilla, and berries. That’s it. If you have those, you can make this. No special trip to the grocery store.
- Makes Itself — The hardest part is waiting. You assemble it in 15 minutes, pop it in the fridge, and let time do the work. While it chills, you can hang out with your guests or actually relax.
- Looks Fancy, Costs Pennies — When you slice it, the layers show off beautifully. It looks like something you’d order at a high-end cafe, but it costs less than $10 to make. My friends always ask for the recipe, thinking I bought it.
- Perfect for Meal Prep — Make it the night before. Actually, it’s better the next day. The flavors meld, the texture settles, and it’s ready to serve whenever you need it.
This no bake berry icebox cake is my go-to when I want to impress without stressing. It’s reliable, forgiving, and always turns out beautiful. Plus, it’s a great way to use up berries that are starting to get a little too soft for eating fresh.
Ingredients You’ll Need
The beauty of this no bake berry icebox cake is how simple the ingredient list is. You don’t need fancy gadgets or hard-to-find items. Here’s what you’ll need, and why each one matters.
For the Base
Vanilla Wafers (1 package, about 30-40 cookies) — I use Nabisco brand because they hold their shape well but soften nicely. Don’t use chocolate chip cookies; they’re too thick. You want thin, crisp wafers that will absorb the cream.
For the Cream Filling
Heavy Cream (2 cups / 480ml) — This is non-negotiable. You need the fat content to whip up stiff peaks. Half-and-half won’t work. Cold cream whips better, so keep it in the fridge until the last minute.
Confectioners’ Sugar (½ cup / 60g) — Also called powdered sugar. It dissolves instantly in the cream, unlike granulated sugar which might leave gritty bits. If you don’t have it, you can blitz granulated sugar in a blender, but why bother?
Vanilla Extract (2 teaspoons) — Use real vanilla, not imitation. It makes a noticeable difference in flavor. I keep a bottle of Nielsen-Massey in my pantry because it’s consistent.
For the Berries
Mixed Berries (3 cups, fresh or frozen) — Strawberries, raspberries, blueberries—mix them up for color. Fresh is best, but frozen works too. If using frozen, thaw them and drain the excess liquid so the cake doesn’t get soggy.
Granulated Sugar (2 tablespoons) — This helps draw out the juices from the berries and creates that natural syrup. If your berries are very sweet, you can skip this, but I usually add it for balance.
Lemon Juice (1 teaspoon) — Just a splash. It brightens the berry flavor and keeps the strawberries from looking dull. You won’t taste it, but you’ll notice the difference.
Optional Garnish — Fresh mint leaves, extra whole berries, or a dusting of powdered sugar. I usually just go for extra berries on top because it looks pretty.
Equipment Needed
You don’t need anything fancy for this no bake berry icebox cake. Here’s what I actually use:
- 9×13 inch Dish — A glass or ceramic dish works best. It lets you see the layers if you want, and it chills evenly. I use a Pyrex dish because it’s durable and easy to clean.
- Mixing Bowl — A large bowl, preferably metal or glass. Plastic works too, but metal stays colder.
- Electric Mixer — Handheld or stand mixer. Whipping cream by hand is possible but tiring. I use my handheld mixer because it’s quick and gets the job done in minutes.
- Spatula — A rubber spatula is essential for folding the berries into the cream without deflating it. Silicone works too.
- Knife — For slicing the berries if you’re using large strawberries. I usually halve or quarter them for easier layering.
That’s it. No special pans, no food processor, no fancy tools. Just basic kitchen staples.
How to Make It: Step-by-Step
Alright, let’s make this no bake berry icebox cake! It’s incredibly straightforward, but there are a few tricks to get the texture just right.
Step 1: Prepare the Berries (5 minutes)
If you’re using fresh berries, wash and dry them thoroughly. If using strawberries, hull them and cut them into halves or quarters. If using frozen berries, thaw them in a colander and press out excess liquid. Toss the berries with 2 tablespoons of granulated sugar and 1 teaspoon of lemon juice. Let them sit for 10 minutes. This draws out the juices and creates a natural syrup. You’ll see liquid pooling at the bottom—don’t drain it all; that’s flavor!
Step 2: Whip the Cream (5 minutes)
In a large mixing bowl, combine the cold heavy cream, ½ cup confectioners’ sugar, and 2 teaspoons vanilla extract. Using an electric mixer on medium-high speed, whip until stiff peaks form. This means when you lift the beaters, the cream stands up straight without drooping. Don’t over-whip it into butter, but don’t under-whip it either. It should be thick and hold its shape.
Step 3: Assemble the First Layer
Take your 9×13 inch dish. Arrange a single layer of vanilla wafers on the bottom. You might need to break a few cookies to fit the edges. Don’t worry about perfection; rustic looks good here.
Step 4: Add the Cream
Spread half of the whipped cream over the wafers. Use an offset spatula or a butter knife to smooth it out. Try to get the cream to the edges so there are no gaps.
Step 5: Add the Berries
Scatter half of the sugared berries over the cream. Distribute them evenly. You want a nice mix of colors.
Step 6: Repeat the Layers
Add another layer of wafers on top of the berries. Then add the remaining whipped cream. Spread it smoothly. Finally, top with the remaining berries. Press them gently into the cream so they stick.
Step 7: Chill
Cover the dish with plastic wrap or a lid. Refrigerate for at least 4 hours, but ideally overnight. This is the crucial step. The wafers need time to absorb the moisture from the cream and berries, turning into a soft, cake-like texture. If you rush it, the cookies will be too crisp.
Step 8: Slice and Serve
When you’re ready to serve, slice with a sharp knife. For clean cuts, wipe the knife between slices. Dust with powdered sugar if you want extra elegance. Serve cold.
Total Active Time: About 20 minutes. Total Chilling Time: 4-8 hours.
Expert Tips & Tricks
Here’s everything I’ve learned from making this no bake berry icebox cake dozens of times. These tips will save you from common mistakes.
- Keep Everything Cold — Cold cream whips better. If your kitchen is hot, put your mixing bowl in the fridge for 15 minutes before whipping. If the cream gets warm, it won’t hold peaks.
- Don’t Skip the Sugar on Berries — The sugar draws out juices, which helps soften the wafers. Without it, the cake might be drier.
- Drain Frozen Berries Well — If you use frozen berries, they release a lot of water. If you don’t drain them, the cake can get soupy. Pat them dry with paper towels if needed.
- Be Gentle When Folding — If you’re mixing the berries into the cream (instead of layering), fold carefully to keep the air in the cream. Deflated cream means a dense cake.
- Use a Sharp Knife — A dull knife will mash the layers. A sharp knife gives you clean, beautiful slices that show off the layers.
- Chill Longer is Better — While 4 hours is the minimum, overnight is best. The flavors meld, and the texture improves significantly.
These small adjustments make a big difference. I learned the hard way that under-chilled icebox cake is just sweet cookies and cream—nothing special. Give it time, and it transforms.
Variations & Substitutions
Once you’ve mastered the basic no bake berry icebox cake, here’s how you can mix it up. I’ve tried all of these, and they’re all delicious.
Chocolate Berry Version
Swap the vanilla wafers for chocolate wafers or chocolate chip cookies. You can also add a layer of chocolate pudding mix between the cream and berries for extra richness. My kids love this version.
Lemon Blueberry
Use blueberries instead of mixed berries. Add the zest of one lemon to the whipped cream. It’s bright and tangy, perfect for spring.
Raspberry Lime
Use raspberries and add a splash of lime juice to the berries. It’s tart and refreshing.
Gluten-Free
Use gluten-free vanilla wafers. Most brands work well, but check the texture—some are more crumbly than others. I’ve used Kinnikinnick with good results.
Dairy-Free
Use coconut cream (the thick part from a can of full-fat coconut milk) instead of heavy cream. It whips similarly. Use dairy-free cookies. The flavor will be slightly coconutty, but it’s still delicious.
Other Fruits
Try peaches, nectarines, or mangoes. Just make sure to toss them with a little sugar to draw out juices. Stone fruits work surprisingly well.
Serving & Storage
How to serve this no bake berry icebox cake is almost as important as making it. Here’s how I do it.
Serving Suggestions
I serve this straight from the dish, slicing it into squares. It looks rustic and homemade. For a dinner party, I transfer slices to individual plates and garnish with a mint leaf and a dusting of powdered sugar. It’s elegant without being fussy.
Side Dishes: This dessert is rich, so I pair it with something light. A simple green salad with vinaigrette works well. Or just serve it with fresh fruit on the side.
Wine Pairing: I’m not a wine expert, but a light, sweet wine like Moscato or a rosé pairs nicely with the berries.
Storage Instructions
Refrigerator: Store covered in the fridge for up to 3 days. The cake will continue to soften over time, which is good. After 3 days, the wafers might get too soft.
Freezing: I don’t recommend freezing this no bake berry icebox cake. The cream and berries can separate when thawed, and the texture becomes watery. It’s best fresh.
Reheating: Don’t reheat it. Eat it cold. It’s meant to be a chilled dessert.
Pro Tip: If you’re making it for a party, make it the night before. It saves you stress and tastes better.
Nutrition Information
I’m not a nutritionist, but here’s the breakdown if you’re tracking. This is a treat, so enjoy it!
Per Serving (based on 12 servings):
- Calories: 220
- Protein: 3g
- Carbs: 32g
- Fiber: 1g
- Sugar: 22g
- Fat: 10g
- Saturated Fat: 6g
- Cholesterol: 35mg
- Sodium: 120mg
What’s Good: It’s relatively low in protein but provides some calcium from the cream. The berries add antioxidants.
What to Know: It’s higher in sugar due to the cookies and sugared berries. If you’re watching sugar, reduce the sugar on the berries and use less sweet cookies.
My Take: This is a dessert. It’s sweet and creamy. It’s not health food, but it’s better than store-bought cakes because you control the ingredients. When I make it, I use less sugar on the berries and it’s still plenty sweet.
Final Thoughts
So that’s my go-to no bake berry icebox cake! It’s simple, delicious, and perfect for summer. I’ve made it for picnics, barbecues, and quiet nights at home. It’s my answer to “what’s for dessert” when I want something special but don’t want to work.
Make it yours! Try different berries, add different cookies, or experiment with flavors. The best part is how forgiving it is. You can’t really mess it up. Just layer, chill, and enjoy.
If you make this no bake berry icebox cake, drop a comment and let me know what you think! I love hearing how recipes turn out in your kitchen. And if something doesn’t work, tell me that too—I’m here to help troubleshoot.
Happy cooking! And I hope your kitchen smells half as good as mine does right now.
Frequently Asked Questions
Can I use frozen berries?
Yes, but you need to thaw them and drain the excess liquid. Frozen berries release a lot of water, which can make the cake soggy. Pat them dry with paper towels after thawing. The flavor is still great, just be careful with the moisture.
Why is my cake too soft?
If the cake is too soft, it might have chilled for too long, or the wafers were too thin. If it’s too hard, it didn’t chill long enough. Aim for at least 4 hours, but overnight is best. If it’s soupy, you might have used too many wet berries.
Can I make this ahead?
Absolutely. This is actually better made ahead. Make it the night before and let it chill overnight. The flavors meld, and the texture improves. It’s perfect for meal prep.
What kind of cookies work best?
Vanilla wafers are classic, but you can use any thin cookie. Chocolate wafers, sandwich cookies (like Oreos), or even graham crackers work. Avoid thick cookies like chocolate chip, as they won’t soften properly.
Can I use whipped topping instead of cream?
You can, but the texture will be different. Whipped topping (like Cool Whip) is lighter but less rich. It won’t hold up as well in the fridge. I recommend real whipped cream for the best texture.
How long does it last?
It lasts up to 3 days in the fridge. After that, the wafers get too soft and the berries might break down. It’s best eaten fresh.
Can I freeze it?
I don’t recommend freezing. The cream and berries can separate when thawed, and the texture becomes watery. It’s best fresh.
Pin This Recipe!
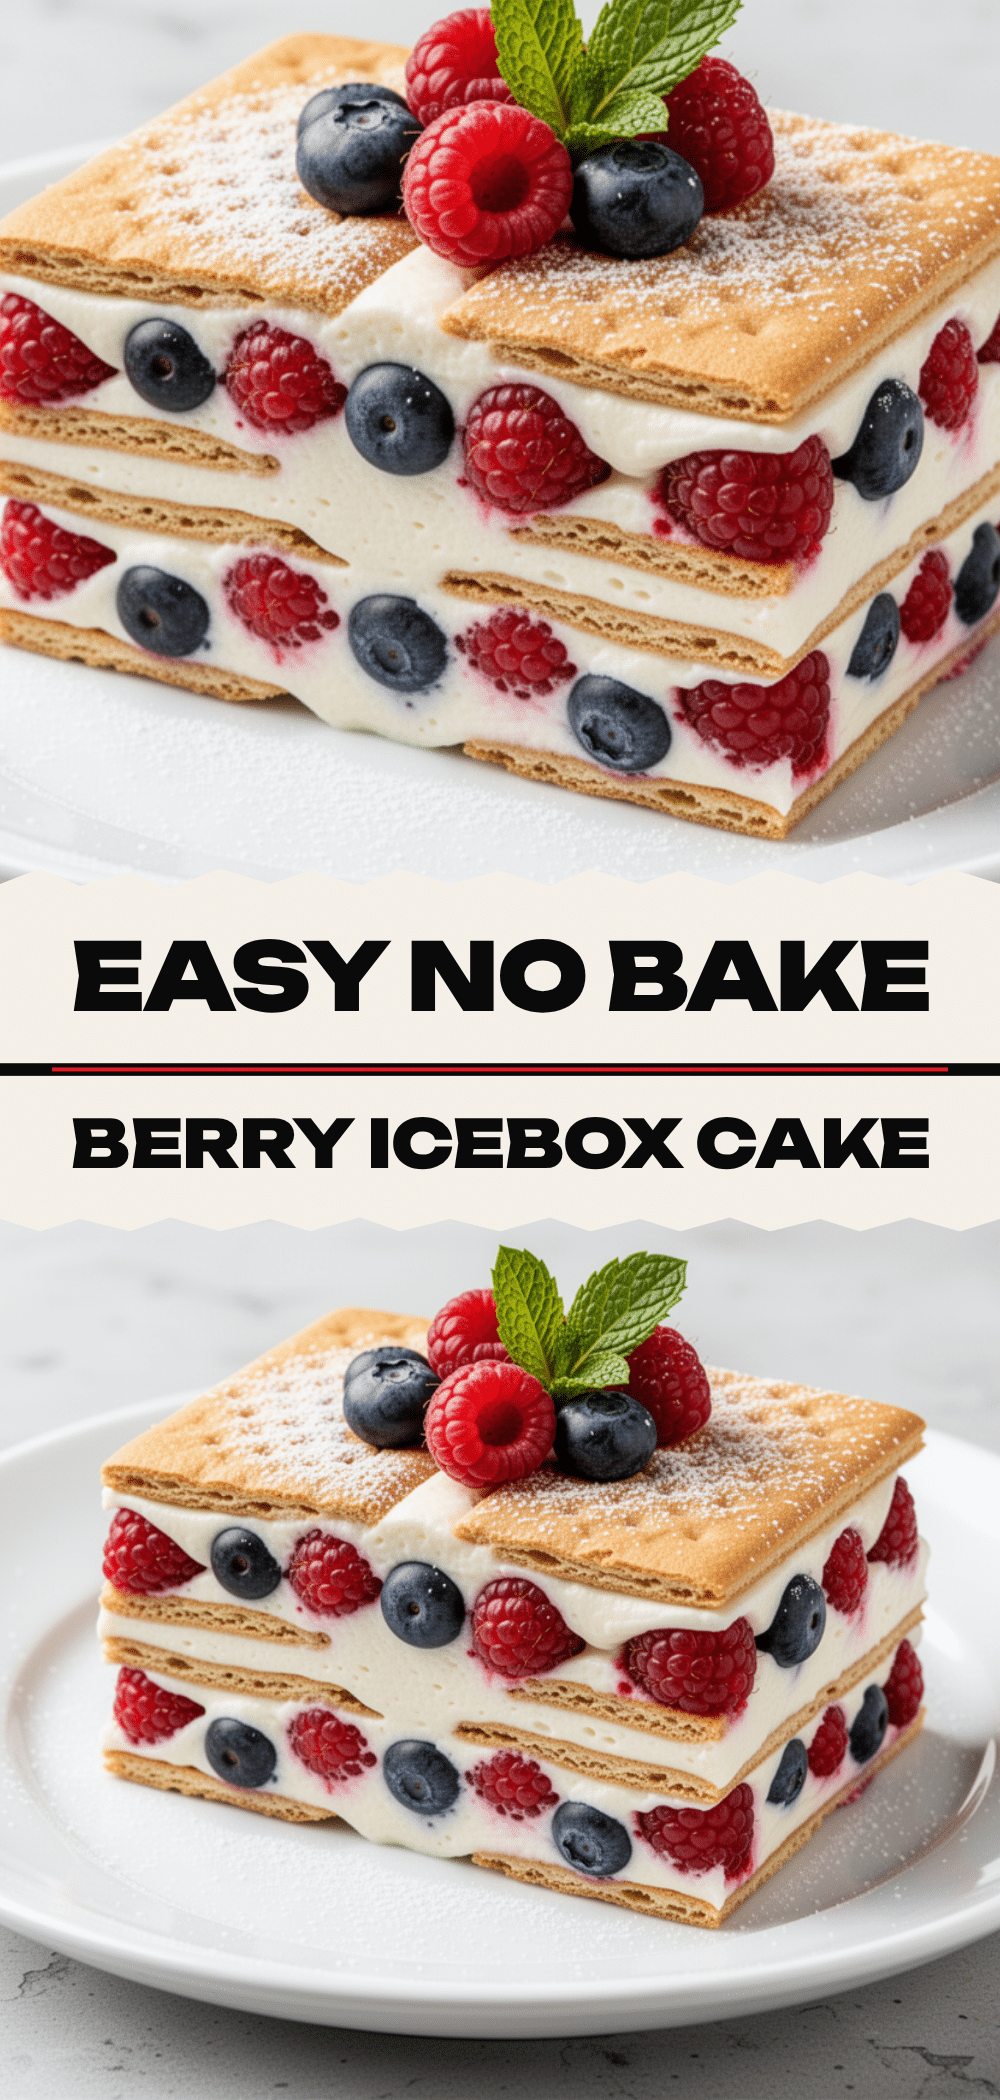
No Bake Berry Icebox Cake: 5-Step Easy Summer Dessert
- Total Time: 4 hours 20 minutes
- Yield: 12 servings 1x
Description
A refreshing, no-bake summer dessert featuring layers of vanilla wafers, whipped cream, and macerated berries. This easy recipe requires only five ingredients and minimal active time, resulting in a cake-like texture after chilling.
Ingredients
- 1 package (30-40 cookies) vanilla wafers
- 2 cups (480ml) heavy cream, cold
- ½ cup (60g) confectioners’ sugar
- 2 teaspoons vanilla extract
- 3 cups mixed berries (strawberries, raspberries, blueberries)
- 2 tablespoons granulated sugar
- 1 teaspoon lemon juice
- Optional: Fresh mint leaves or extra berries for garnish
Instructions
- Prepare the berries: Wash and dry fresh berries (hull and halve/quarter strawberries). If using frozen, thaw and drain excess liquid. Toss berries with 2 tablespoons granulated sugar and 1 teaspoon lemon juice; let sit for 10 minutes to draw out juices.
- Whip the cream: In a large mixing bowl, combine cold heavy cream, confectioners’ sugar, and vanilla extract. Whip on medium-high speed until stiff peaks form.
- Assemble the first layer: Arrange a single layer of vanilla wafers on the bottom of a 9×13 inch dish, breaking cookies as needed to fit edges.
- Add the cream: Spread half of the whipped cream over the wafers, smoothing it to the edges.
- Add the berries: Scatter half of the sugared berries over the cream layer.
- Repeat layers: Add another layer of wafers, followed by the remaining whipped cream. Top with the remaining berries, pressing them gently into the cream.
- Chill: Cover the dish with plastic wrap or a lid and refrigerate for at least 4 hours, ideally overnight, until the wafers soften.
- Serve: Slice with a sharp knife, wiping between cuts for clean slices. Dust with powdered sugar if desired and serve cold.
Notes
Keep all ingredients cold, especially the cream, to ensure it whips properly. If using frozen berries, ensure they are thoroughly drained to prevent a soggy cake. The cake improves with time, so making it the night before is recommended. Do not freeze, as the texture may become watery upon thawing.
- Prep Time: 20 minutes
- Cook Time: 0 minutes
- Category: Dessert
- Cuisine: American
Nutrition
- Serving Size: 1 slice
- Calories: 220
- Sugar: 22
- Sodium: 120
- Fat: 10
- Saturated Fat: 6
- Carbohydrates: 32
- Fiber: 1
- Protein: 3
Keywords: no bake dessert, summer dessert, berry icebox cake, easy dessert, no oven dessert, vanilla wafer cake, whipped cream dessert


