It was last October, and I had just walked into a local farmers’ market with a very specific mission: find a pumpkin that wouldn’t fall apart when I squeezed it. I was tired. I was stressed. And I was hungry for something sweet that didn’t make me feel like I’d eaten a brick of sugar and regret. I stumbled upon a tiny bakery stall where the owner was handing out samples of these dense, moist pumpkin bars. They were good. But they were also loaded with butter, white flour, and more sugar than I cared to count. I took one bite, thanked her politely, and walked away thinking, “There has to be a better way.”
That night, I stood in my kitchen with a can of pumpkin puree, a box of oats, and a bag of dates. I wasn’t planning to bake. I was just trying to figure out what to do with leftovers. But I threw them in a food processor, pressed the mixture into a pan, and popped it in the oven. I expected a disaster. I expected a crumbly mess that tasted like cardboard and sadness.
Instead, I got magic.
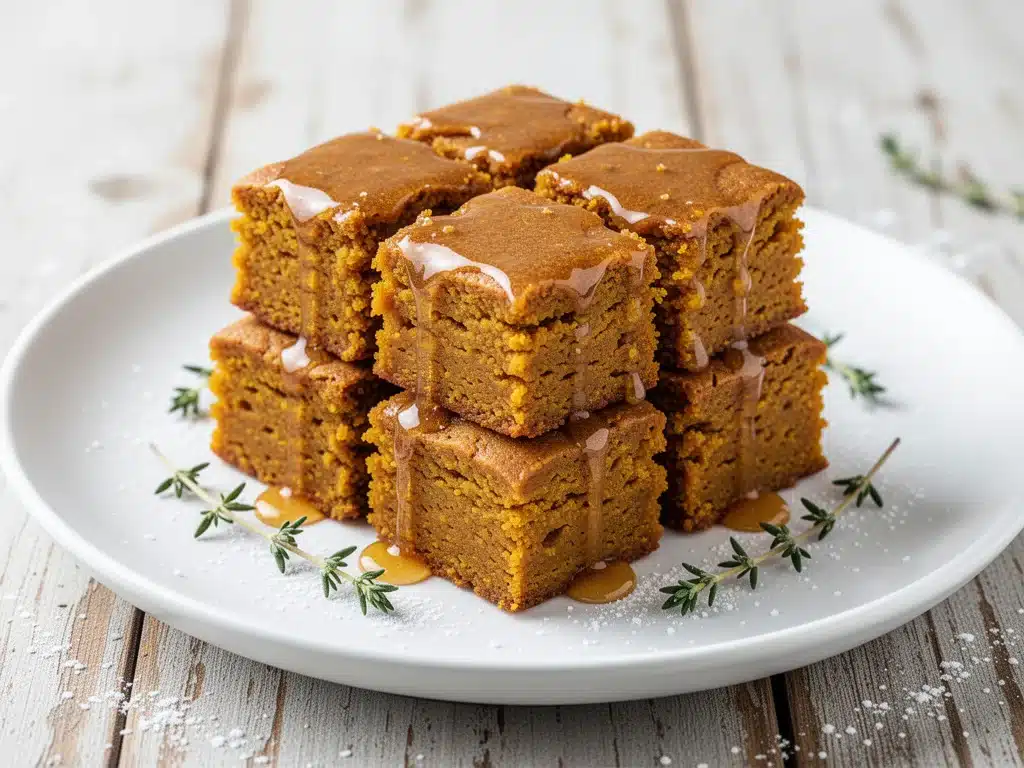
These healthy pumpkin bars are soft, chewy, naturally sweetened, and require absolutely no mixer. No standing over a bowl whisking butter and sugar. No washing six different dishes. Just five ingredients, a food processor, and about 15 minutes of prep time. I made them on a Tuesday. By Wednesday, my kids were asking for “the good bars” again. By Friday, my husband had eaten three of them before dinner and pretended he hadn’t.
I’ve tested this recipe dozens of times—sometimes with applesauce instead of dates, sometimes with coconut flour, sometimes with honey. But this specific combination? It’s the winner. It’s the one I keep coming back to. It’s the one I bring to potlucks. It’s the one that makes people ask for the recipe before they even take a second bite. And the best part? They’re genuinely healthy. No refined flour. No refined sugar. Just real, whole-food ingredients that taste like autumn in a bar.
Why You’ll Love This Healthy Pumpkin Bars Recipe
Look, I’m not going to lie to you. If you’re looking for a cakey, buttery, ultra-sweet dessert that feels like a treat in the worst way, this isn’t it. This is the dessert that makes you feel good. It’s the kind of treat you can eat for breakfast and still feel like you’re being responsible. Here’s why these healthy pumpkin bars have taken over my kitchen:
- Stupid Simple Ingredients — Seriously. You need pumpkin, oats, dates, spices, and maybe a little binder. That’s it. If you can boil water, you can make this. I’ve made this while holding a baby. I’ve made this at 11pm when I forgot to buy dessert. It just works.
- No Mixer Required — This is huge for me. I hate spending 20 minutes cleaning a stand mixer for a simple bar. These come together in a food processor or even a blender. Dump, blend, press, bake. Done. Less cleanup means more eating.
- Naturally Sweetened — No white sugar. No brown sugar. No maple syrup (though you can add it if you want). The sweetness comes entirely from Medjool dates. They add this deep, caramel-like richness that sugar just can’t mimic. Plus, no sugar crash at 3pm.
- Gluten-Free Friendly — If you use certified gluten-free oats (which I always do, just to be safe), these are naturally gluten-free. No fancy GF flour blends needed. No gritty texture. Just soft, chewy bars that anyone can enjoy.
- Meal-Prep Perfect — These keep for a week in the fridge or months in the freezer. I make a double batch on Sunday, slice them up, and have healthy snacks ready for the week. They travel well in lunchboxes, too. No crumbs. No mess. Just portable fall flavor.
This is my go-to when I need a dessert that feels indulgent but doesn’t wreck my diet. It’s the answer to “what’s for dessert?” when I’m tired of cooking but still want something homemade. My kids love them. My friends ask for them. And I love them because they’re easy, healthy, and ridiculously delicious.
Ingredients You’ll Need for Healthy Pumpkin Bars
Here’s the best part: you probably have most of these already. I’m not asking you to drive to three different stores for exotic ingredients. This is pantry-friendly, real-food cooking. I’m particular about three things here—the type of pumpkin, the quality of oats, and the dates. Let me tell you why.
For the Base
Canned pumpkin puree (1 can / 15 oz or 425g) — Not pumpkin pie filling! Pie filling has sugar and spices added. You want 100% pure pumpkin. I always use Libby’s because it’s consistent and smooth. If you’re feeling fancy, you can roast your own pumpkin, but let’s be real—you’re making these for convenience. Just buy the can.
Old-fashioned rolled oats (2 cups / 160g) — These give the bars their chew and structure. Quick oats will make them too dense and mushy. Steel-cut oats won’t blend right. Stick to old-fashioned. If you need gluten-free, buy certified GF oats. They blend the same way.
Medjool dates (1 cup / 150g, pitted) — These are the sweetener. Medjool dates are large, soft, and super sweet. If you can’t find Medjool, use regular dates, but you might need a few more because they’re smaller and drier. Soak them in warm water for 10 minutes if they’re tough. This helps them blend smoothly.
Almond butter (½ cup / 120g) — This acts as the binder and adds healthy fats. Use natural almond butter (the kind where the oil separates). Stir it well before measuring. Peanut butter works too, but it changes the flavor. Almond butter keeps it neutral and sweet.
For the Flavor
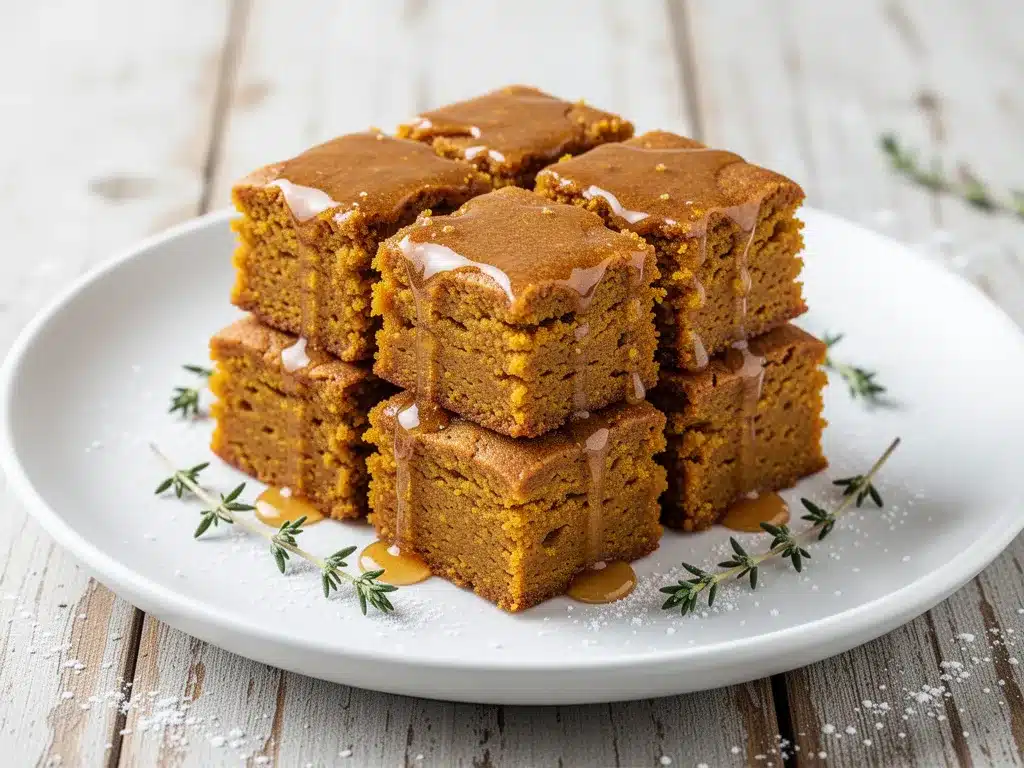
Pumpkin pie spice (2 teaspoons) — This is your flavor backbone. It’s usually a mix of cinnamon, ginger, nutmeg, and cloves. If you don’t have pumpkin pie spice, make your own: 1 tsp cinnamon, ½ tsp ginger, ¼ tsp nutmeg, and a pinch of cloves. Don’t skip the spices. This is what makes it taste like pumpkin.
Cinnamon (1 teaspoon) — I like extra cinnamon. It adds warmth and depth. If you’re sensitive to spices, use ½ teaspoon. But honestly, more cinnamon is always better in my opinion.
Vanilla extract (1 teaspoon) — Pure vanilla. Not imitation. It enhances the pumpkin flavor and adds that bakery-like aroma. I know it seems small, but it matters.
Salt (½ teaspoon) — Yes, salt in a dessert. It balances the sweetness and makes the pumpkin flavor pop. Don’t skip it. You’ll taste the difference.
Optional Add-ins:
- Chopped walnuts (½ cup) — Adds crunch and richness. I love the texture contrast.
- Dark chocolate chips (½ cup) — For a little extra indulgence. Use dairy-free chips if you’re keeping it vegan.
- Shredded coconut (½ cup) — Adds chewiness and a tropical twist. Great for variety.
Personal Tips
- Oat blending: If you want finer bars, pulse the oats in a food processor first to make oat flour. Then add the dates and other ingredients. It changes the texture slightly—more cake-like, less chewy. Both are good.
- Date soaking: If your dates are dry, soak them in hot water for 10 minutes, then drain well. Wet dates blend easier and distribute sweetness more evenly.
- Almond butter choice: Make sure it’s runny. If it’s stiff, microwave it for 15 seconds to soften it. Hard almond butter doesn’t mix well.
Equipment Needed
You don’t need fancy equipment for this. Here’s what I actually use:
Food processor — This is the hero. It blends the dates, oats, and pumpkin into a smooth, sticky dough. A blender works too, but you might need to add a splash of water to get it moving. I prefer a food processor because it handles the thick mixture better.
8×8 inch baking pan — Standard size. Line it with parchment paper for easy removal. I use a square pan because it gives the bars the right thickness. If you use a 9×13 pan, they’ll be too thin and dry out faster.
Parchment paper — Essential for lifting the bars out of the pan. Without it, you’ll be digging for pieces with a knife. Line the pan with enough overhang to create “handles.”
Measuring cups and spoons — Standard stuff. Dollar store versions work fine. Accuracy matters here because there’s no extra flour to absorb wetness.
Sharp knife — For slicing the bars. Clean cuts come from a sharp blade. Dull knives squish the bars.
Optional but nice:
- Paring knife — For pitting dates quickly.
- Microplane — If you’re adding fresh ginger or nutmeg.
How to Make It: Step-by-Step
Alright, let’s make these healthy pumpkin bars! I’m walking you through exactly how I do it, including the little tricks I’ve picked up over dozens of batches.
Step 1: Prep Your Pan and Oven (5 minutes)
Preheat your oven to 350°F (175°C). Line an 8×8 inch baking pan with parchment paper, leaving overhang on the sides. This is non-negotiable. You’ll need those handles to lift the bars out later. I spray the parchment with a little cooking spray just to be safe, but it’s usually not necessary.
Step 2: Blend the Dry Ingredients (2 minutes)
Add the rolled oats to a food processor. Pulse until they reach a coarse flour consistency. You don’t want powder, just small pieces. This step helps the bars bind better. If you skip this, the bars will be chunkier and harder to slice. Transfer the oat flour to a bowl.
Step 3: Make the Date Paste (1 minute)
In the same food processor, add the pitted dates and almond butter. Blend until it forms a sticky, smooth paste. Scrape down the sides as needed. If it’s too dry, add a teaspoon of water. The paste should hold together when you pinch it. This is your sweetener and binder.
Step 4: Combine Everything (2 minutes)
Add the pumpkin puree, oat flour, pumpkin pie spice, cinnamon, vanilla, and salt to the food processor. Blend until everything is evenly combined. The mixture will be thick and sticky. It should look like dough. If it’s too wet, add a little more oat flour. If it’s too dry, add a splash of almond milk. You want it to hold together when pressed.
Step 5: Press Into Pan (3 minutes)
Transfer the mixture to your prepared baking pan. Use wet hands or a spatula to press it down firmly. Compact it well. This is crucial. If you don’t press it down, the bars will crumble when you cut them. I use the bottom of a measuring cup to flatten and smooth the top. It should be an even layer.
Step 6: Bake (25-30 minutes)
Place the pan in the preheated oven. Bake for 25-30 minutes. The edges should be golden brown, and the center should be set. Don’t overbake! These bars continue to set as they cool. If they’re wet in the middle, they’ll be gummy. If they’re dry, they’ll be crumbly. Aim for slightly underdone in the center.
Step 7: Cool and Slice (30 minutes)
Let the bars cool completely in the pan. This is the hardest part. You’ll want to eat them immediately, but if you cut them hot, they’ll fall apart. Use the parchment handles to lift the slab out of the pan. Place it on a cutting board. Slice into 12 squares or 16 rectangles. Enjoy!
Total Time: About 45 minutes (15 minutes prep, 30 minutes bake and cool)
Expert Tips & Tricks
Here’s everything I’ve learned from making these dozens of times. These tips will save you from my mistakes.
The #1 Secret: Press Firmly
I cannot stress this enough. The mixture is sticky, but it needs compression to hold together. Press it down with all your might. If you skip this, you’ll have a pan of loose crumbs. Wet your hands to prevent sticking, and pack it down tight.
Date Quality Matters
Use soft, plump Medjool dates. Hard, dry dates won’t blend well and will leave chunks in your bars. If your dates are old, soak them in hot water for 10 minutes before blending. This makes them soft and easy to puree.
Don’t Overbake
These bars are dense. They don’t need to be baked like a cake. 25 minutes is usually enough. If you bake them for 35 minutes, they’ll be dry. Pull them out when the edges are golden and the center is just set. They’ll firm up as they cool.
Storage is Key
These bars keep best in the fridge. They get firmer and more bar-like when cold. If you eat them warm, they’re more like soft cookies. Both are good, but for slicing, chill them first.
Variations & Substitutions
Once you’ve nailed the basic version, here’s how you can mix it up. I’ve tried all of these.
Chocolate Chip Pumpkin Bars
Add ½ cup dark chocolate chips to the mixture before pressing. They melt slightly and add pockets of sweetness. My kids’ favorite variation.
Coconut Pumpkin Bars
Replace almond butter with coconut oil and add ½ cup shredded coconut. Adds a tropical twist and makes them dairy-free.
Maple Sweetened
If you don’t have dates, use ½ cup pure maple syrup and 1 cup almond flour instead of oats. The texture will be softer, more like a blondie.
Vegan Version
Use almond butter (or any nut butter) and ensure your oats and chocolate chips are vegan. The base recipe is already vegan if you use plant-based almond butter.
Gluten-Free
Use certified gluten-free oats. Everything else is naturally gluten-free. The texture is identical.
Different Nuts
Use cashew butter, peanut butter, or sunflower seed butter. Cashew butter is milder and sweeter. Peanut butter adds a distinct flavor. Sunflower seed butter is a great nut-free option.
Serving & Storage
How to Serve
I serve these straight from the fridge. They’re firm, clean to cut, and taste best cold. But here are other ways I’ve enjoyed them:
- Warm: Microwave for 15 seconds for a soft, cookie-like texture.
- With Coffee: Perfect afternoon snack. Pairs well with black coffee or chai.
- With Ice Cream: Yes, even healthy bars can have ice cream. Vanilla bean is my pick.
Storage Instructions
Refrigerator: Store in an airtight container for up to 5 days. They get firmer in the fridge, which is good for slicing.
Freezer: Freeze for up to 3 months. Wrap individually in plastic wrap, then put in a freezer bag. Thaw in the fridge overnight. They freeze beautifully.
Counter: Keep at room temperature for 1-2 days max. They’ll dry out faster without refrigeration.
Pro Tip
If leftovers are drying out, add a slice of bread to the container. The bars will absorb moisture from the bread and stay soft.
Nutrition Information
I’m not a nutritionist, but here’s the breakdown if you’re tracking. This is an estimate based on 12 bars.
Per Serving (1 bar):
- Calories: 140
- Protein: 3g
- Carbs: 22g
- Fiber: 3g
- Sugar: 10g (natural)
- Fat: 5g
- Saturated Fat: 0.5g
- Sodium: 80mg
What’s Good:
- High in fiber from oats and pumpkin
- Good source of vitamin A from pumpkin
- Healthy fats from almond butter
- No refined sugar
What to Know:
- Higher in carbs than keto diets allow
- Contains nuts (almond butter)
- Not suitable for nut allergies
My Take:
Look, these are not a diet food. They’re sweet. They have calories. But they’re also nutritious. They’re packed with fiber and vitamins. They’re better than a candy bar. They’re better than a cupcake. When I eat these, I feel good. I have energy. I don’t crash. That’s what matters.
Final Thoughts
So that’s my healthy pumpkin bars recipe! I’ve probably talked your ear off at this point, but when you make a recipe this often, you have a lot to say about it. These bars have saved my fall baking routine. They’re my answer to “what’s for dessert?” when I’m tired, don’t want takeout, and still want something homemade.
They’re easy. They’re healthy. They’re delicious. And they’re perfect for sharing. Make them for your family, your friends, or just for yourself. You won’t regret it.
If you make these, drop a comment and let me know what you think! I love hearing how recipes turn out in your kitchen. And if something doesn’t work, tell me that too—I’m here to help troubleshoot.
Happy baking! And I hope your kitchen smells half as good as mine does right now.
Frequently Asked Questions
Can I use fresh pumpkin instead of canned?
You can, but it’s more work. You’ll need to roast the pumpkin, scoop out the flesh, and puree it until smooth. Canned pumpkin is more consistent and has less water content. If you use fresh, you might need to bake the bars longer to evaporate excess moisture. I stick with canned for reliability.
Why did my bars crumble?
Usually, this means you didn’t press them down firmly enough, or you used quick oats instead of old-fashioned. Old-fashioned oats provide more structure. Also, make sure your dates are soft and blend well. If the mixture is too dry, add a splash of almond milk. If it’s too wet, add more oats.
Can I freeze these bars?
Yes! They freeze beautifully. Wrap them individually in plastic wrap, then put them in a freezer bag. They’ll last up to 3 months. Thaw in the fridge overnight. They might be slightly softer after thawing, but they still taste great.
Can I make these nut-free?
Yes. Use sunflower seed butter or tahini instead of almond butter. The texture will be slightly different, but it still works. Just make sure your oats are certified nut-free if you have severe allergies.
How do I know when they’re done?
The edges should be golden brown, and the center should be set but not wet. They’ll firm up as they cool. If you’re unsure, check at 25 minutes. If the center is still jiggly, bake for another 5 minutes. Don’t overbake!
Can I use honey instead of dates?
You can, but the texture will change. Honey is liquid, so you’ll need to reduce other liquids or add more oats. Dates provide bulk and chewiness. Honey alone will make the bars more cake-like. I prefer dates for their texture and natural sweetness.
Can I add protein powder?
You can, but it will dry out the bars. If you want to add protein, use ¼ cup of vanilla protein powder and add an extra tablespoon of almond butter or milk to compensate for the dryness. It’s not necessary, but it’s an option if you’re tracking macros.
Pin This Recipe!
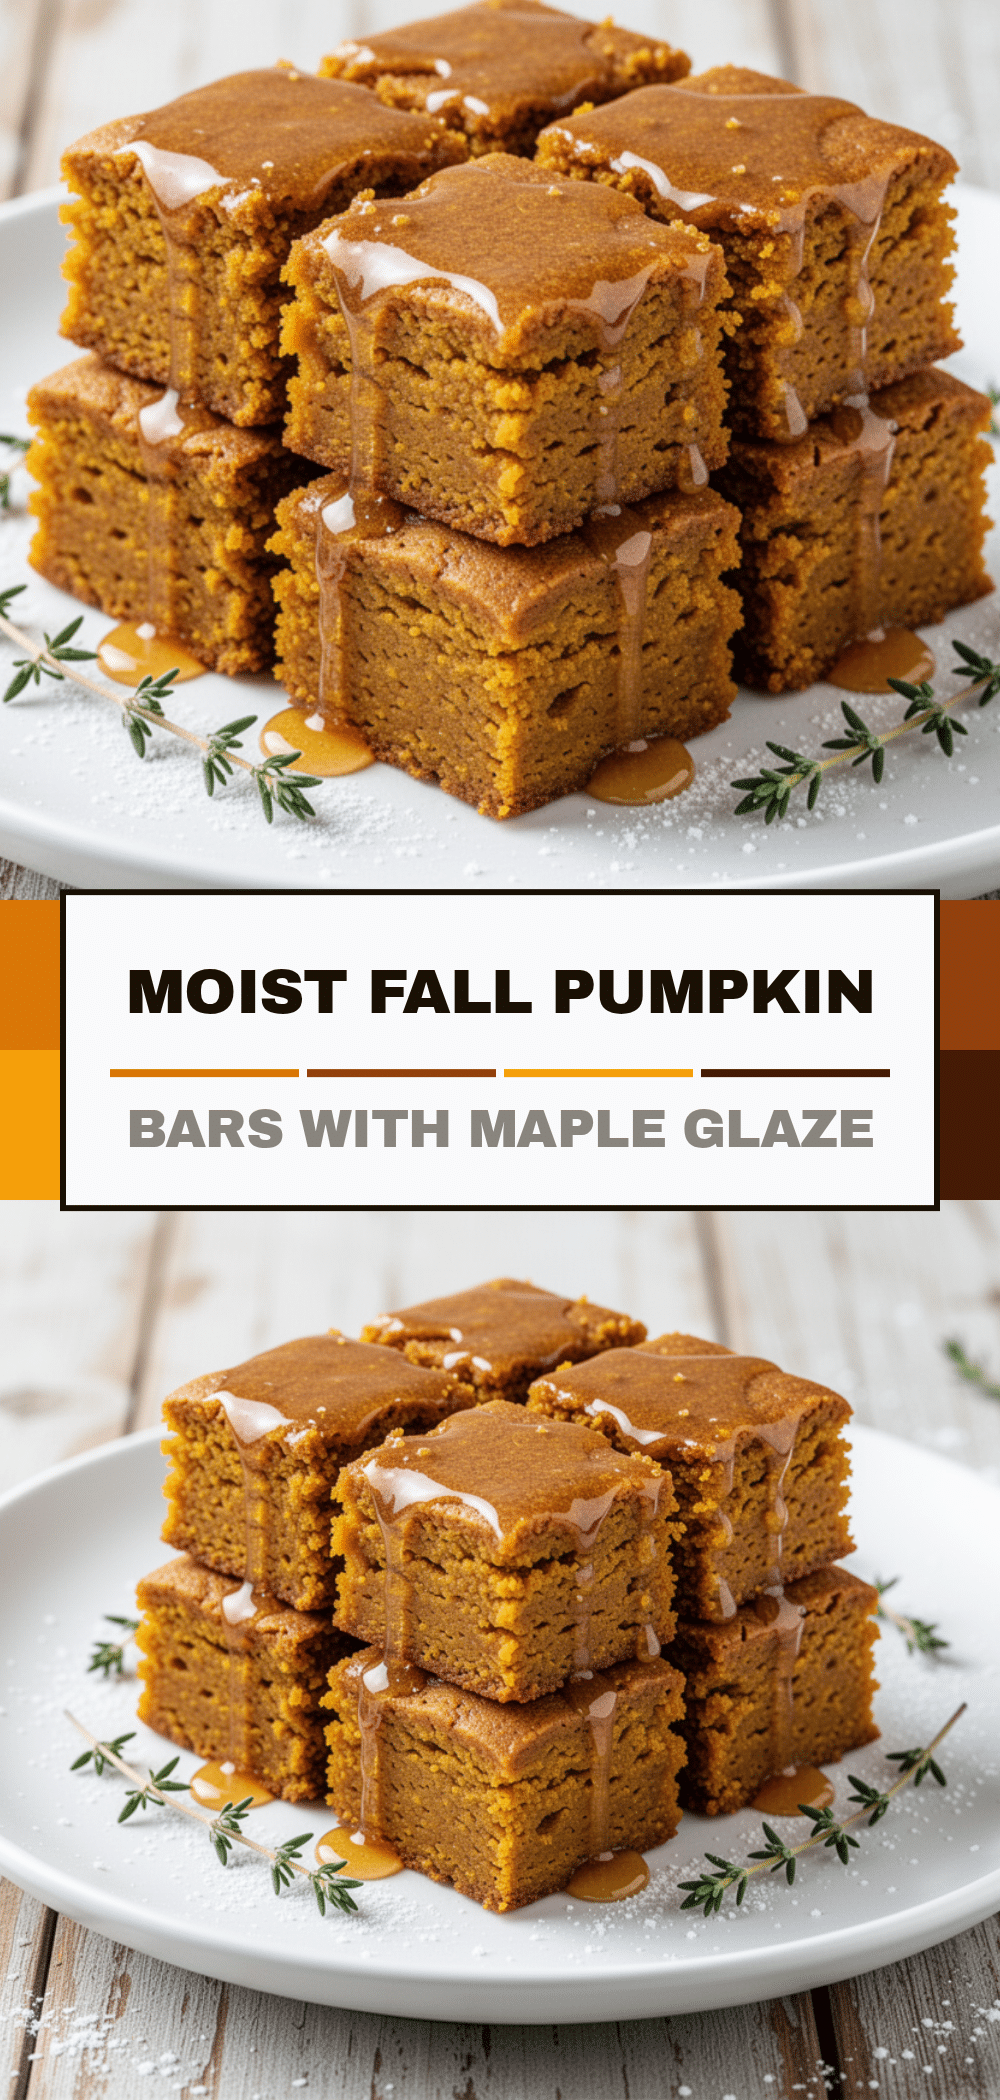
Healthy Pumpkin Bars: Easy 3-Ingredient Fall Dessert
- Total Time: 45 minutes
- Yield: 12 servings 1x
Description
Soft, chewy, and naturally sweetened pumpkin bars made with just five whole-food ingredients. No mixer required, these gluten-free friendly bars are perfect for meal prep and healthy snacking.
Ingredients
- 1 can (15 oz / 425g) canned pumpkin puree
- 2 cups (160g) old-fashioned rolled oats
- 1 cup (150g) Medjool dates, pitted
- ½ cup (120g) almond butter
- 2 teaspoons pumpkin pie spice
- 1 teaspoon cinnamon
- 1 teaspoon vanilla extract
- ½ teaspoon salt
- Optional: ½ cup chopped walnuts, dark chocolate chips, or shredded coconut
Instructions
- Preheat oven to 350°F (175°C). Line an 8×8 inch baking pan with parchment paper, leaving overhang on the sides for easy removal.
- Add rolled oats to a food processor and pulse until they reach a coarse flour consistency. Transfer oat flour to a bowl.
- In the same food processor, blend pitted dates and almond butter until a sticky, smooth paste forms. Scrape down sides as needed.
- Add pumpkin puree, oat flour, pumpkin pie spice, cinnamon, vanilla, and salt to the food processor. Blend until evenly combined into a thick, sticky dough.
- Transfer mixture to the prepared pan. Use wet hands or a spatula to press the mixture down firmly and compact it well into an even layer.
- Bake for 25-30 minutes until edges are golden brown and the center is set. Do not overbake.
- Let bars cool completely in the pan (about 30 minutes) to allow them to firm up.
- Lift bars out using parchment handles and slice into 12 squares or 16 rectangles.
Notes
Ensure almond butter is runny; microwave for 15 seconds if stiff. If dates are dry, soak in warm water for 10 minutes before blending. Press the mixture firmly into the pan to prevent crumbling. Bars keep in the fridge for up to 5 days or freeze for up to 3 months.
- Prep Time: 15 minutes
- Cook Time: 30 minutes
- Category: Dessert
- Cuisine: American
Nutrition
- Serving Size: 1 bar
- Calories: 140
- Sugar: 10
- Sodium: 80
- Fat: 5
- Saturated Fat: 0.5
- Carbohydrates: 22
- Fiber: 3
- Protein: 3
Keywords: healthy pumpkin bars, gluten-free dessert, no-bake bars, fall recipes, oatmeal bars, naturally sweetened, vegan dessert, meal prep snacks


